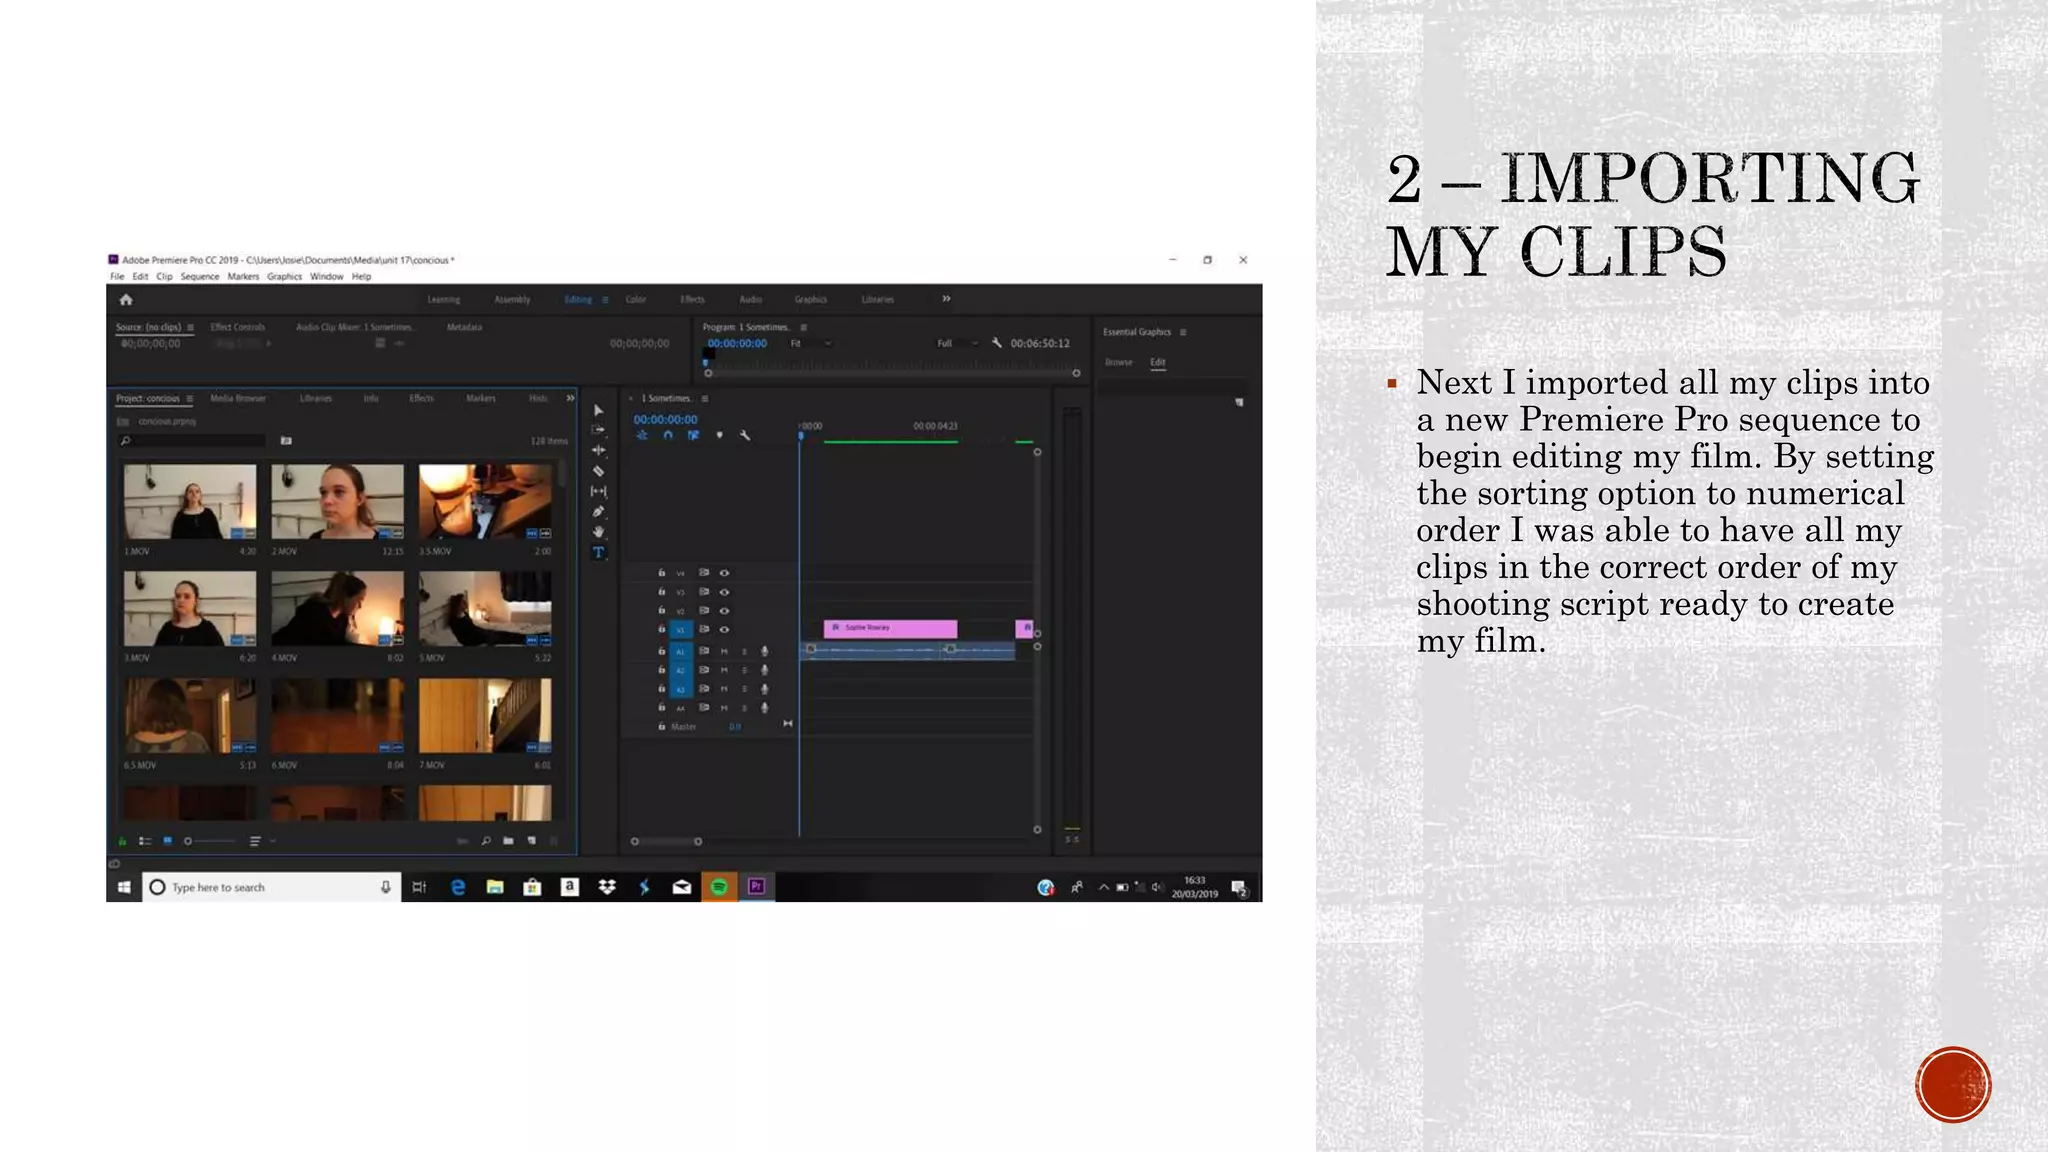
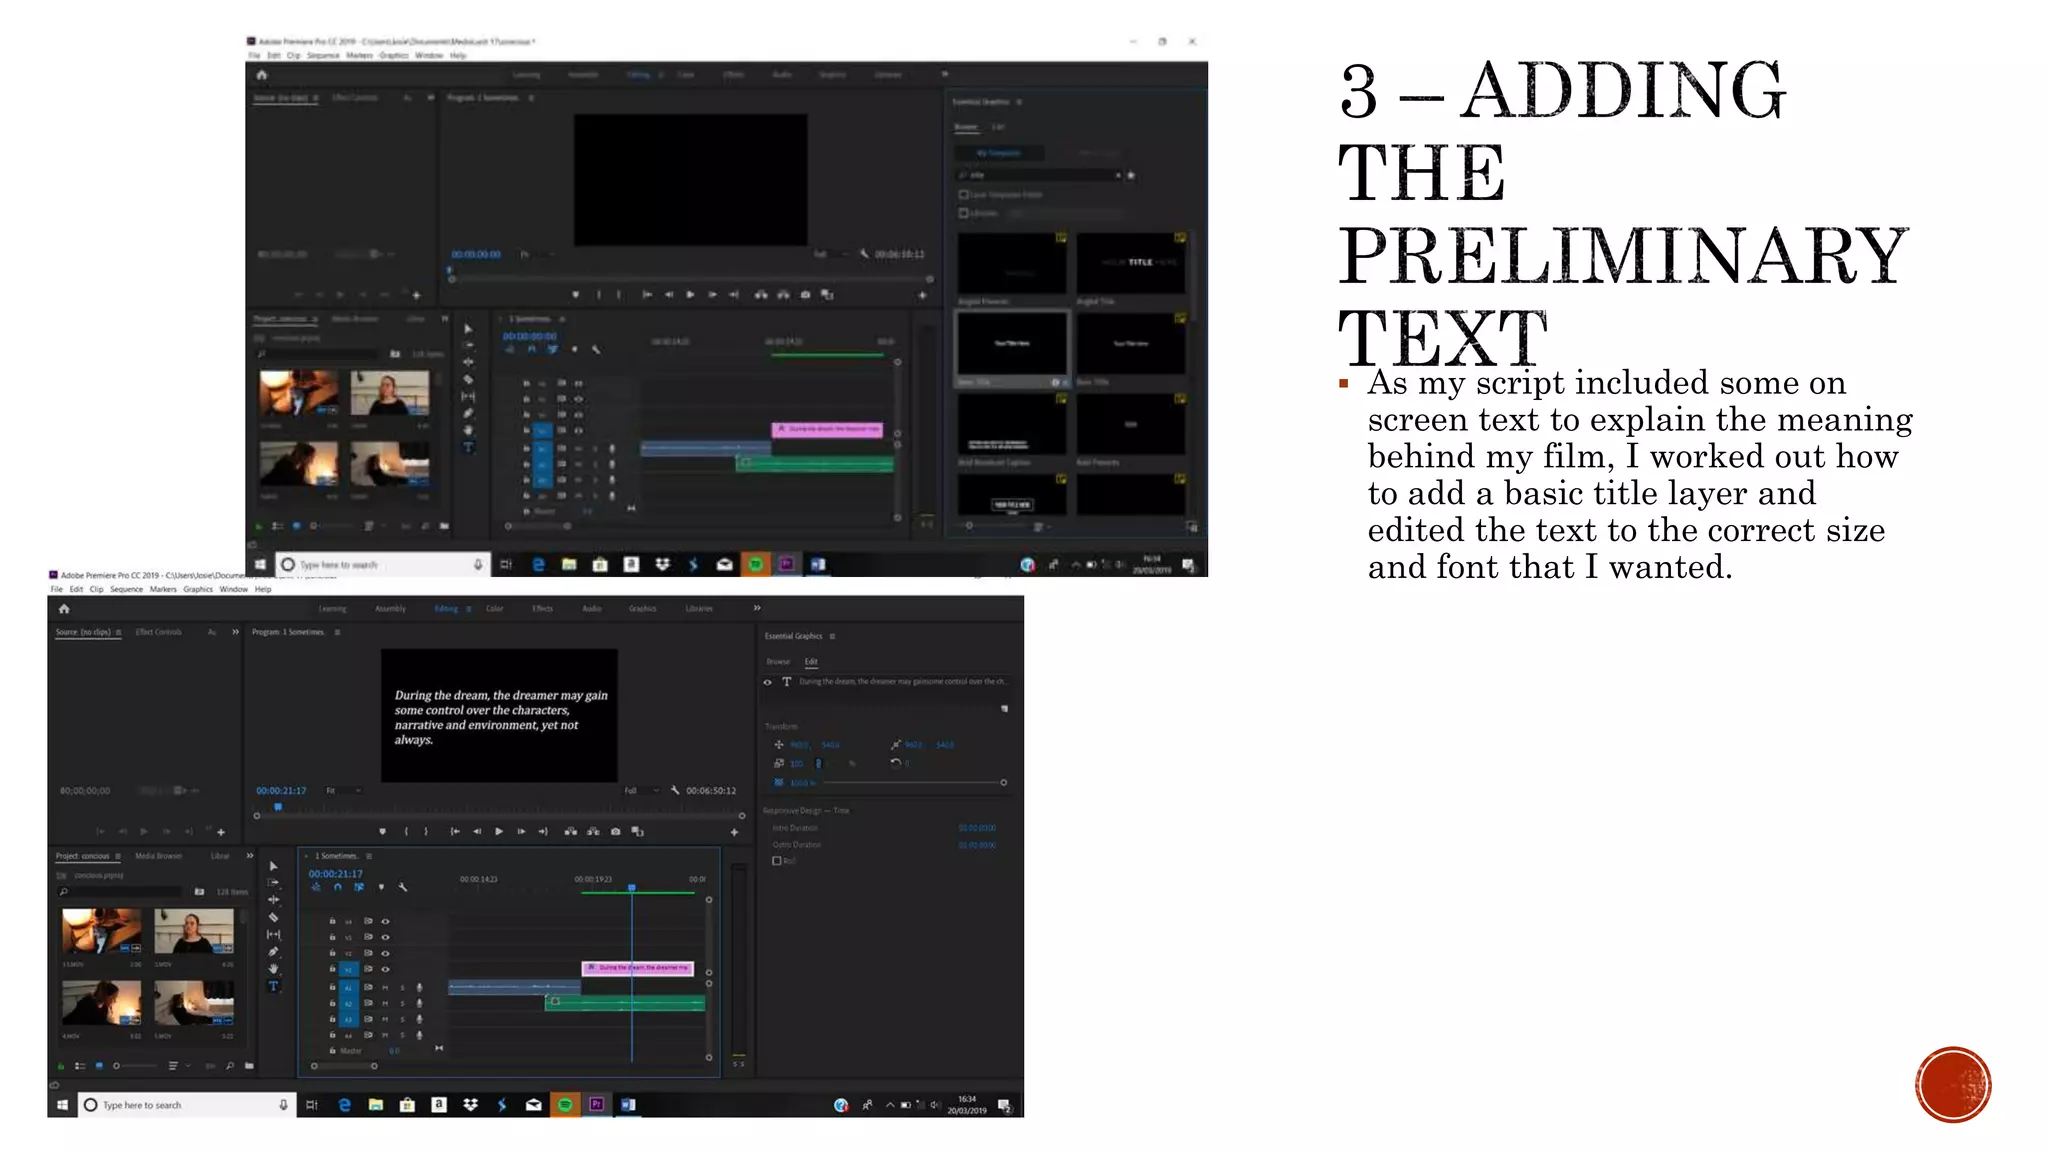
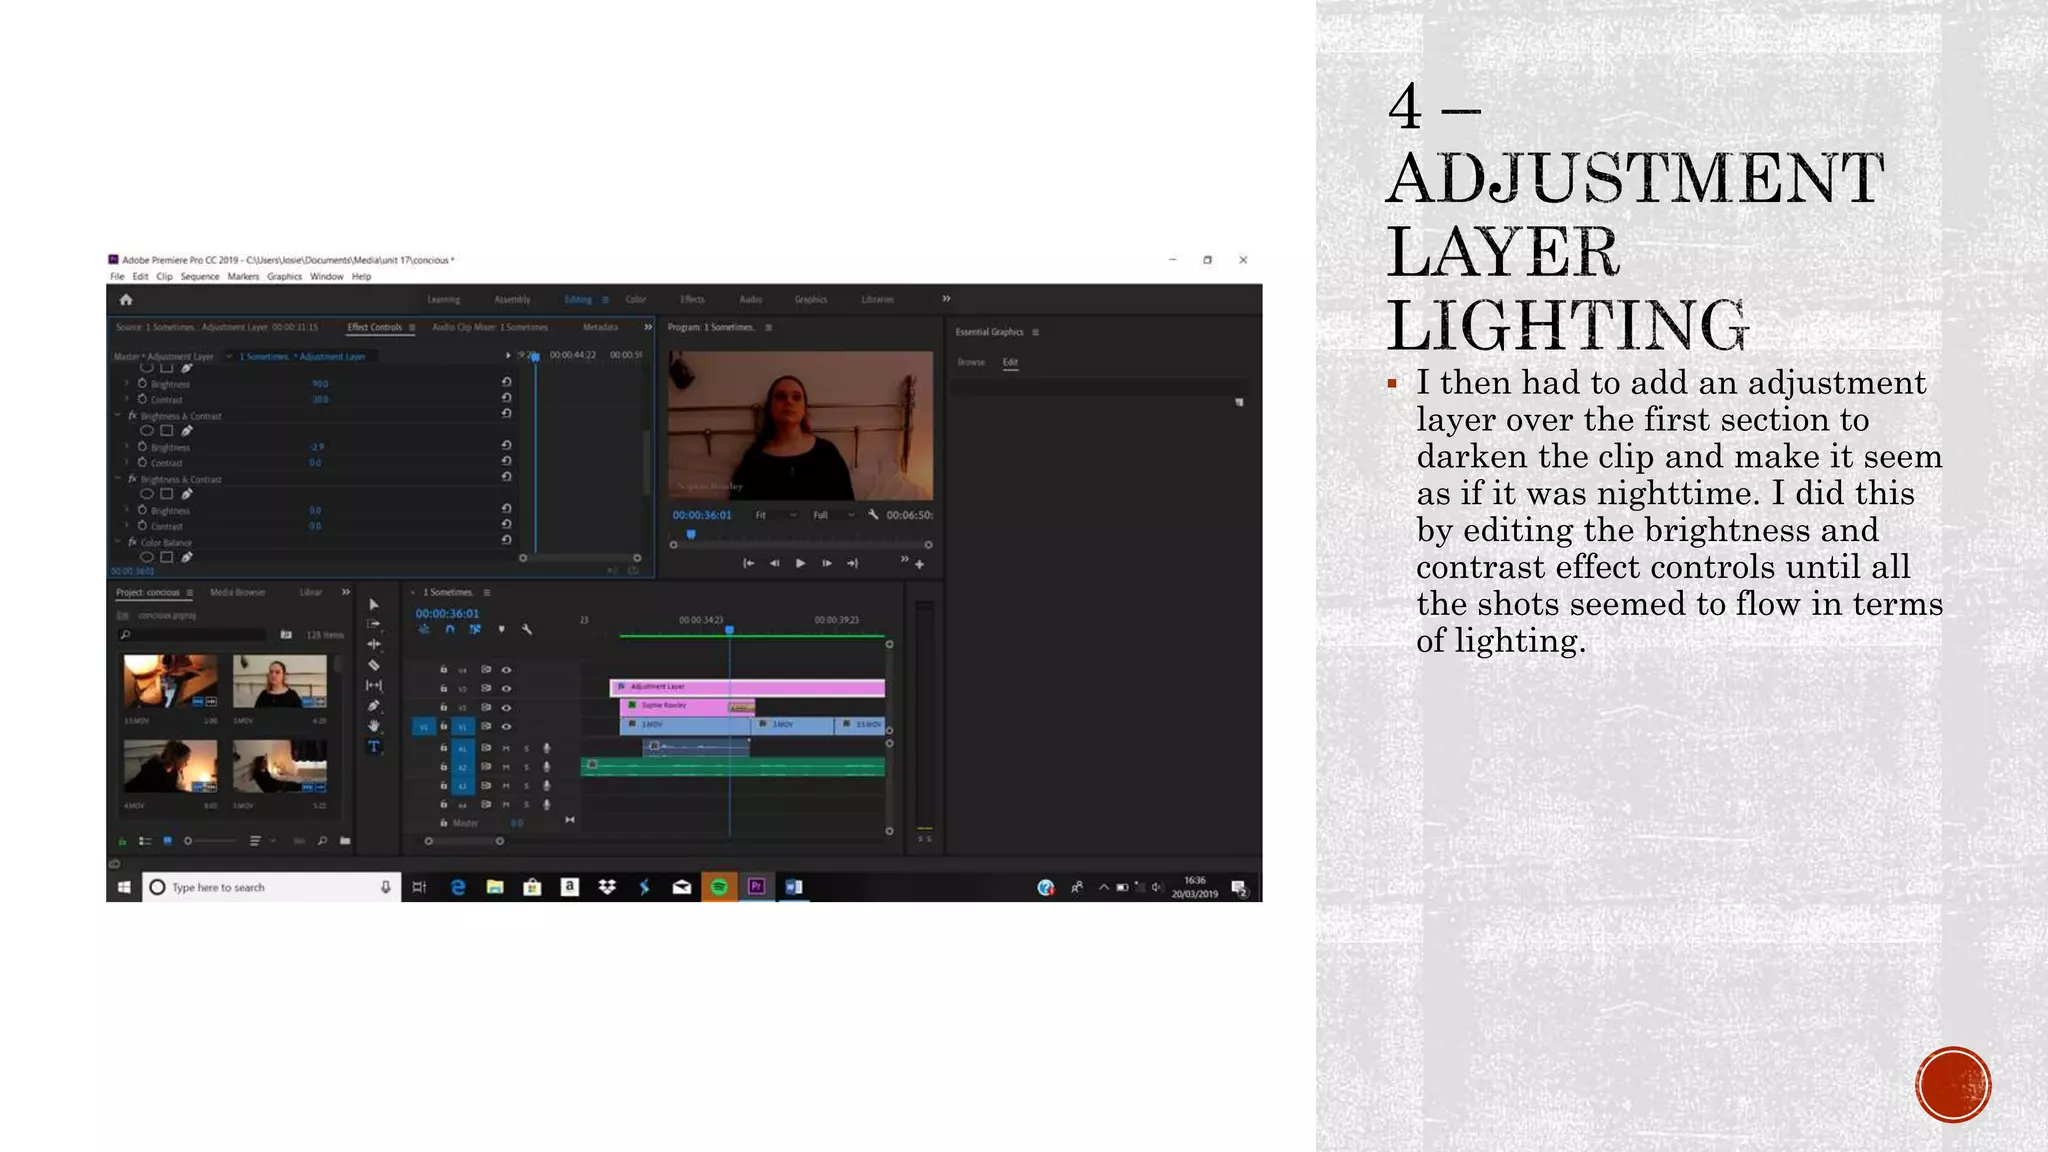
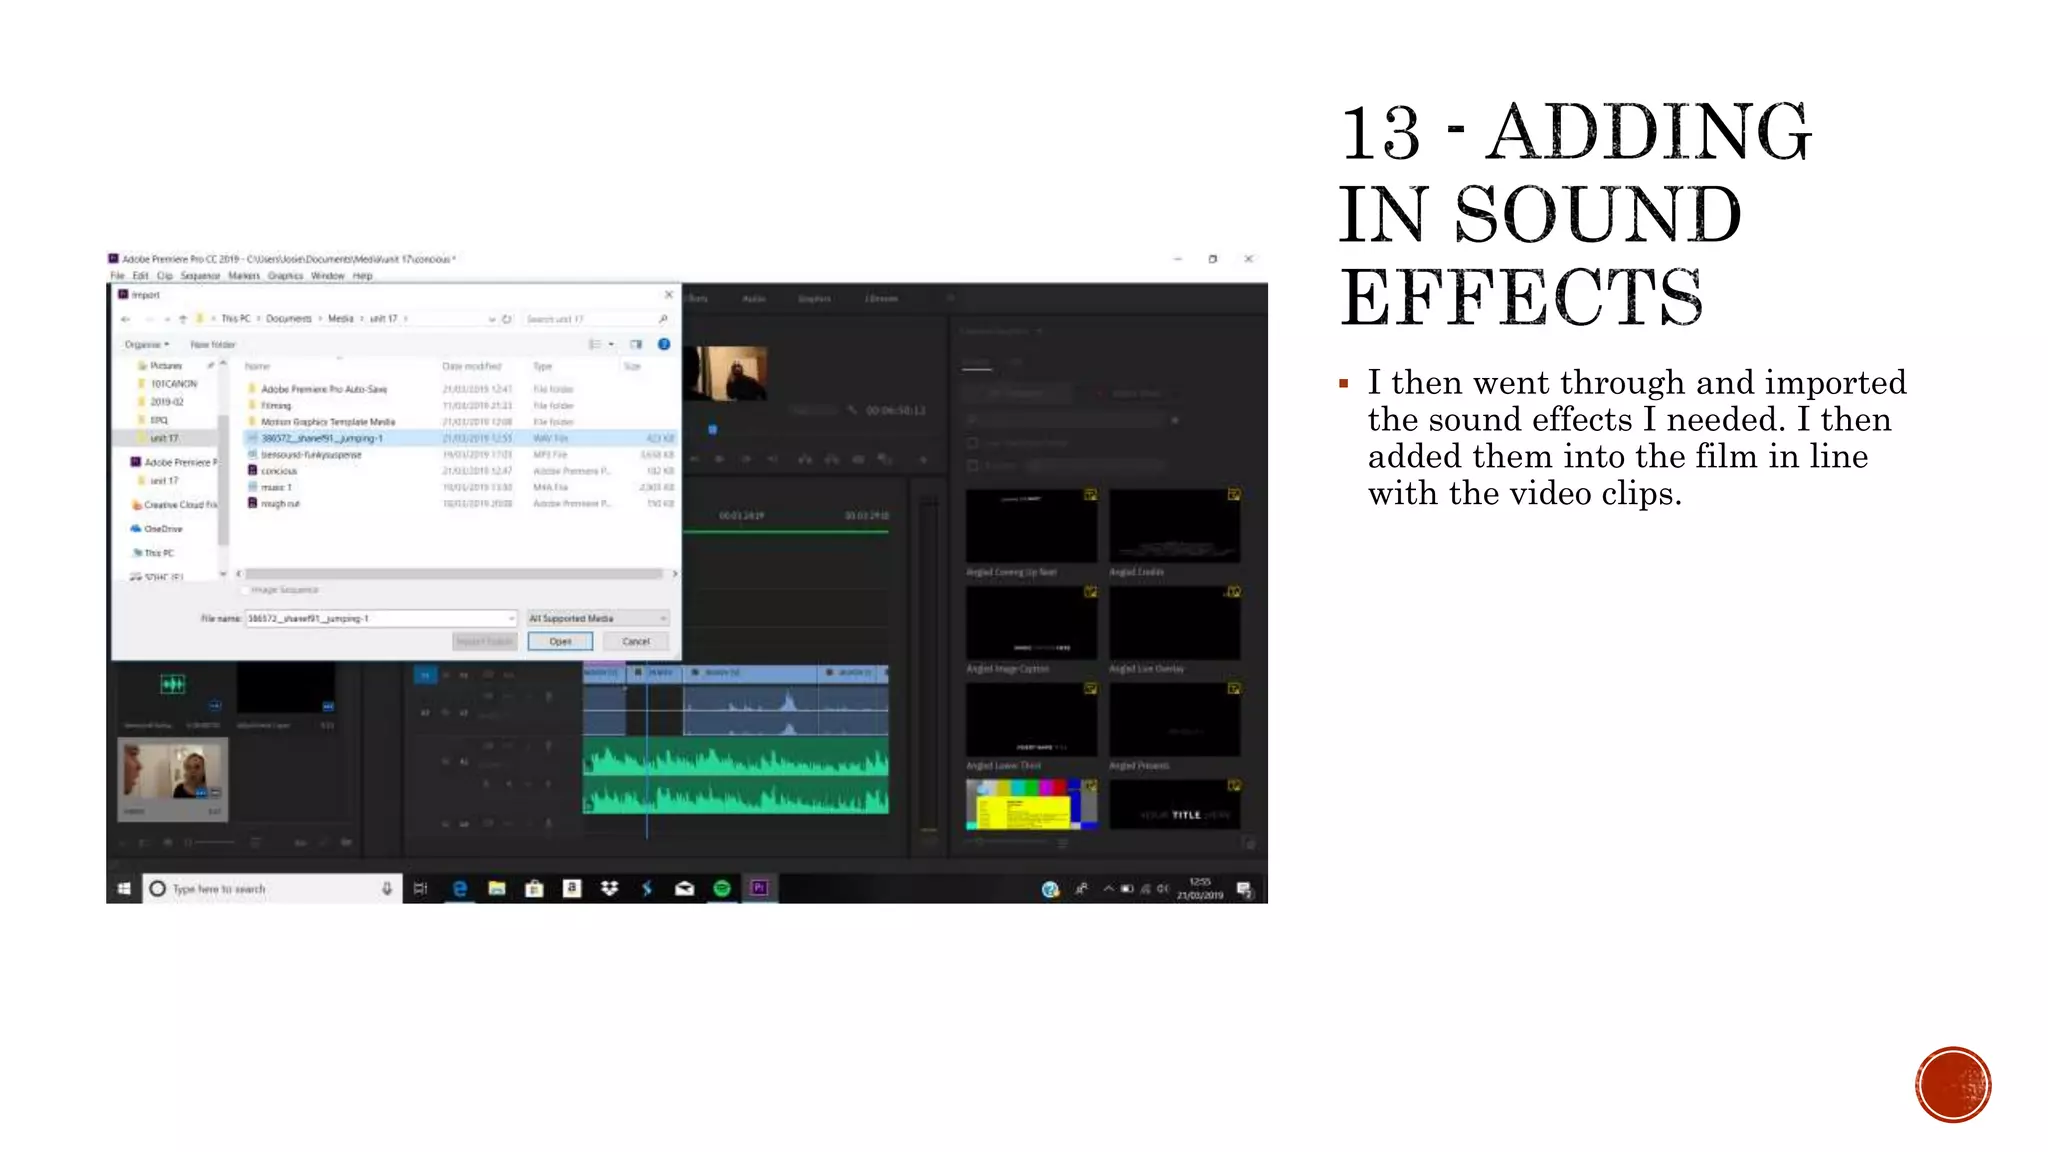
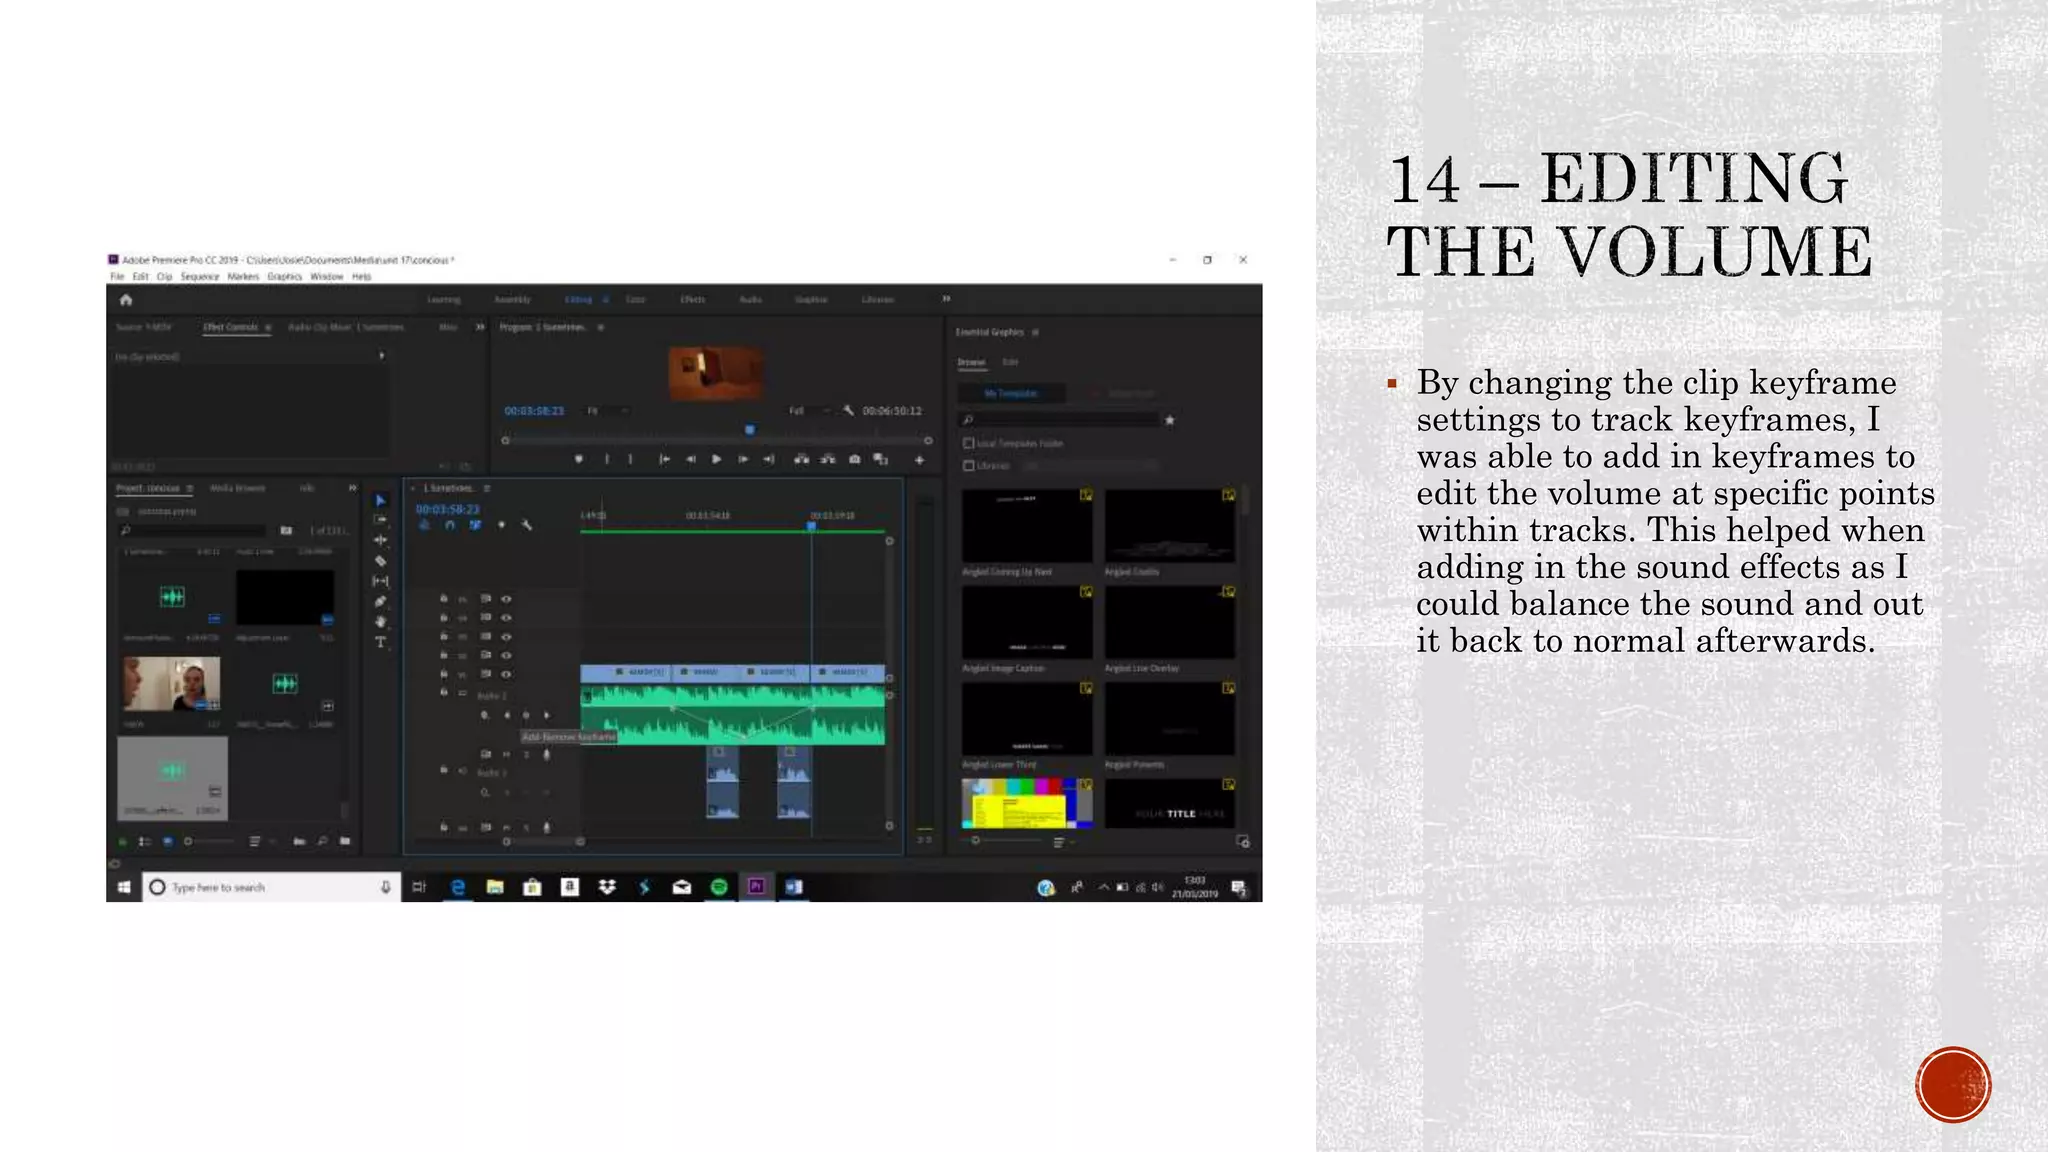
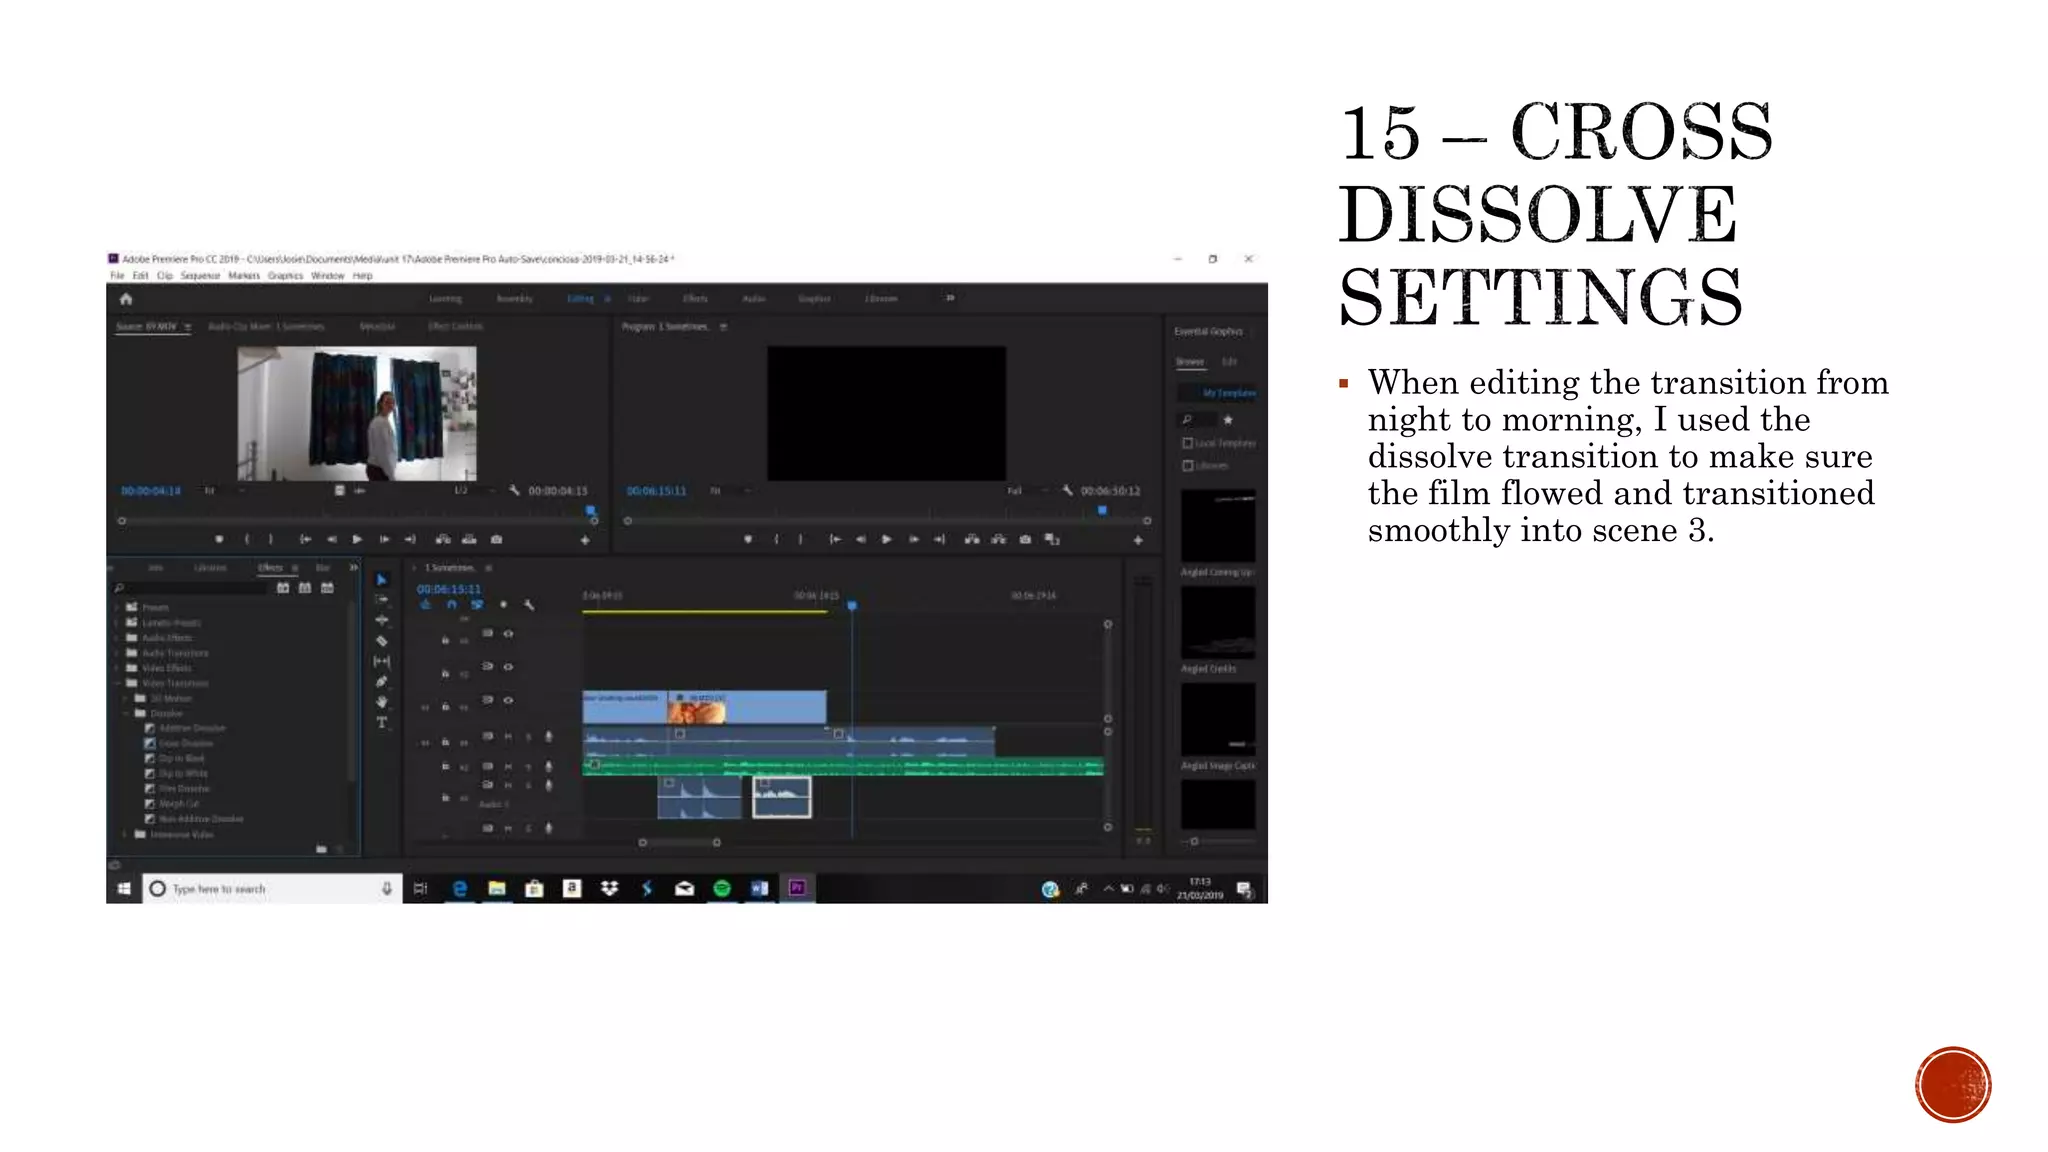
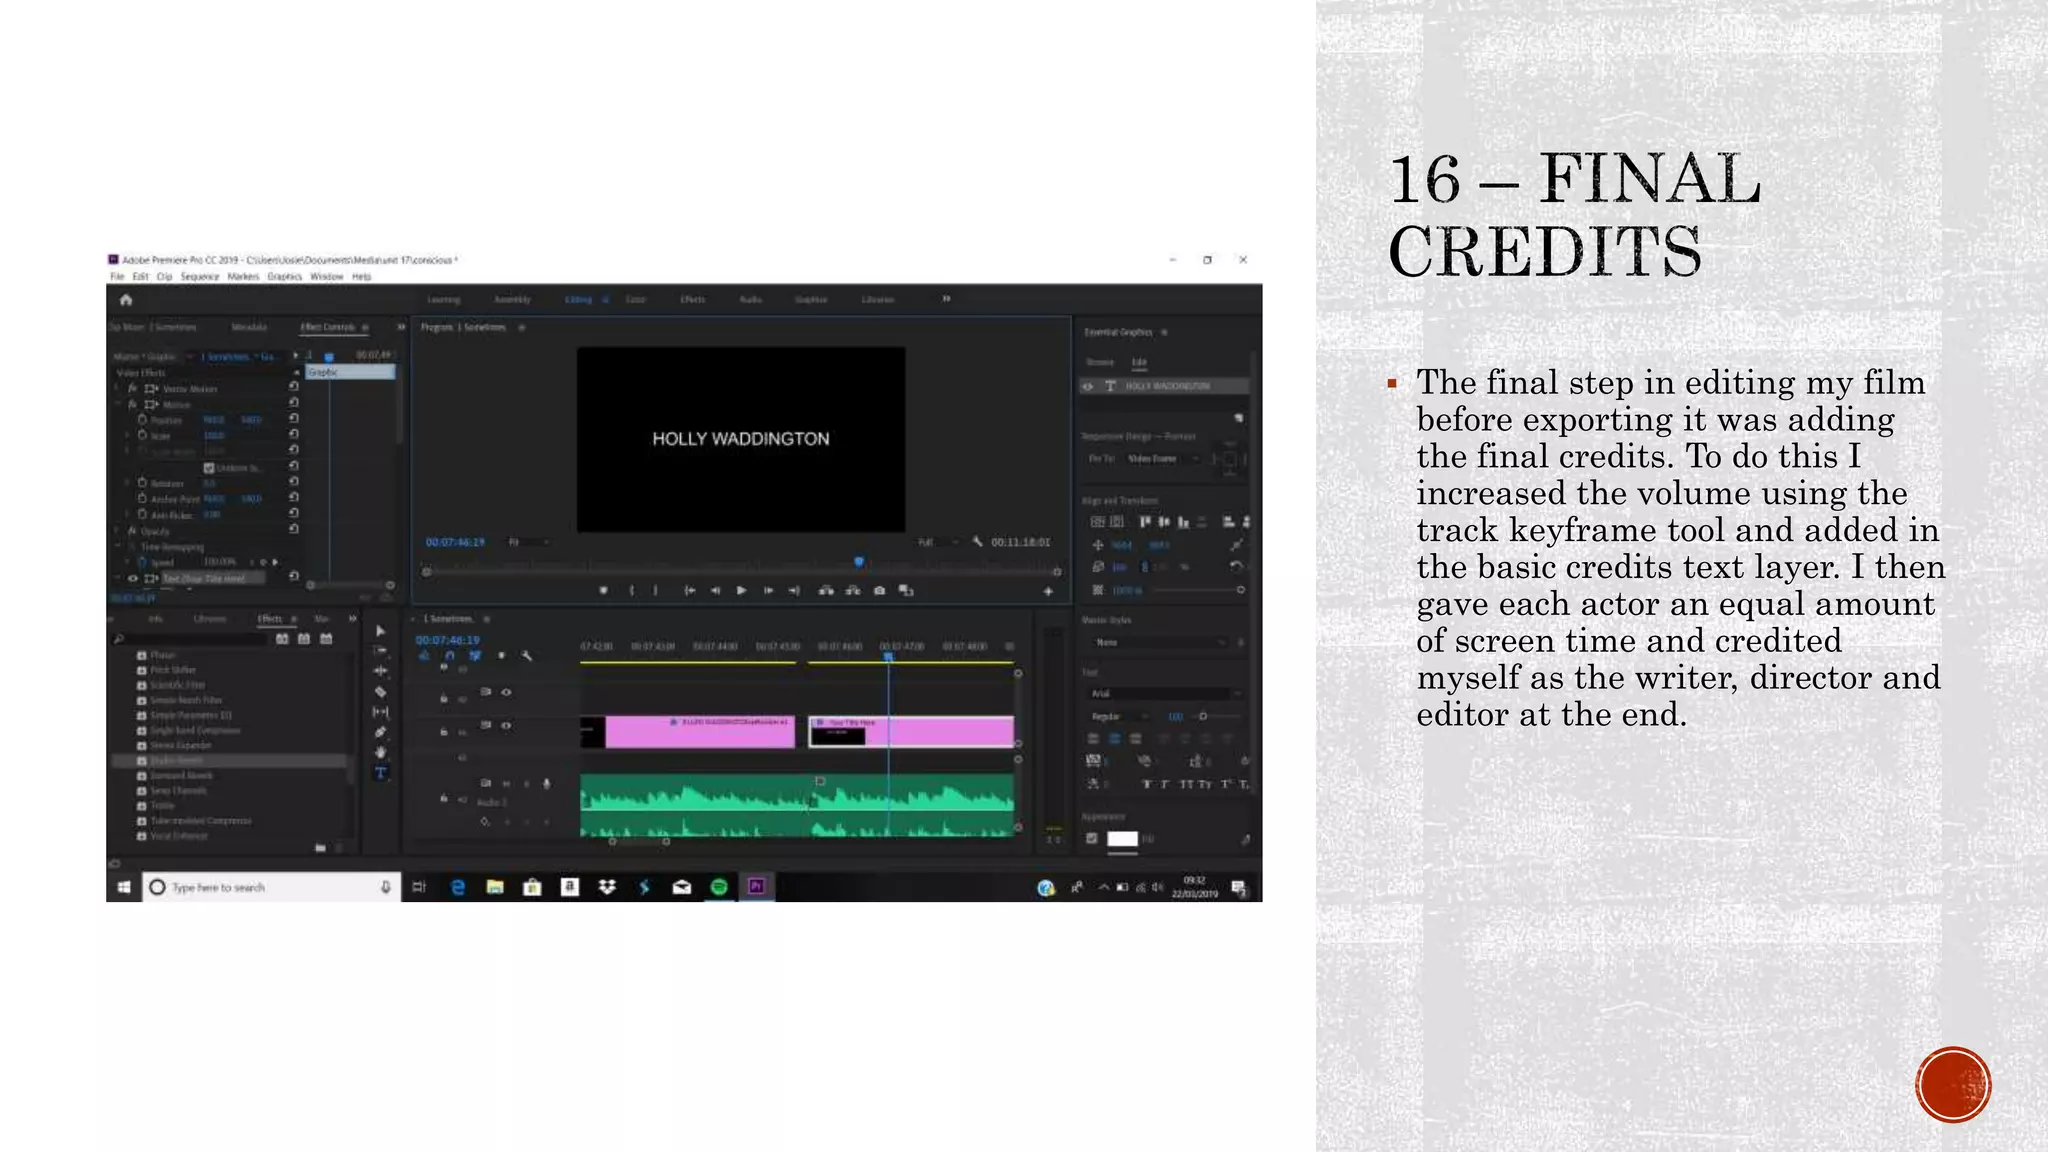
 By naming my clips as the shot
number they were on my shooting
script I was able to import and
order my clips easily.
 Next I imported all my clips into
a new Premiere Pro sequence to
begin editing my film. By setting
the sorting option to numerical
order I was able to have all my
clips in the correct order of my
shooting script ready to create
my film.
 As my script included some on
screen text to explain the meaning
behind my film, I worked out how
to add a basic title layer and
edited the text to the correct size
and font that I wanted.
 I then had to add an adjustment
layer over the first section to
darken the clip and make it seem
as if it was nighttime. I did this
by editing the brightness and
contrast effect controls until all
the shots seemed to flow in terms
of lighting.
 As the first scene of my film came
to a close I needed to fade away
the backing music and I did this by
adding an exponential fade to the
track that coincided with the cut of
the video clip.
 As more characters became part
of the credit I used the basic title
tool again to create introductory
credits.
 As the film went on I began to
experiment with transitions such
as the dip to black video effect.
This acted well to imitate the
transition from evening to night.
 As an afterthought I went back to
scene 1 and adjusted the red tone
in the adjustment layer to mimic
the warmth of the bedside lamp
throughout the room.
 I then added the title and
experimented with the different
fonts available until I found one
that I liked.
 To shorten one of my clips I
decided to increase the speed
without cutting the short. I did
this by halving the duration time.
 I then used the razor tool to add in
a section of audio into the backing
track. I needed an identical 8 bars
added and I selected this specific
section and pasted it into the gap I
created.
 In this shot I found out how to
crop the frame so it could be
more close up. In doing each edge
equally it was easily cropped
suitably fit the frame size.
 I then went through and imported
the sound effects I needed. I then
added them into the film in line
with the video clips.
 By changing the clip keyframe
settings to track keyframes, I
was able to add in keyframes to
edit the volume at specific points
within tracks. This helped when
adding in the sound effects as I
could balance the sound and out
it back to normal afterwards.
 When editing the transition from
night to morning, I used the
dissolve transition to make sure
the film flowed and transitioned
smoothly into scene 3.
 The final step in editing my film
before exporting it was adding
the final credits. To do this I
increased the volume using the
track keyframe tool and added in
the basic credits text layer. I then
gave each actor an equal amount
of screen time and credited
myself as the writer, director and
editor at the end.
 Once my film was fully edited I
moved on to export it as a movie
file that could be uploaded to
youtube and added to my blog as a
link.

Editing evidence log

  • 2.
     By namingmy clips as the shot number they were on my shooting script I was able to import and order my clips easily.
  • 3.
     Next Iimported all my clips into a new Premiere Pro sequence to begin editing my film. By setting the sorting option to numerical order I was able to have all my clips in the correct order of my shooting script ready to create my film.
  • 4.
     As myscript included some on screen text to explain the meaning behind my film, I worked out how to add a basic title layer and edited the text to the correct size and font that I wanted.
  • 5.
     I thenhad to add an adjustment layer over the first section to darken the clip and make it seem as if it was nighttime. I did this by editing the brightness and contrast effect controls until all the shots seemed to flow in terms of lighting.
  • 6.
     As thefirst scene of my film came to a close I needed to fade away the backing music and I did this by adding an exponential fade to the track that coincided with the cut of the video clip.
  • 7.
     As morecharacters became part of the credit I used the basic title tool again to create introductory credits.
  • 8.
     As thefilm went on I began to experiment with transitions such as the dip to black video effect. This acted well to imitate the transition from evening to night.
  • 9.
     As anafterthought I went back to scene 1 and adjusted the red tone in the adjustment layer to mimic the warmth of the bedside lamp throughout the room.
  • 10.
     I thenadded the title and experimented with the different fonts available until I found one that I liked.
  • 11.
     To shortenone of my clips I decided to increase the speed without cutting the short. I did this by halving the duration time.
  • 12.
     I thenused the razor tool to add in a section of audio into the backing track. I needed an identical 8 bars added and I selected this specific section and pasted it into the gap I created.
  • 13.
     In thisshot I found out how to crop the frame so it could be more close up. In doing each edge equally it was easily cropped suitably fit the frame size.
  • 14.
     I thenwent through and imported the sound effects I needed. I then added them into the film in line with the video clips.
  • 15.
     By changingthe clip keyframe settings to track keyframes, I was able to add in keyframes to edit the volume at specific points within tracks. This helped when adding in the sound effects as I could balance the sound and out it back to normal afterwards.
  • 16.
     When editingthe transition from night to morning, I used the dissolve transition to make sure the film flowed and transitioned smoothly into scene 3.
  • 17.
     The finalstep in editing my film before exporting it was adding the final credits. To do this I increased the volume using the track keyframe tool and added in the basic credits text layer. I then gave each actor an equal amount of screen time and credited myself as the writer, director and editor at the end.
  • 18.
     Once myfilm was fully edited I moved on to export it as a movie file that could be uploaded to youtube and added to my blog as a link.