Download to read offline

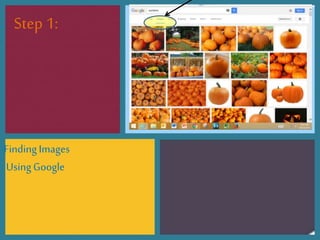
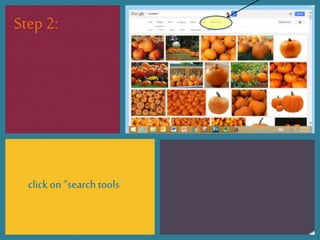
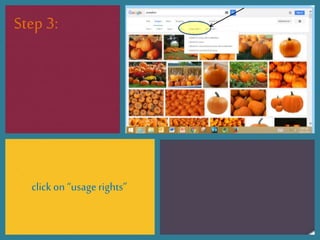
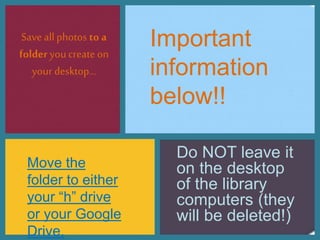
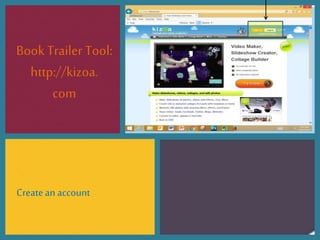
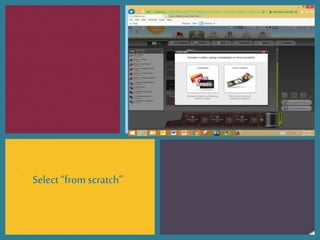
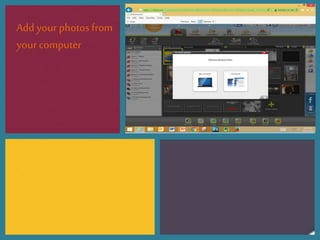
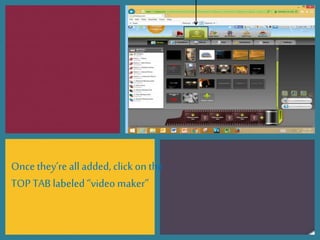
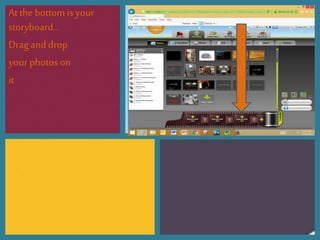
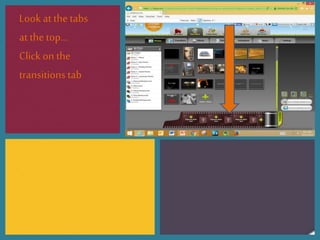
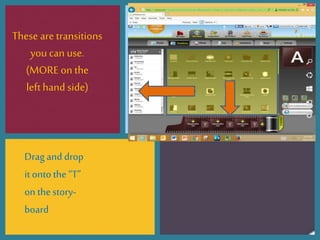
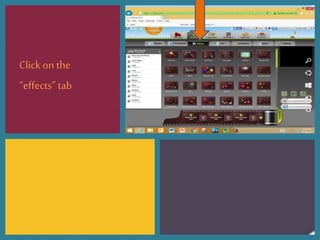
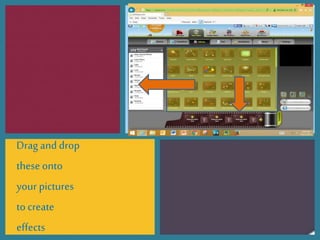


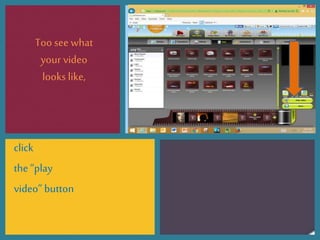

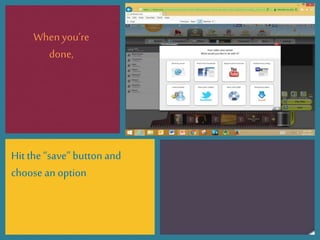

This document provides a step-by-step guide on creating a book trailer using specific tools and techniques. It outlines how to find images with proper usage rights, how to organize and save these images, and how to use the Kizoa tool to create the trailer with photos, transitions, and text effects. Important information includes saving files to a personal drive instead of shared library computers to avoid loss.


