Downloaded 217 times

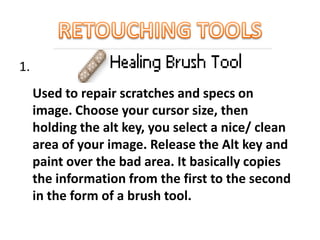
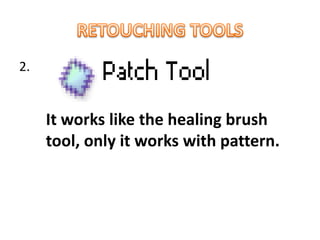
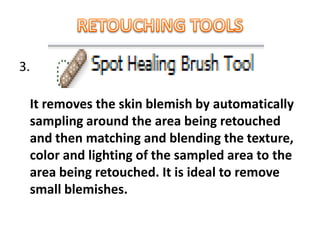
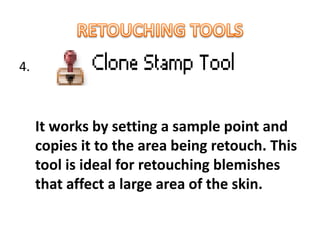
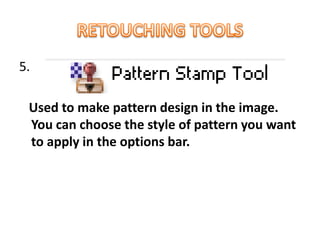

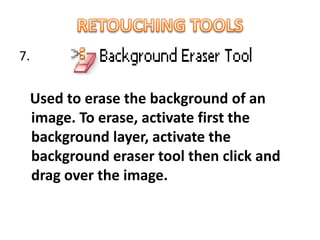
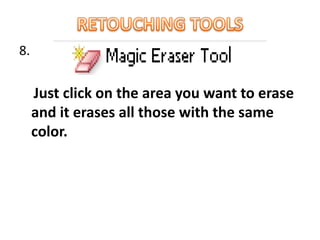


The document describes various photo editing tools in Photoshop including the healing brush tool, spot healing brush tool, pattern stamp tool, eraser tool, background eraser tool, magic eraser tool, smudge tool, sharpen tool, liquefy tool, dodge tool, and burn tool. It provides brief explanations of what each tool is used for, such as repairing scratches, removing blemishes, making patterns, erasing parts of images, blurring edges, increasing or decreasing brightness and saturation.


