The document provides safety precautions and assembly instructions for building a desktop computer. It describes how to:
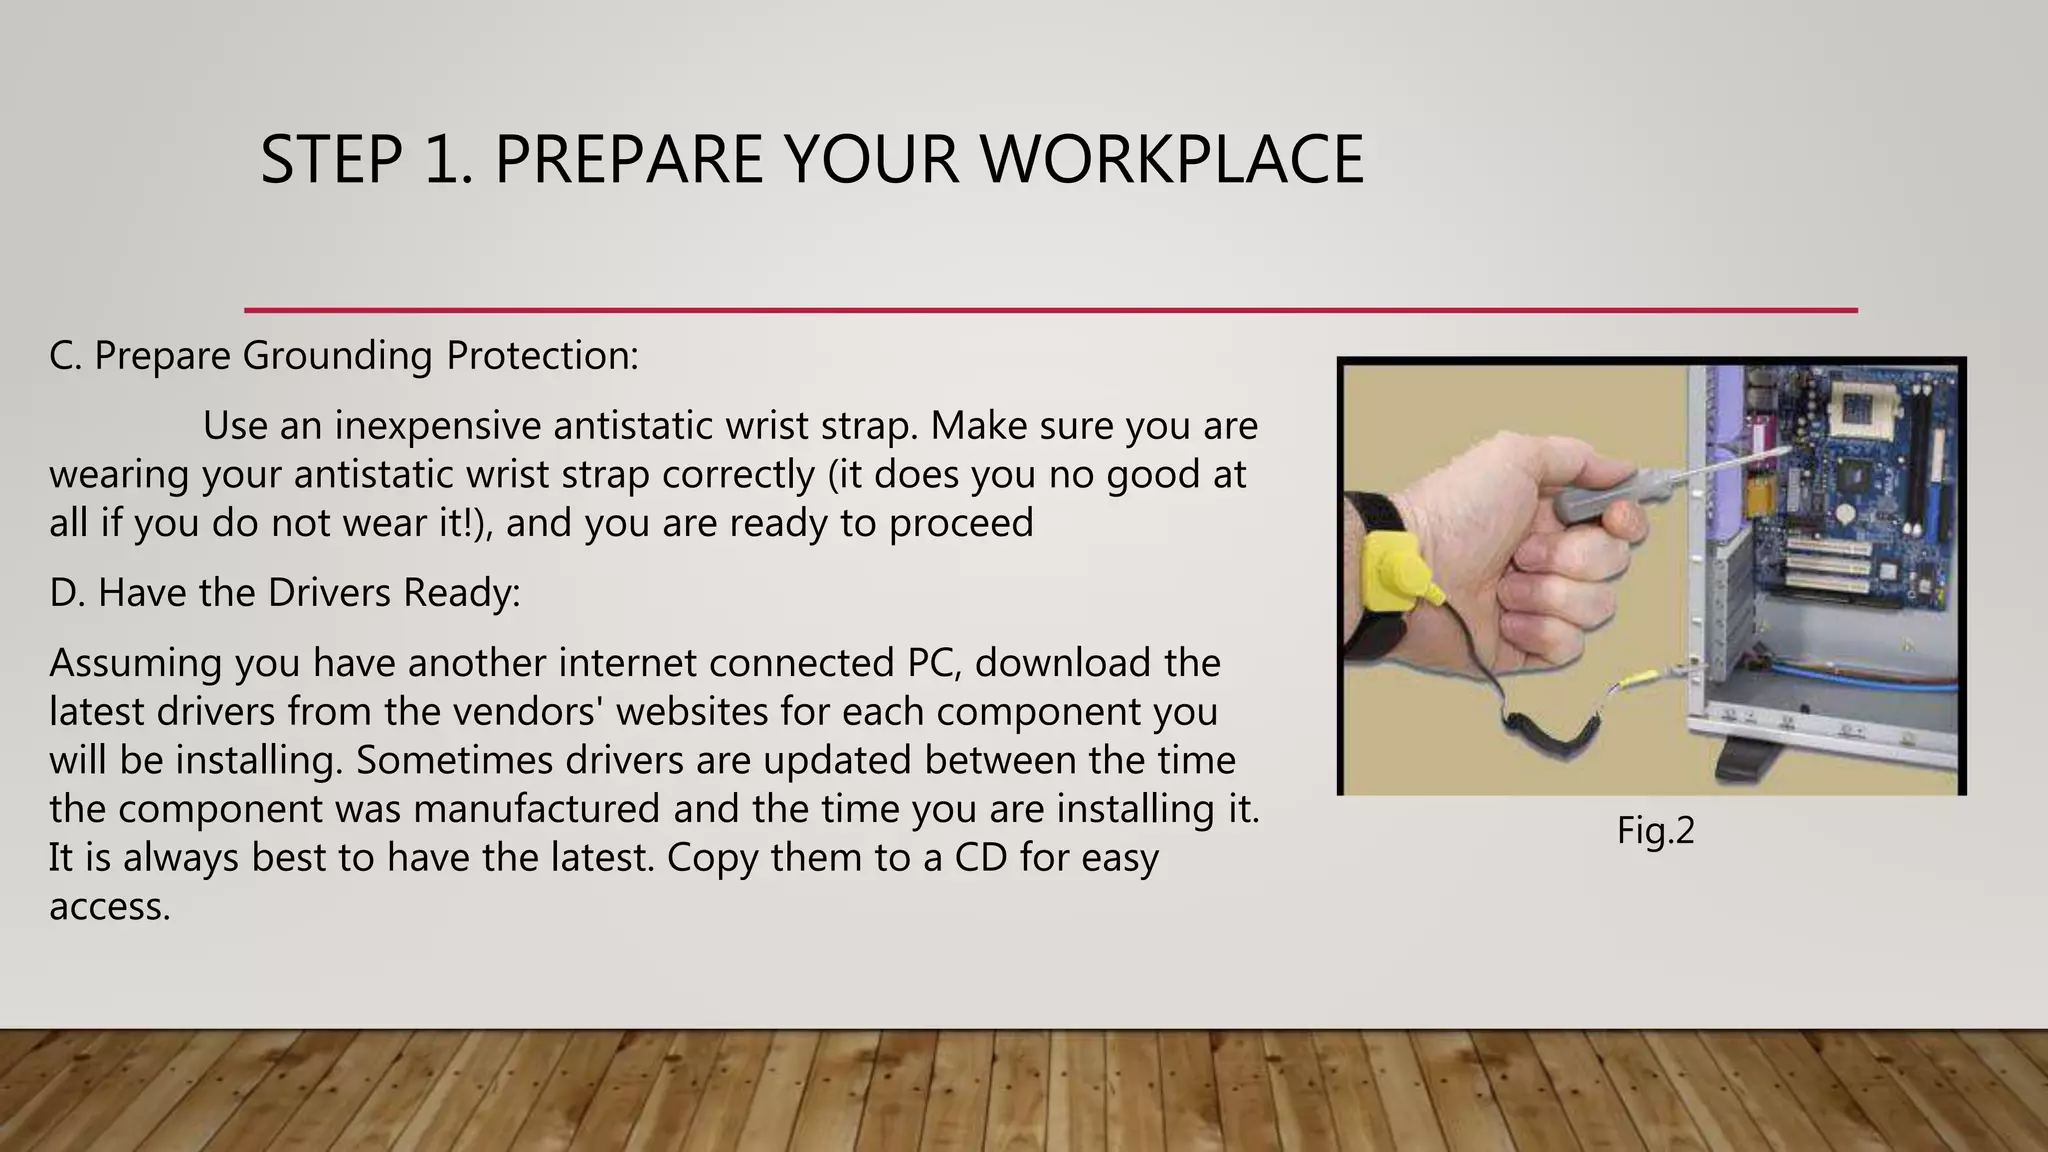
1) Take anti-static precautions like wearing a wrist strap to avoid damaging components. Connect the wrist strap to the power supply case when working.
2) Turn off and unplug the computer before installing or removing any components to avoid damage from electricity.
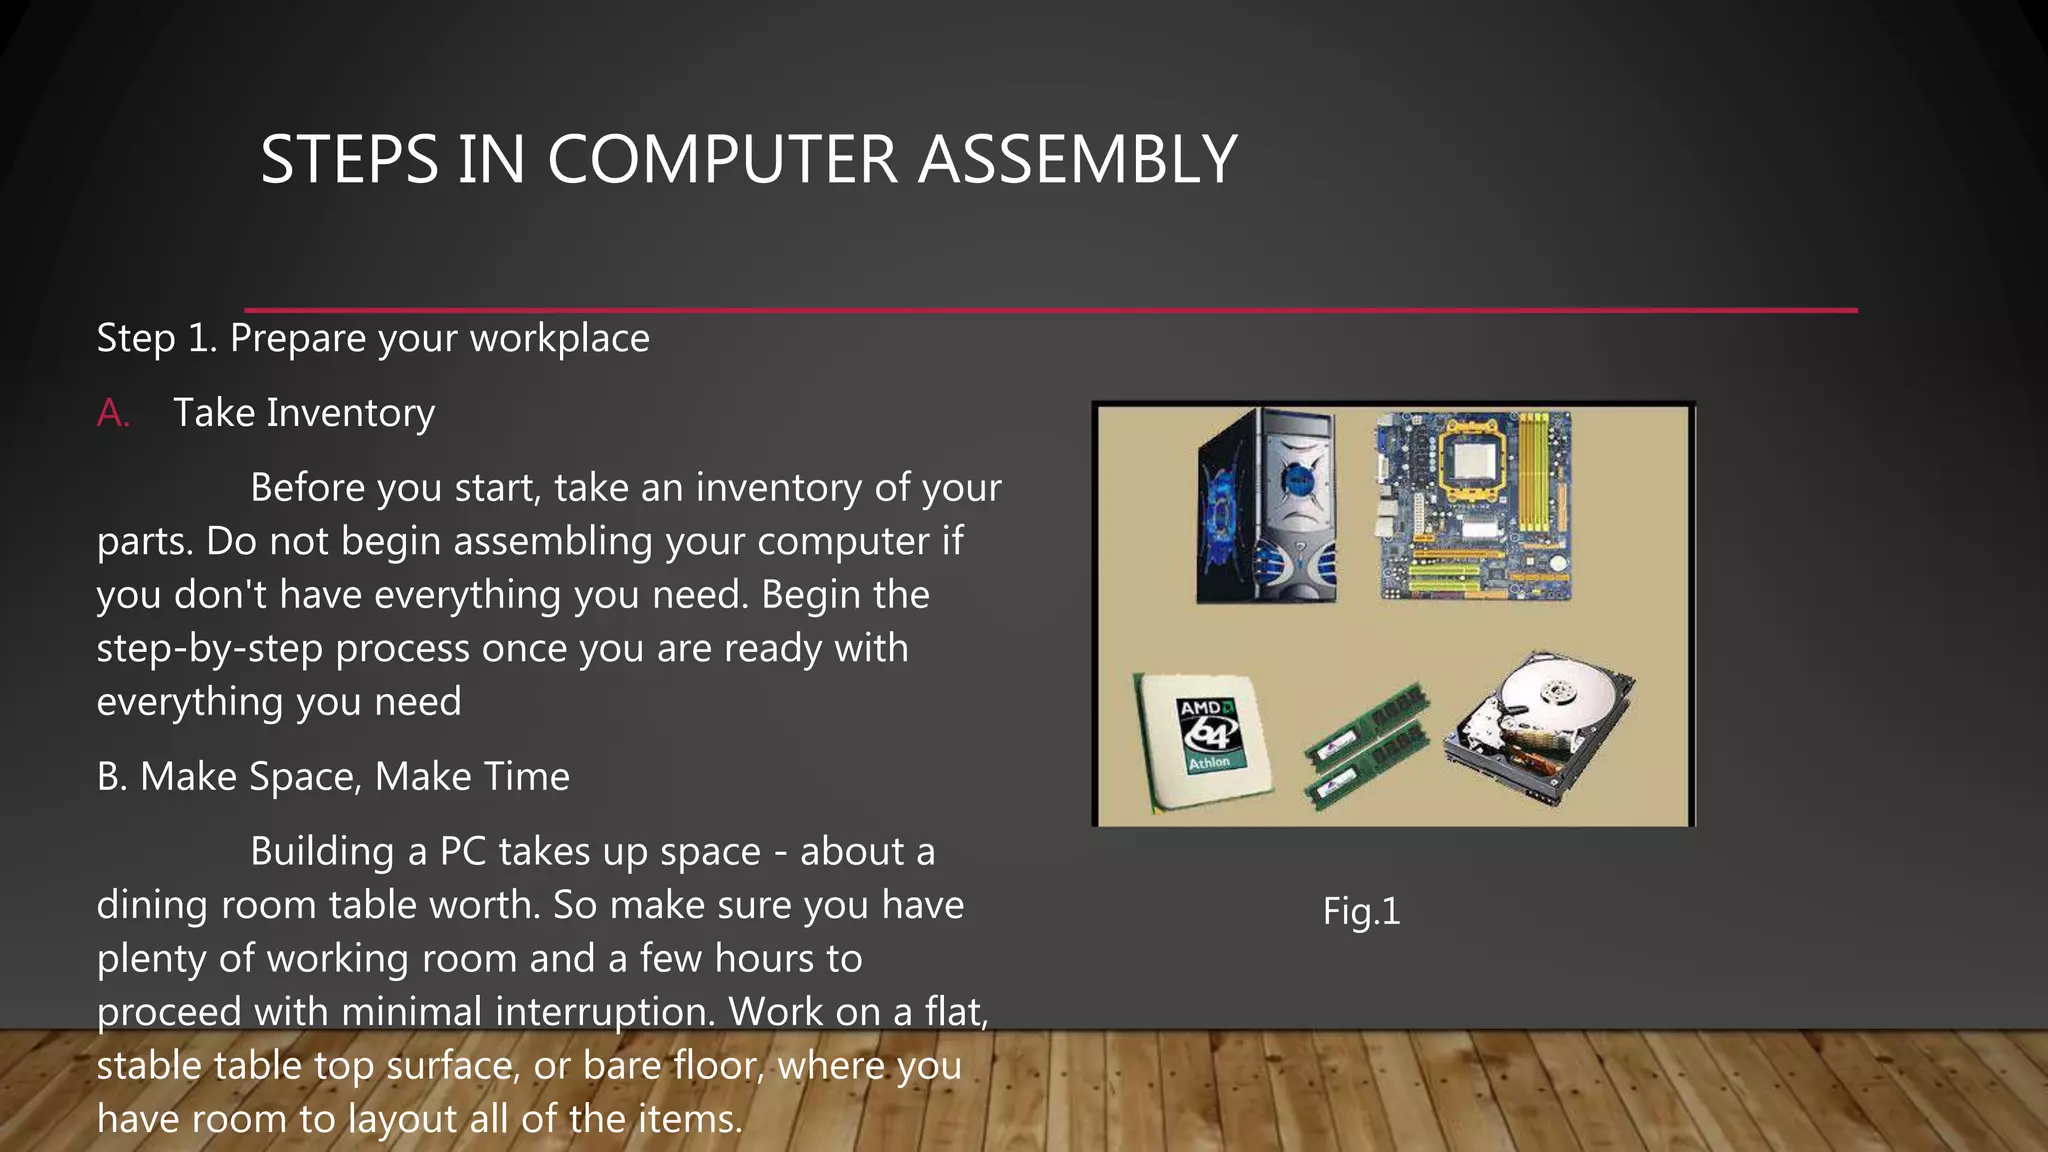
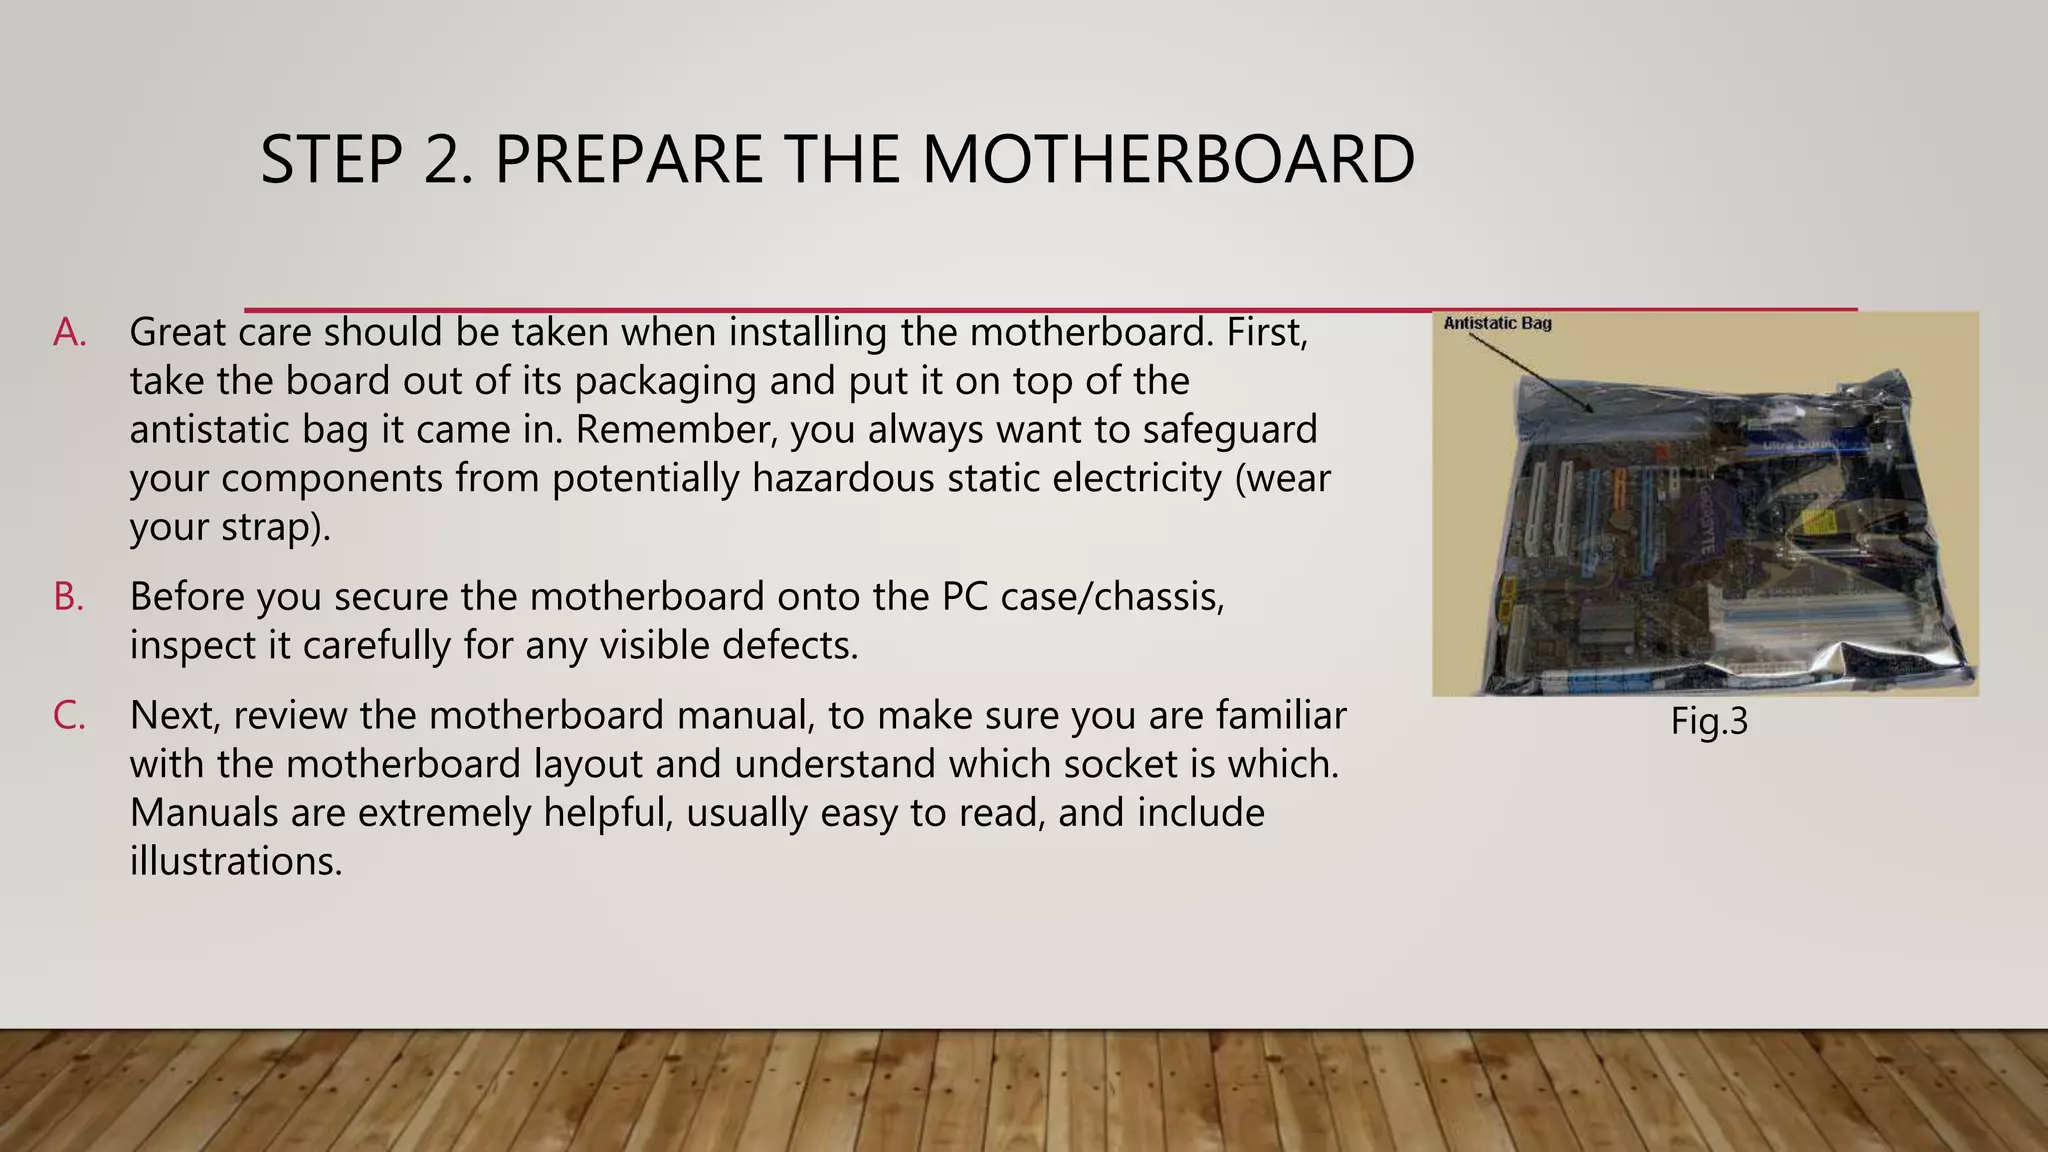
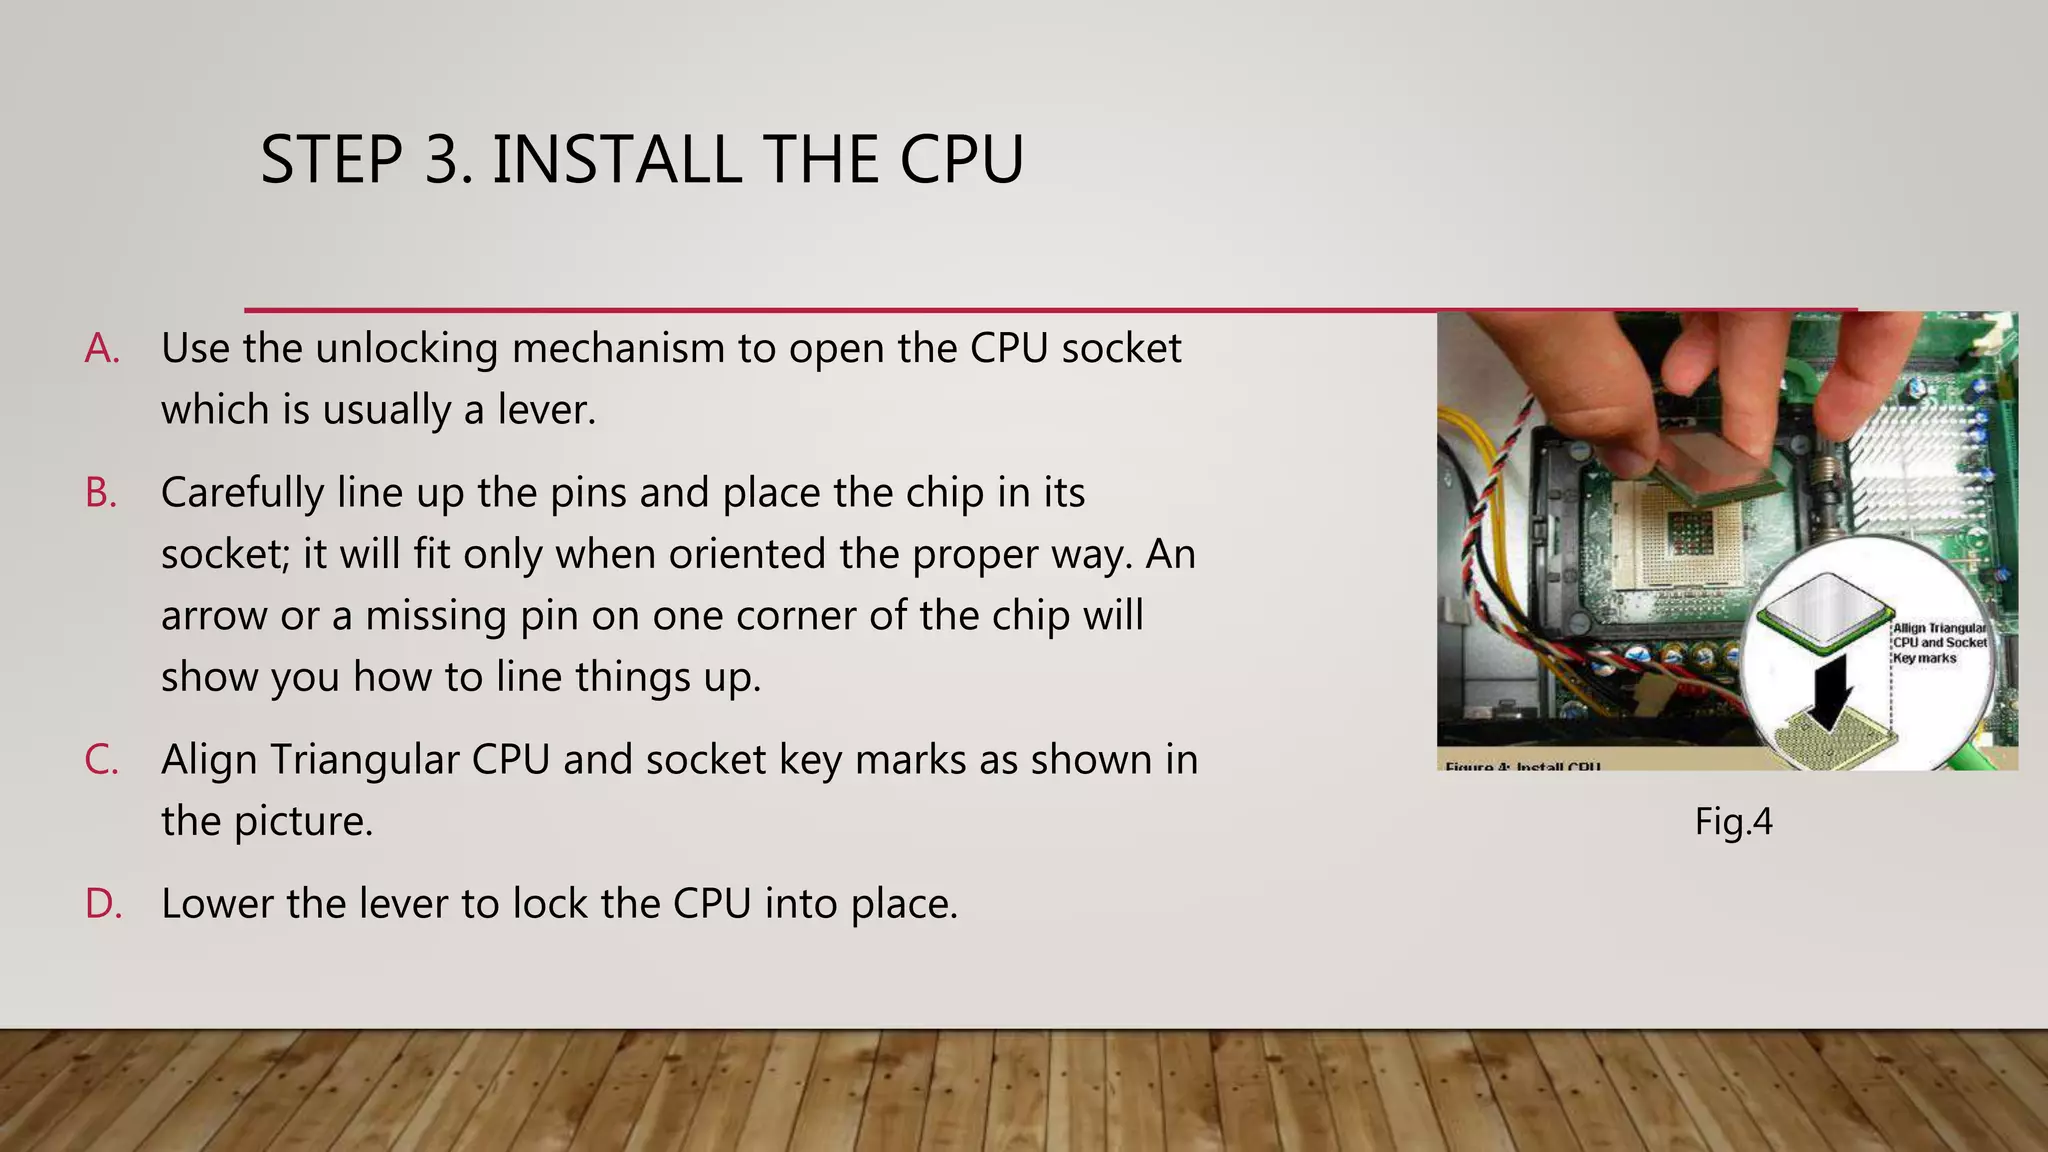
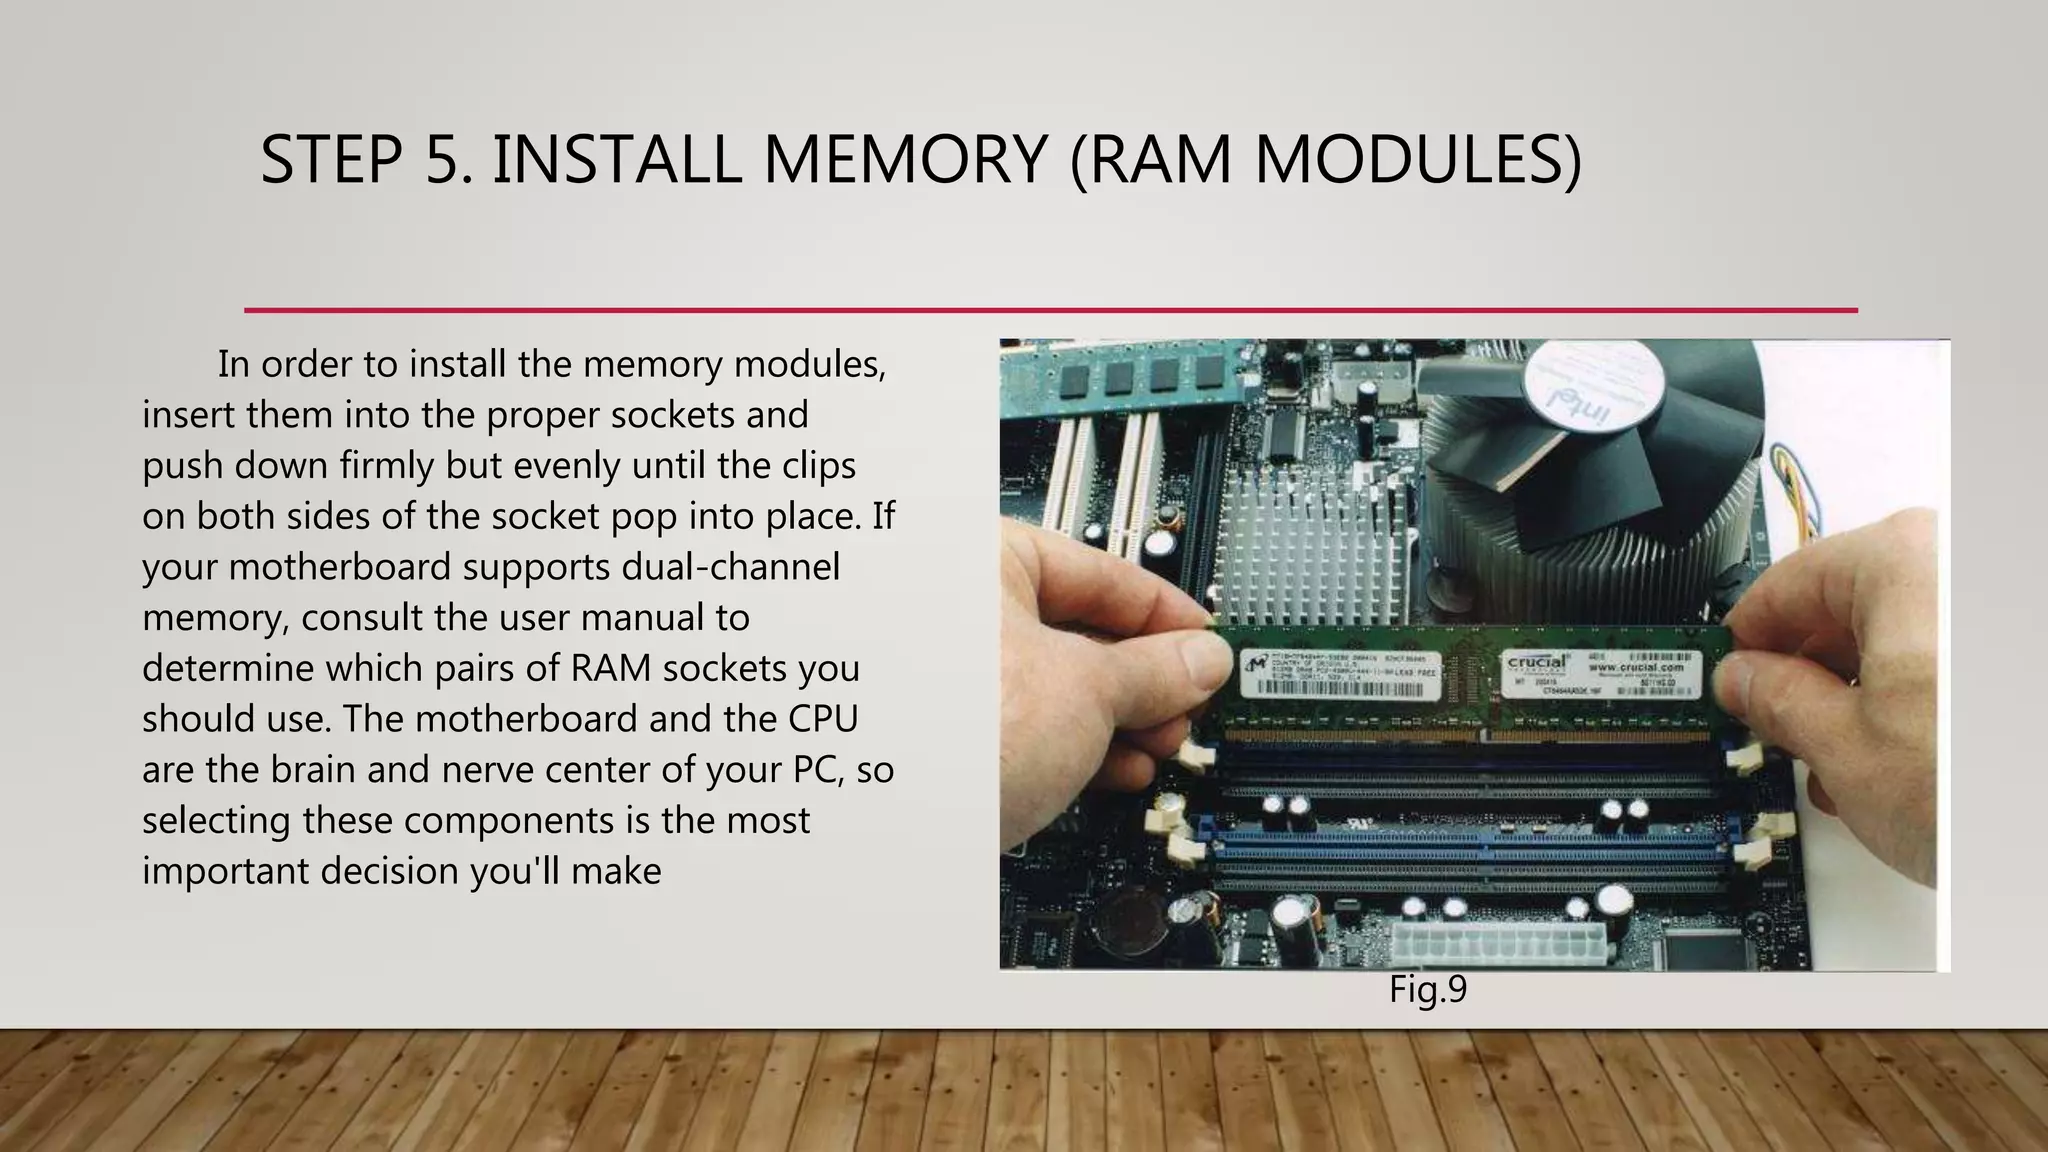
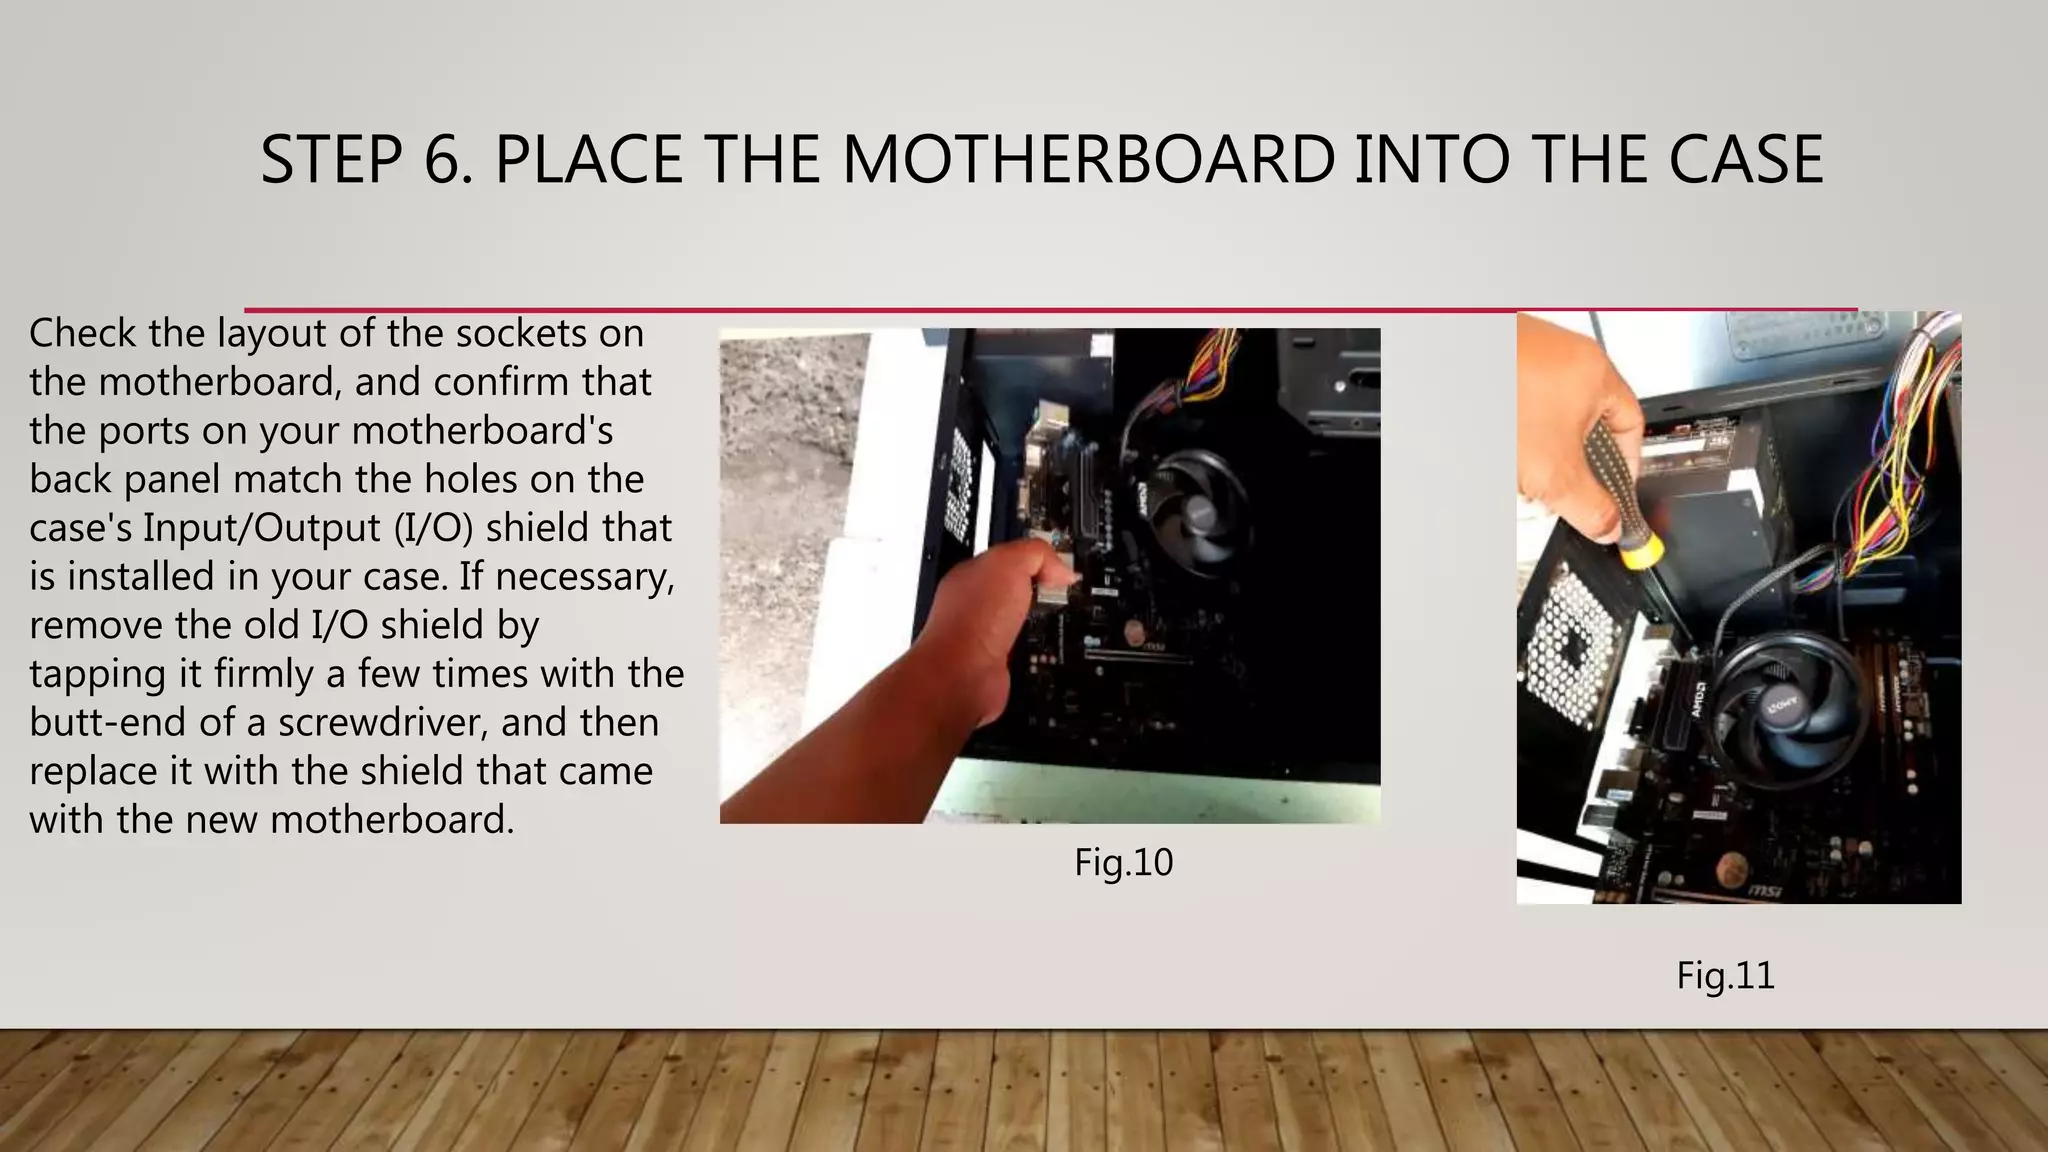
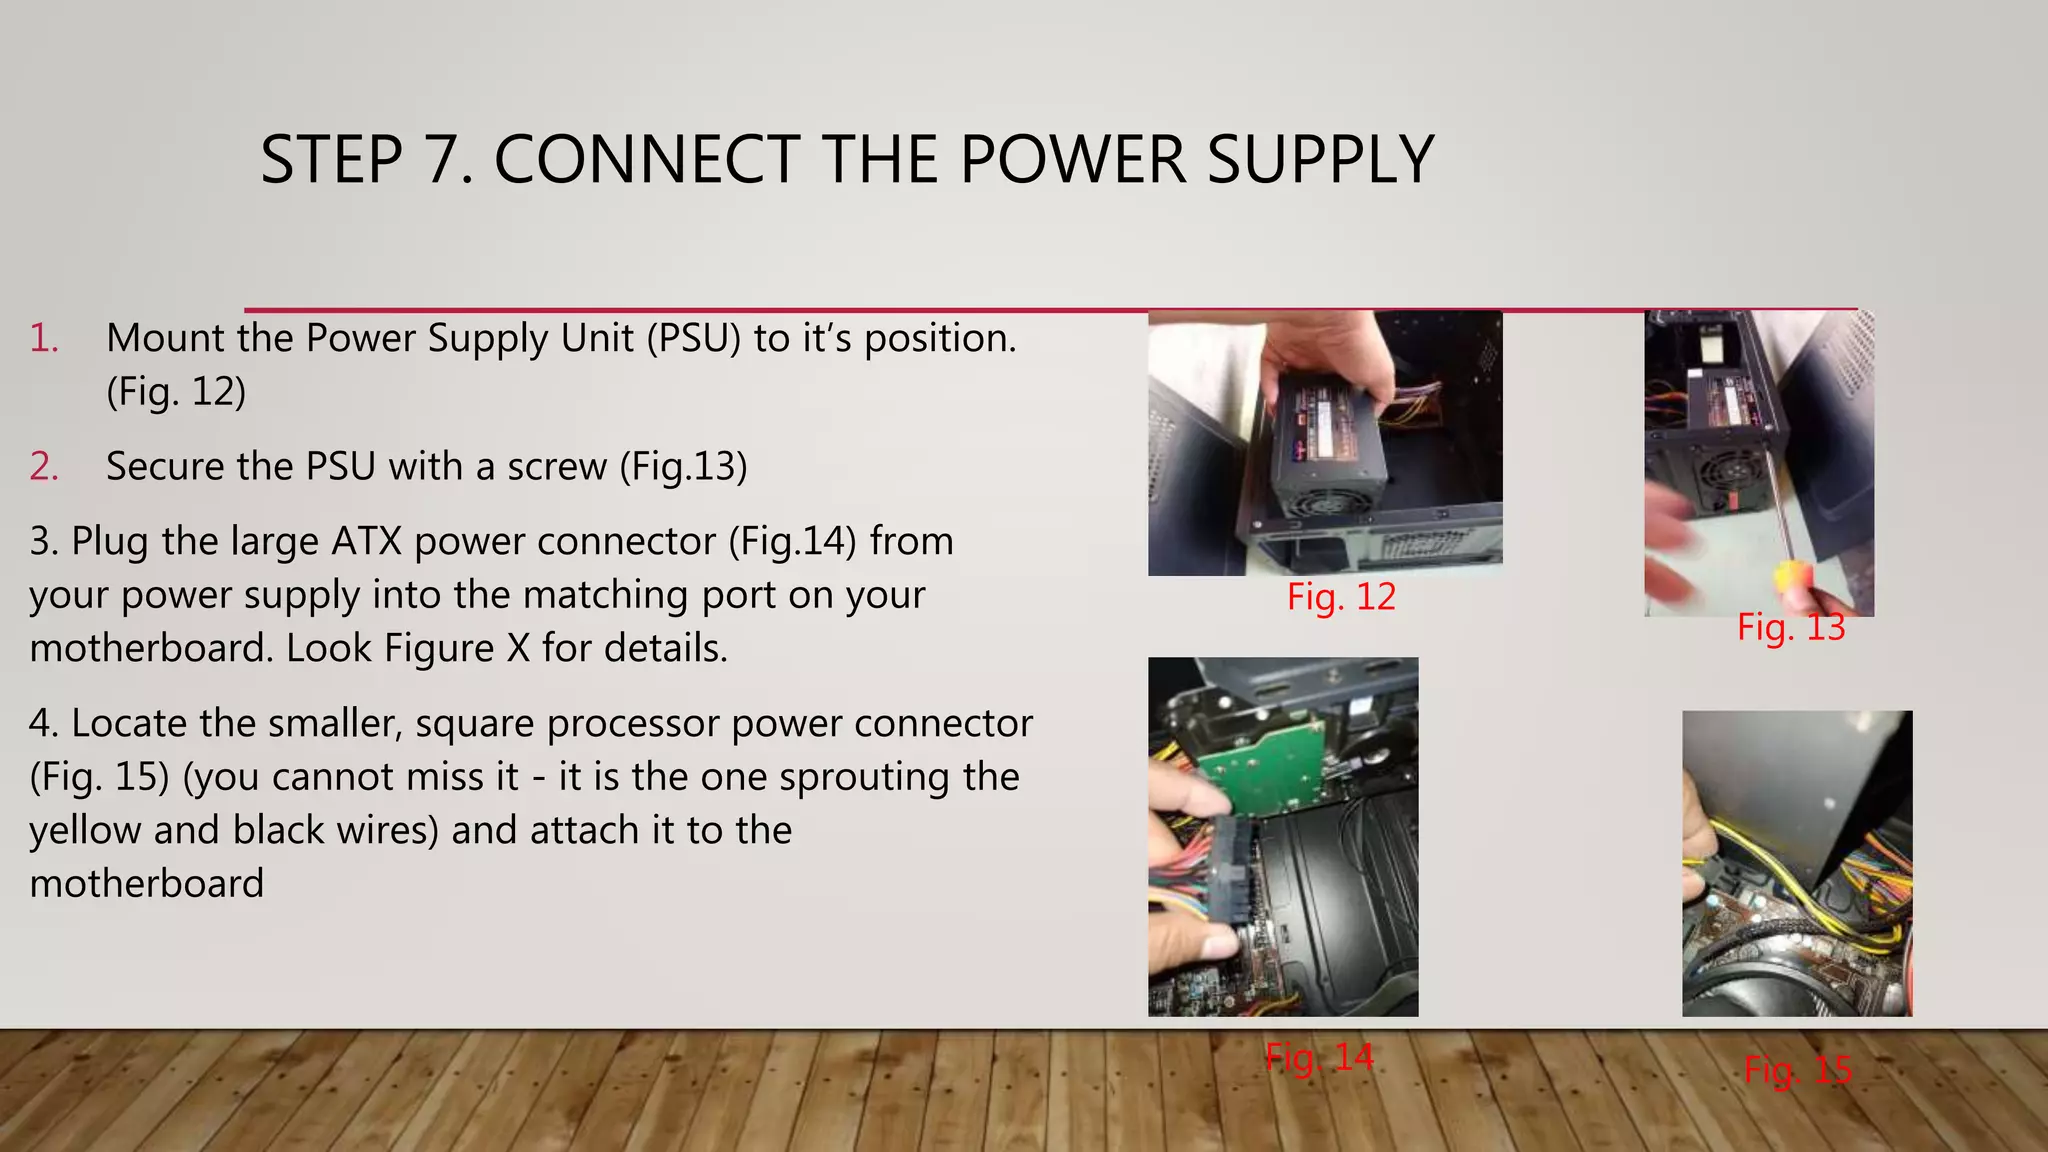
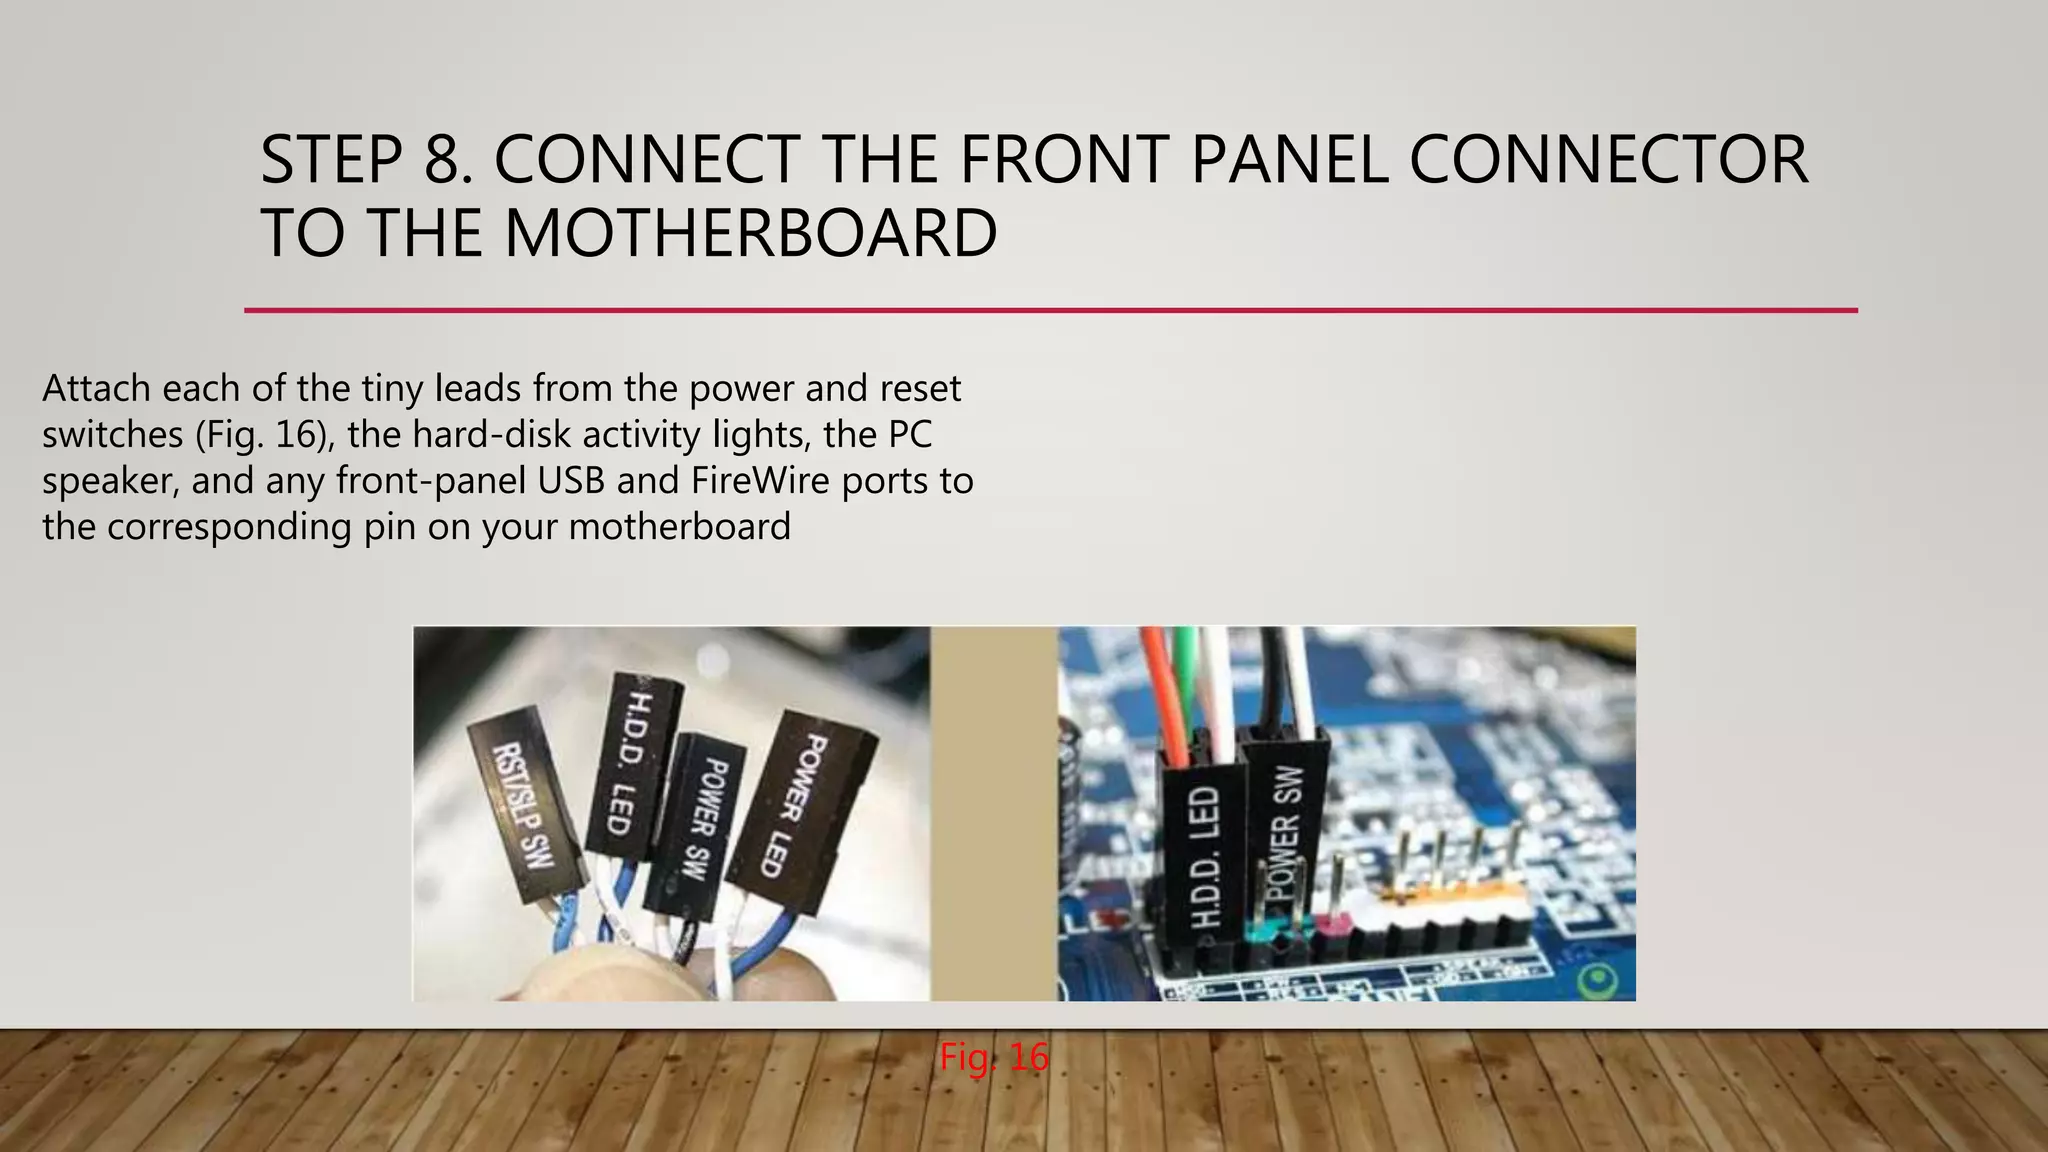
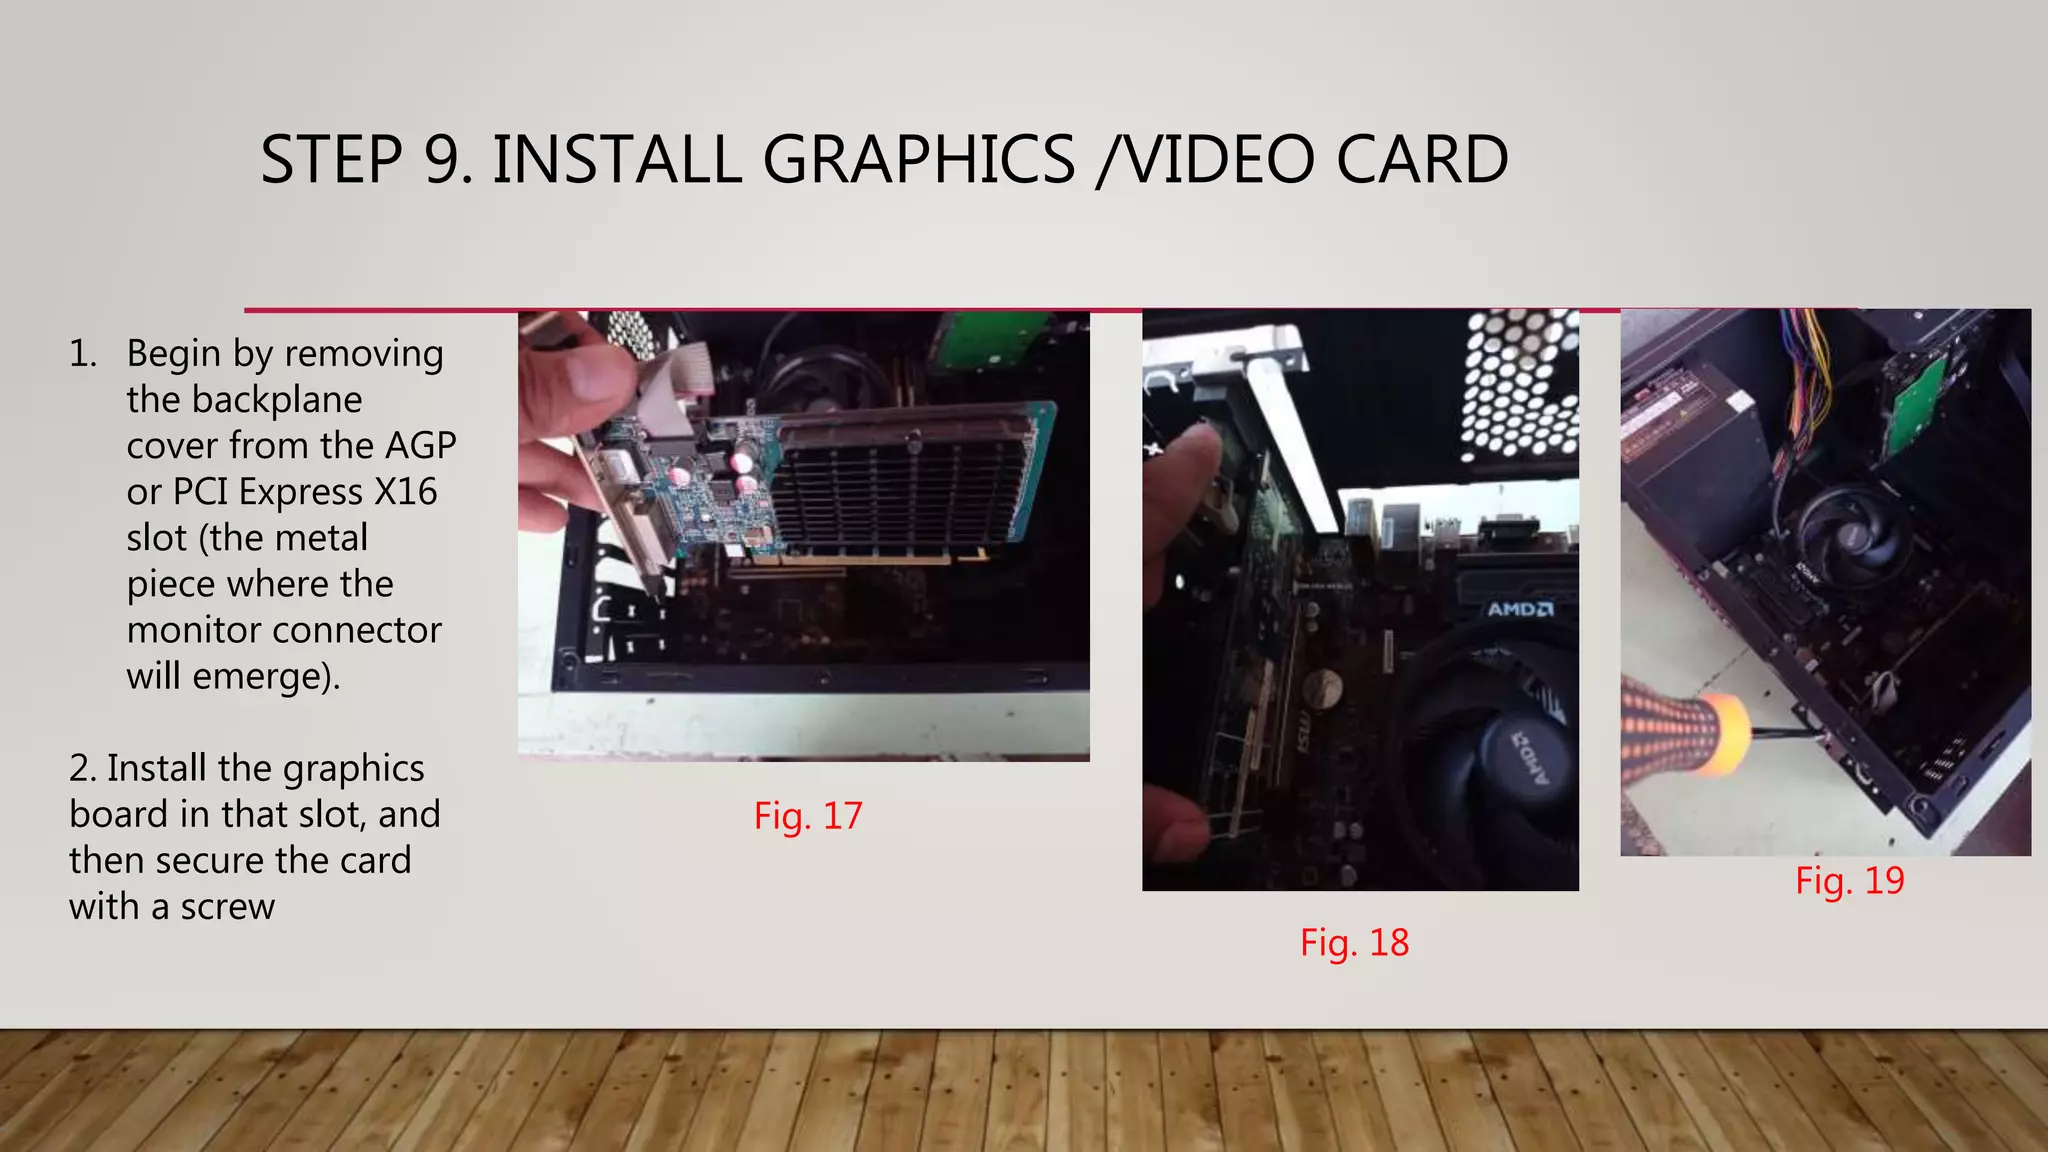
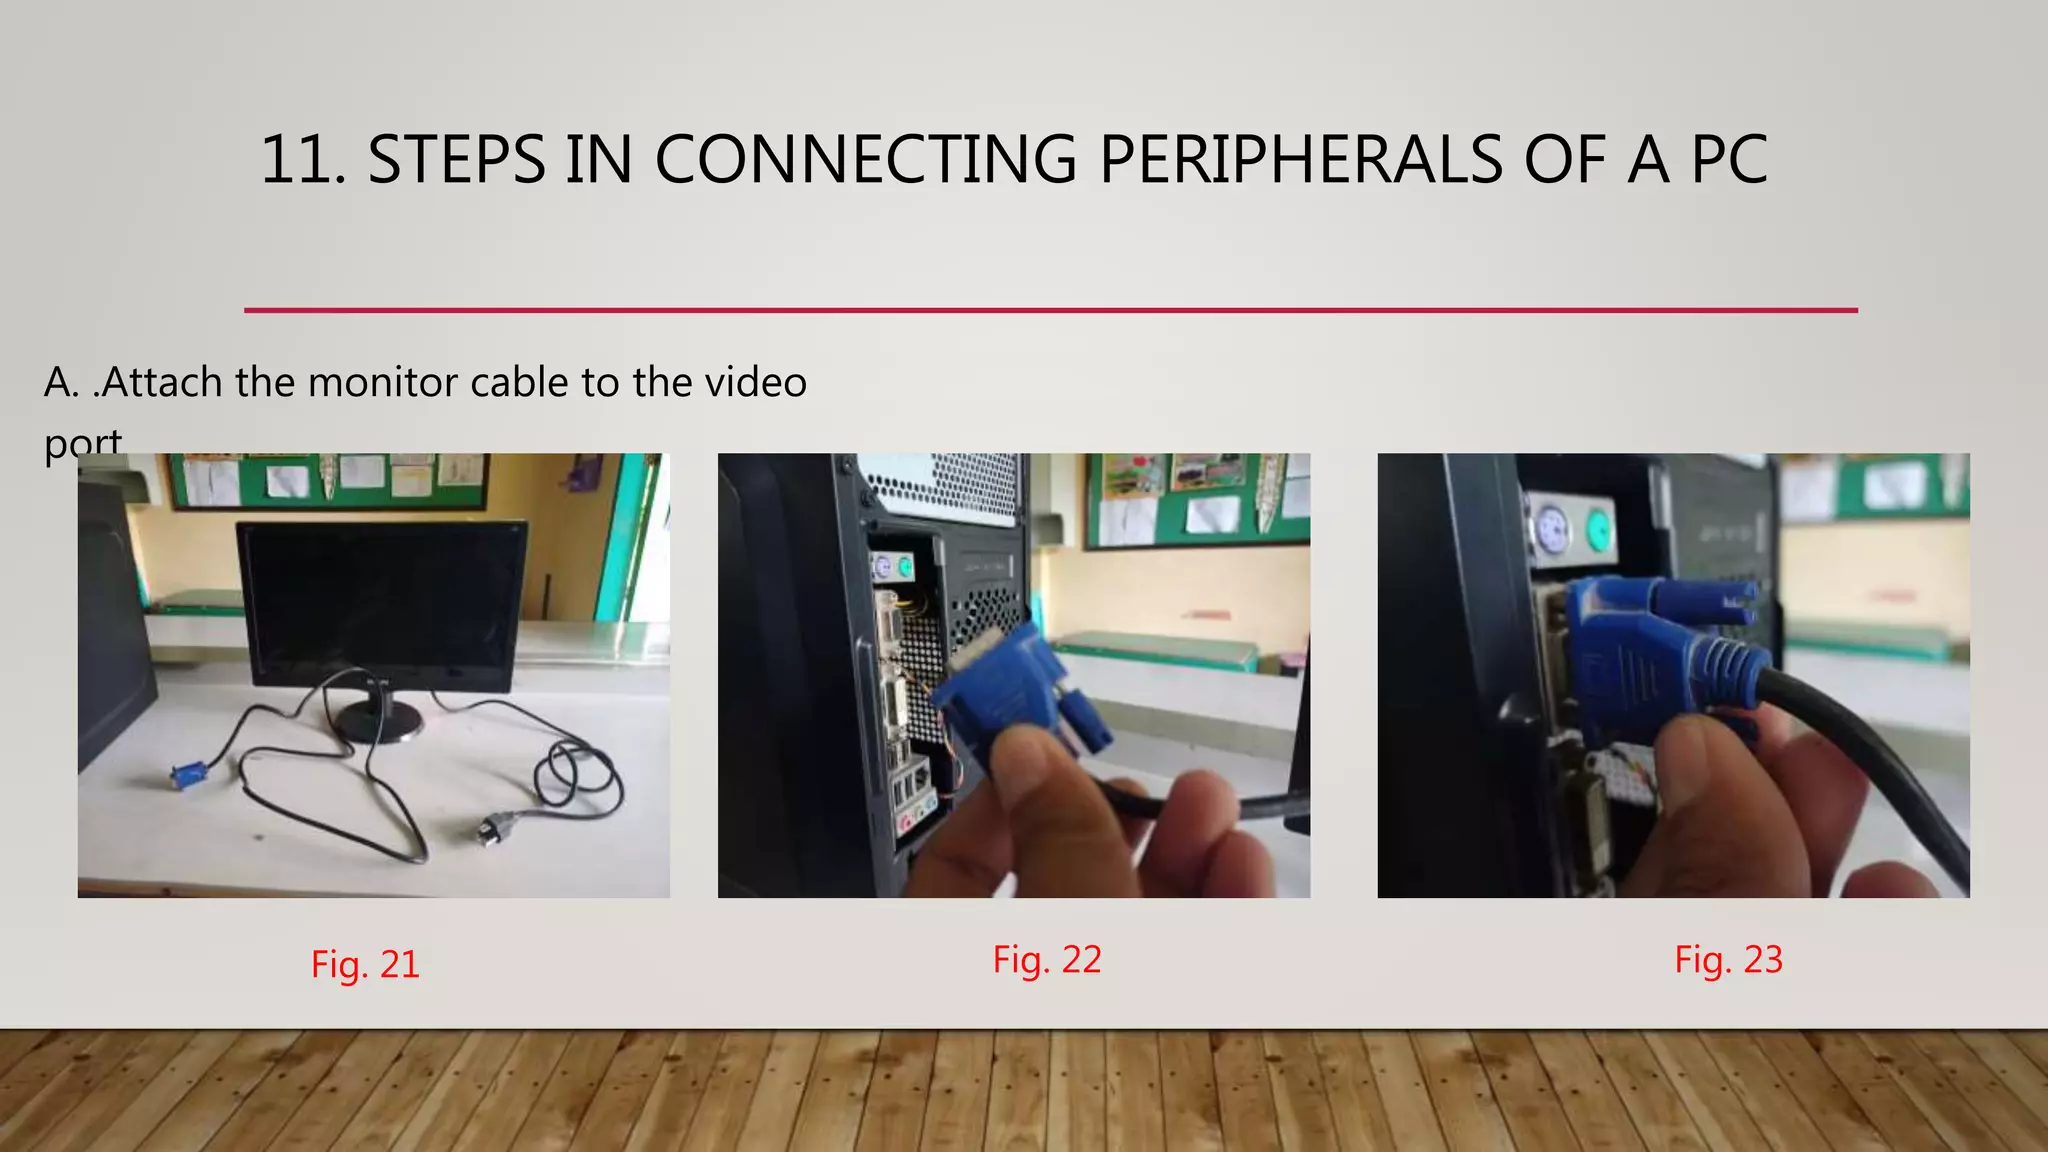
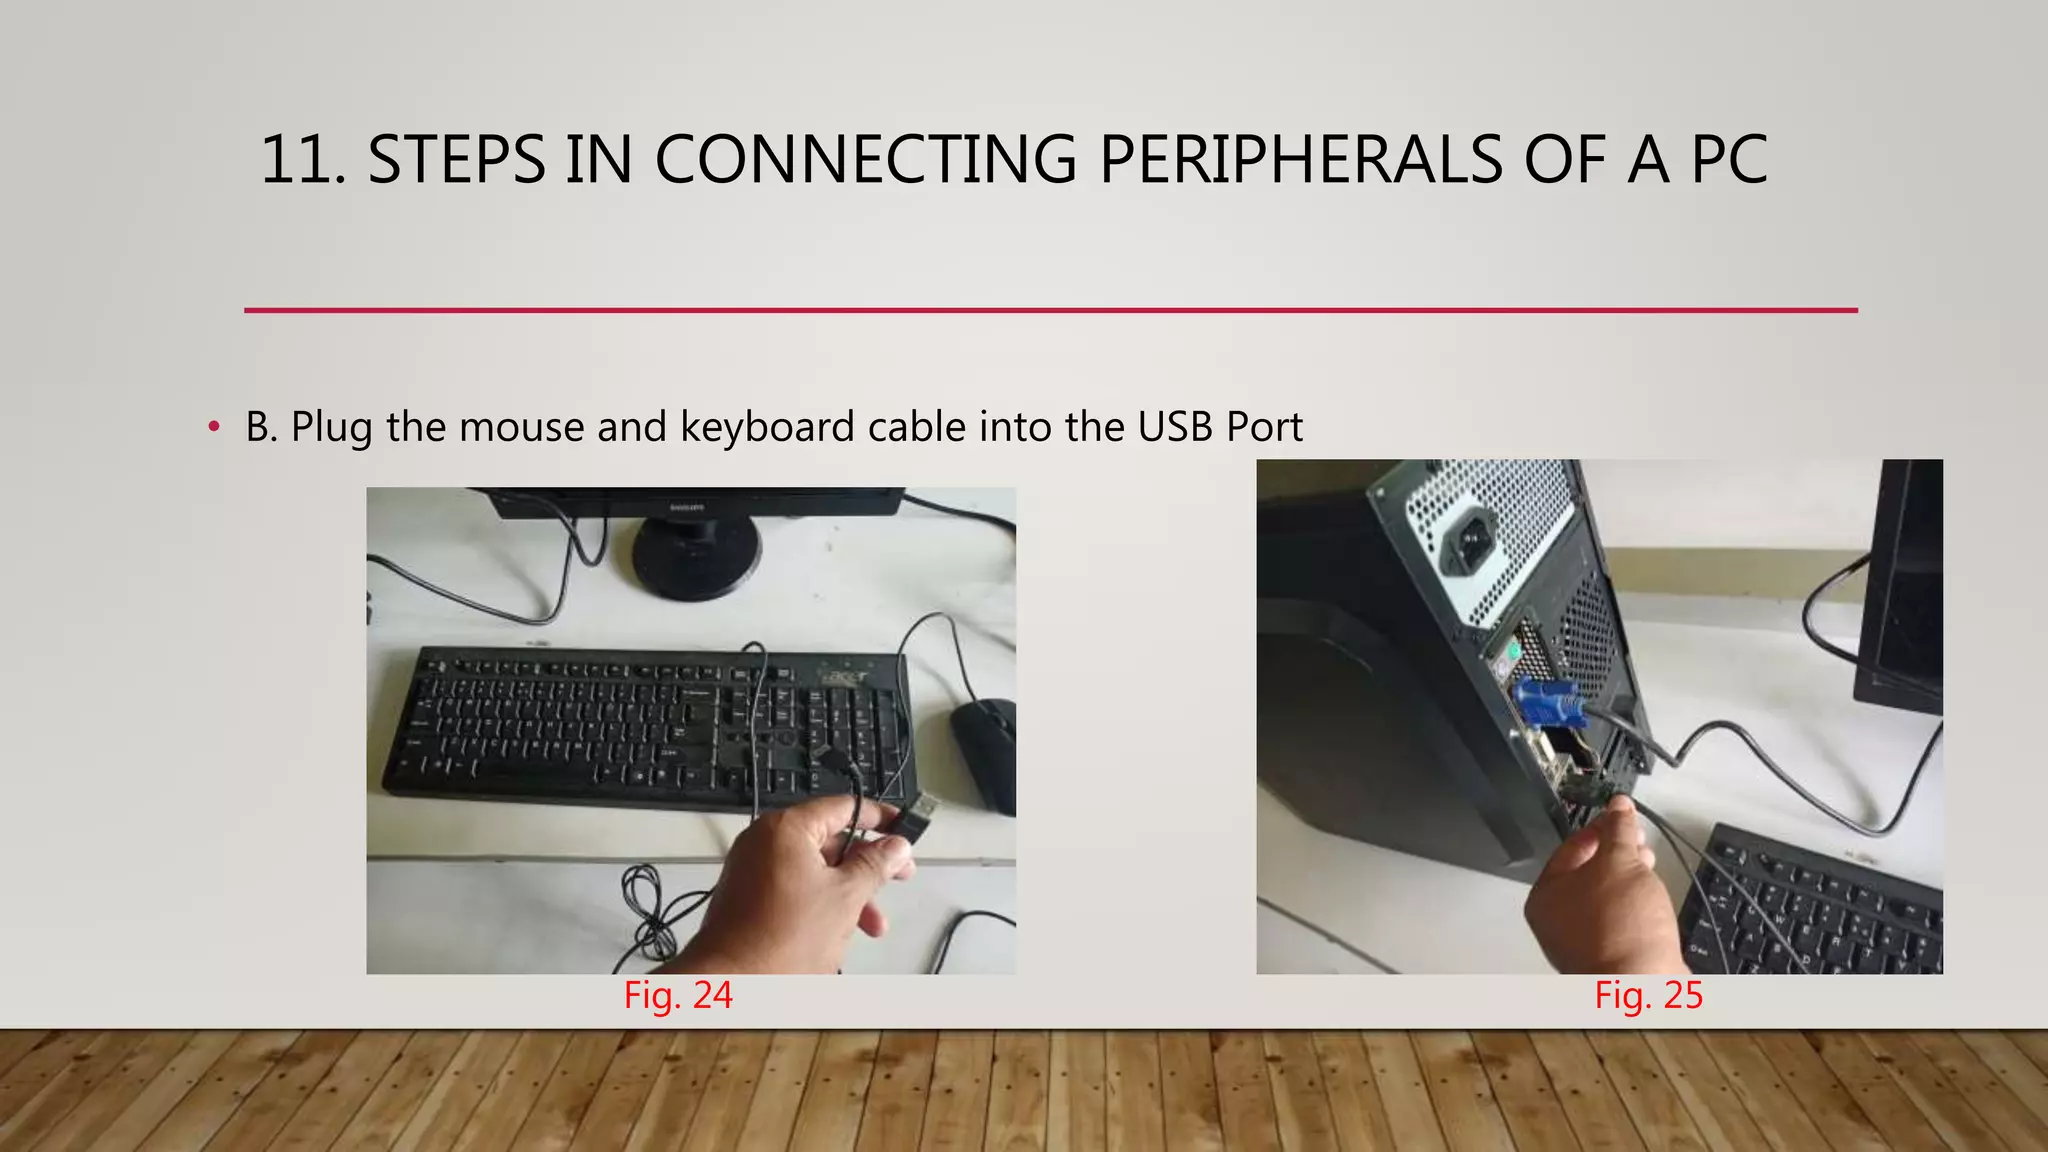
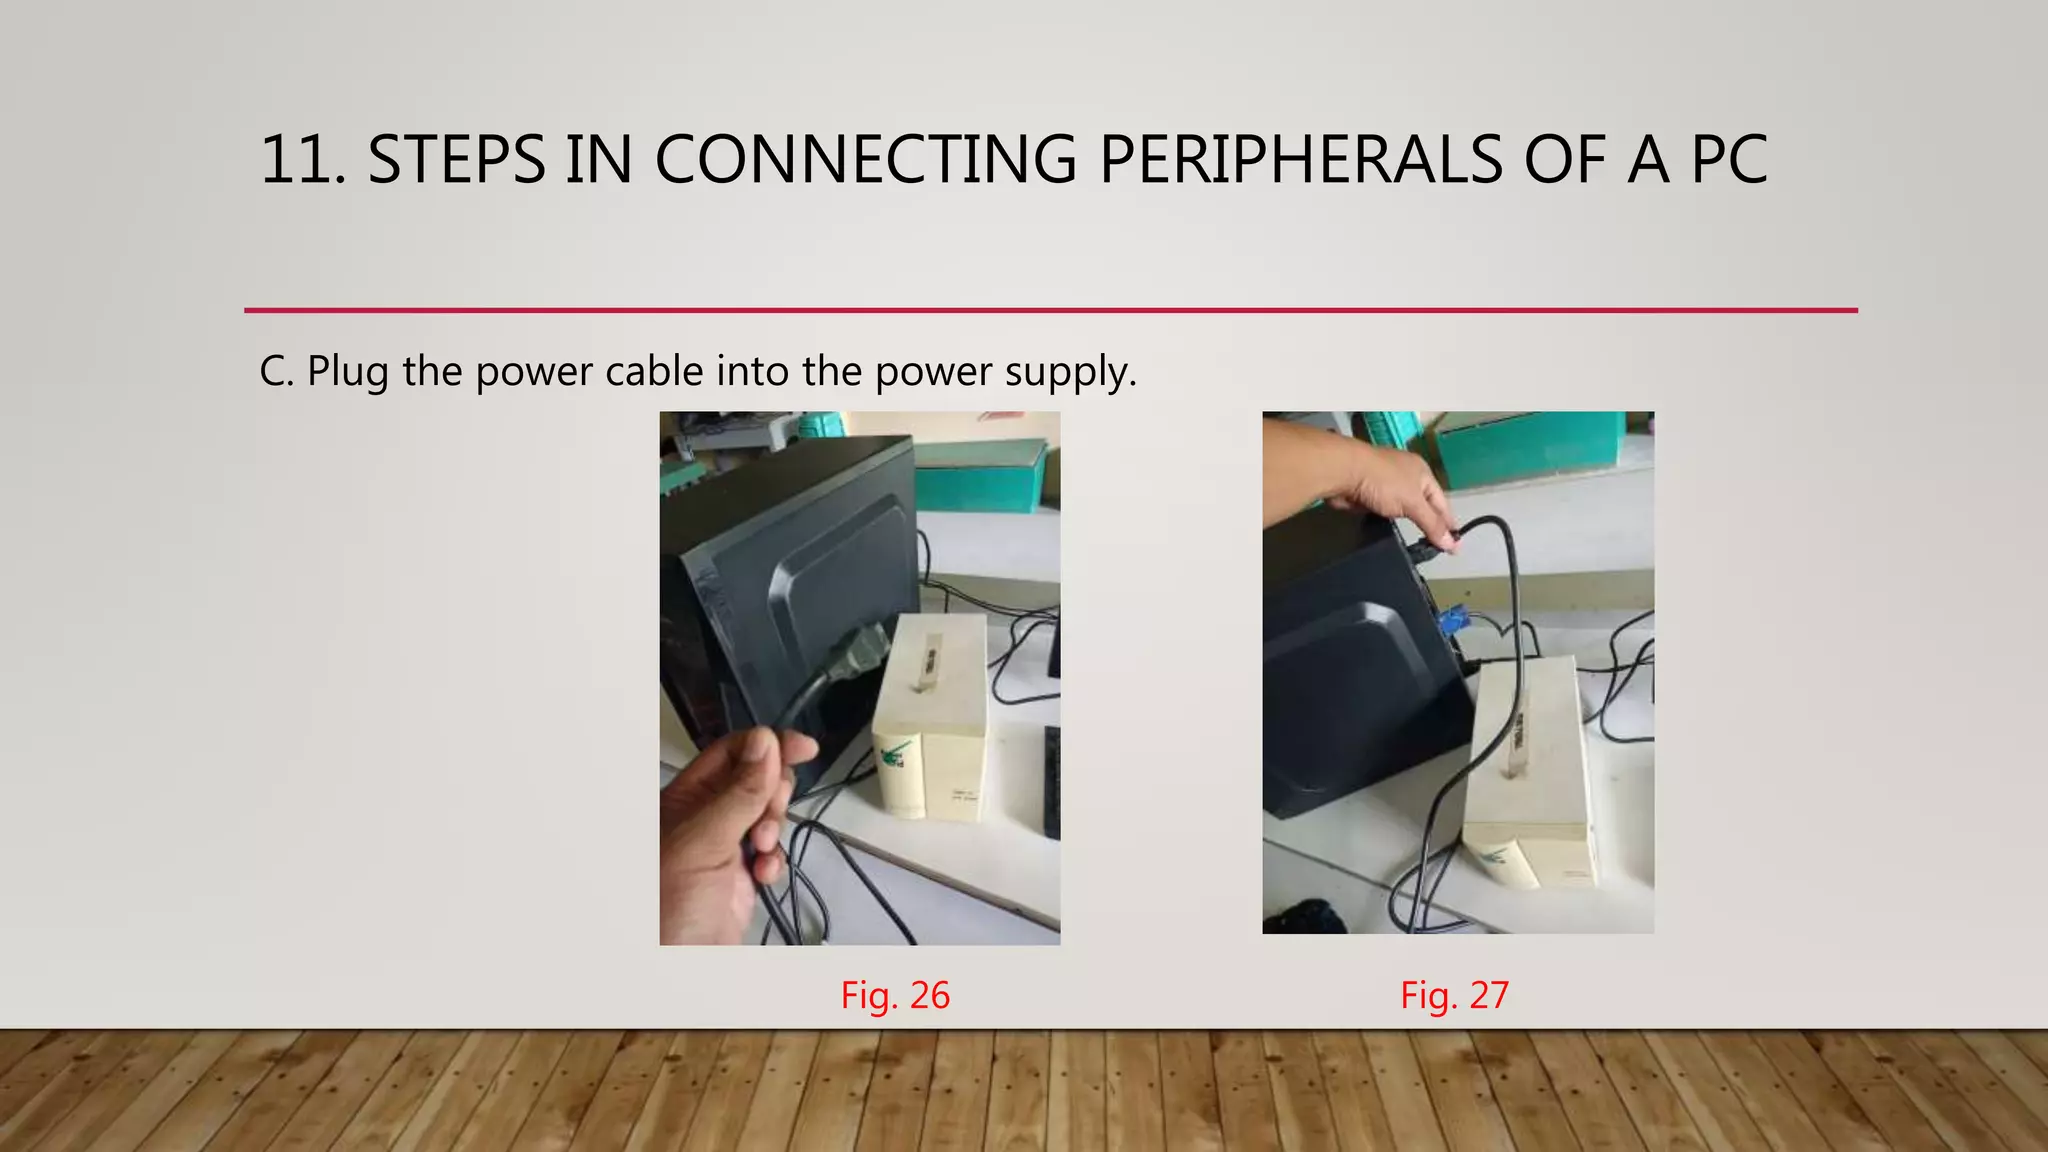
3) Follow steps to assemble the motherboard, install the CPU and heat sink, add RAM modules, install the power supply, and connect front panel connectors and peripheral devices.
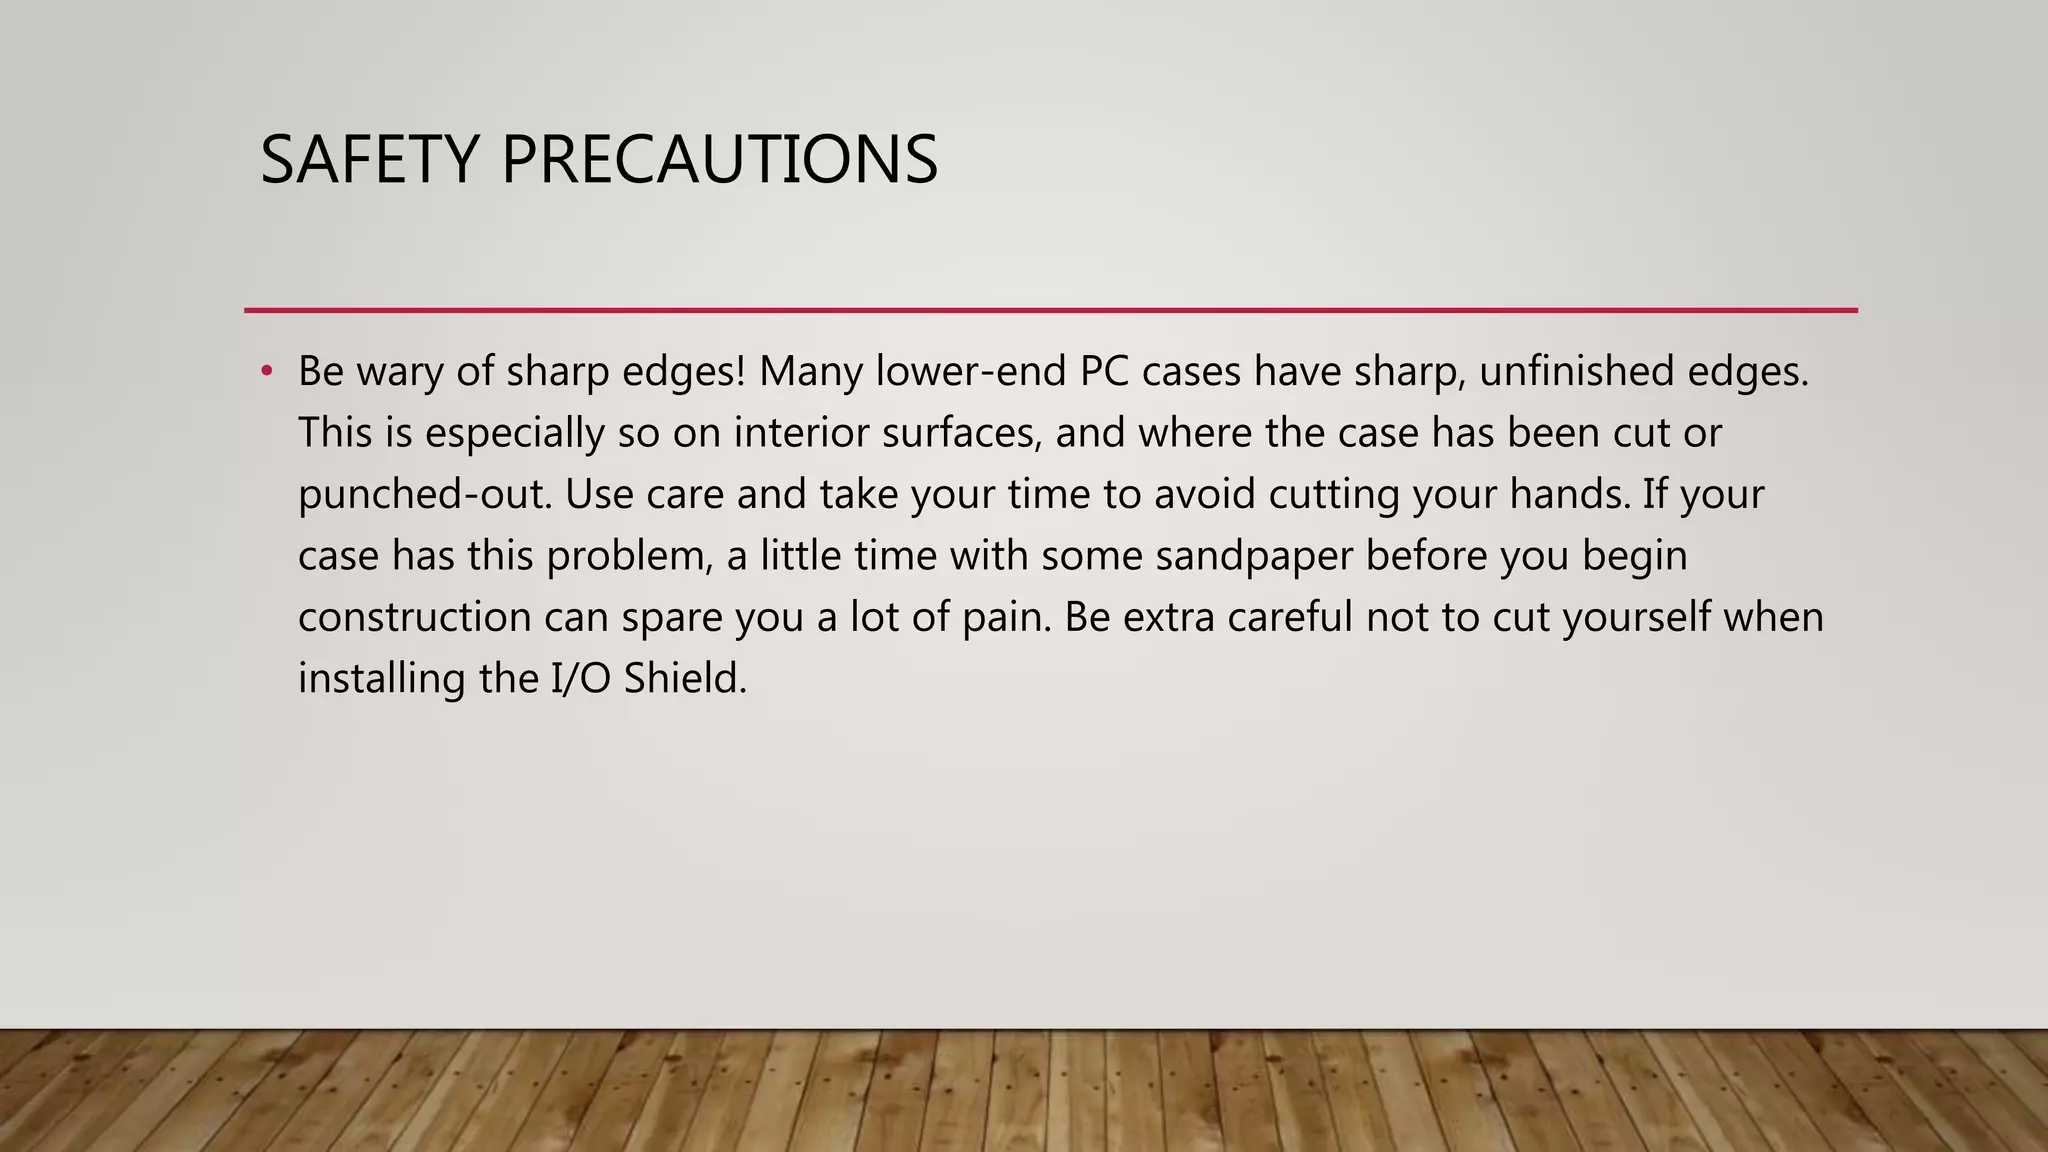
4) Take care when handling sharp edges on cases and avoid cutting yourself. High voltage capacitors can also cause electric shocks, so avoid dismantling power supplies


![Vibe Coding vs. Spec-Driven Development [Free Meetup]](https://cdn.slidesharecdn.com/ss_thumbnails/vibecodingvsspecdrivendevelopment-251209105622-43f455e7-thumbnail.jpg?width=640&height=640&fit=bounds)


