Download to read offline


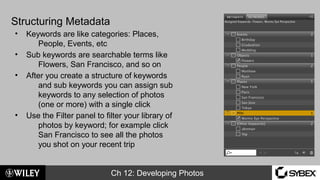
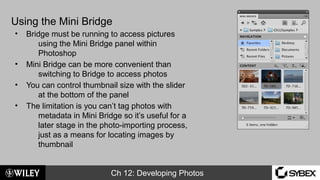
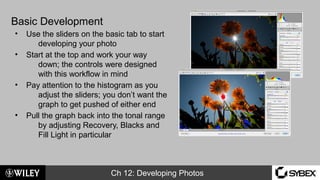
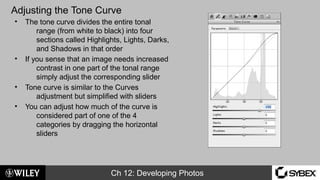

This document discusses using Adobe Bridge and Camera Raw to organize, develop, and enhance digital photographs. Key points covered include: - Using Bridge to import, organize, tag photos with metadata, and access Camera Raw. - Structuring metadata like keywords and sub-keywords to categorize photos. - Using the Mini Bridge panel in Photoshop as an alternative to Bridge. - Basic photo development techniques like adjusting exposure, recovery, blacks, fill light using sliders and the histogram. - Advanced development tools like tone curves, sharpening, noise reduction, and color adjustments. - Taking advantage of camera calibration, lens correction, and simulated film profiles when available.


