Download as ZIP, PPTX


![1
can save the brush preset for future use. Here’s the short overview of how to
2
do it:
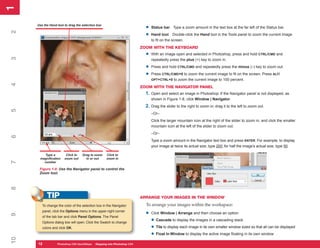
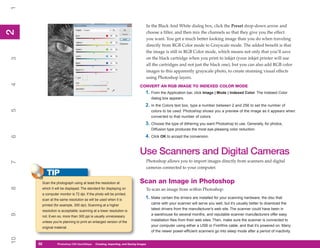
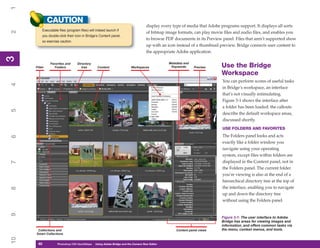
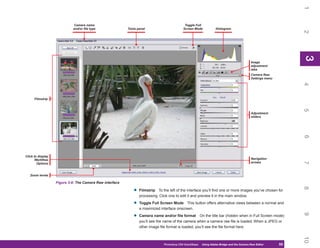
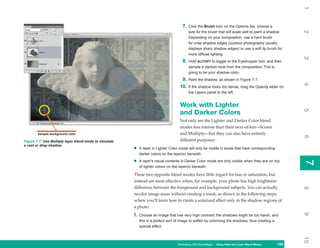
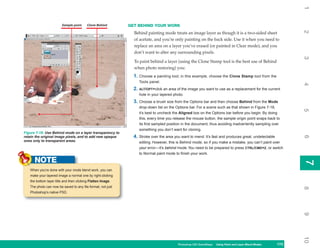
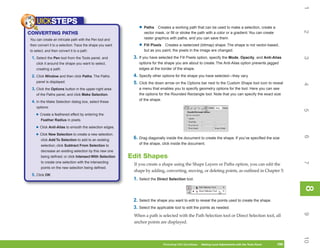
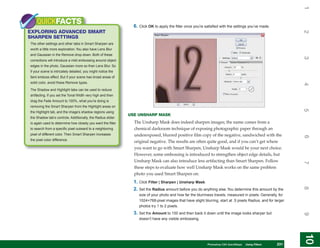
1. Open an image that contains an area you want to use for a brush preset.
2. Using one of the selection tools, select the area of the image you want to define as the
brush tip. You can also select the entire image (press CTRL/CMD+A).
TIP
3
3. Click Edit and then click Define Brush Preset (you may need to click Show All Menu
Items to see it). The Brush Name dialog box appears.
From the Brushes panel you can rename brushes
by double-clicking the brush thumbnail and typing
a new name.
4
TIP
To change the size of a chosen brush tip using the
5
keyboard, press the RIGHT BRACKET key ( ] ) to increase
the brush tip size; press the LEFT BRACKET key ( [ ) to
decrease the tip size. Hold down the applicable key until
the brush is the desired size. 4. Type a name for the preset.
6
5. Click OK to add the preset to the Brushes panel using the selection area as the
tip size.
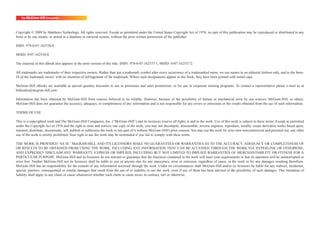
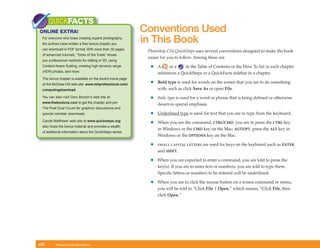
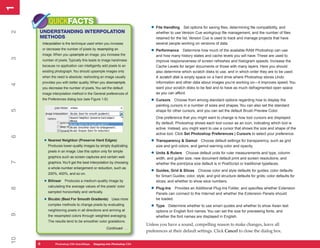
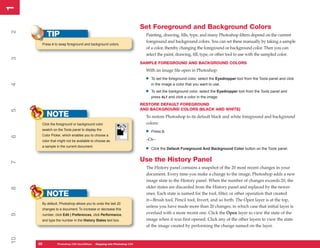
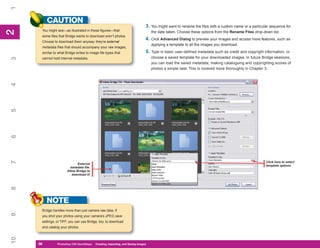
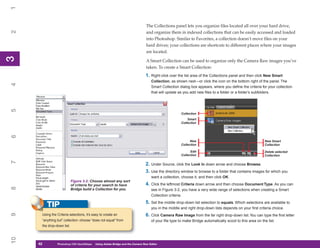
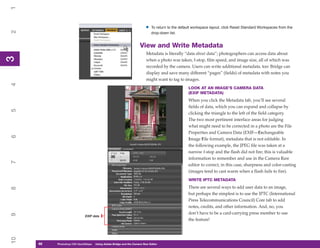
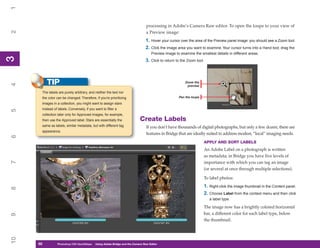
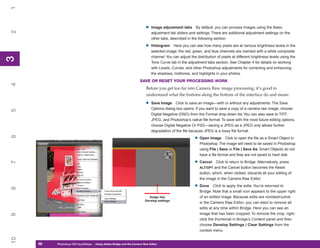
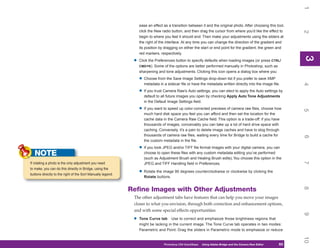
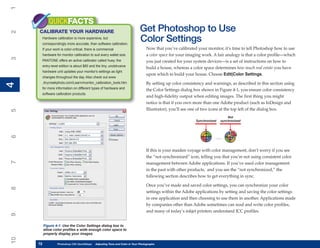
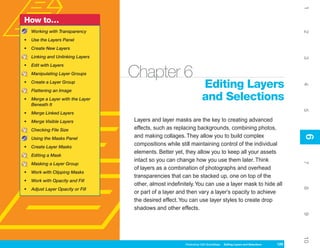
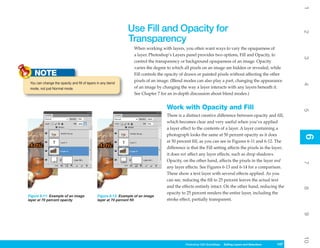
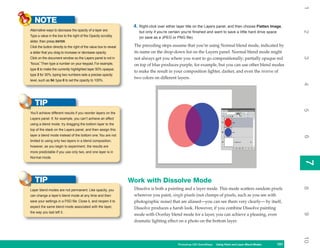
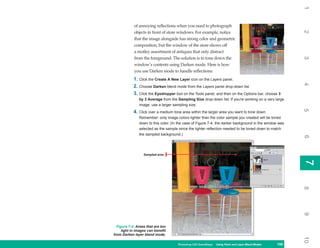
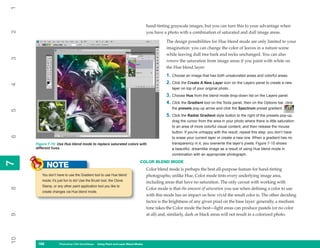
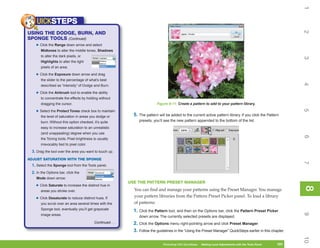
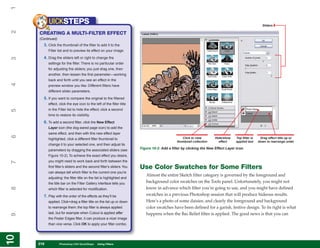
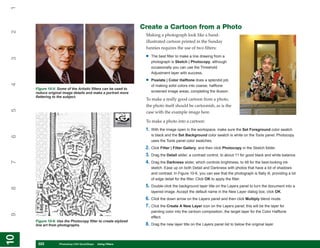
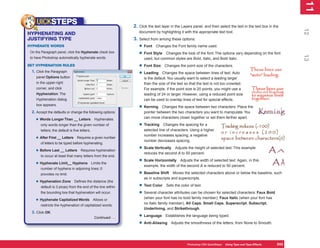
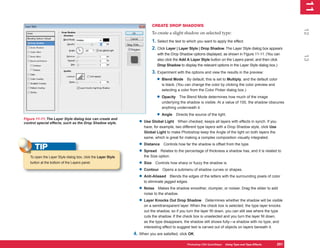
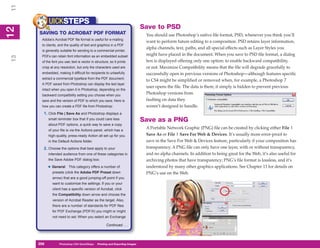
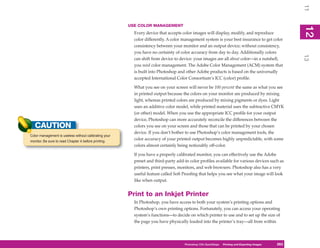
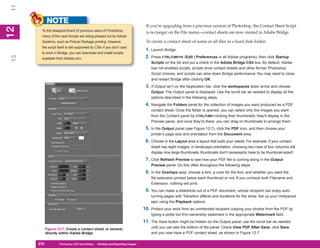
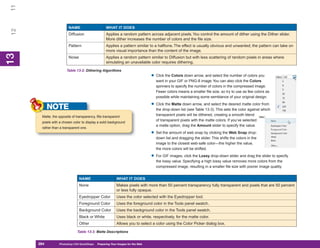
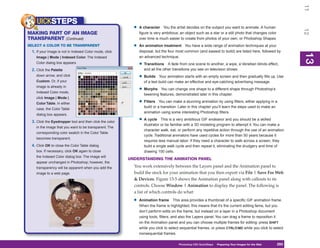
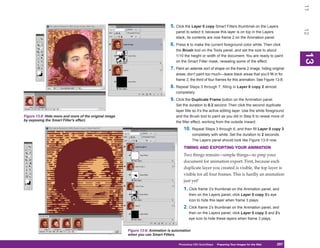
UICKSTEPS
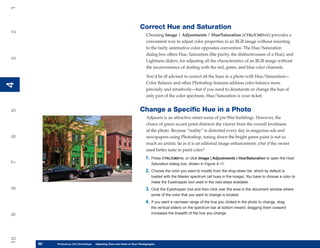
USING THE PRESET MANAGER
7
In Photoshop CS4 you can access several libraries of
presets: Brushes, Swatches, Gradients, Styles, Patterns,
Contours, Custom Shapes, and Tools. All of these
libraries can be accessed and managed with the Preset
8
8
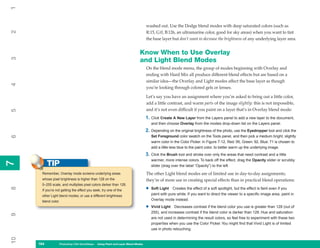
Manager, shown in Figure 8-2. This chapter provides
additional information on using individual preset libraries
such as Brushes and Patterns, and subsequent chapters
cover other preset libraries. Here is a quick overview of
how to use this feature.
9
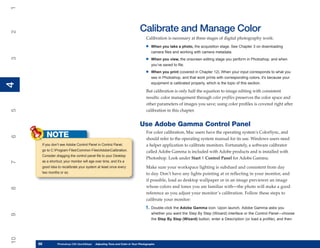
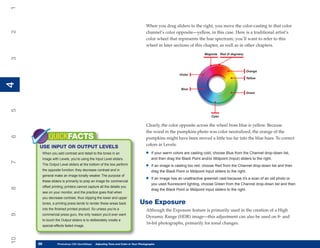
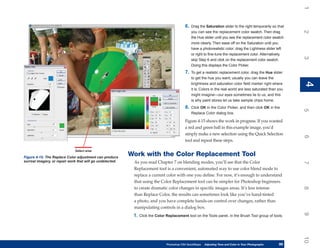
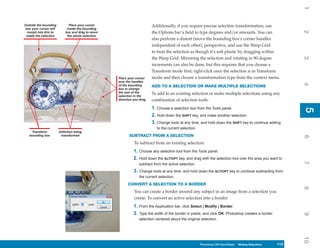
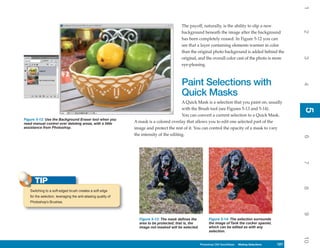
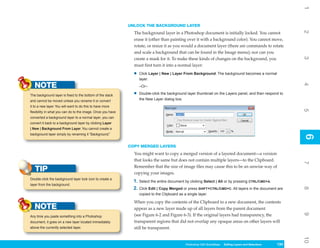
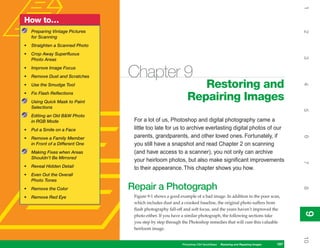
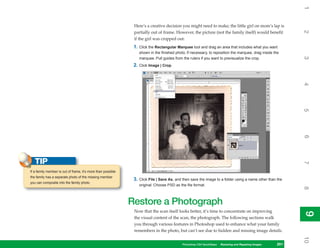
1. To display the Preset Manager, click Edit |
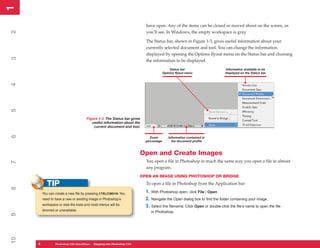
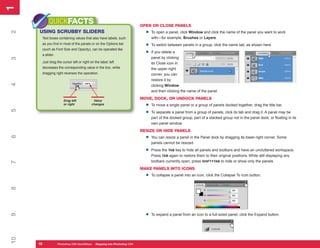
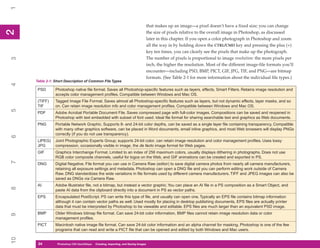
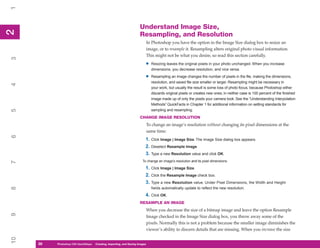
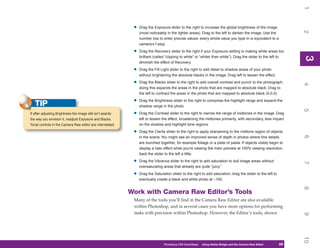
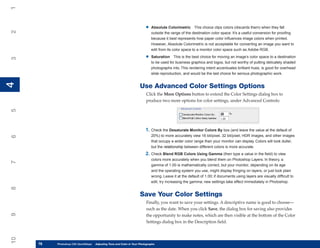
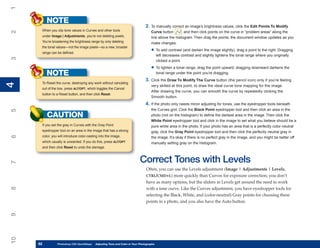
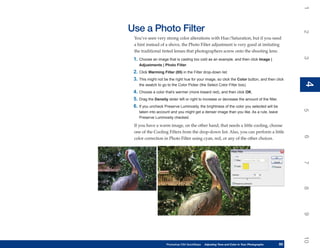
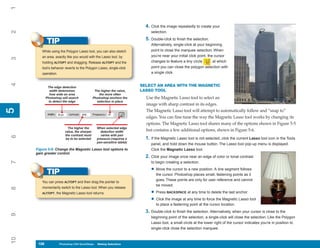
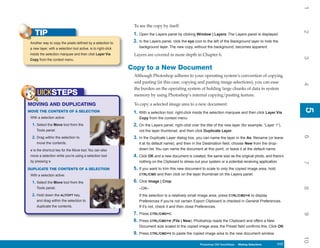
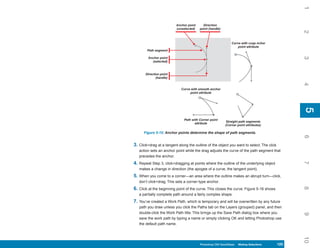
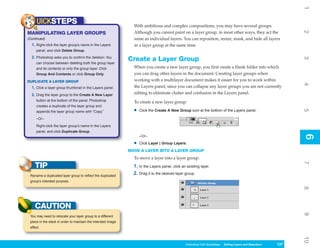
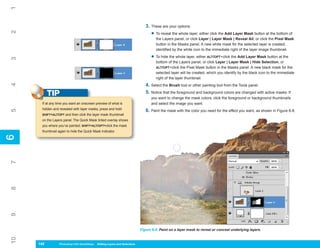
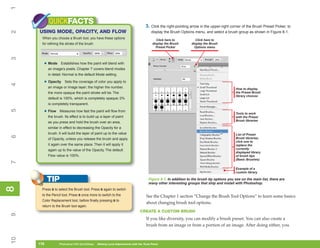
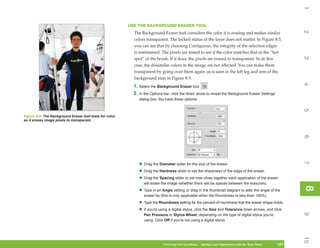
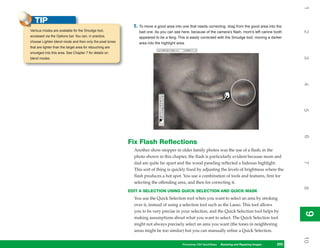
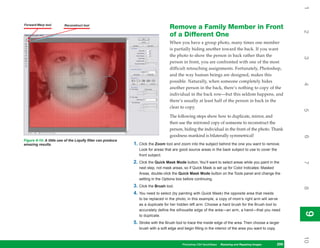
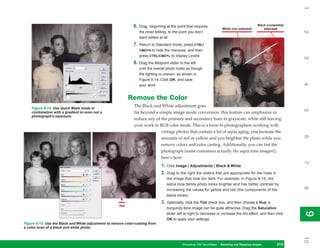
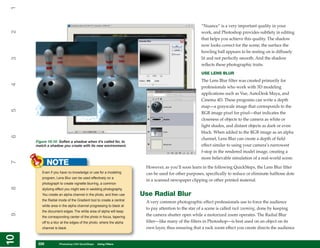
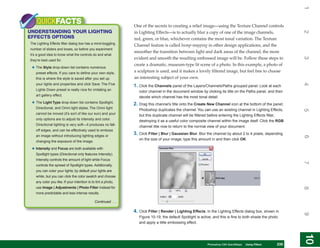
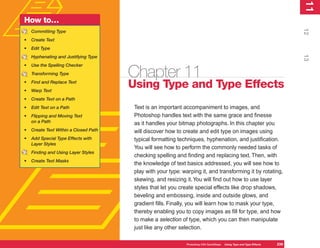
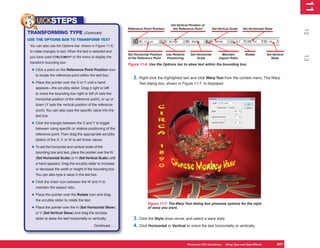
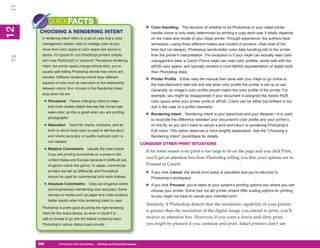
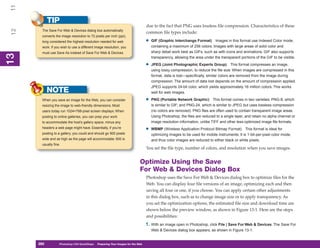
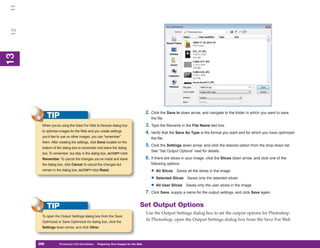
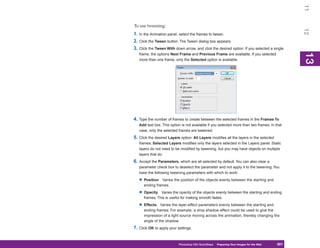
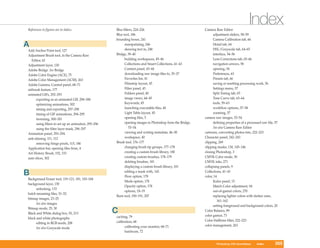
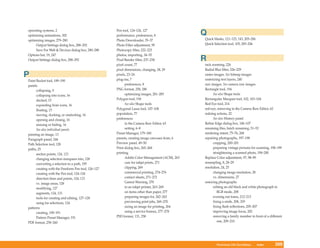
Figure 8-2: The Preset Manager is where you manage
Preset Manager. the contents of the preset libraries.
Continued . . .
10
Photoshop CS4 QuickSteps Making Local Adjustments with Know Your PC
PC QuickSteps Getting to the Tools Panel 179
179](https://image.slidesharecdn.com/thezomi-photoshopcs4-quick-steps-100405030332-phpapp01/85/Photoshop-Cs4-Quick-Steps-188-320.jpg)


![11
UICKSTEPS
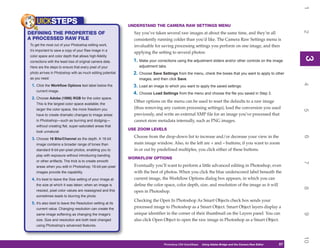
Use JPEG
12
2
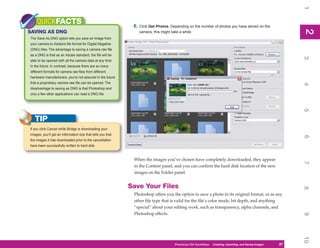
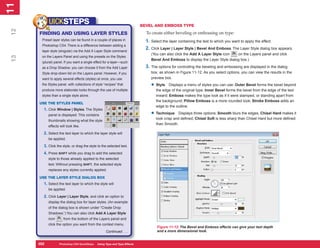
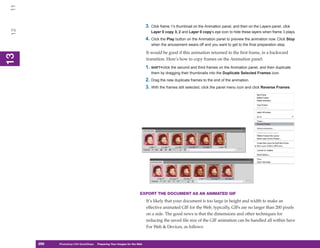
SAVING TO ACROBAT PDF FORMAT This file format should only be used on a copy of your original Photoshop
(Continued)
composition, because it uses lossy compression (data that is judged to be
as a preset, the standards are identified in the
Standard drop-down list, and a brief summary
unimportant is discarded, to save on overall file size). Great for the Web and
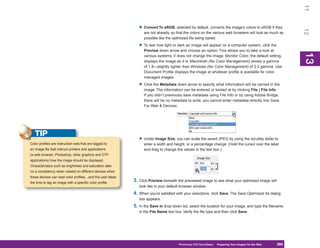
is displayed in the Description text box. The e-mail attachments, JPEG images can be created via File | Save As and File |
13
Exchange Standard eliminates discrepancies Save For Web & Devices; Save For Web & Devices is a better route because you
in the document that relate to font embedding can preview how the lossy compressed file looks before you save it. Refer to
and color trapping for commercial output. Chapter 13 on how to prepare a JPEG for posting on a web page.
Therefore, if your press operator can’t handle a
PSD file, you should set an appropriate PDF/X
version; a PDF is not editable by a commercial
press operator without Photoshop, so removing
halftone screen and transfer (brightness)
functions before you send this file to a printer
ensures fewer “show-stoppers.”
• Compression These settings give you the
opportunity to create a custom downsampling
of your PDF file so, for example, a copy you
need to e-mail is 72 pixels per inch (ppi)
instead of the more press-ready image
resolution of 266–300 ppi. However, choosing
[Smallest File Size] from the Adobe PDF
Preset drop-down list automatically calculates
the best-quality, smallest file for e-mailing. Of
some importance under Compression are the
options to use JPEG, Zip, or No Compression.
Zip compression creates larger saved files Use TIF
than JPEG compression, but Zip is lossless
The Tagged Image File (Format) is one of the oldest high-fidelity formats for
compression while JPEG is lossy. If you’re a
purist about your imaging work, you might want images, and its current “custodian” (the party who determines its standards
to choose lossless or no compression. (See and features in the future) is Adobe Systems. At present, the TIF file format
Chapter 2 for a discussion of the compression has almost every capability that PSD does—special effects and text, along with
techniques.) paths in a saved TIF can be successfully reopened in Photoshop. However, many
other applications cannot parse (understand, decode) the special data, although
Continued . . .
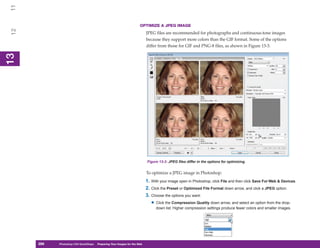
Photoshop CS4PC QuickStepsPrinting andto Know Your PC
QuickSteps Getting Exporting Images 259
259](https://image.slidesharecdn.com/thezomi-photoshopcs4-quick-steps-100405030332-phpapp01/85/Photoshop-Cs4-Quick-Steps-268-320.jpg)

![11
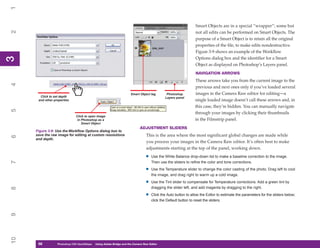
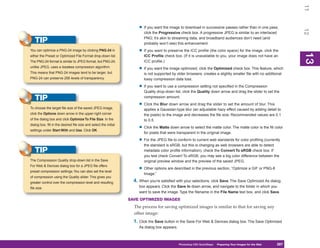
HTML OPTIONS DESCRIPTION
12
Always Quote Places quotes around the values of HTML tag attributes. HTML does not require quotes, but XHTML and XML
Attributes (Extensible Markup Language) do.
Close All Tags Inserts the closing HTML tags for all tags that require them. HTML is generally forgiving of unclosed tags, but XHTML
and XML are not.
13
13
Include Zero Margins Adds the Margin attribute set to 0 to the BODY tag. This starts the page content in the upper-left corner of the browser
On Body Tag with no margin. This is not supported by all browsers.
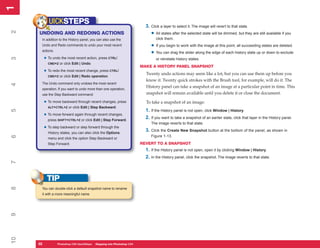
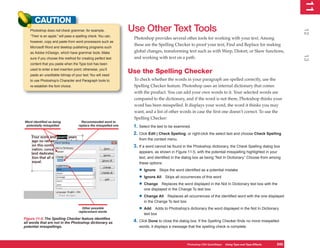
Table 13-4: Descriptions of HTML Settings (continued)
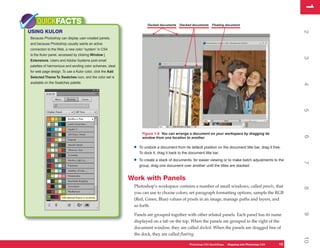
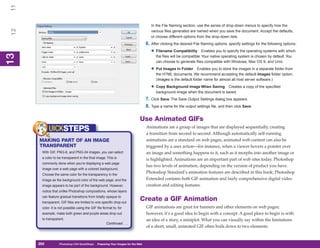
3. Click Next. The Slices section appears. (You can also click the down arrow below the
Settings field, and click Slices from the drop-down list.)
Click one of the following options for slices in your document and then set the default
slice naming:
• Generate Table Creates an HTML table for displaying the slices.
• Empty Cells Sets the rules for how empty table cells are generated: GIF, IMG
W&H (GIF spacer image using the IMG tag with width and height specified); GIF,
TD W&H (GIF spacer image using the table data tag [TD] with width and height
specified); and NoWrap, TD W&H (text is not wrapped, using the TD tag with
width and height specified).
• TD W&H Sets when width and height values will be generated. The options are
Auto, Always, and Never.
290
290 Photoshop CS4 QuickSteps to Preparing Your Images for the Web
PC QuickSteps Getting Know Your PC](https://image.slidesharecdn.com/thezomi-photoshopcs4-quick-steps-100405030332-phpapp01/85/Photoshop-Cs4-Quick-Steps-299-320.jpg)

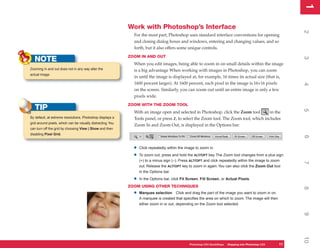
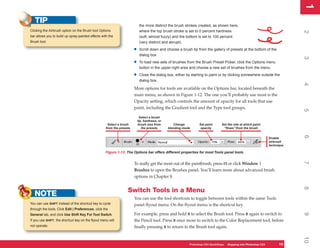
Photoshop CS4 provides a customizable workspace for image editing. The main components include tool panels, menus, document tabs, and panels for adjusting settings. Users can navigate images, zoom in and out, and customize the interface to their needs. Photoshop also offers online help and tutorials to guide users in learning its functions.