Download to read offline


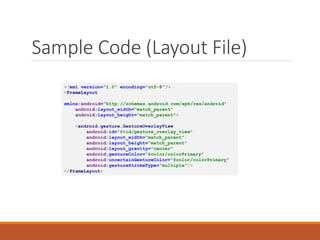
![Other things xml .
• android:titleCondensed="string“
• android:icon="@[package:]drawable/drawable_resource_name“
• android:onClick="method name“
• android:actionLayout="@[package:]layout/layout_resource_name
"
• android:actionViewClass="class name"
• android:actionProviderClass="class name"
• android:alphabeticShortcut="string"
• android:numericShortcut="string"
• android:checkable=["true" | "false"]
• The layout allows you to add say a search bar to the top.](https://image.slidesharecdn.com/chapt04userinteraction-211105165156/85/Chapt-04-user-interaction-41-320.jpg)
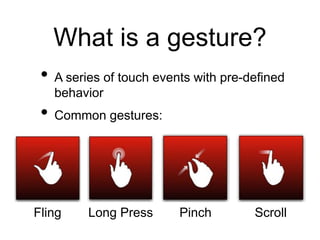
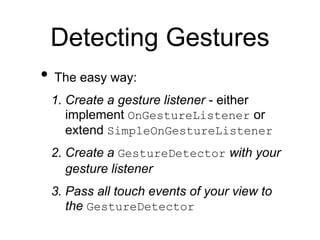
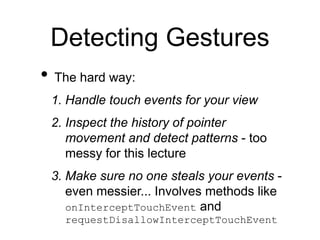

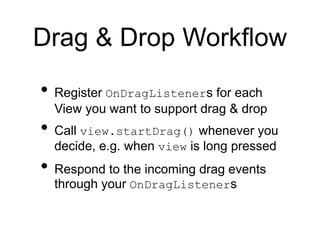
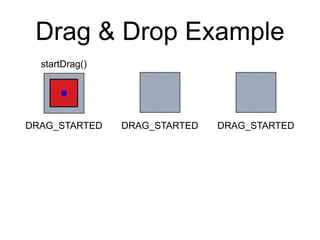
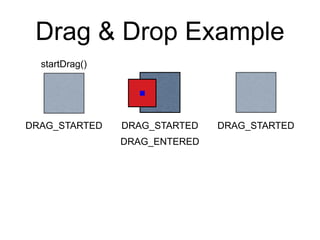
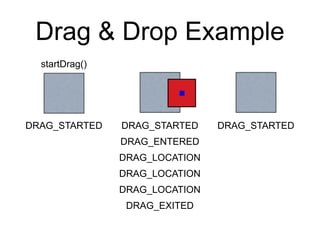
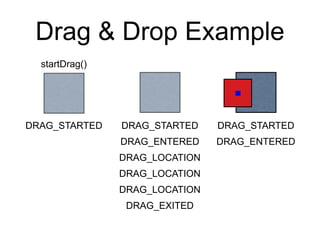
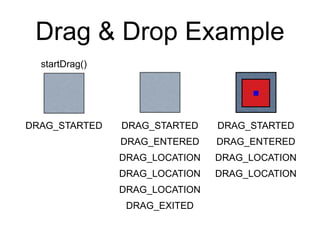
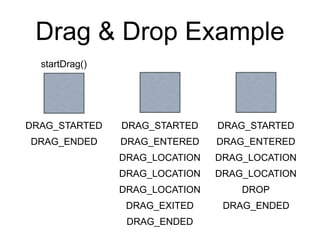
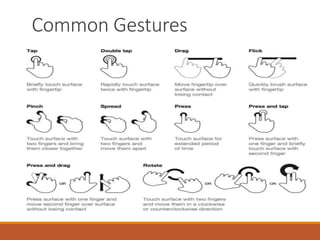
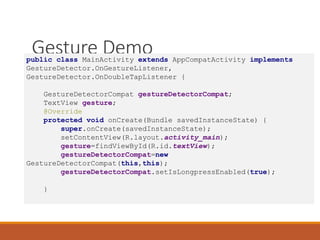
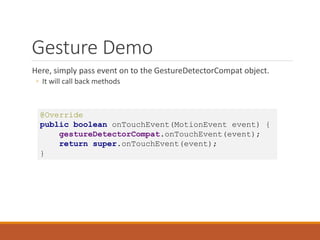
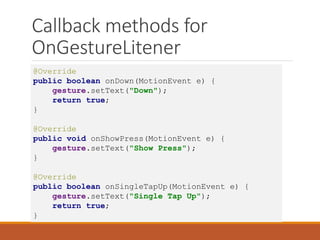
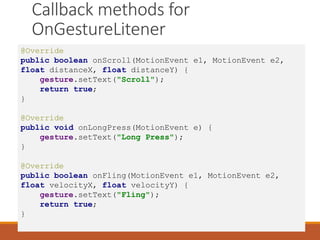

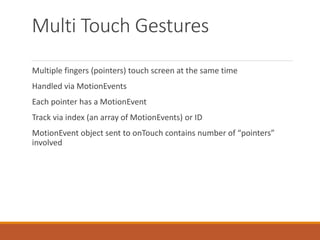
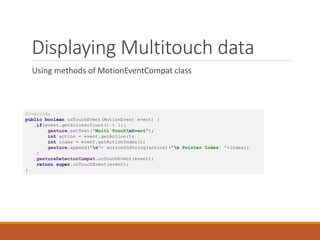
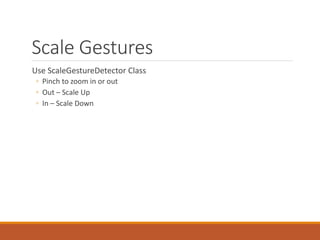
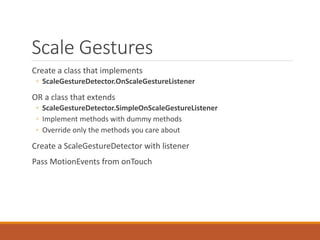
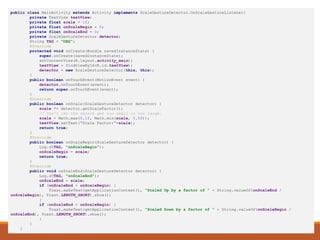
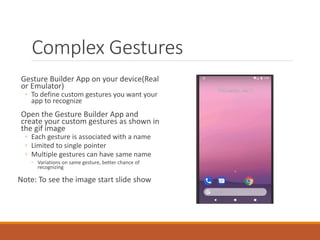
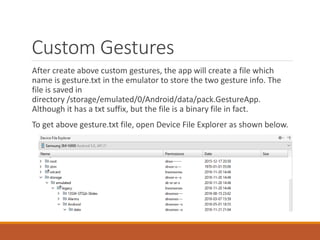

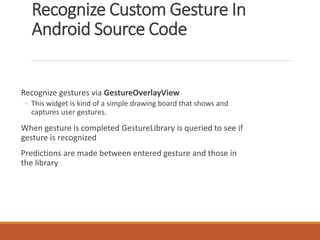

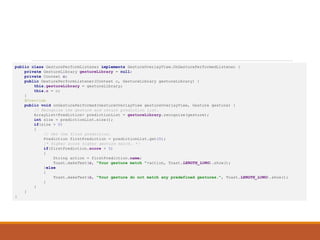

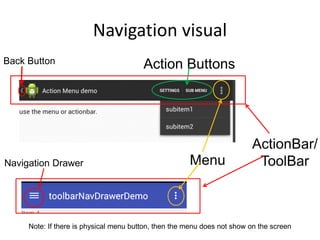
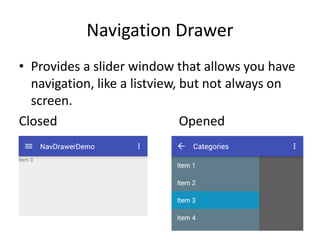


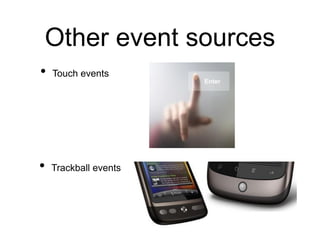
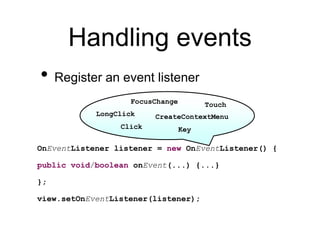
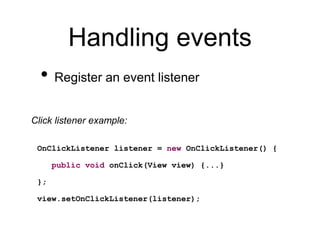
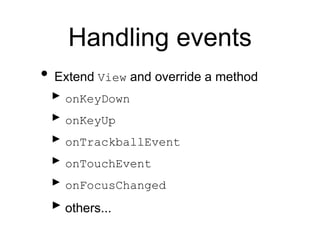
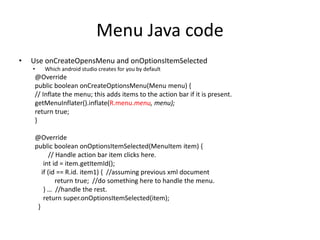
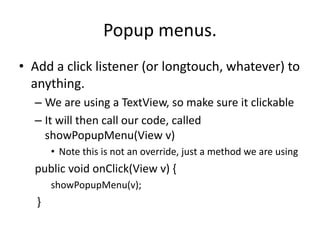
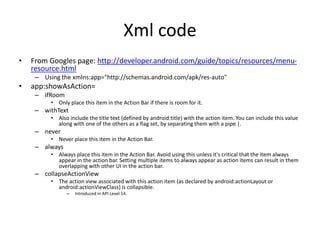
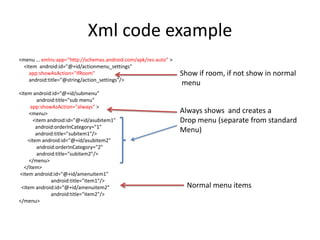
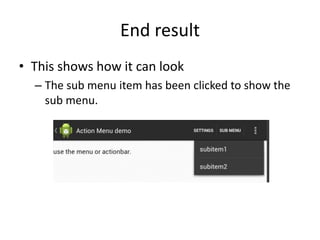
The document discusses various types of user input events and gestures in Android, including: - Basic input events like key events, touch events, and focus changes. - Common gestures like click, long click, scroll, and how to detect them using classes like GestureDetector and OnGestureListener. - More advanced gestures involving multiple touches like pinch to zoom, which can be detected using ScaleGestureDetector. - Drag and drop functionality, how it works, and the workflow involving OnDragListeners. - How to handle menu creation and selection via XML menu resources and Java code overrides. So in summary, it provides an overview of handling different types of user input and gestures