Download as PDF, PPTX


![RelativeLayout (5)
(cont.)
• android:layout_toLeftOf — Places the element to the left of
the specified element.
• android:layout_toRightOf — Places the element to the right of
the specified element.
The value for each of these elements must be a reference to another
resource, in the form “@[+][package:]type:name”.
22 of 35](https://image.slidesharecdn.com/androidlesson2-121003103633-phpapp01/85/Android-Lesson-2-22-320.jpg)


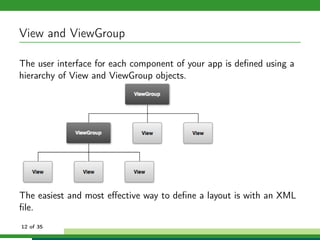
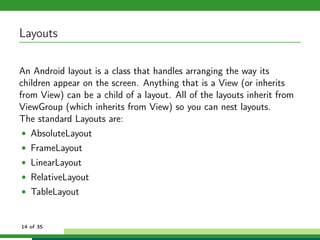
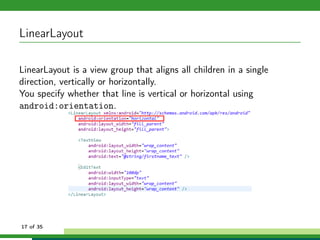
This document provides an overview of Android application development, focusing on the activity lifecycle, user interface components, and layout management. It explains the roles of activities, fragments, views, and viewgroups, as well as different layout types like AbsoluteLayout, FrameLayout, LinearLayout, RelativeLayout, and TableLayout. Additionally, it covers XML layout attributes, dimensions, and includes an exercise to create a simple Android application to understand these concepts.


![[Android] Intent and Activity](https://cdn.slidesharecdn.com/ss_thumbnails/trainingandroidlesson6-130304083237-phpapp01-thumbnail.jpg?width=640&height=640&fit=bounds)