Download to read offline

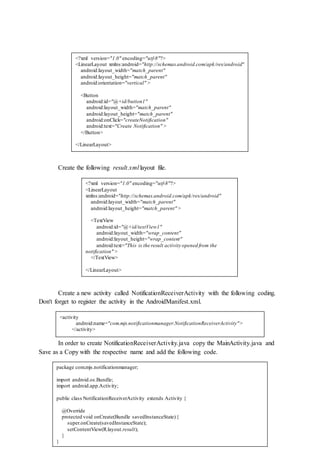
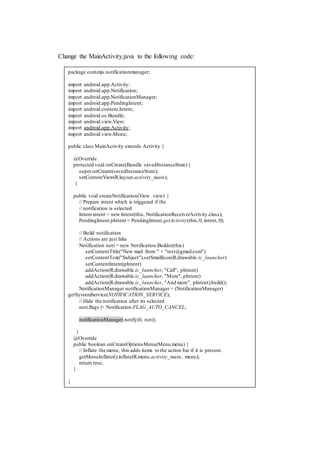


El capítulo 16 se centra en la barra de acción y las notificaciones en Android, destacando su importancia para la navegación y las acciones del usuario. La barra de acción proporciona un espacio para la identificación de la aplicación y acciones clave, mientras que las notificaciones permiten mostrar mensajes fuera de la interfaz normal. Se explica cómo implementar estas características mediante ejemplos de código y pautas de diseño.