This document provides an overview of ActionBar, Toasts, Notifications, and Preferences in Android app development. It discusses:
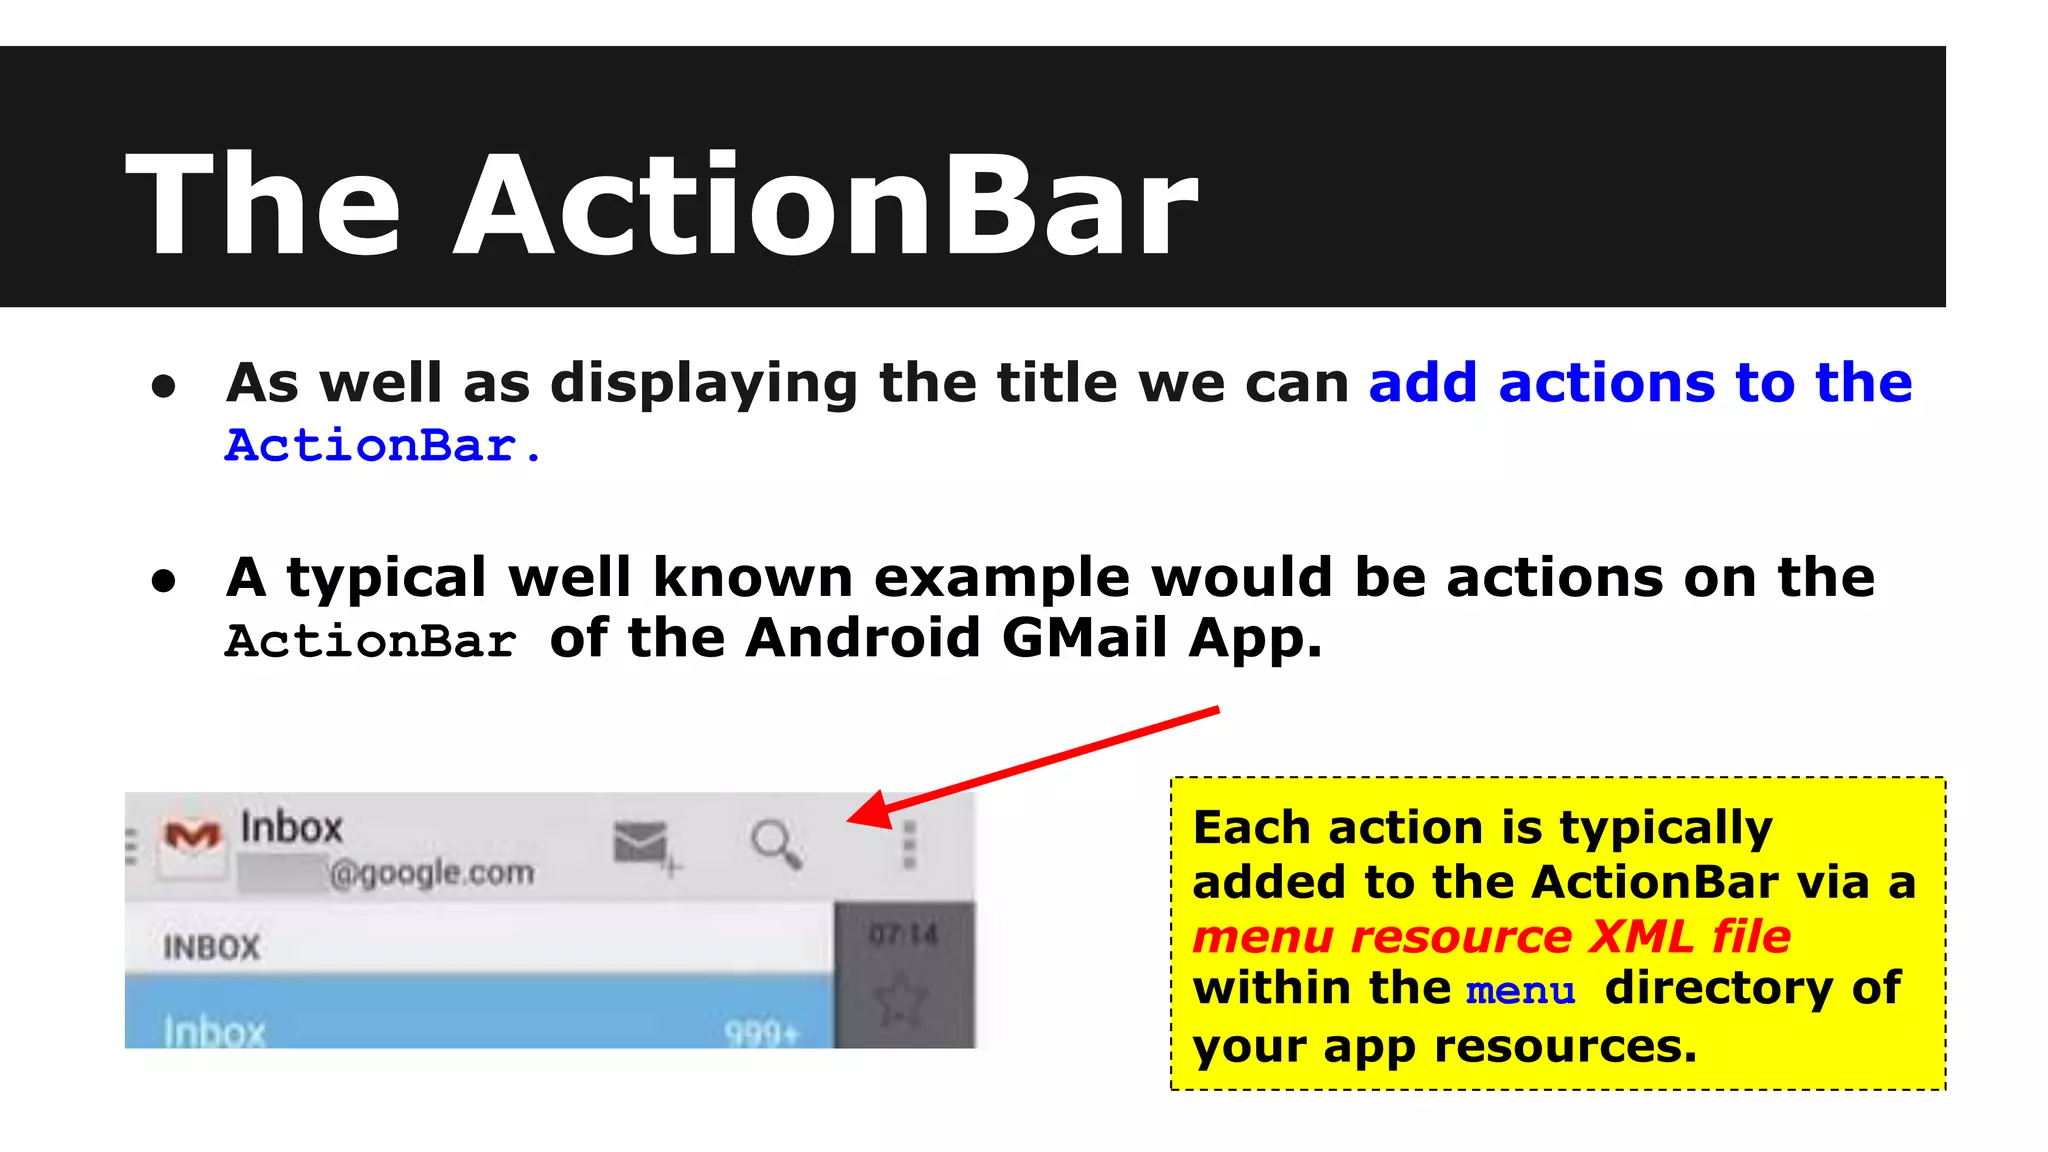
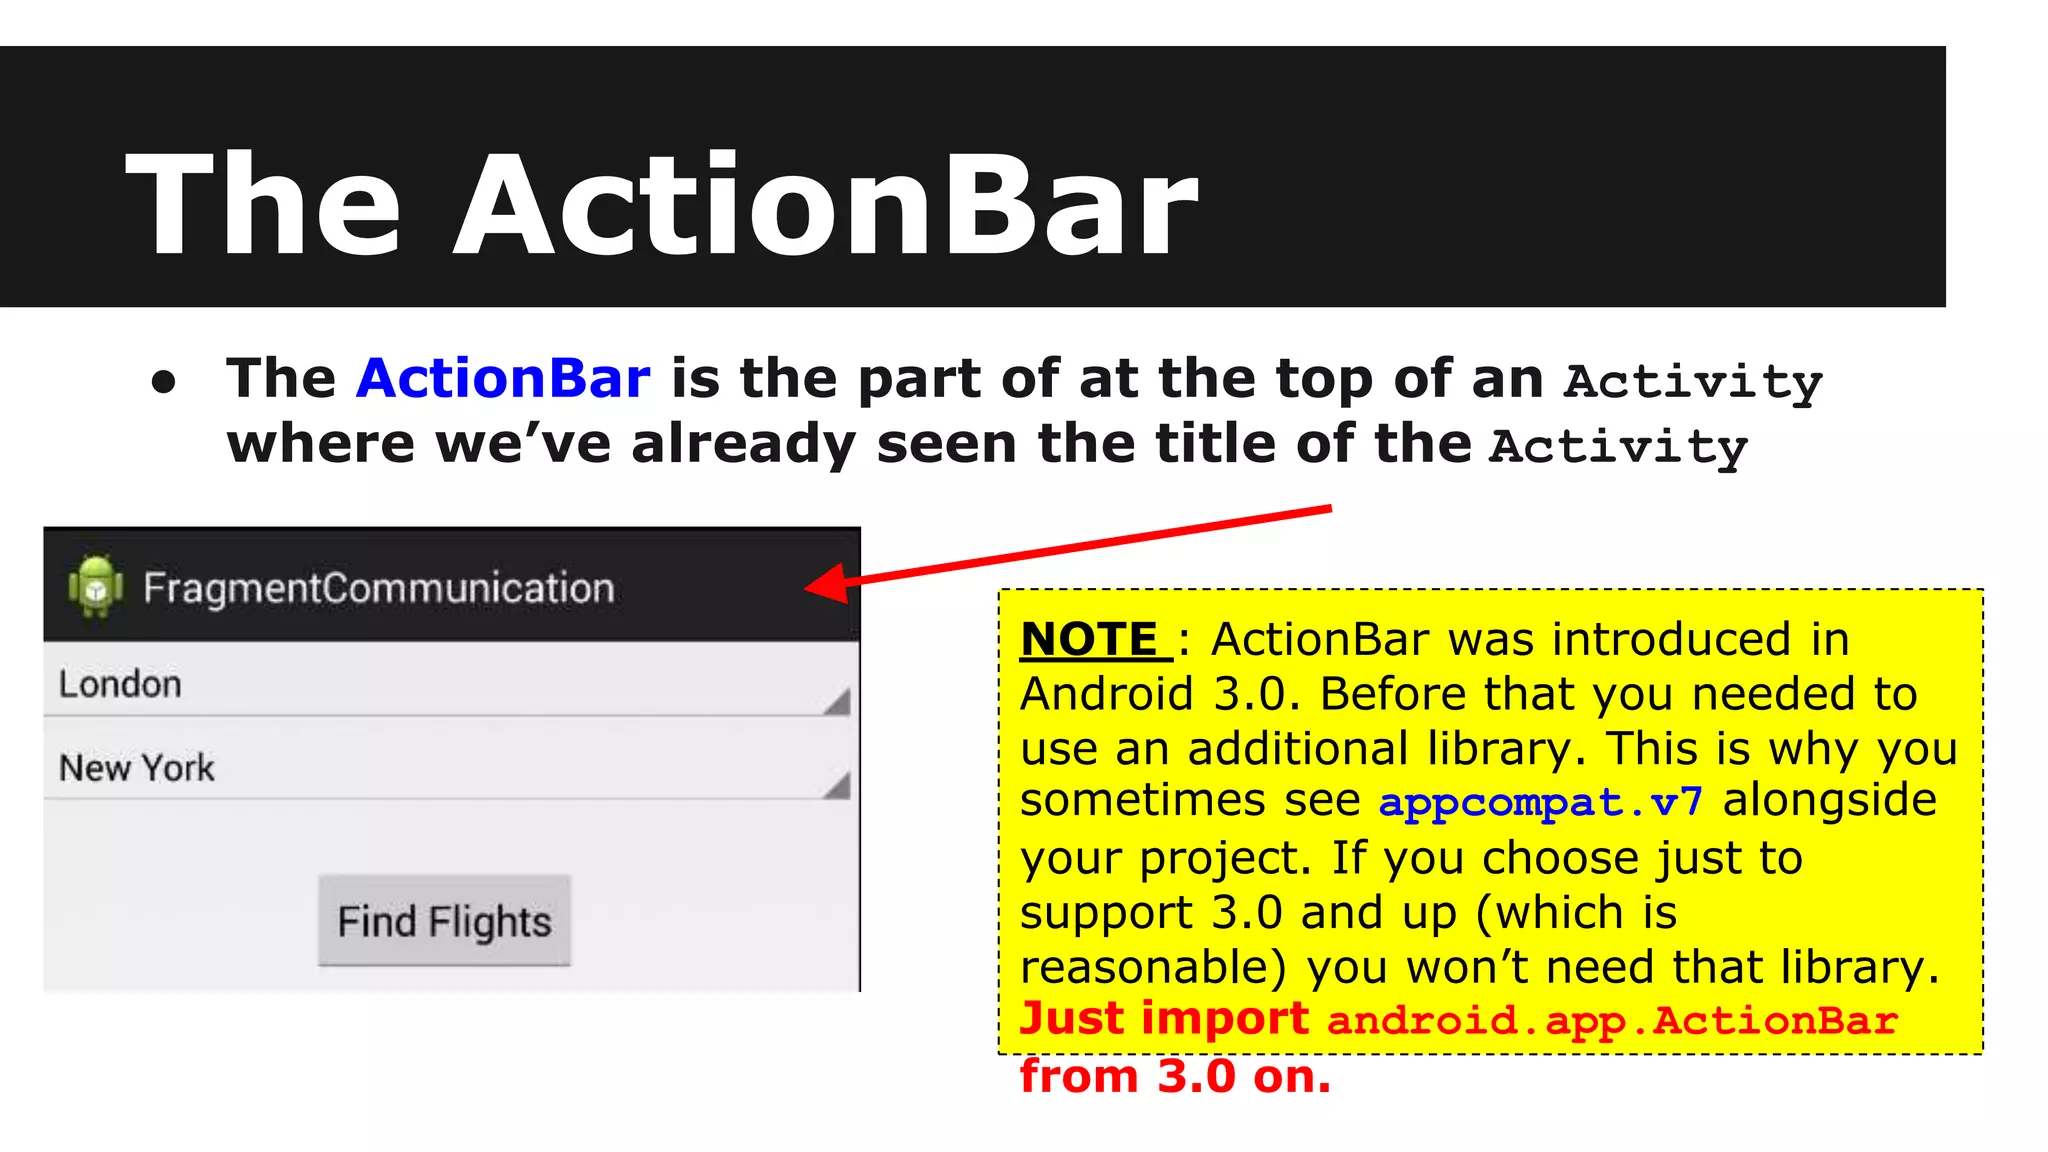
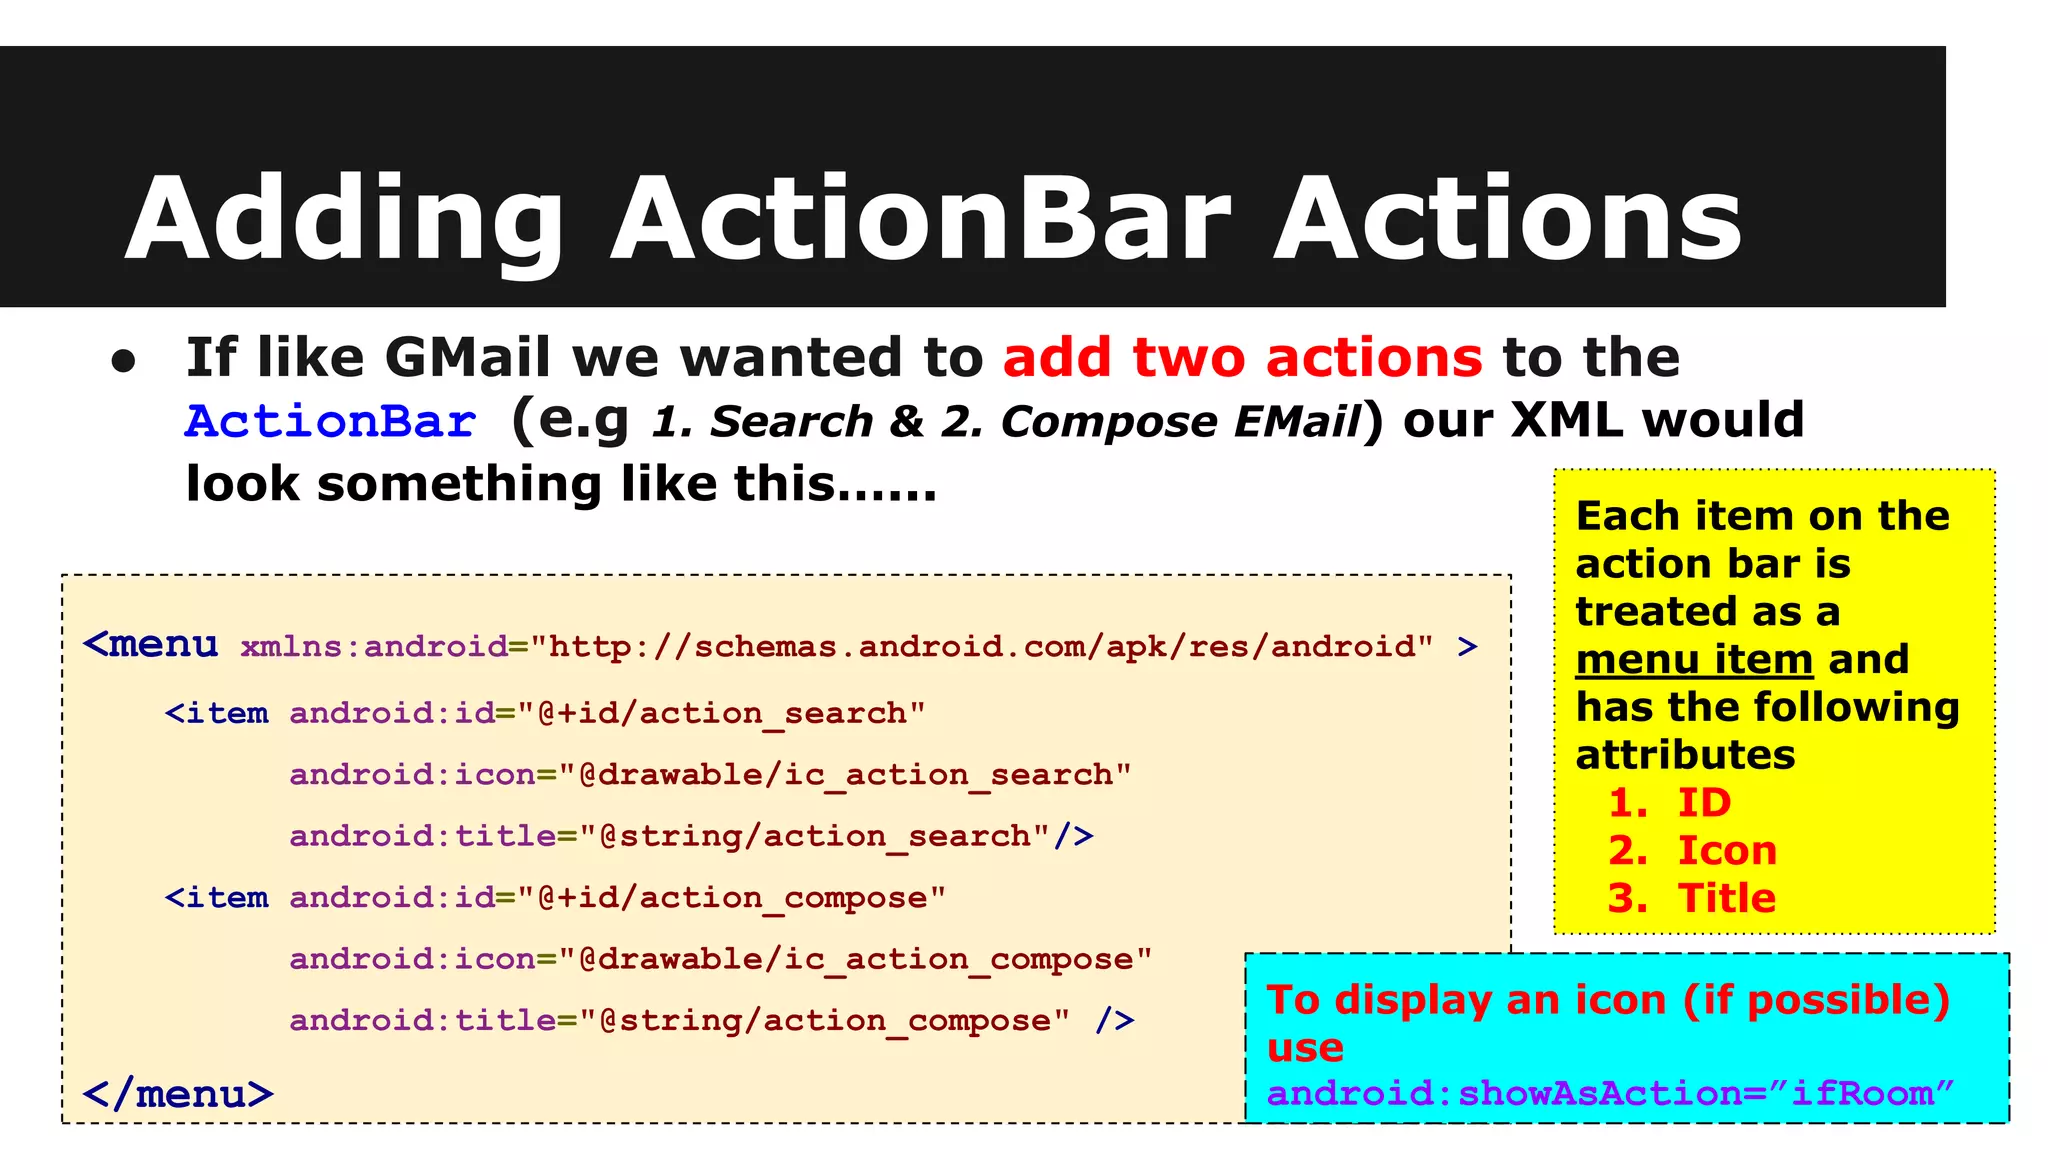
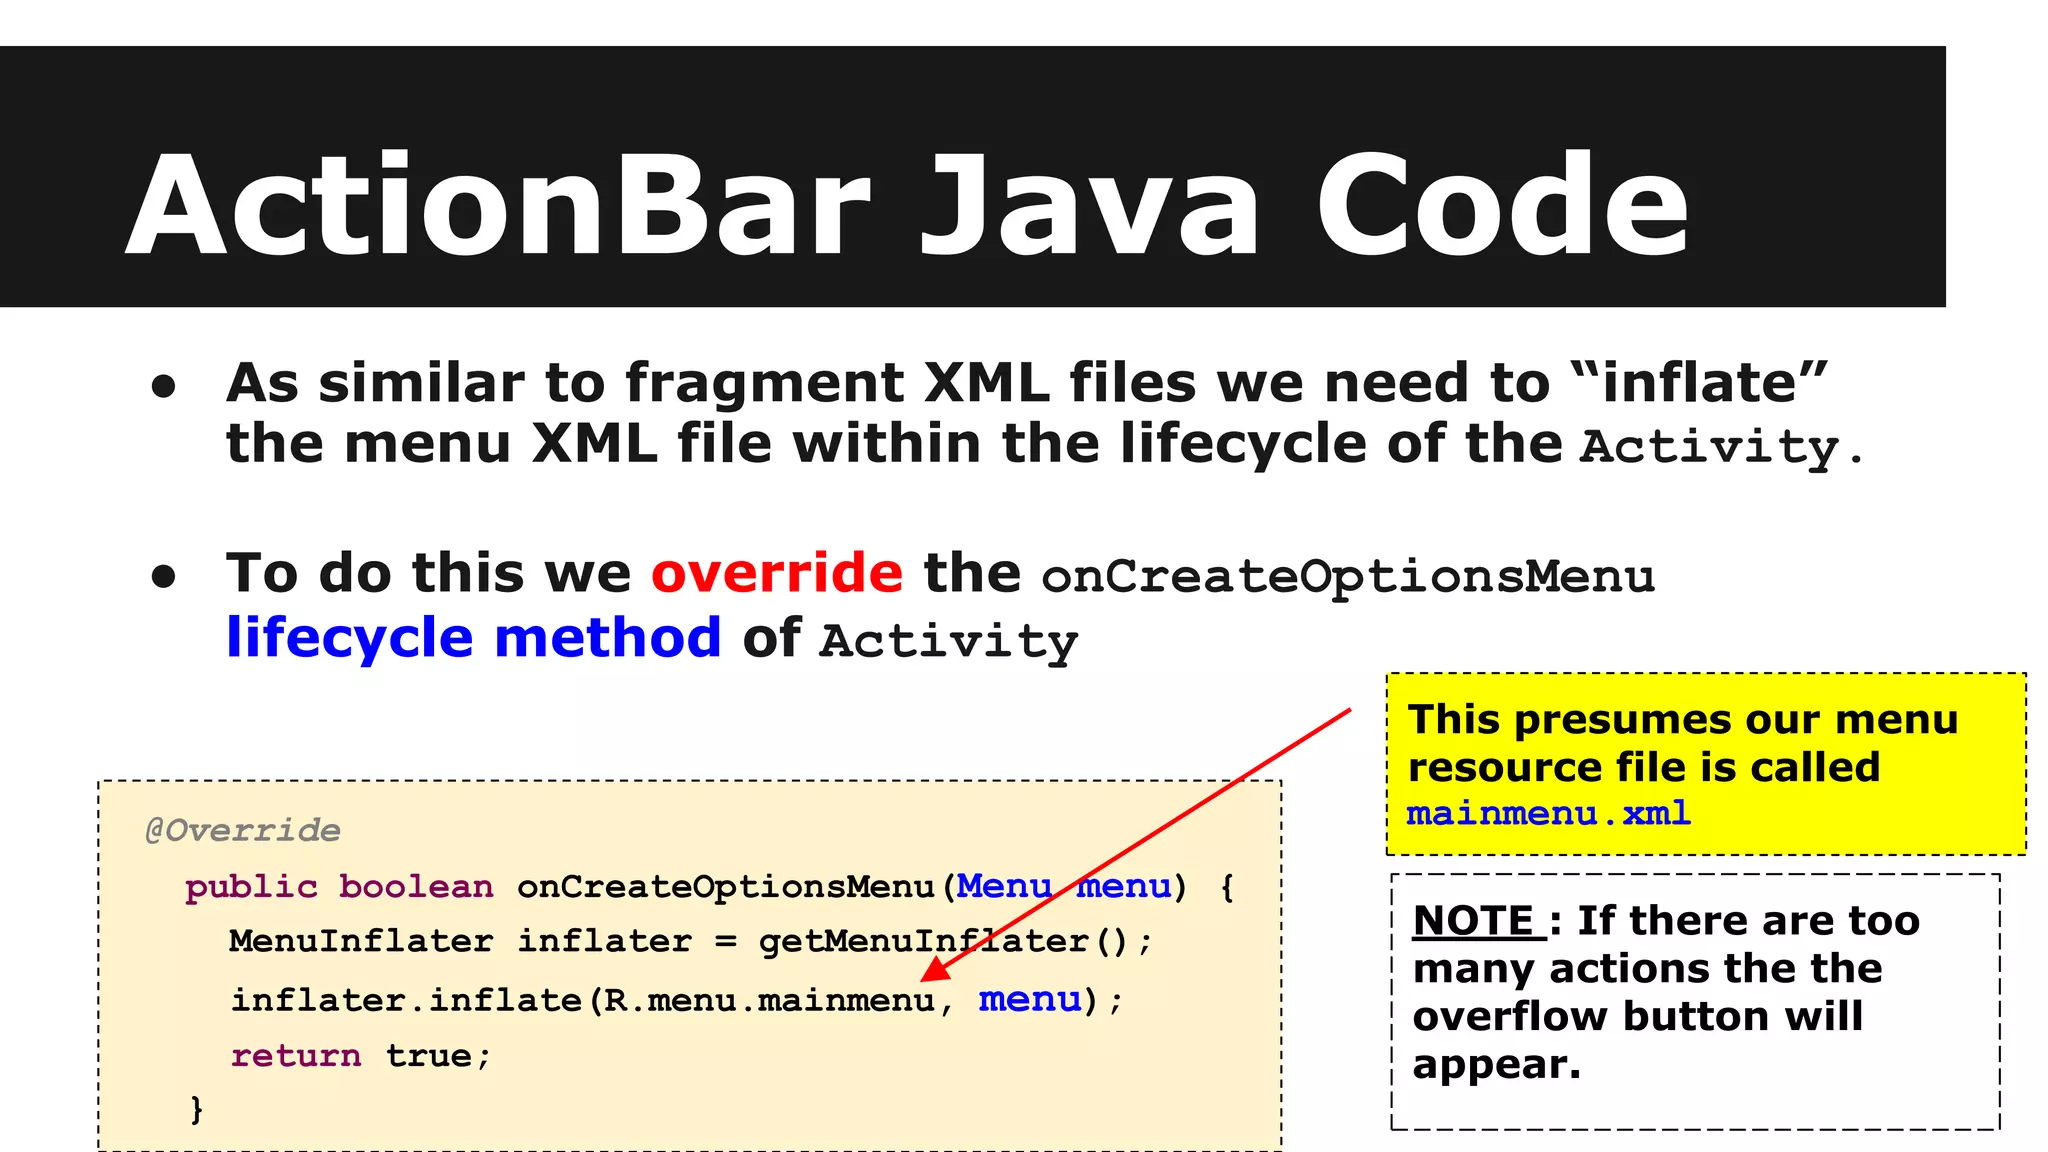
1. How to add actions to the ActionBar using a menu XML resource and reacting to clicks by overriding onOptionsItemSelected.
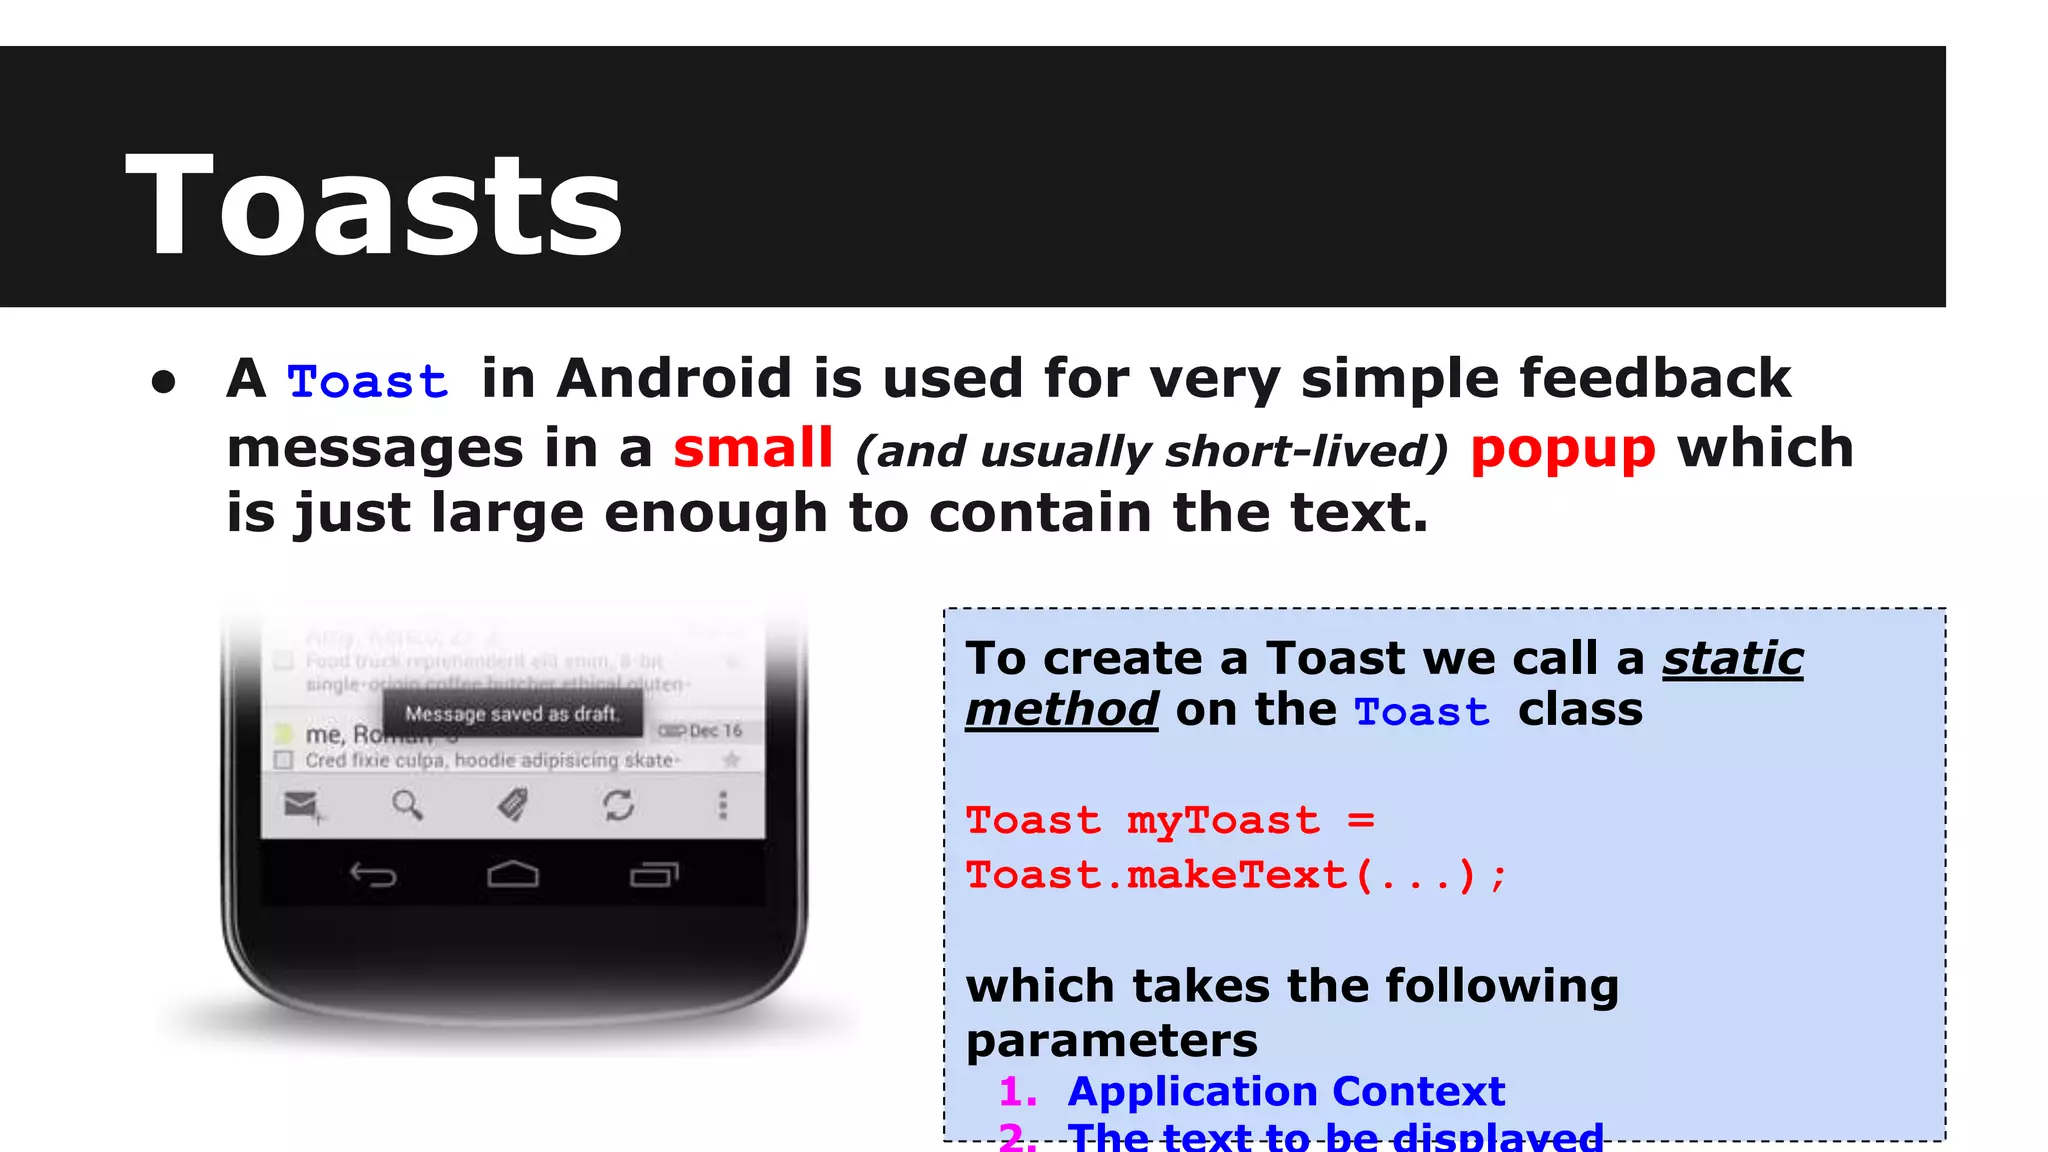
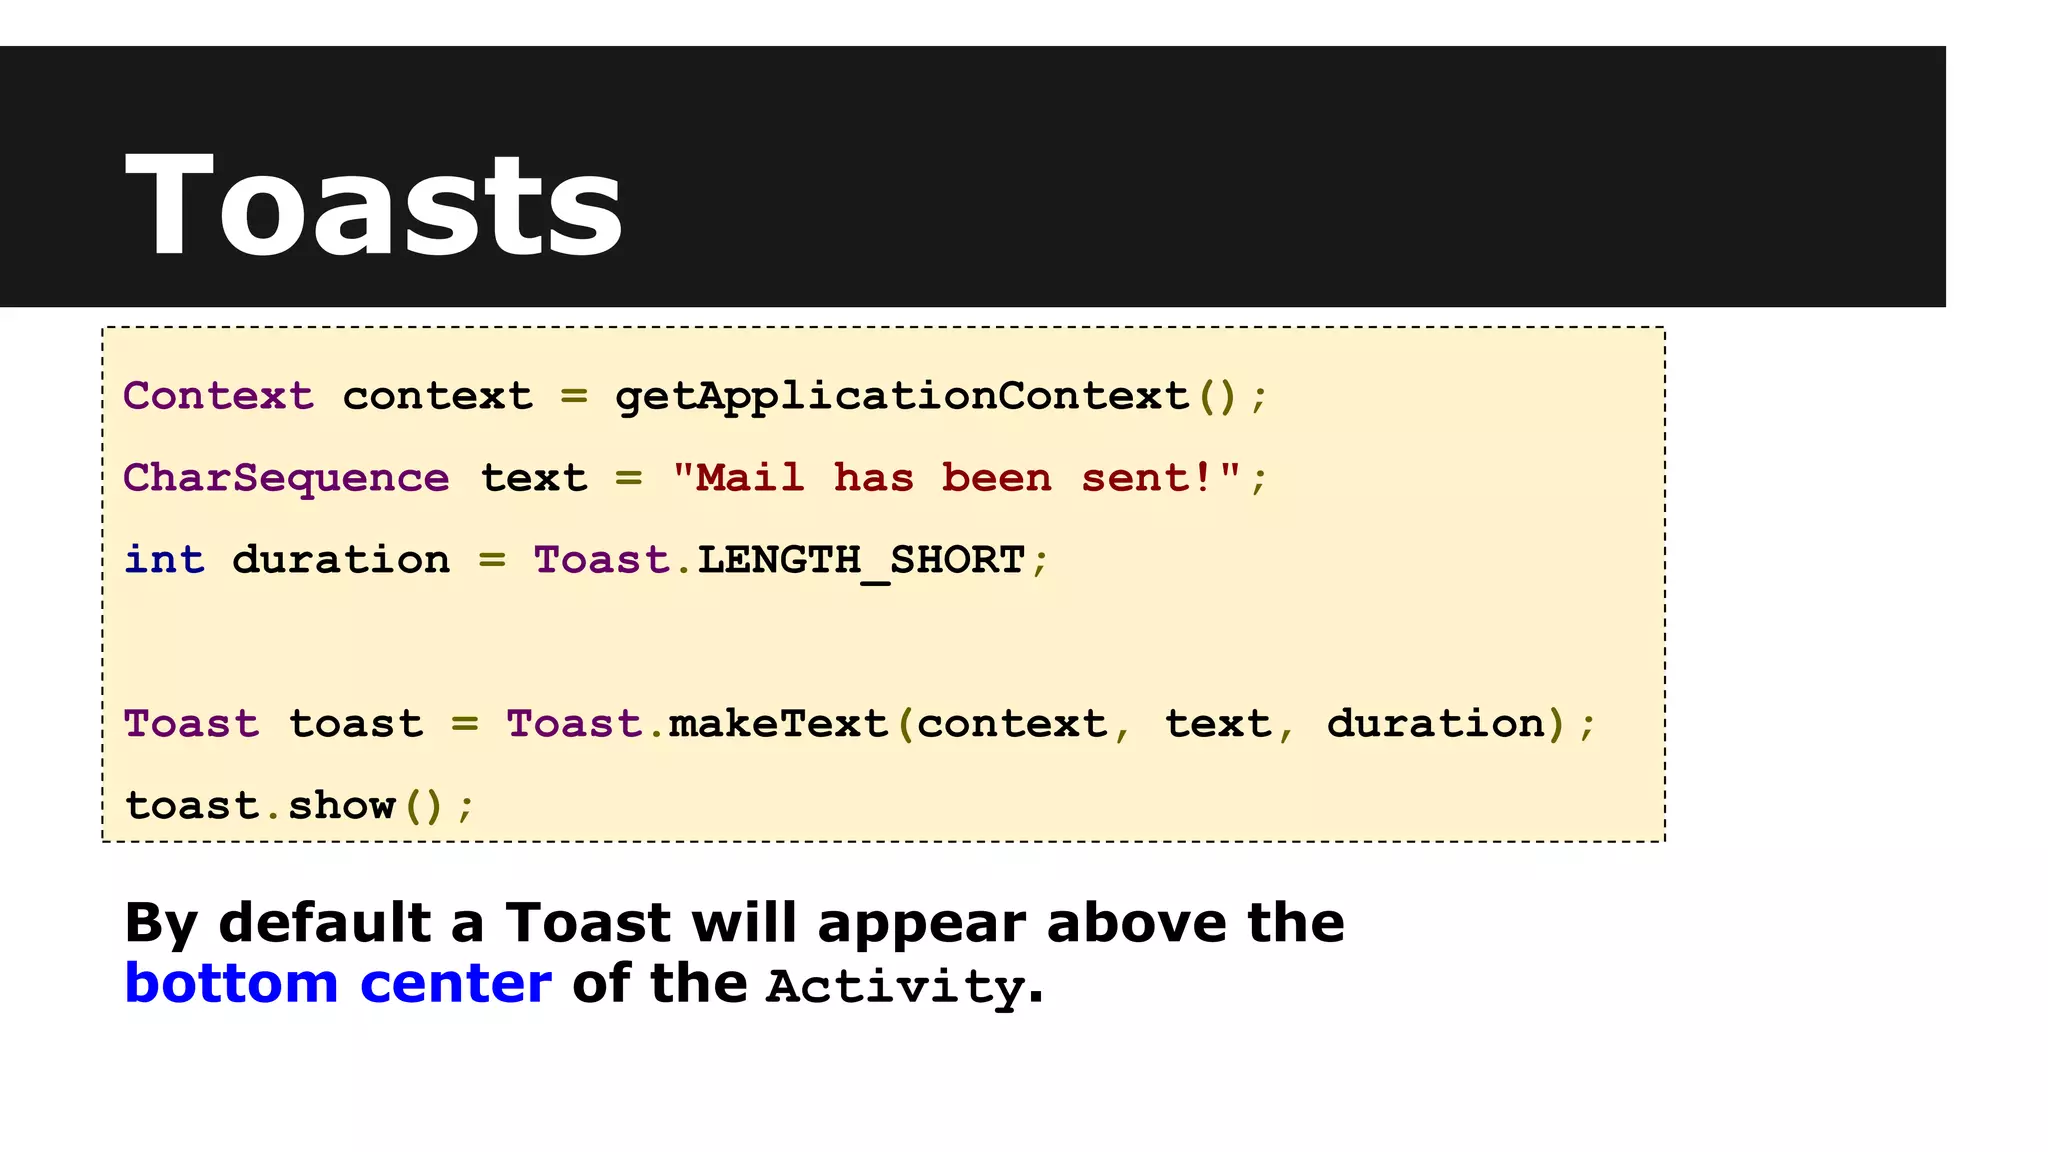
2. How to create and display Toast notifications for simple feedback messages using the Toast class.
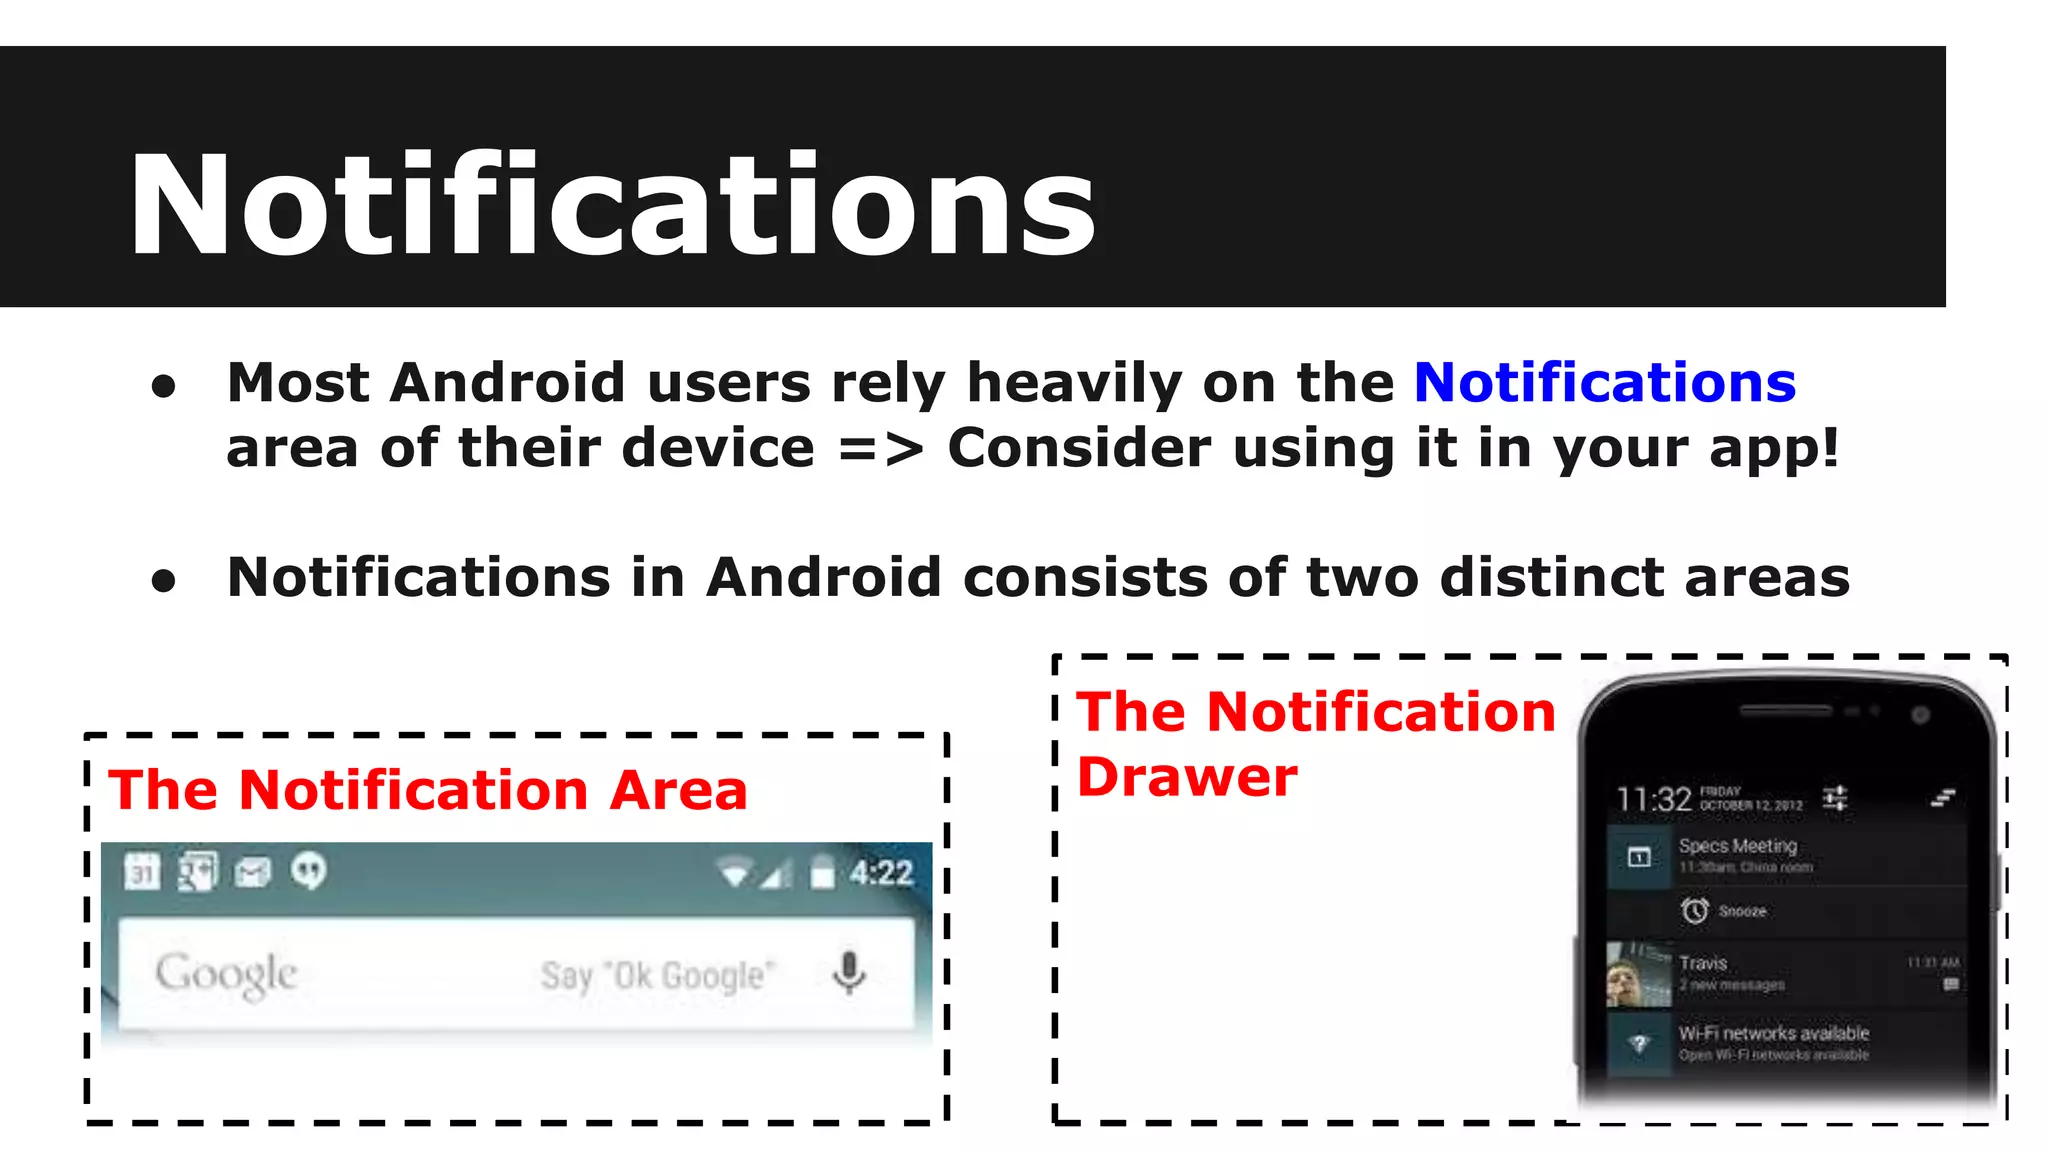
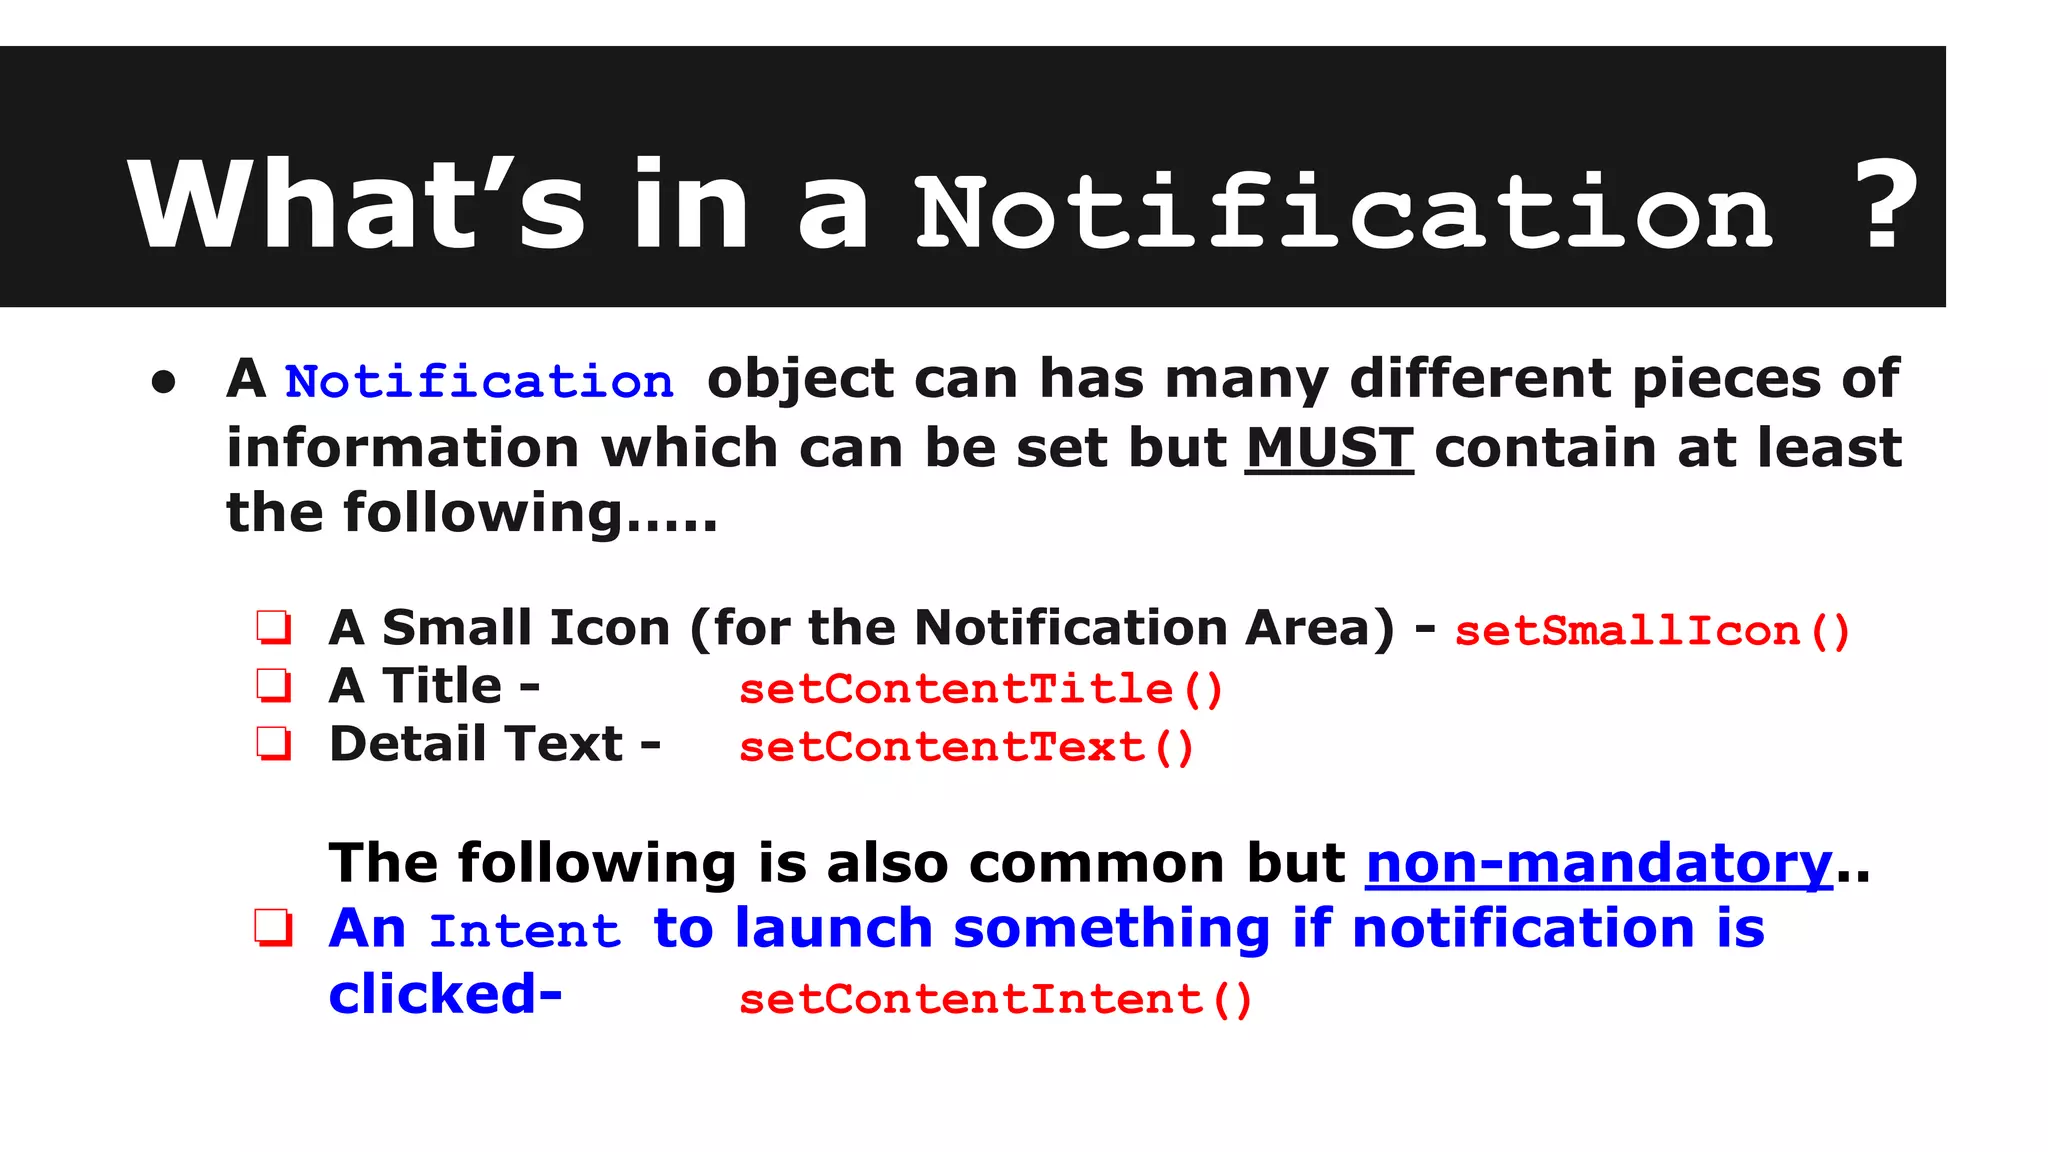
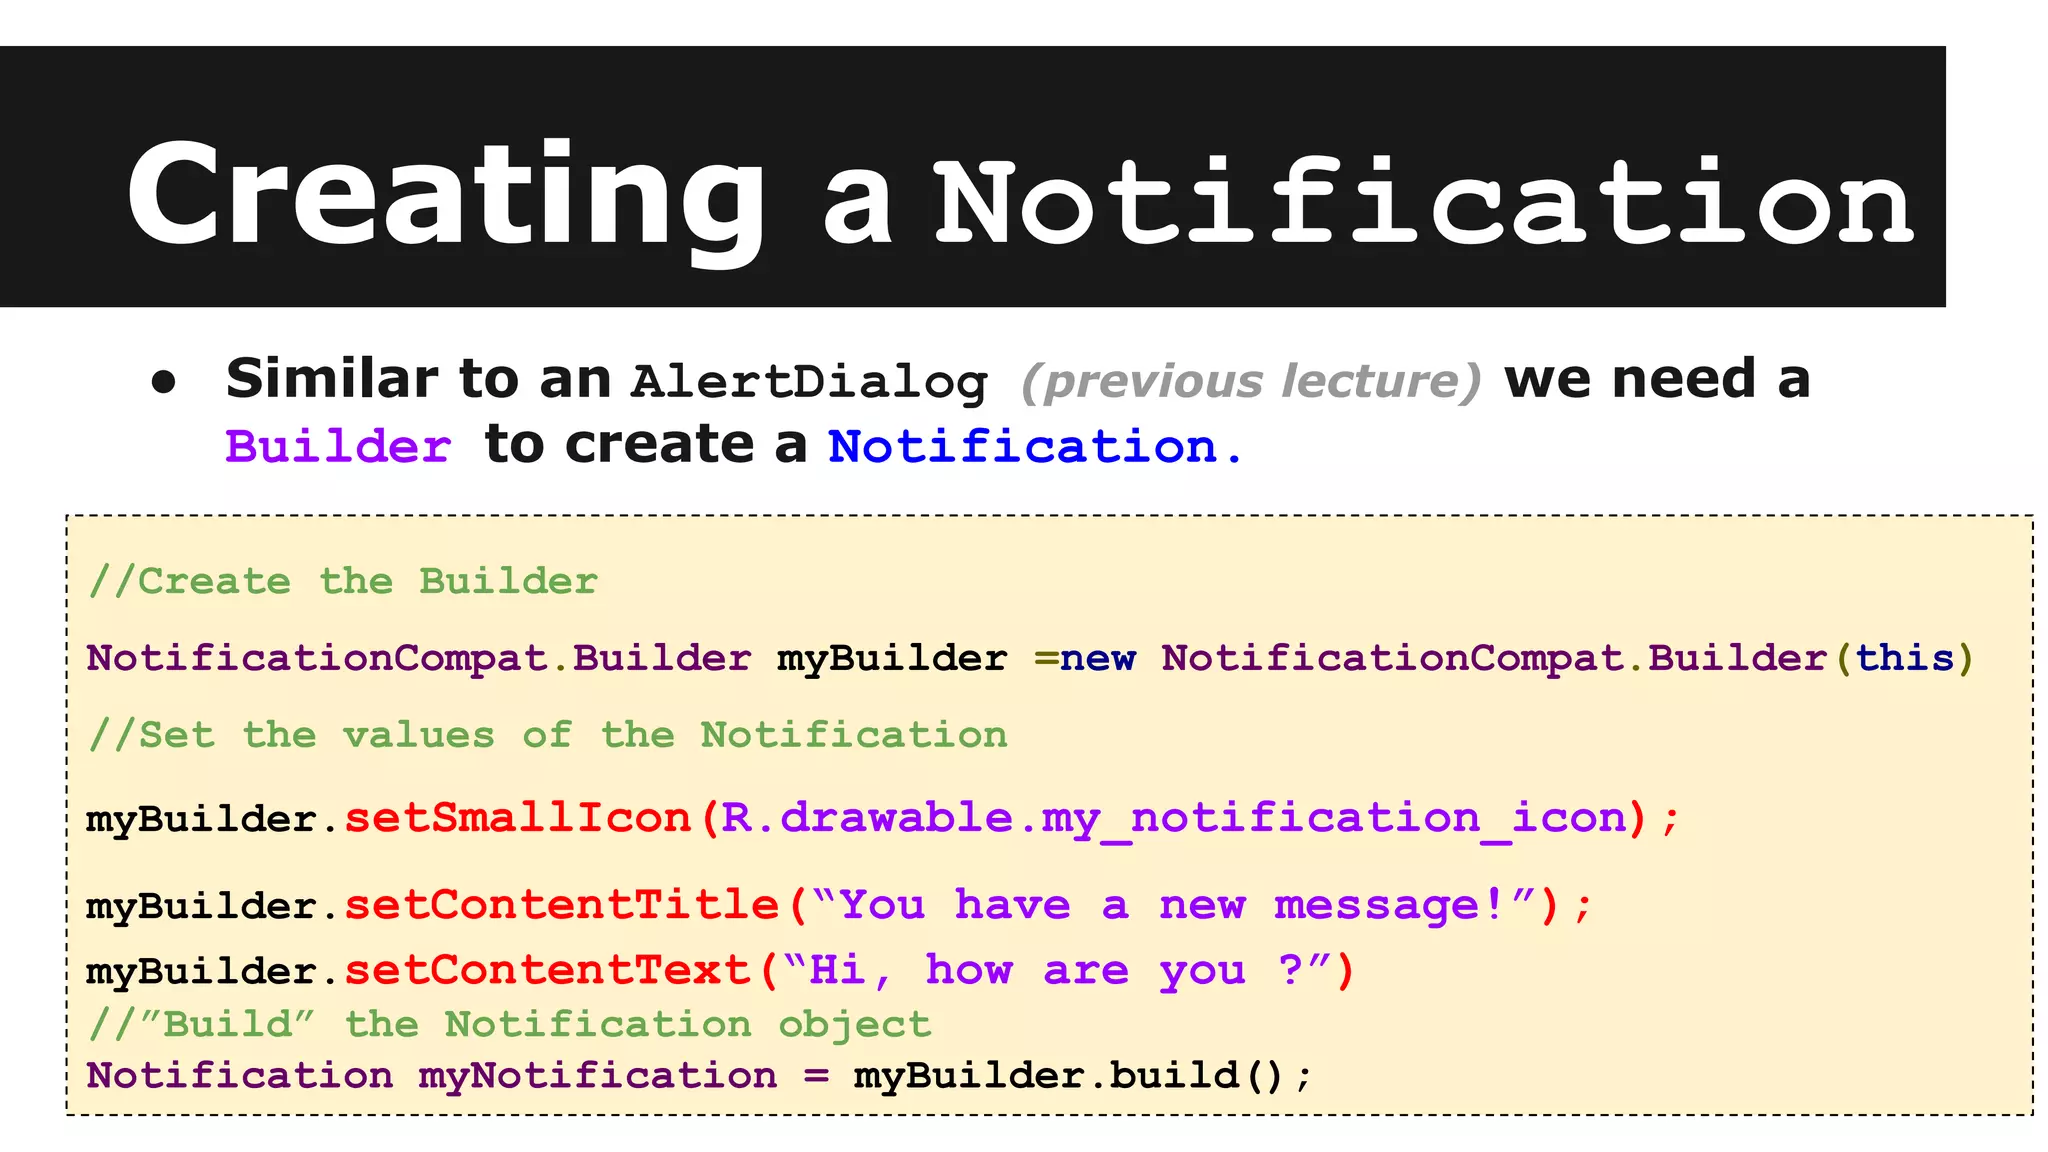
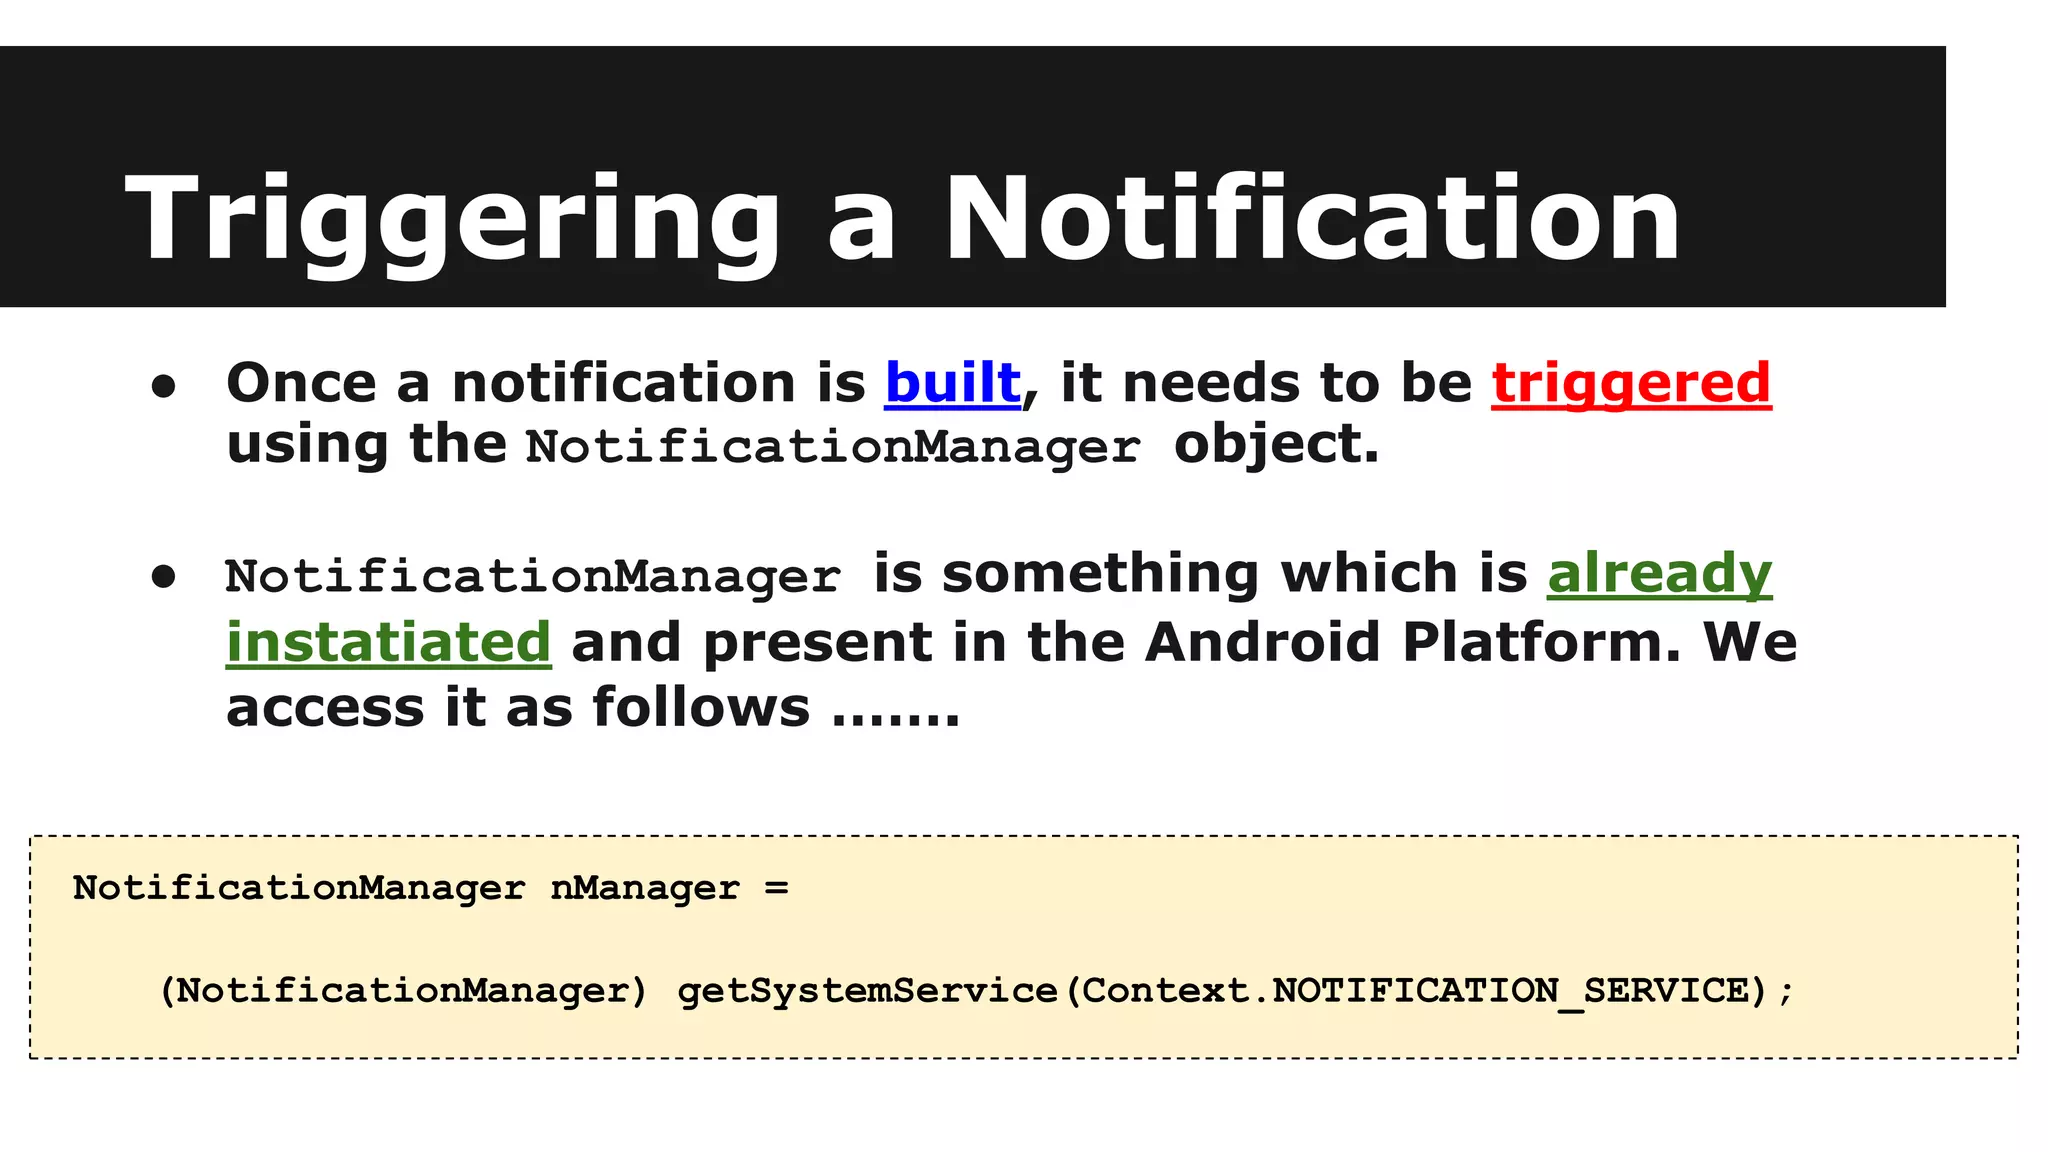
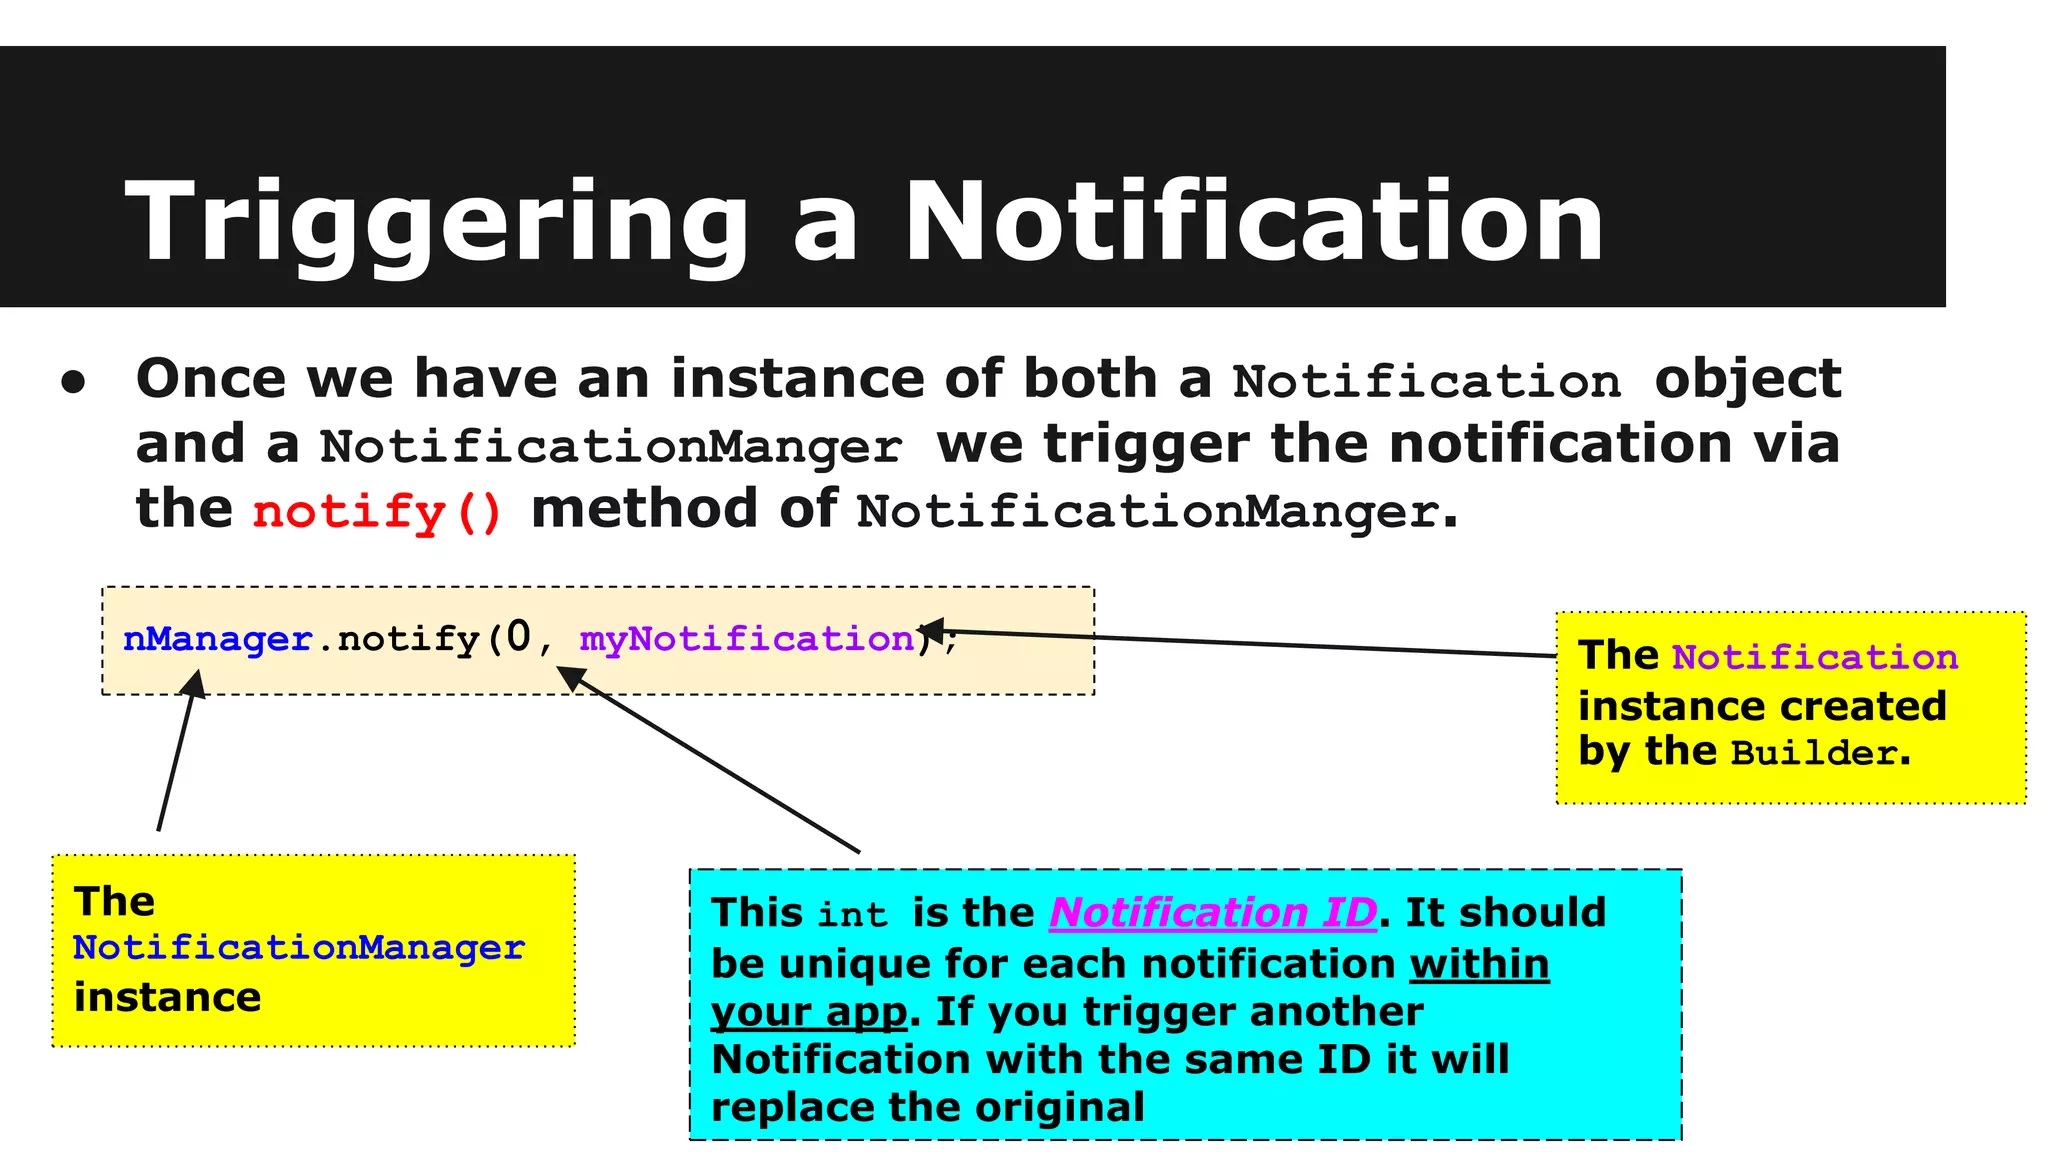
3. How to build and trigger Notifications using NotificationCompat.Builder and the NotificationManager, including required notification components.
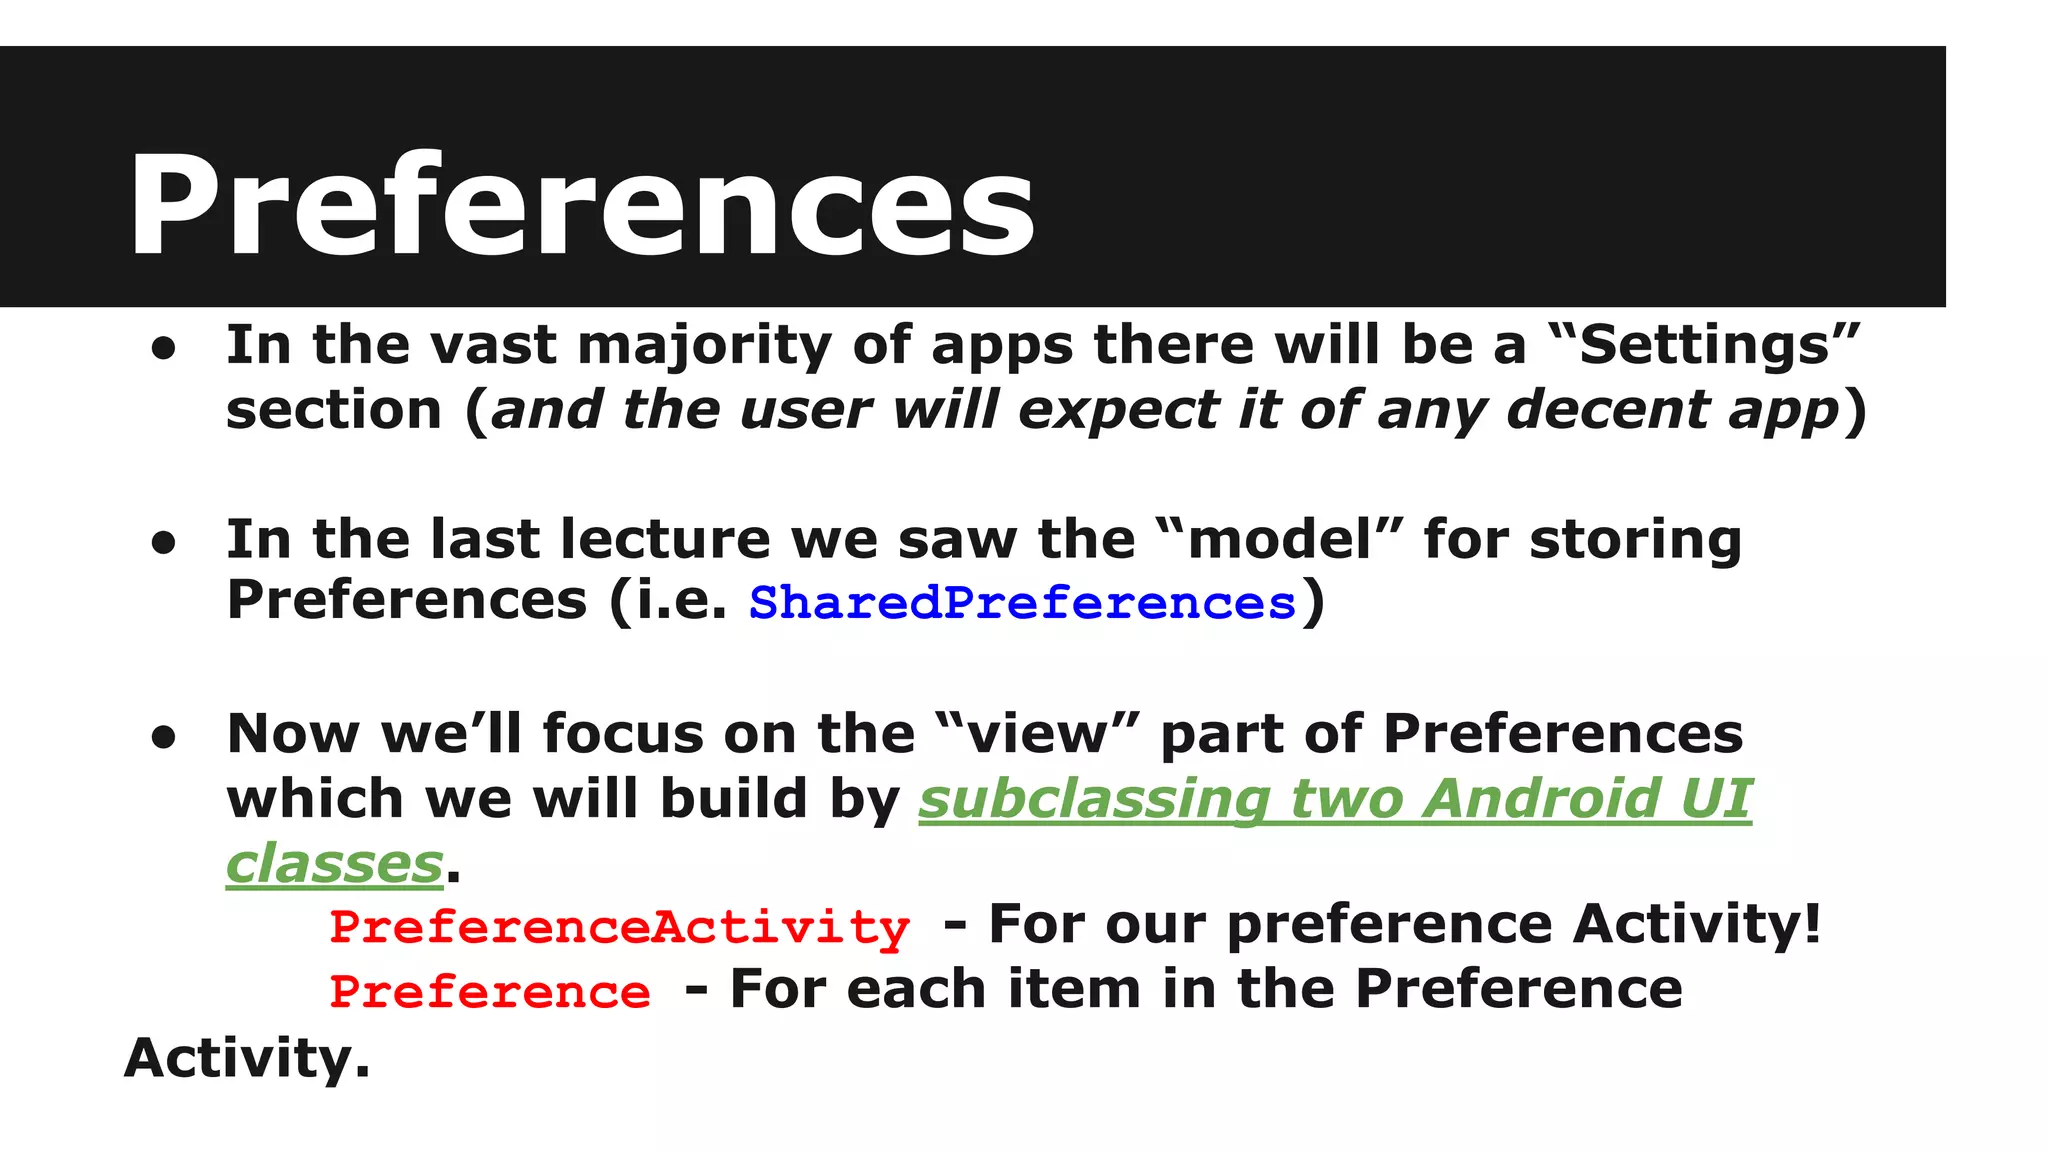
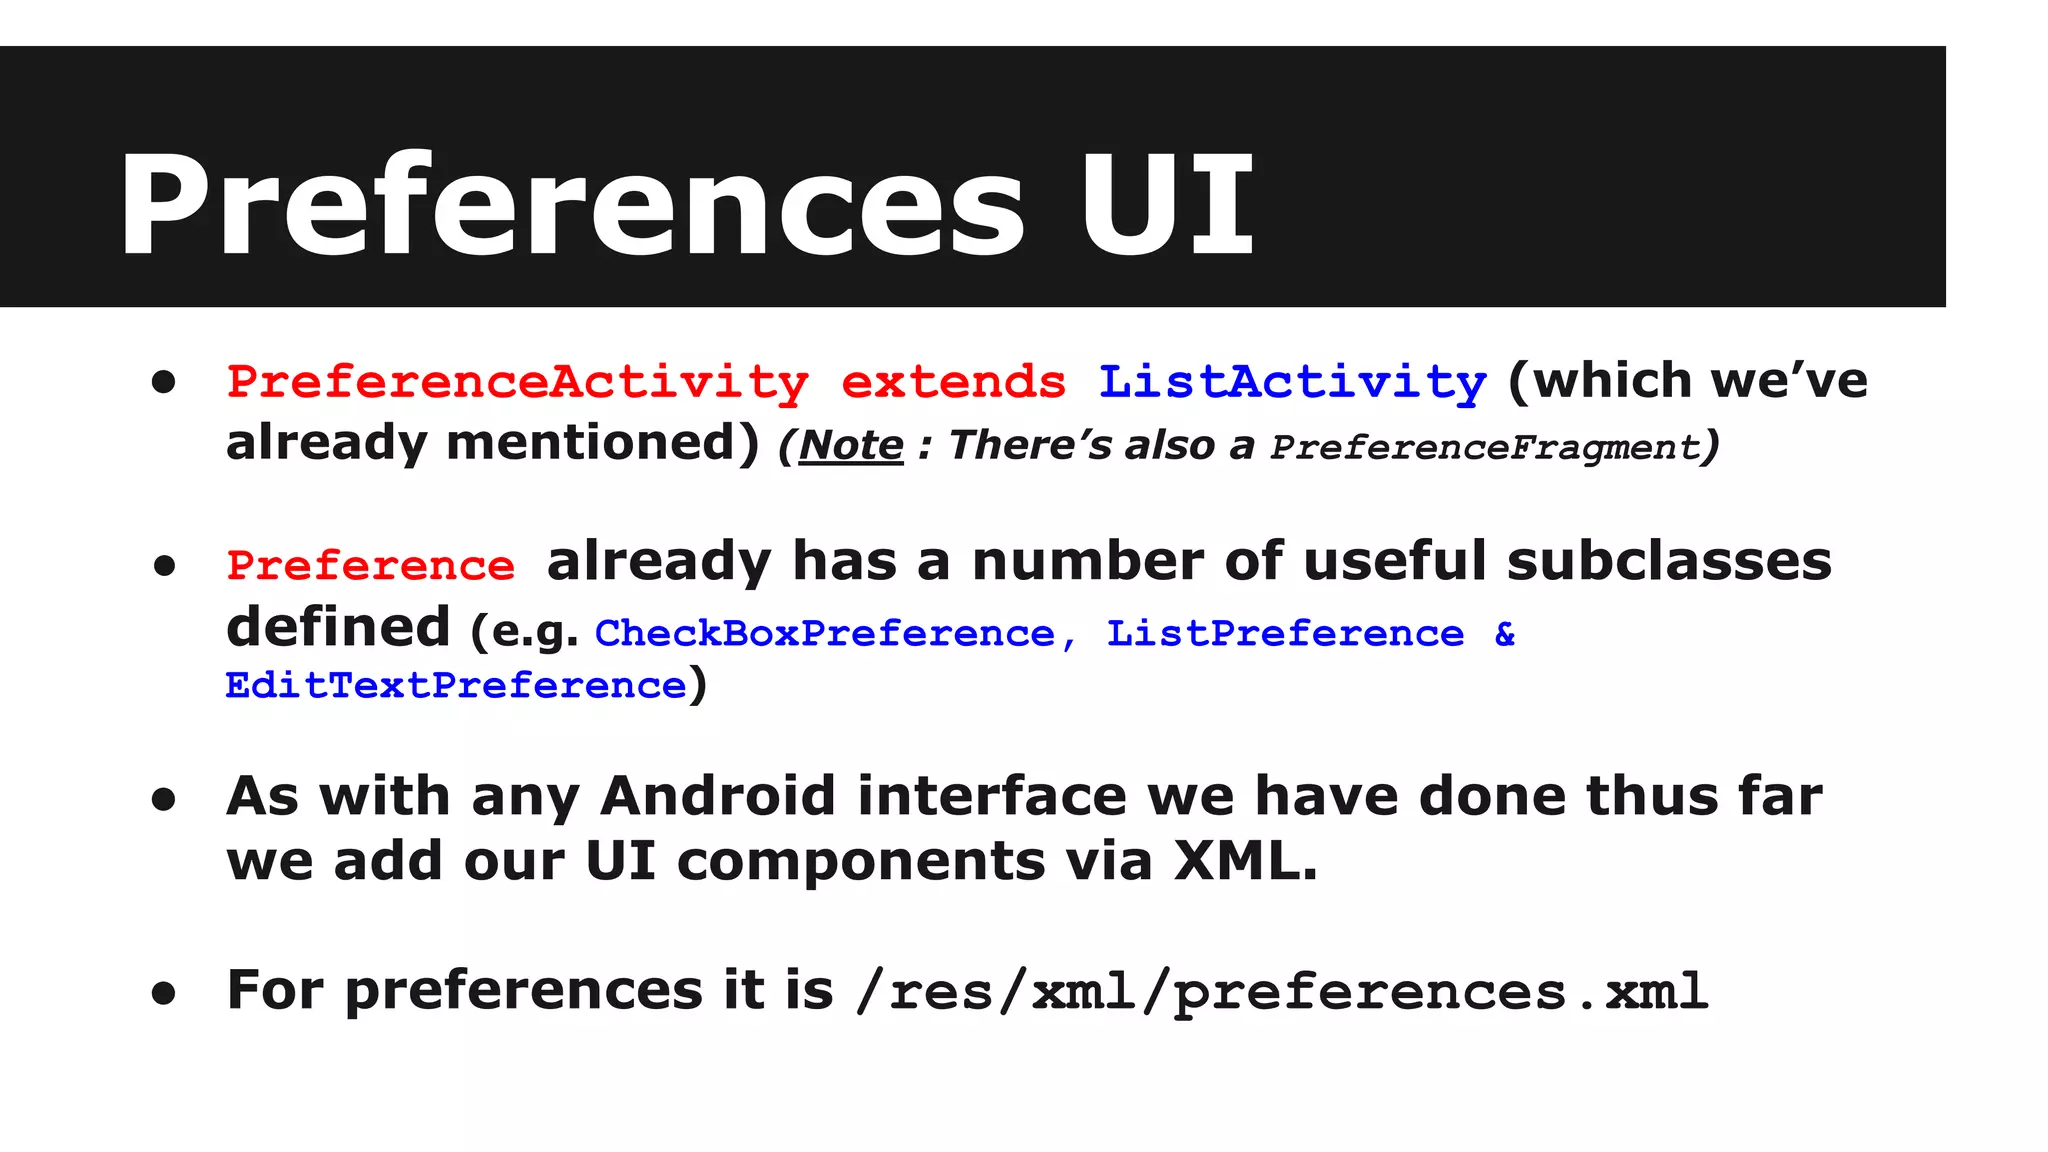
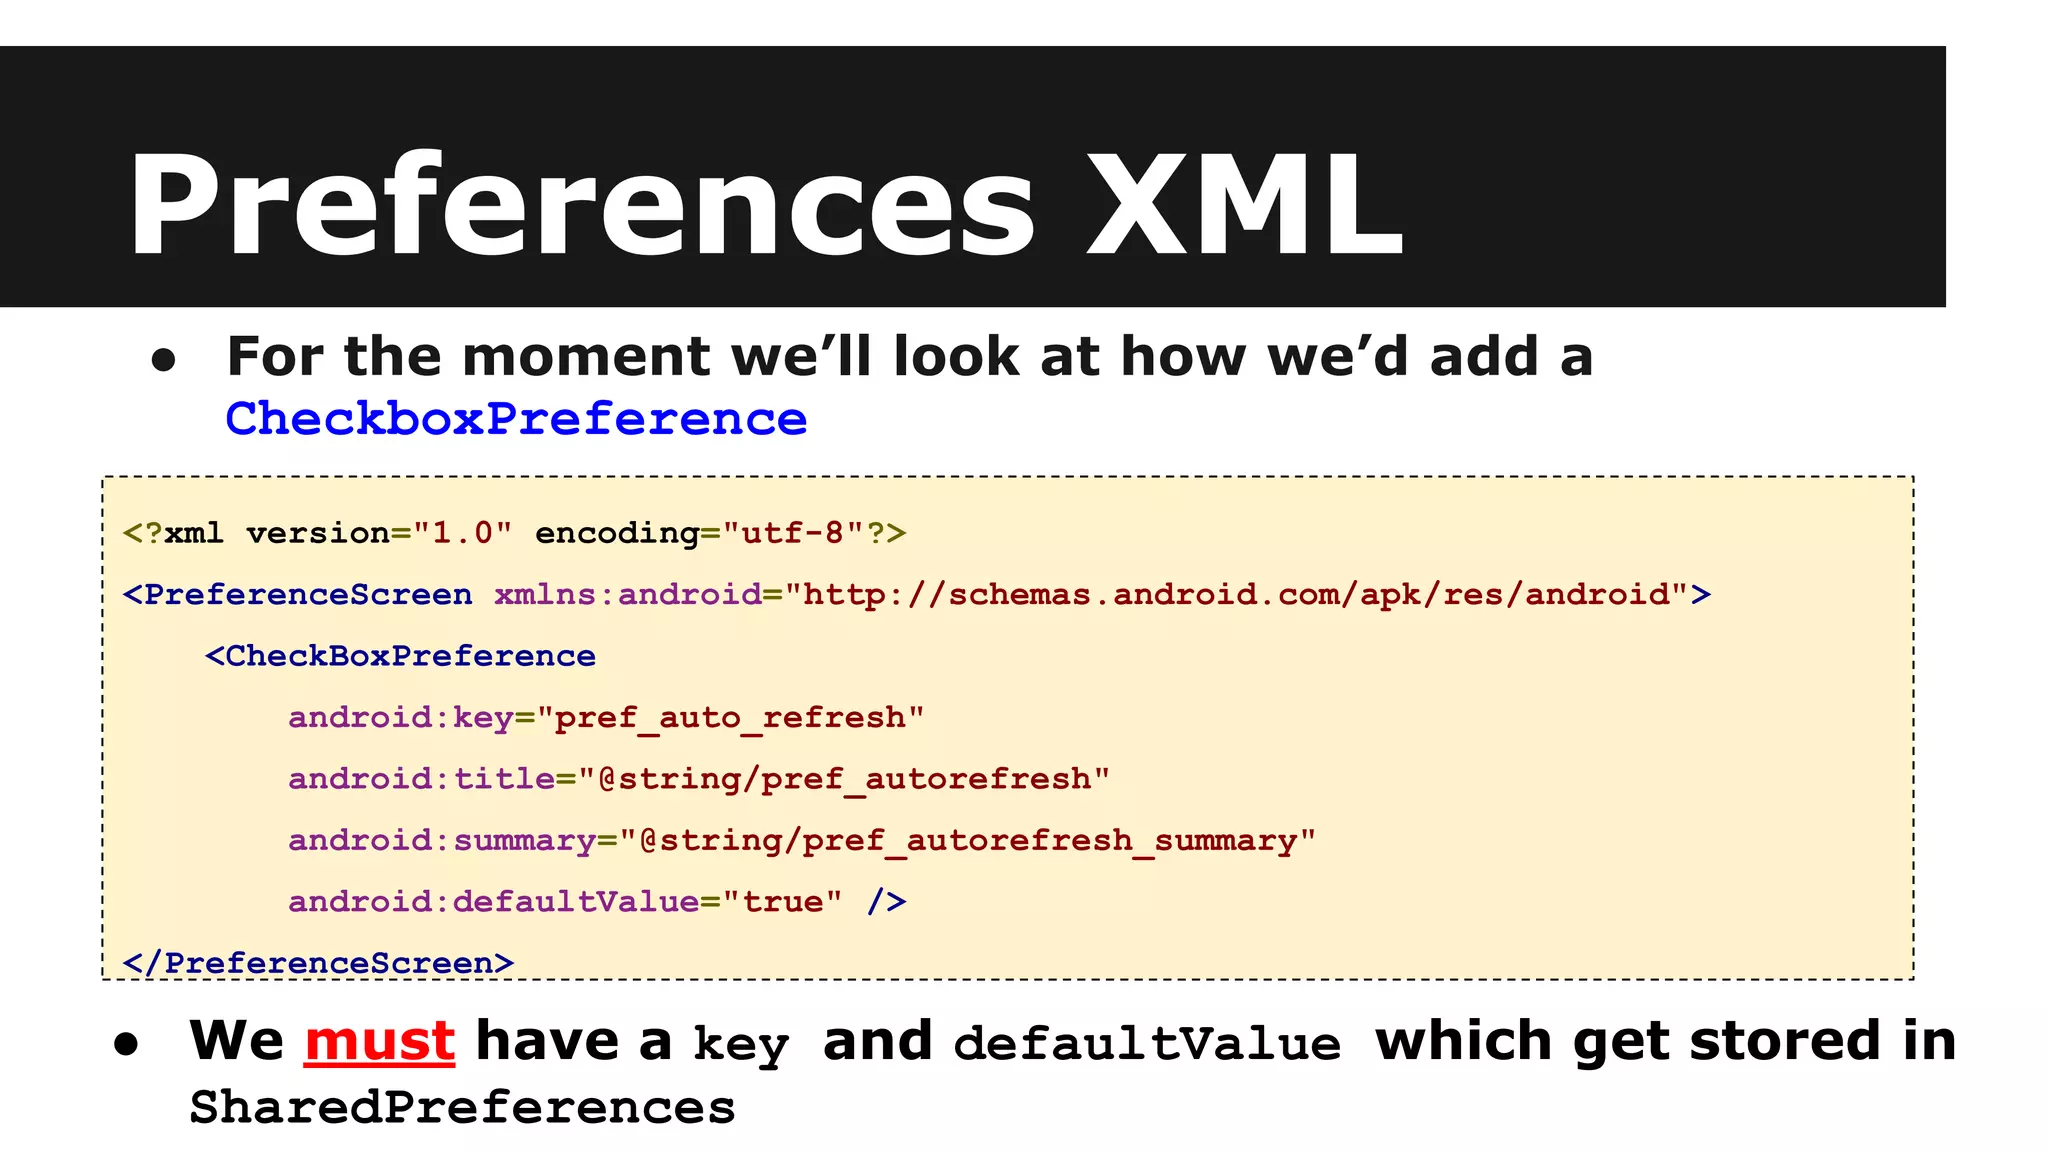
4. How to create a Preferences UI using PreferenceActivity and Preference subclasses defined in an XML preferences file.