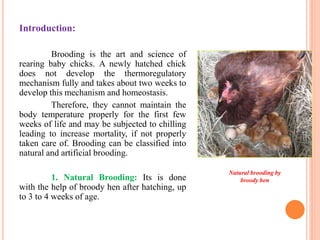
1) Brooding is the process of rearing baby chicks and involves maintaining their body temperature for the first few weeks until they can regulate it themselves. It can be done naturally with a broody hen or artificially.
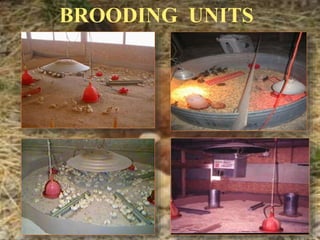
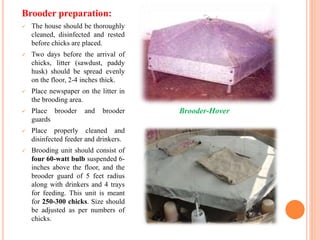
2) Artificial brooding uses equipment like brooders, which have a heating source, reflectors, and guards. Brooders must be prepared with litter, feeders, and heat lamps adjusted to the ideal tapering temperatures from 95°F in the first week down to 70°F.
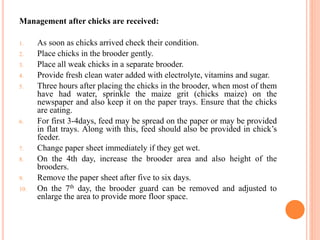
3) New chicks require careful management like proper placement, initial feeding, adjusting the brooder space as they grow, and preventing overcrowding or dust to avoid health issues. Lighting should be