Downloaded 346 times

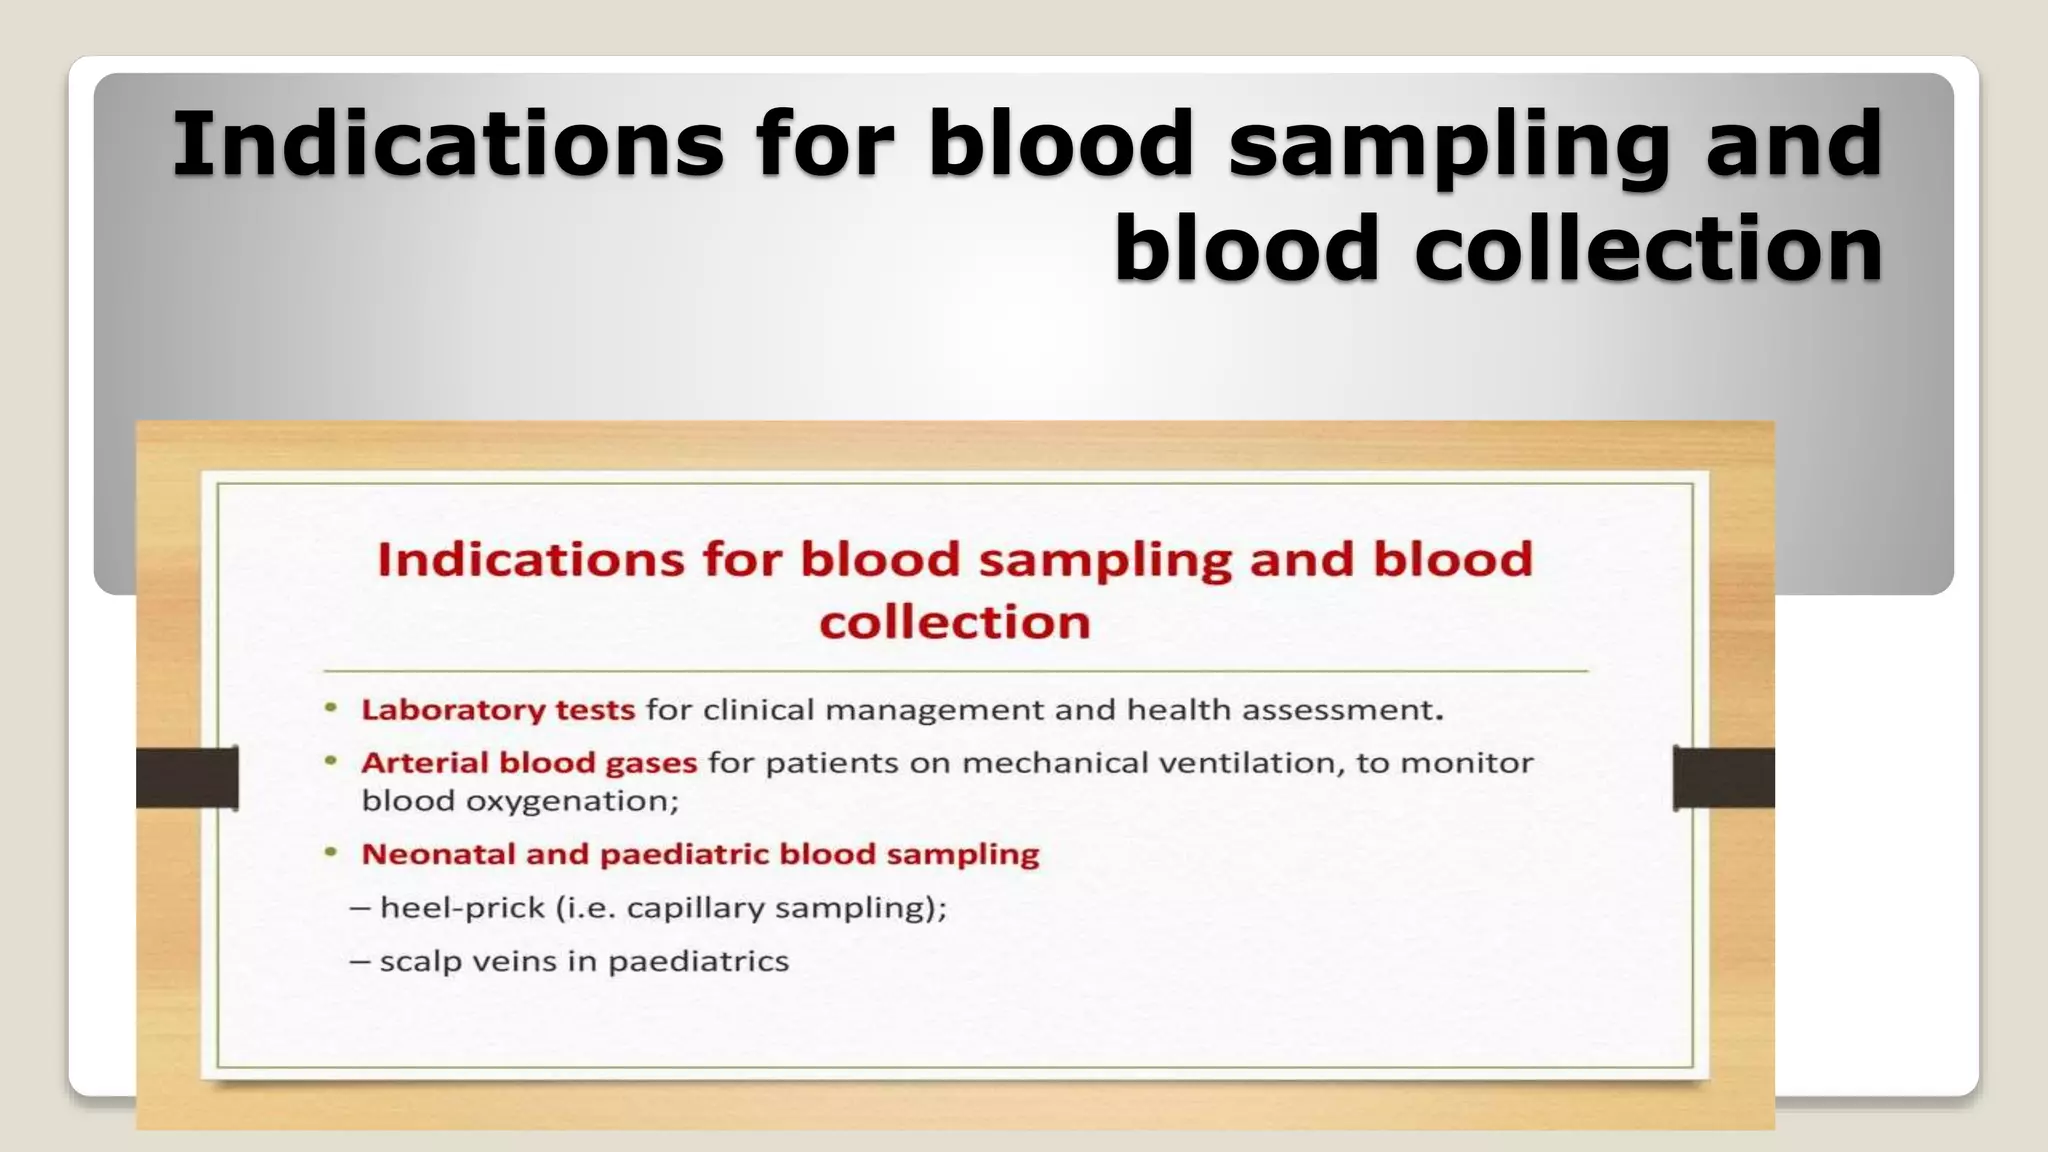

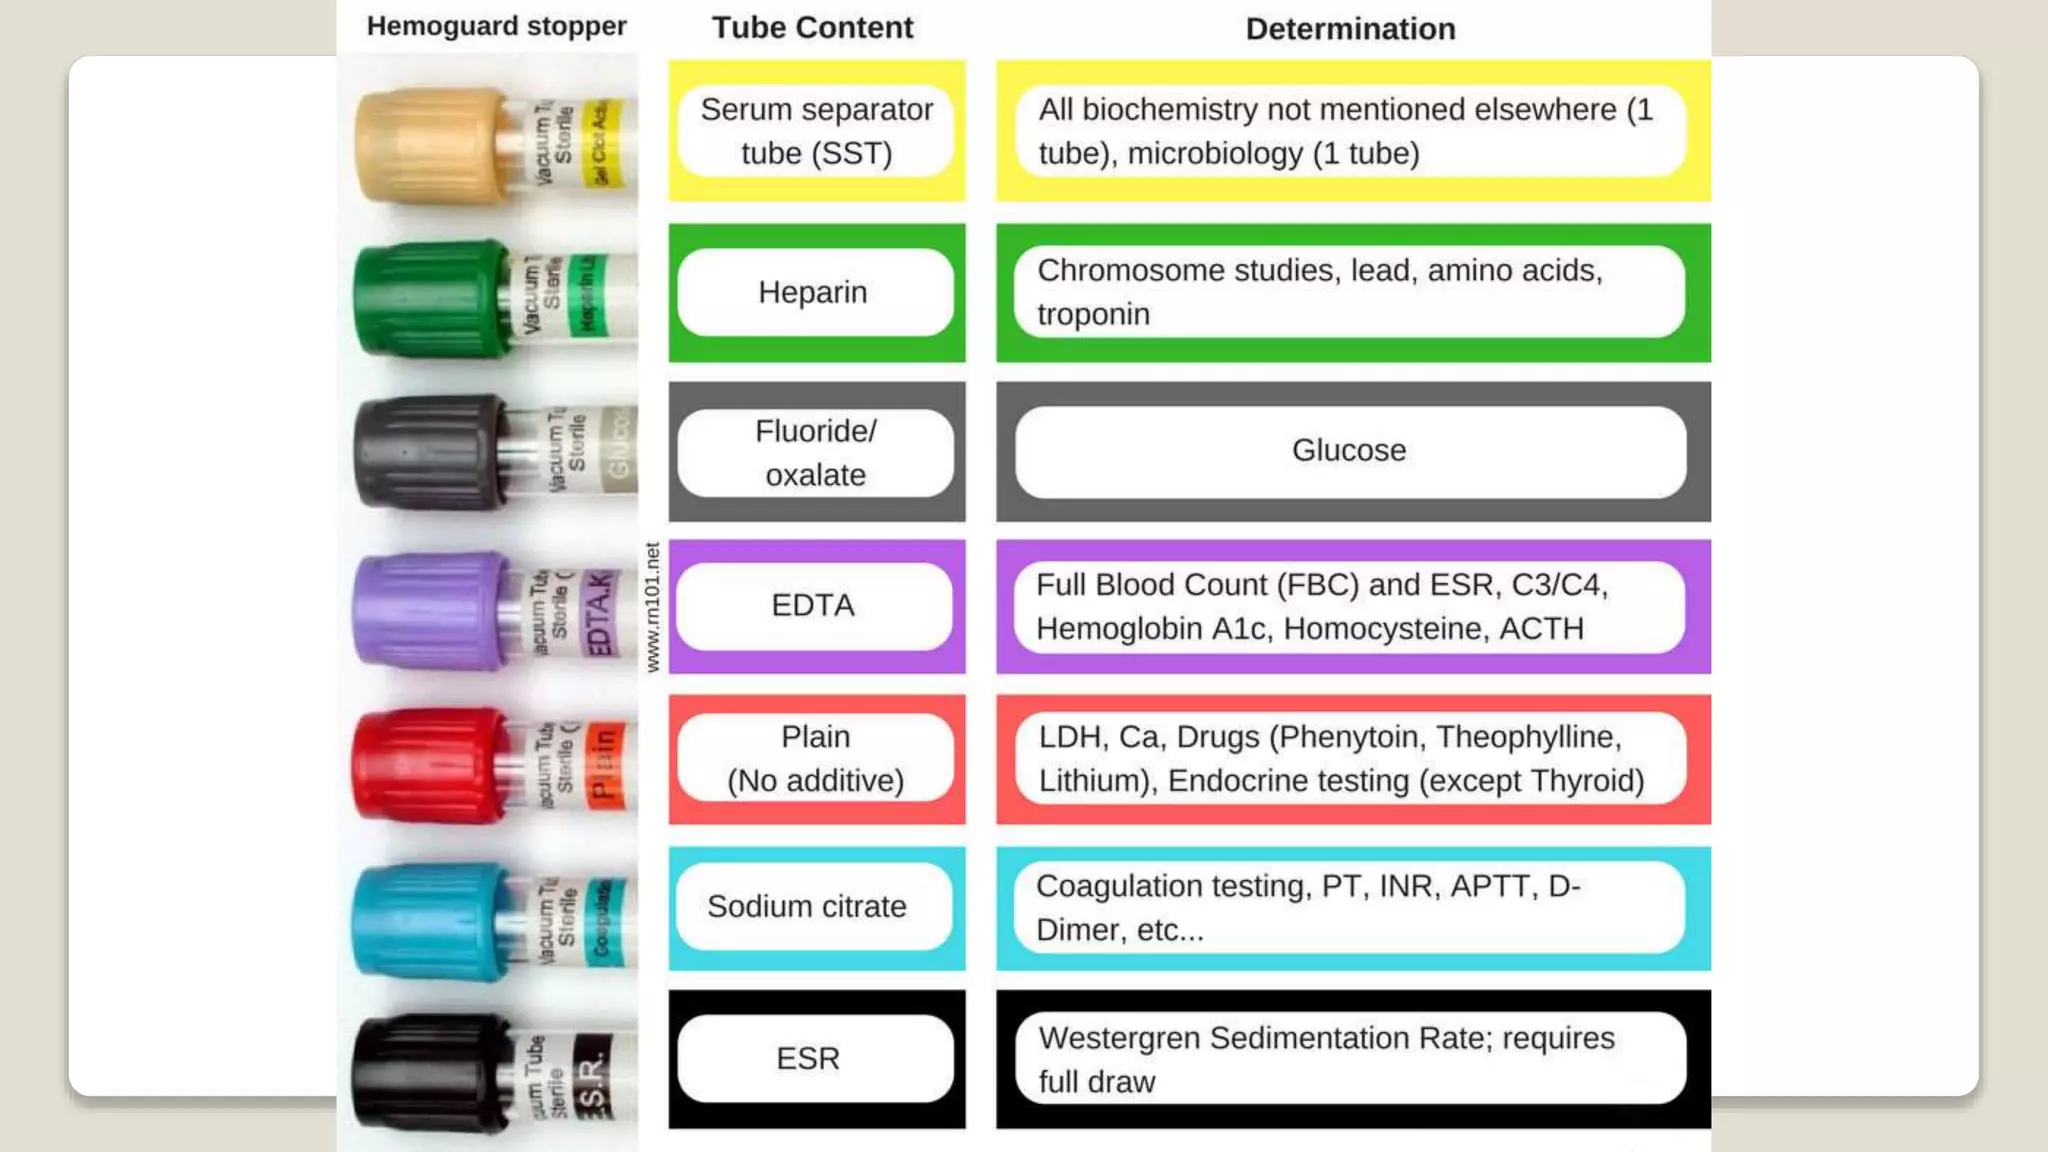


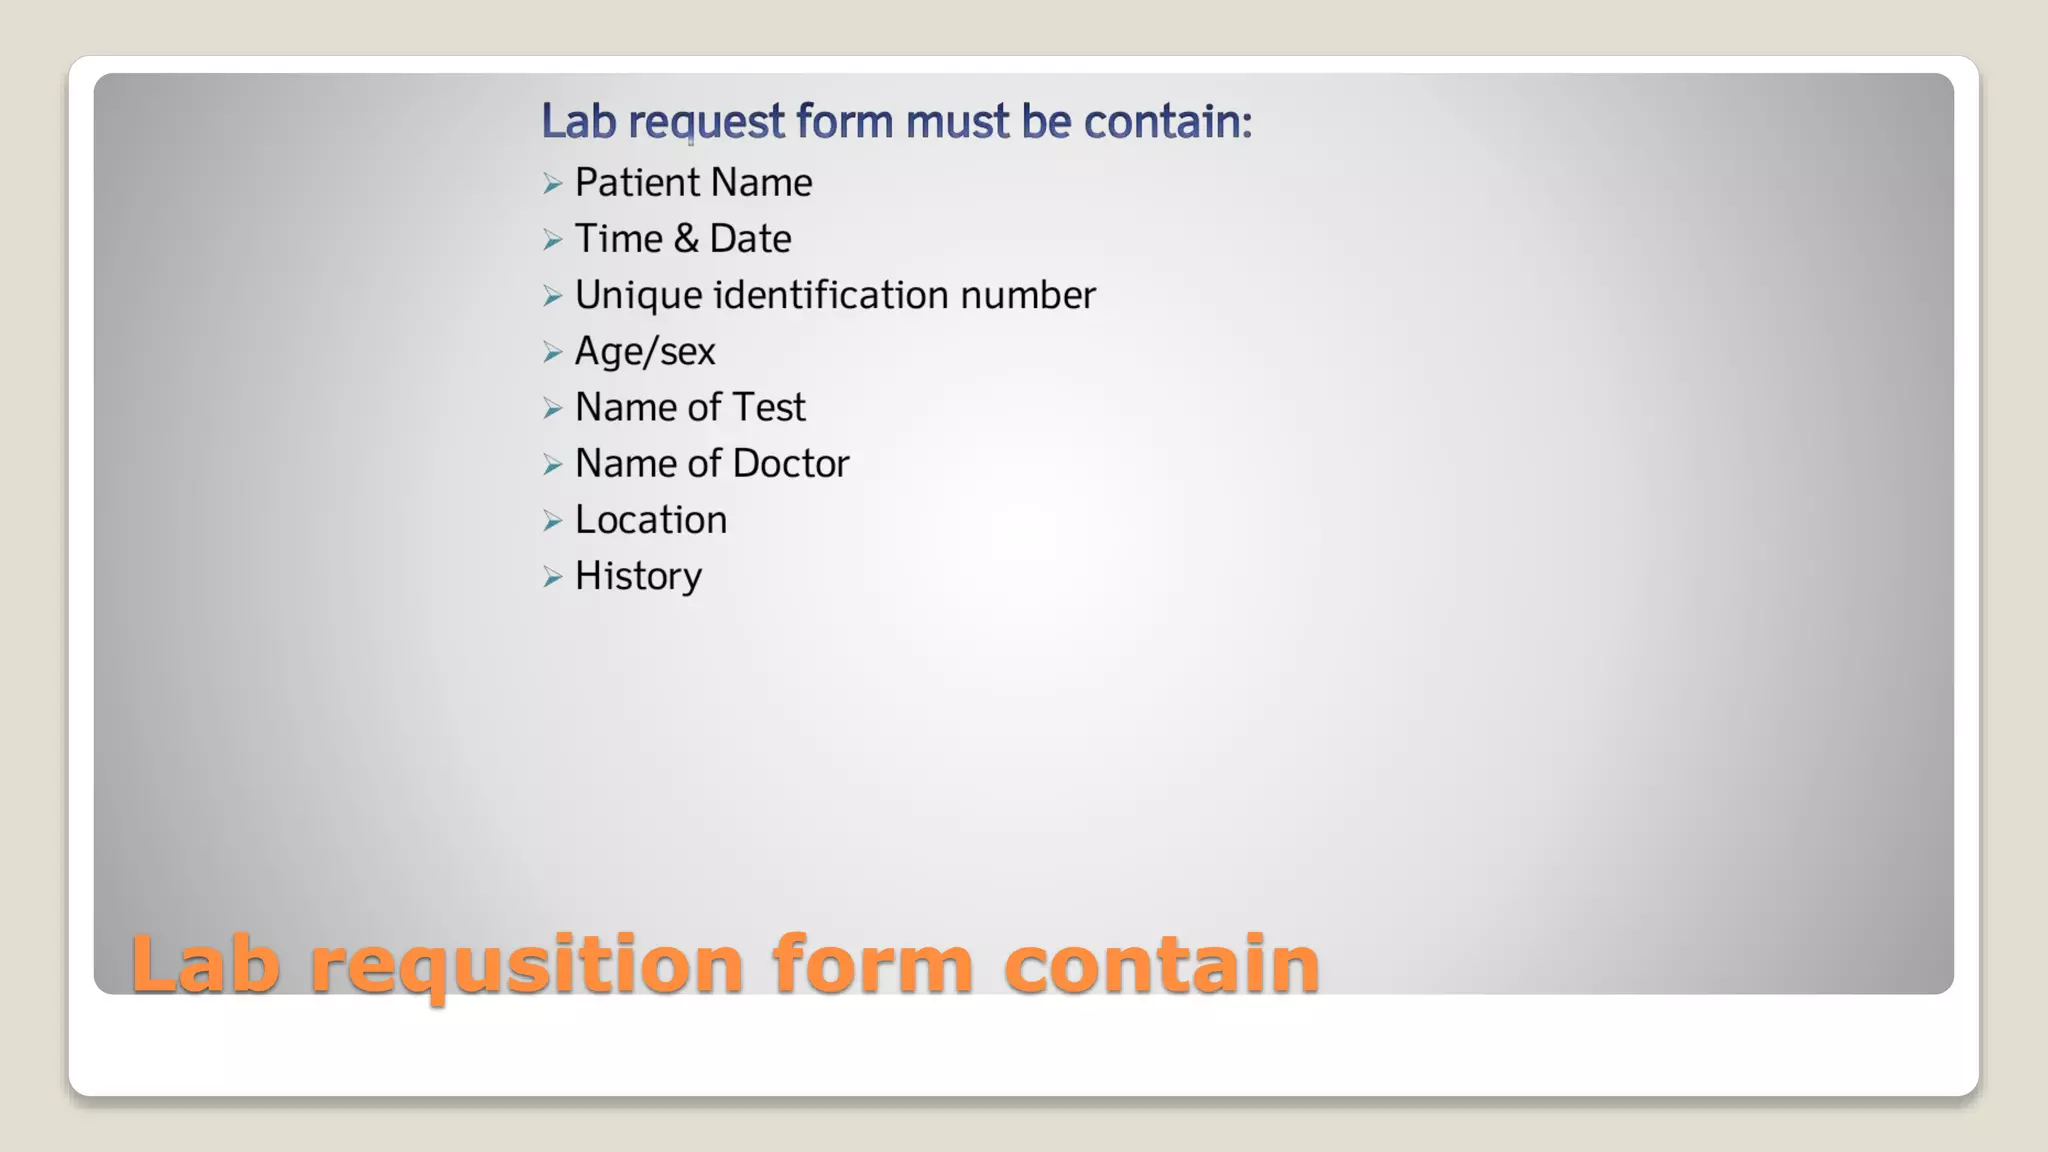

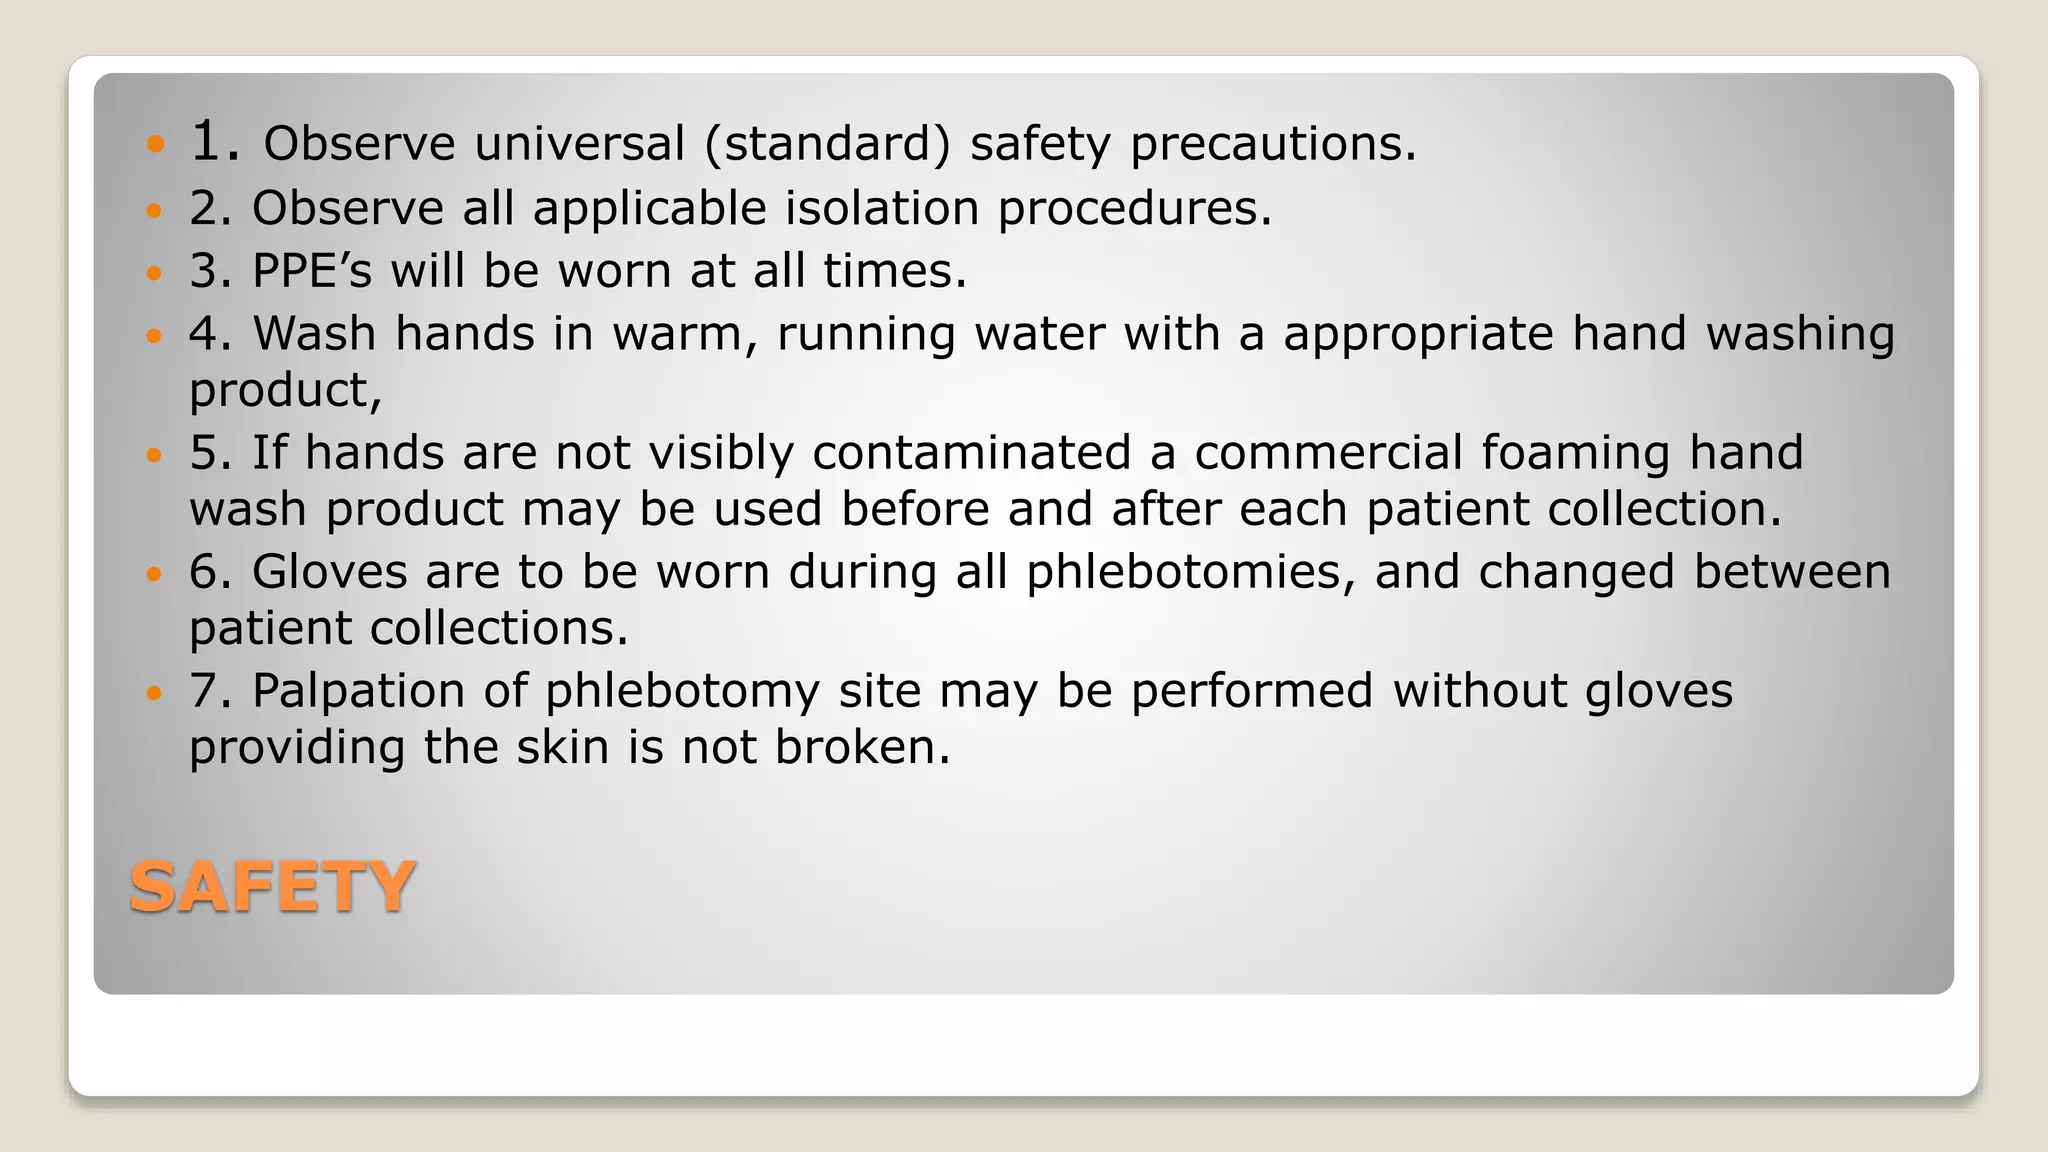


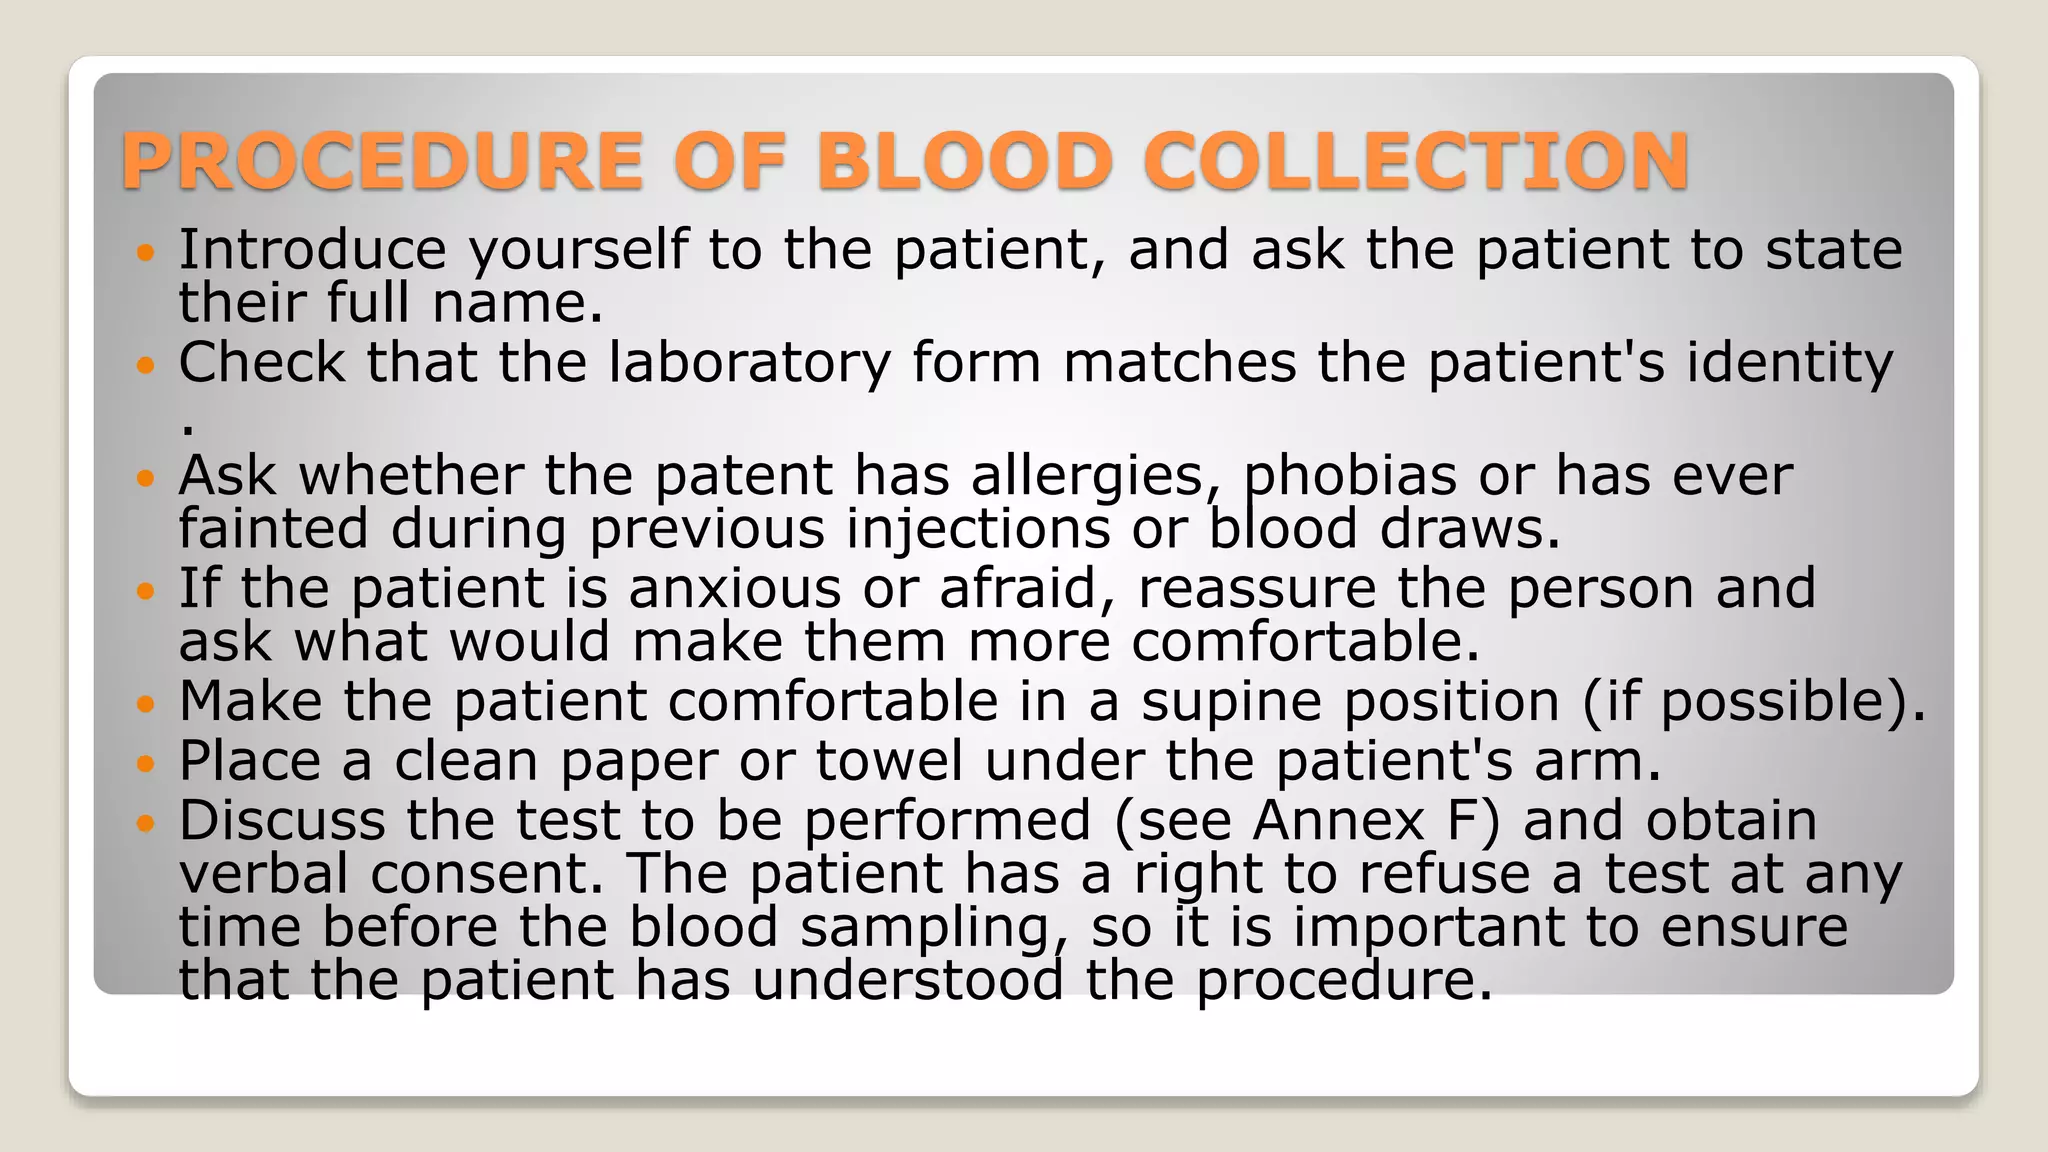


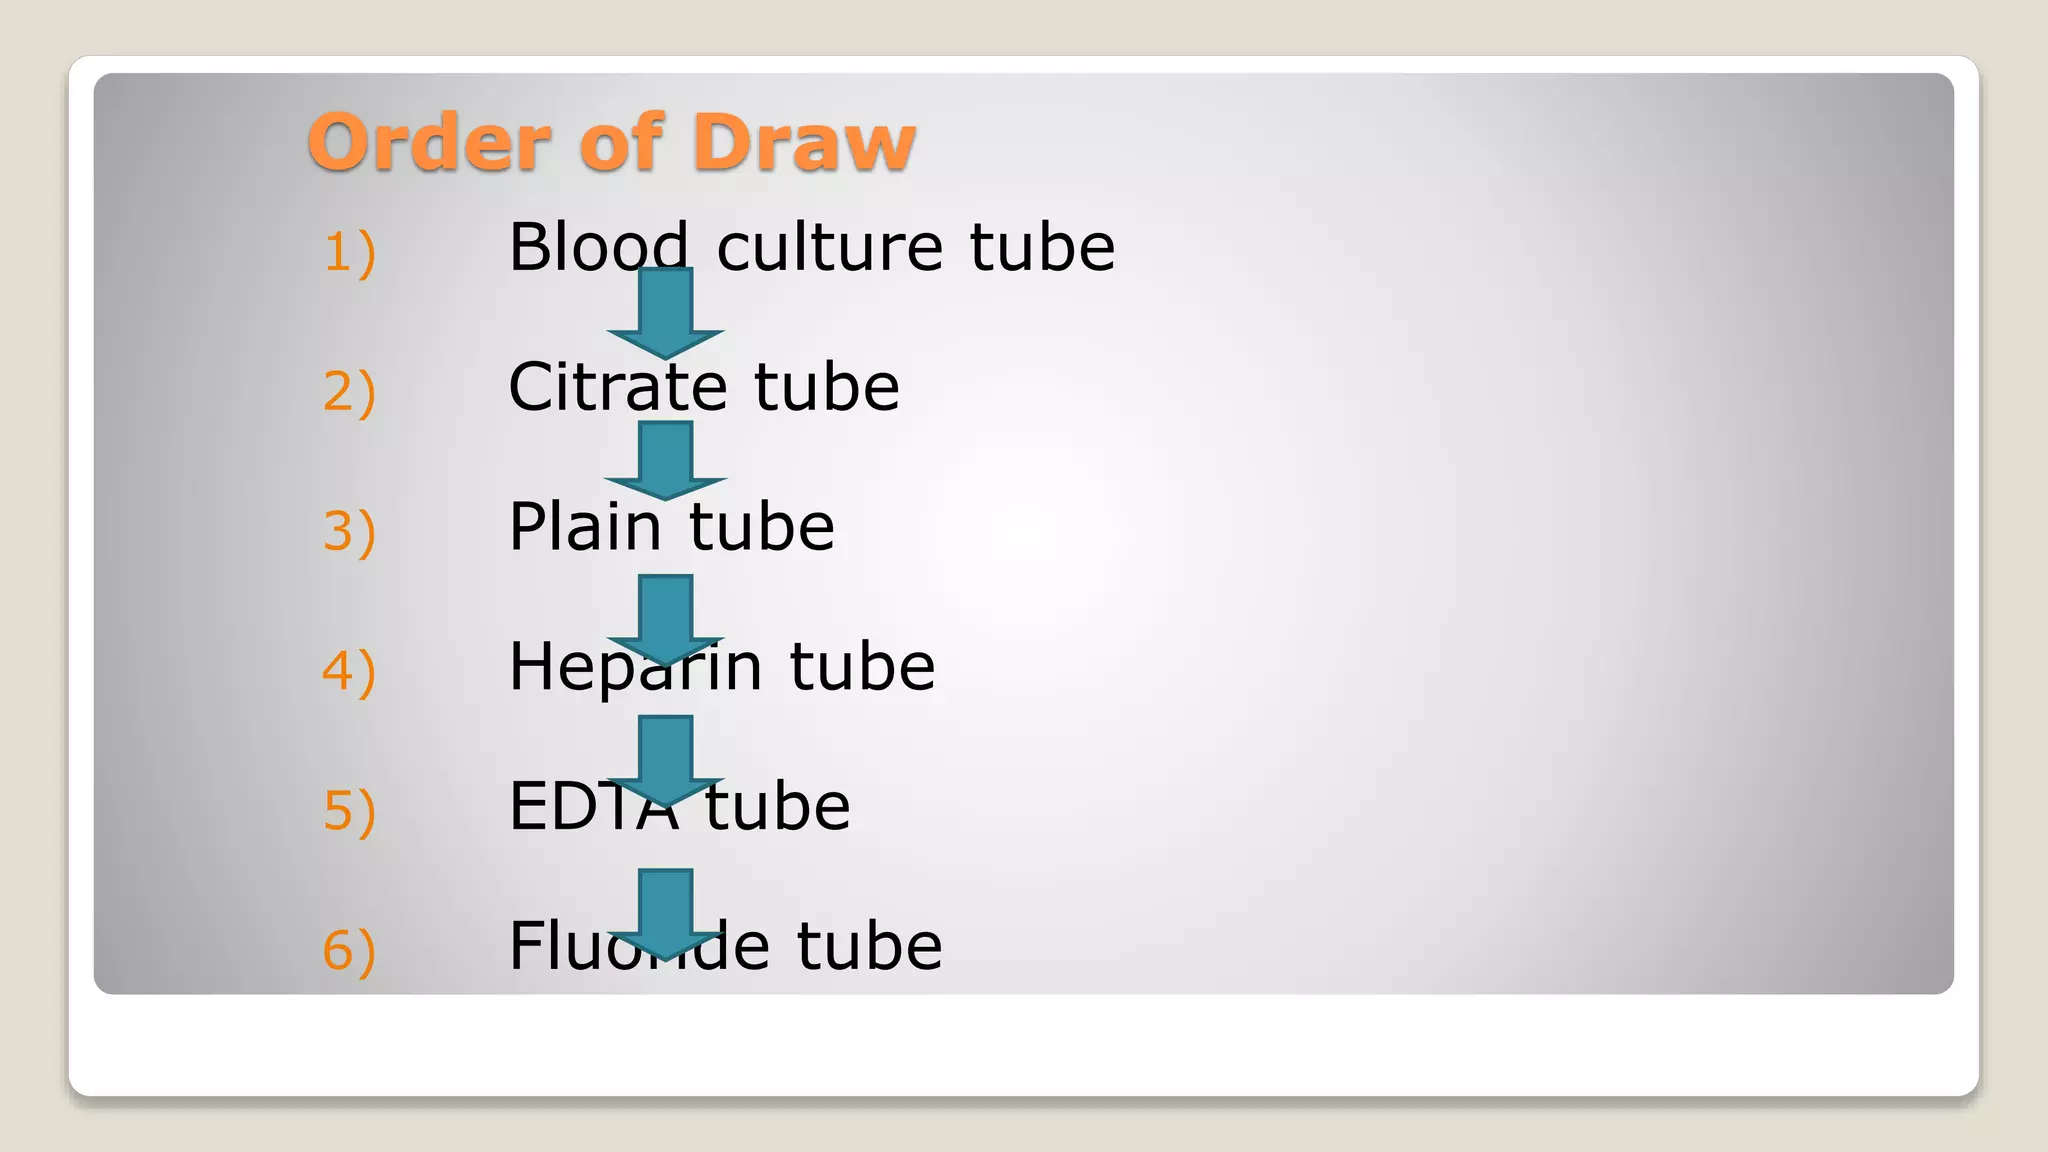


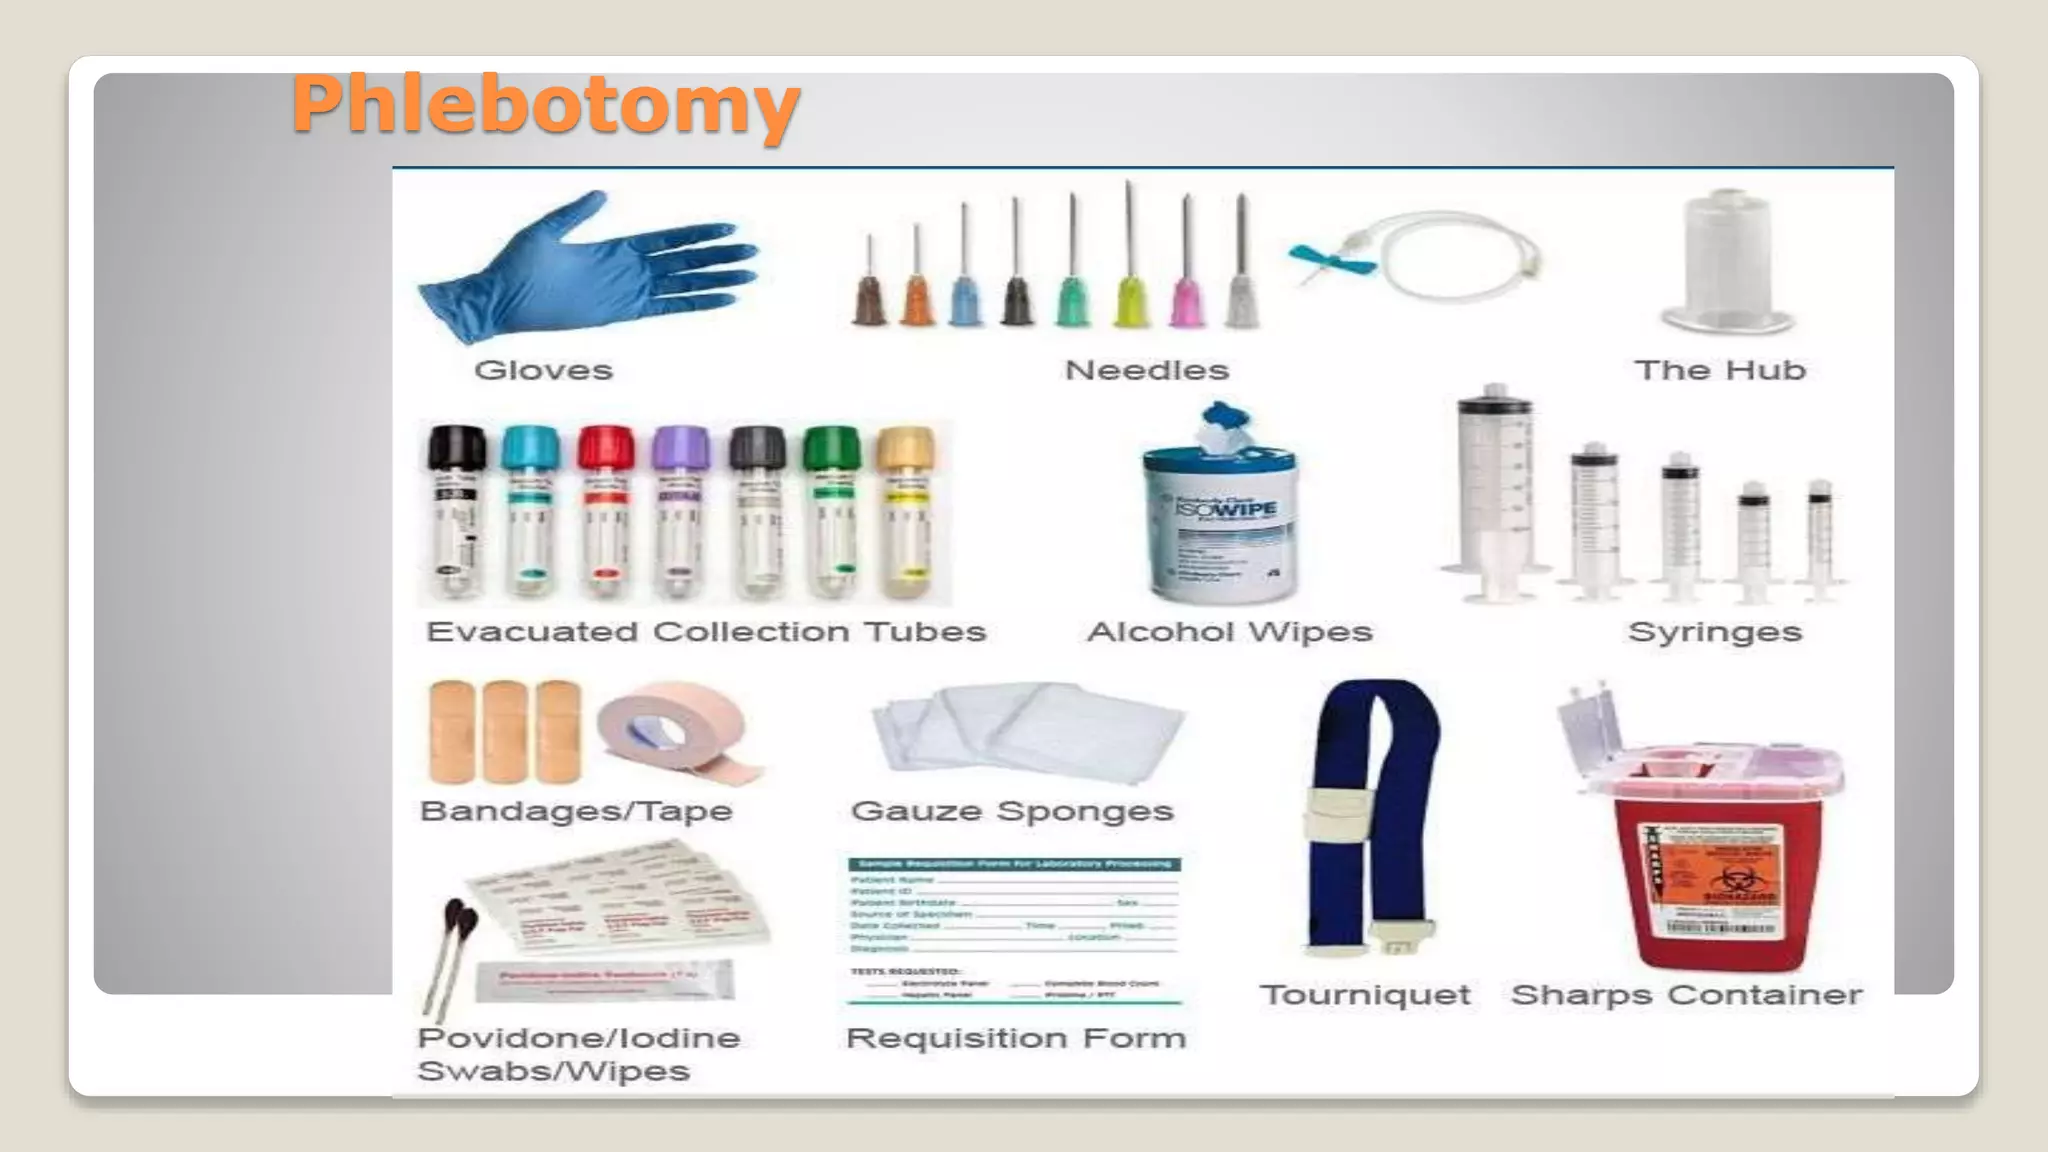
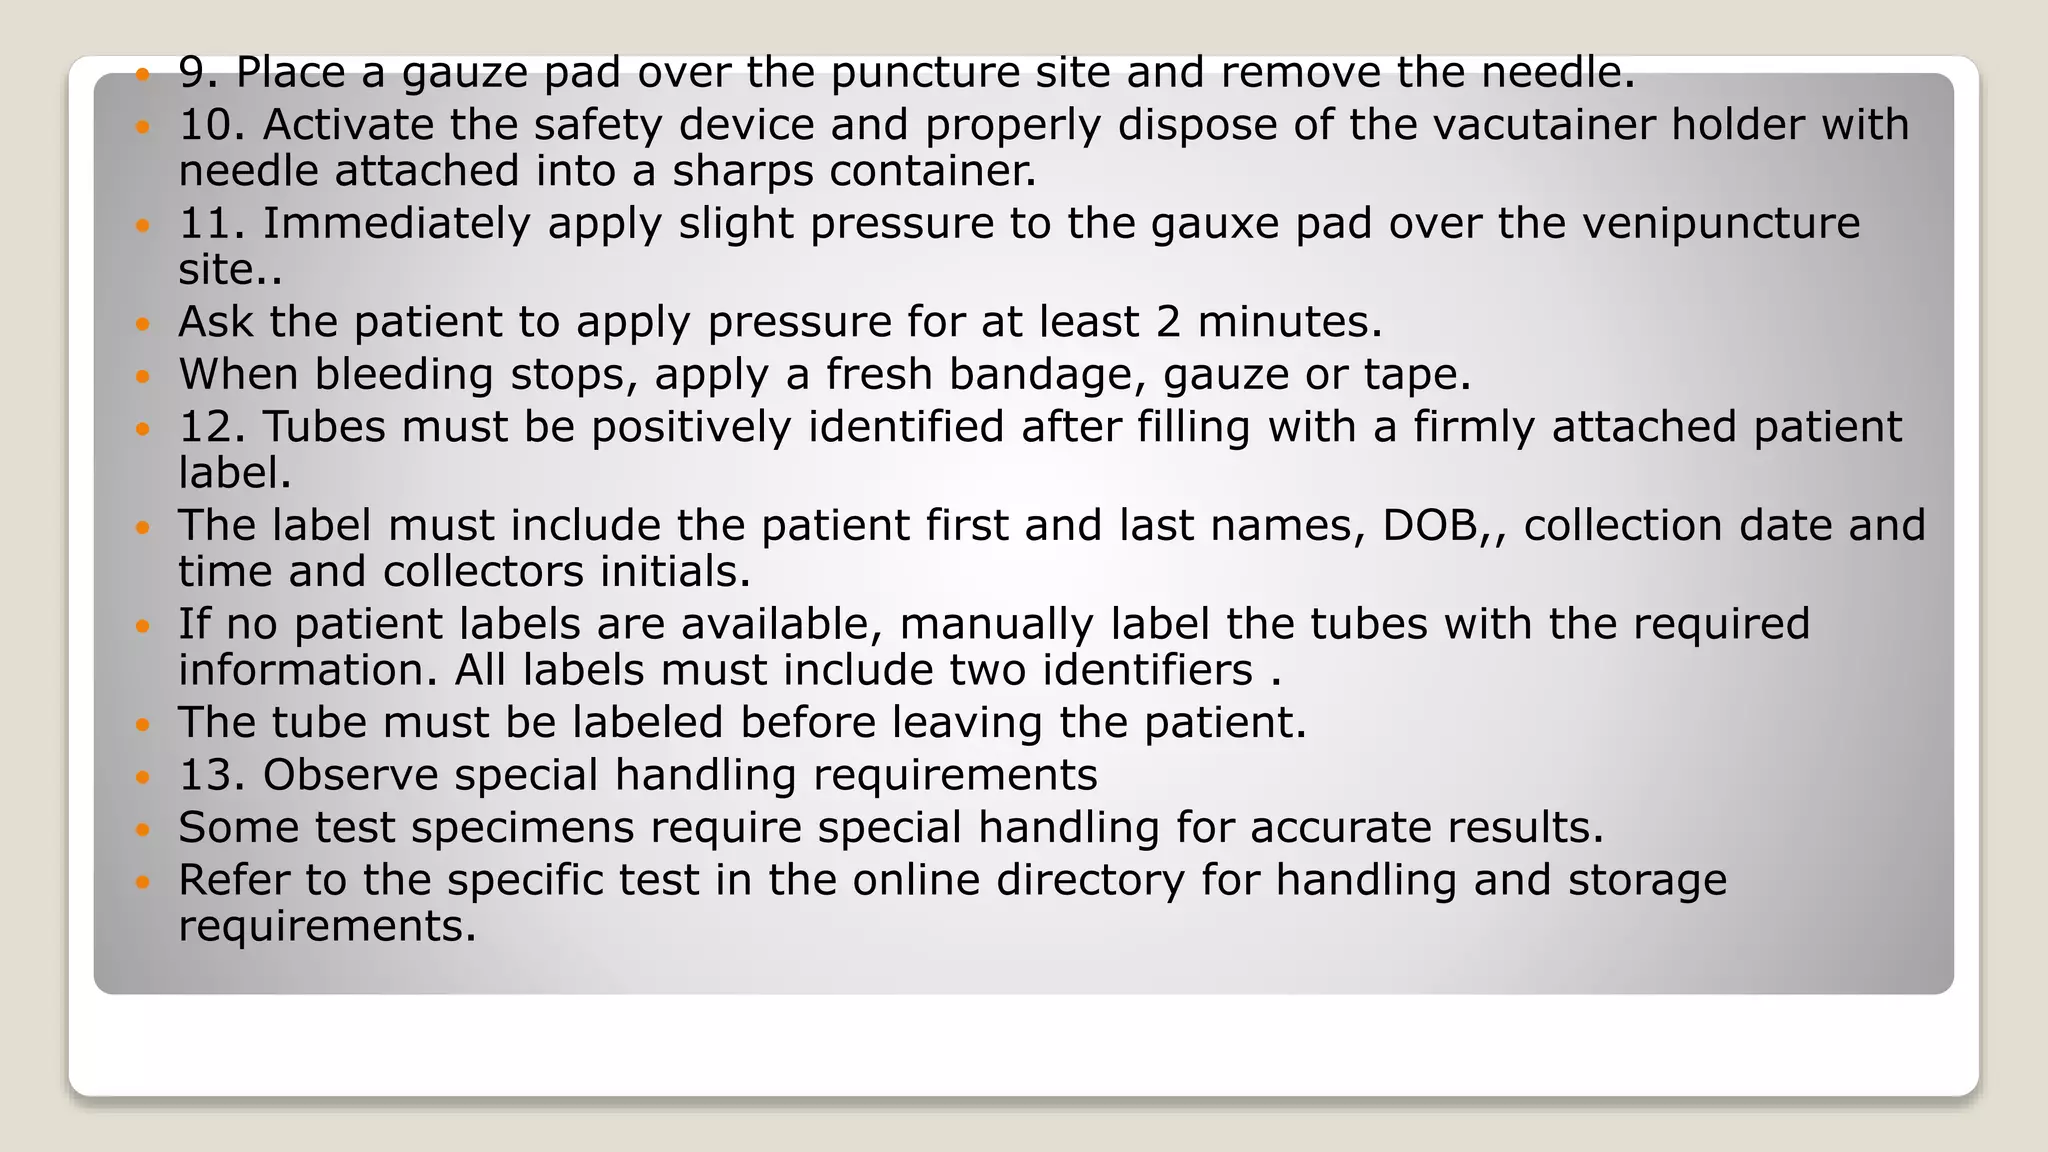


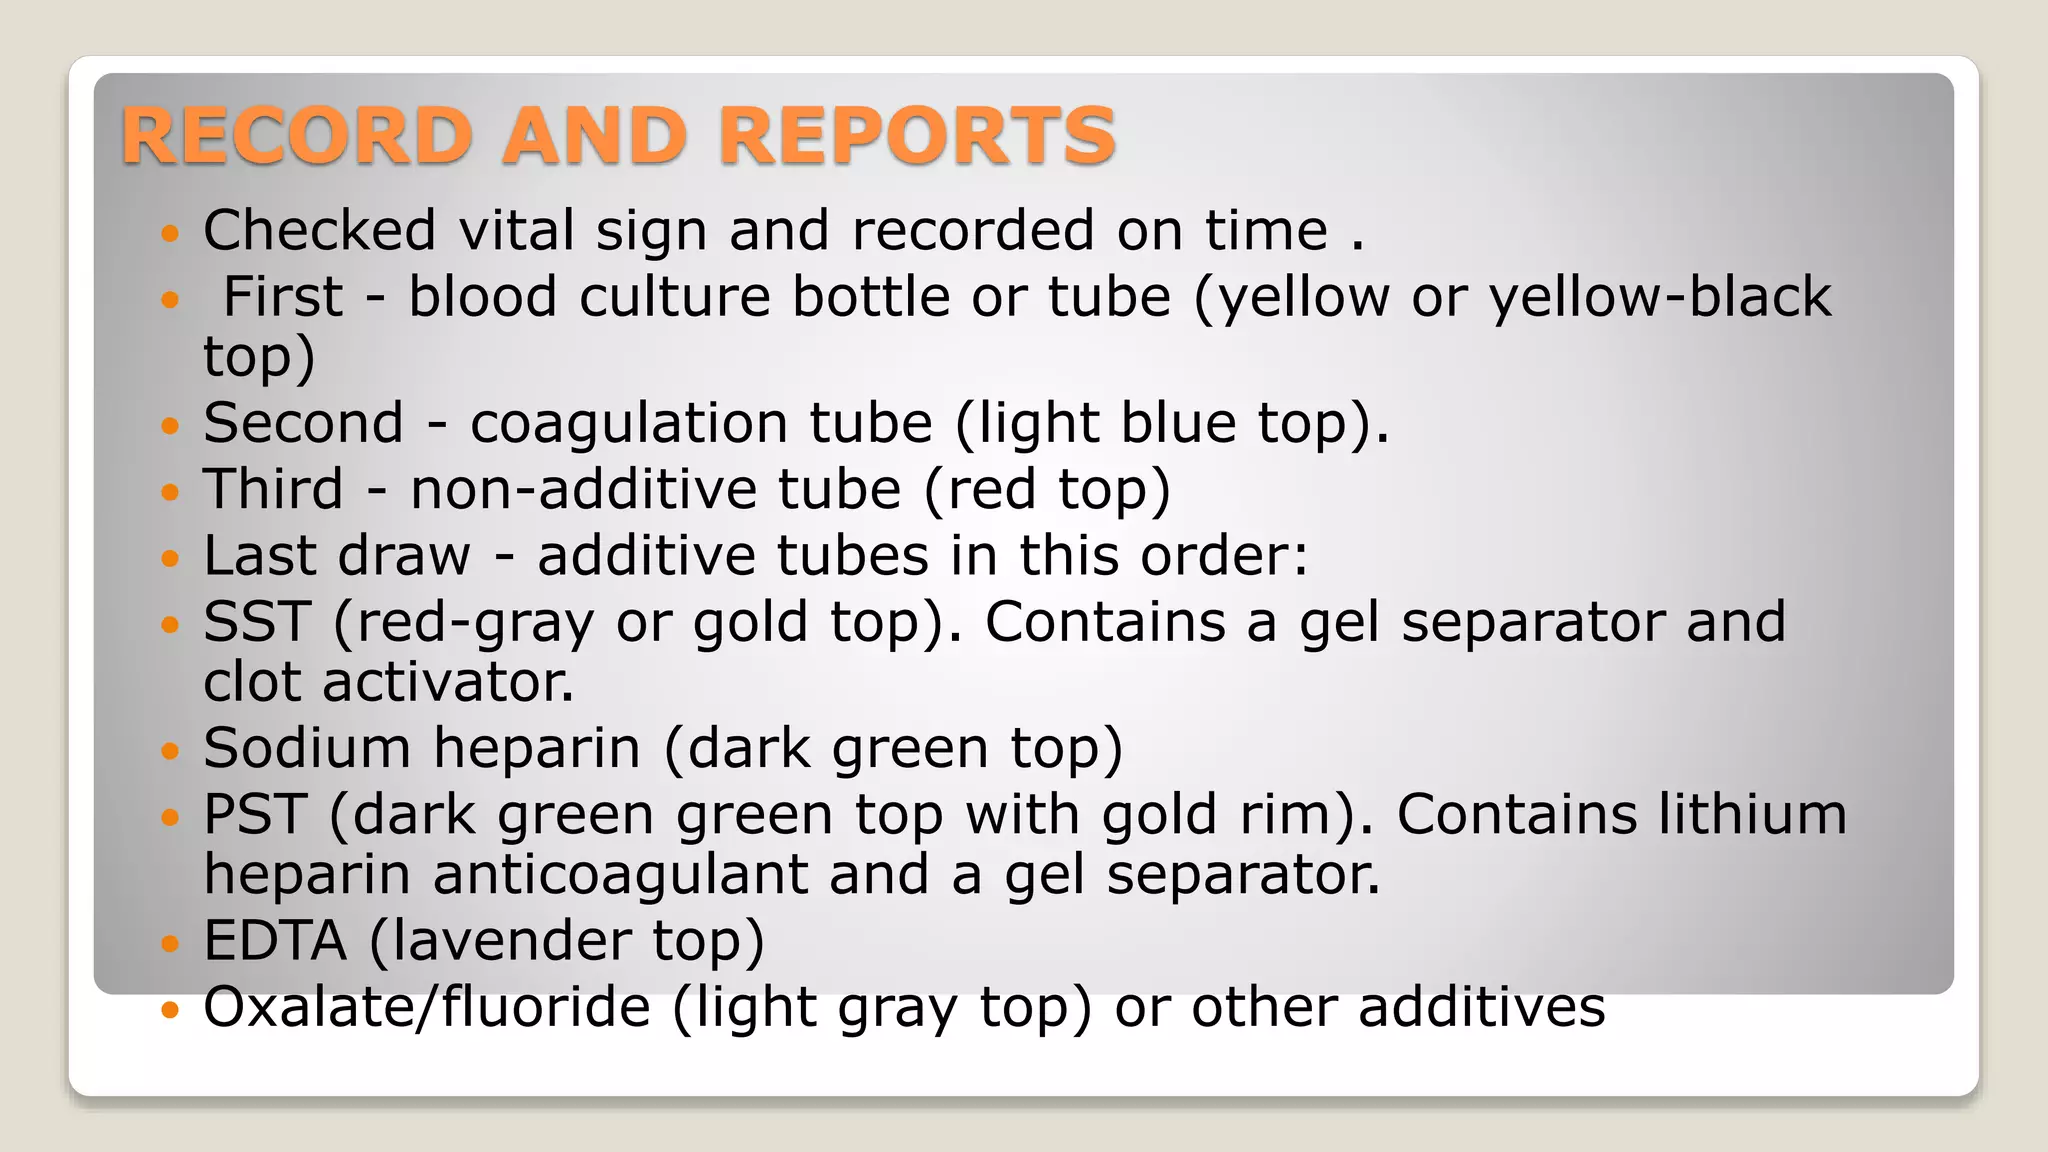

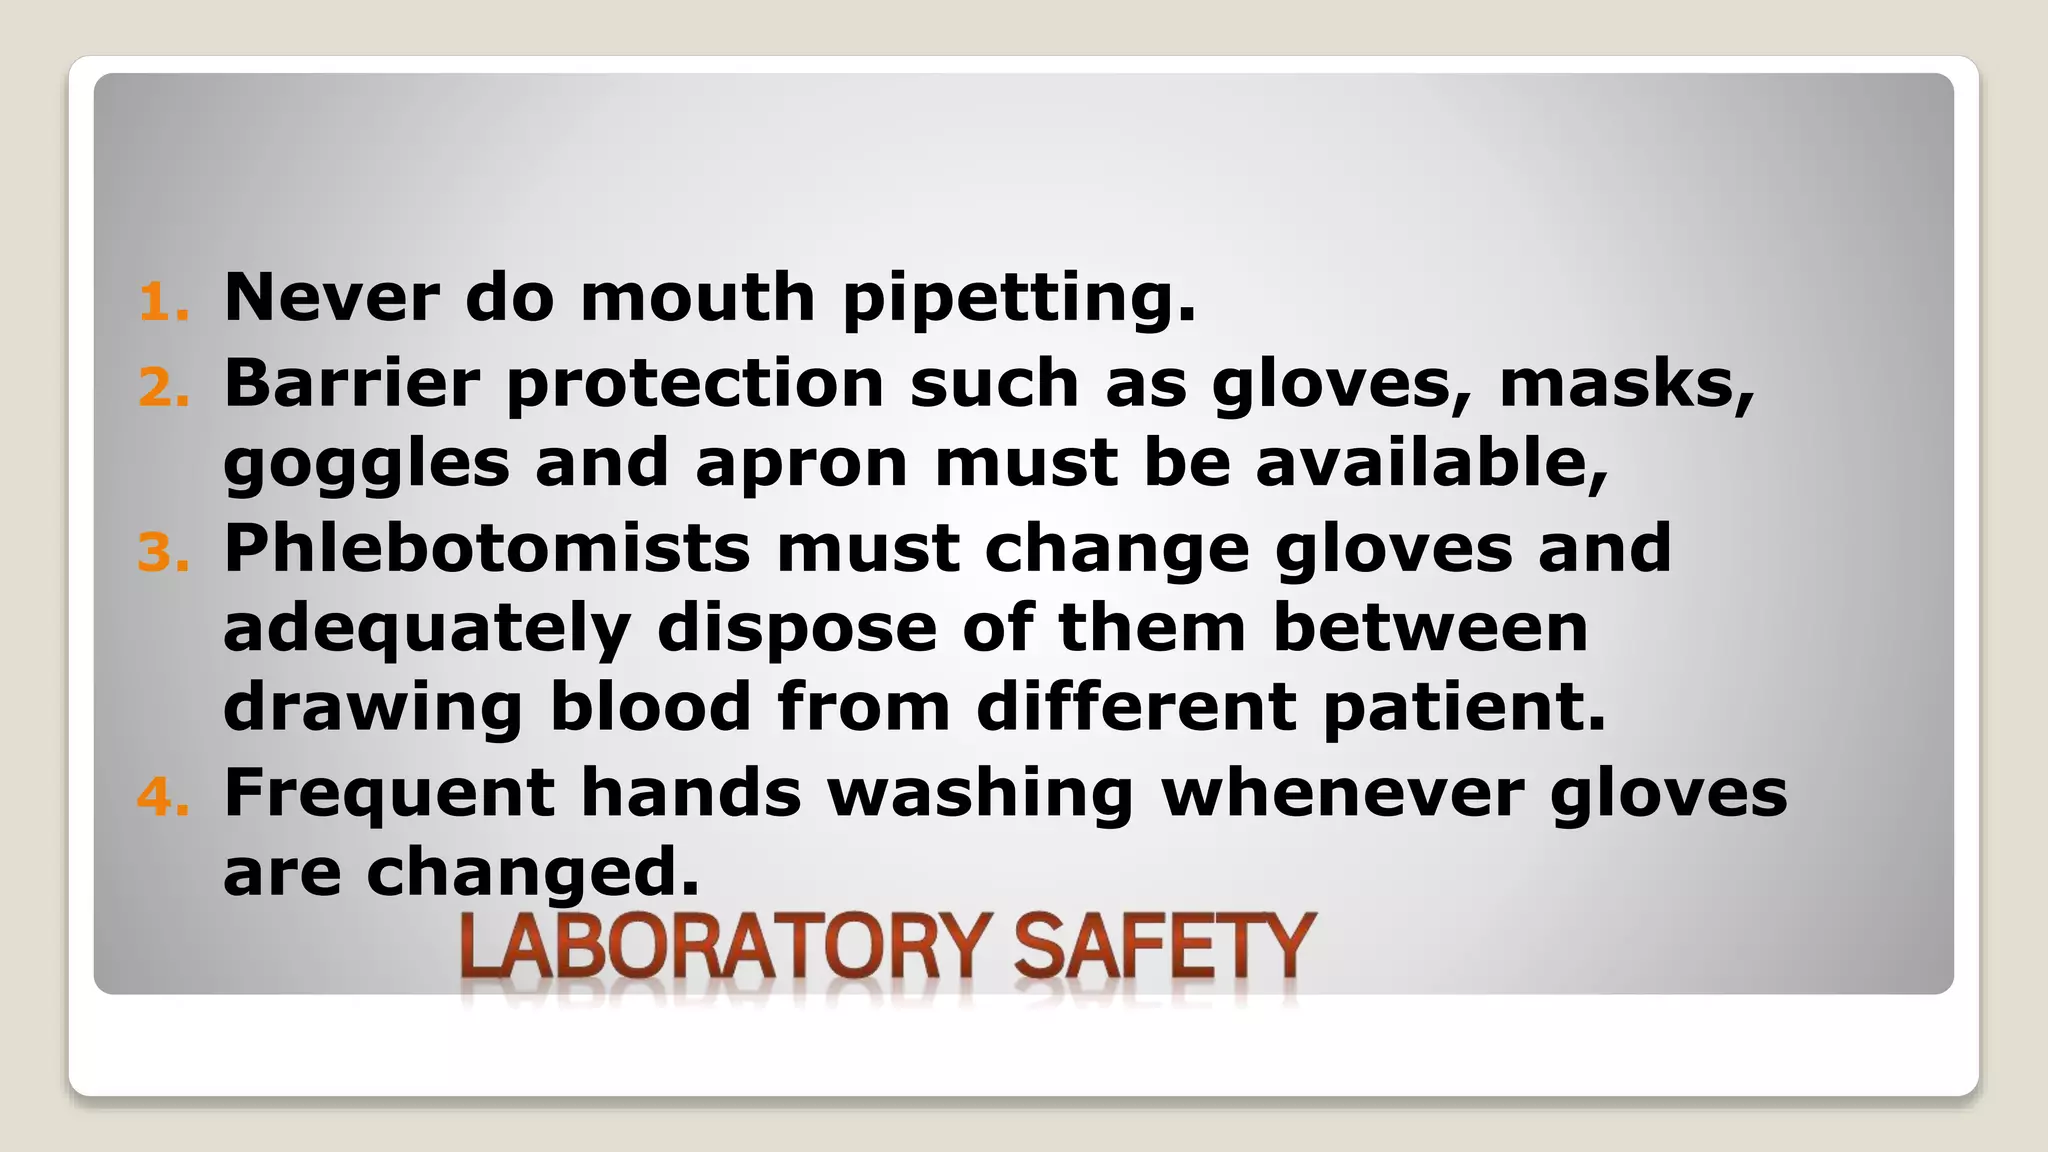


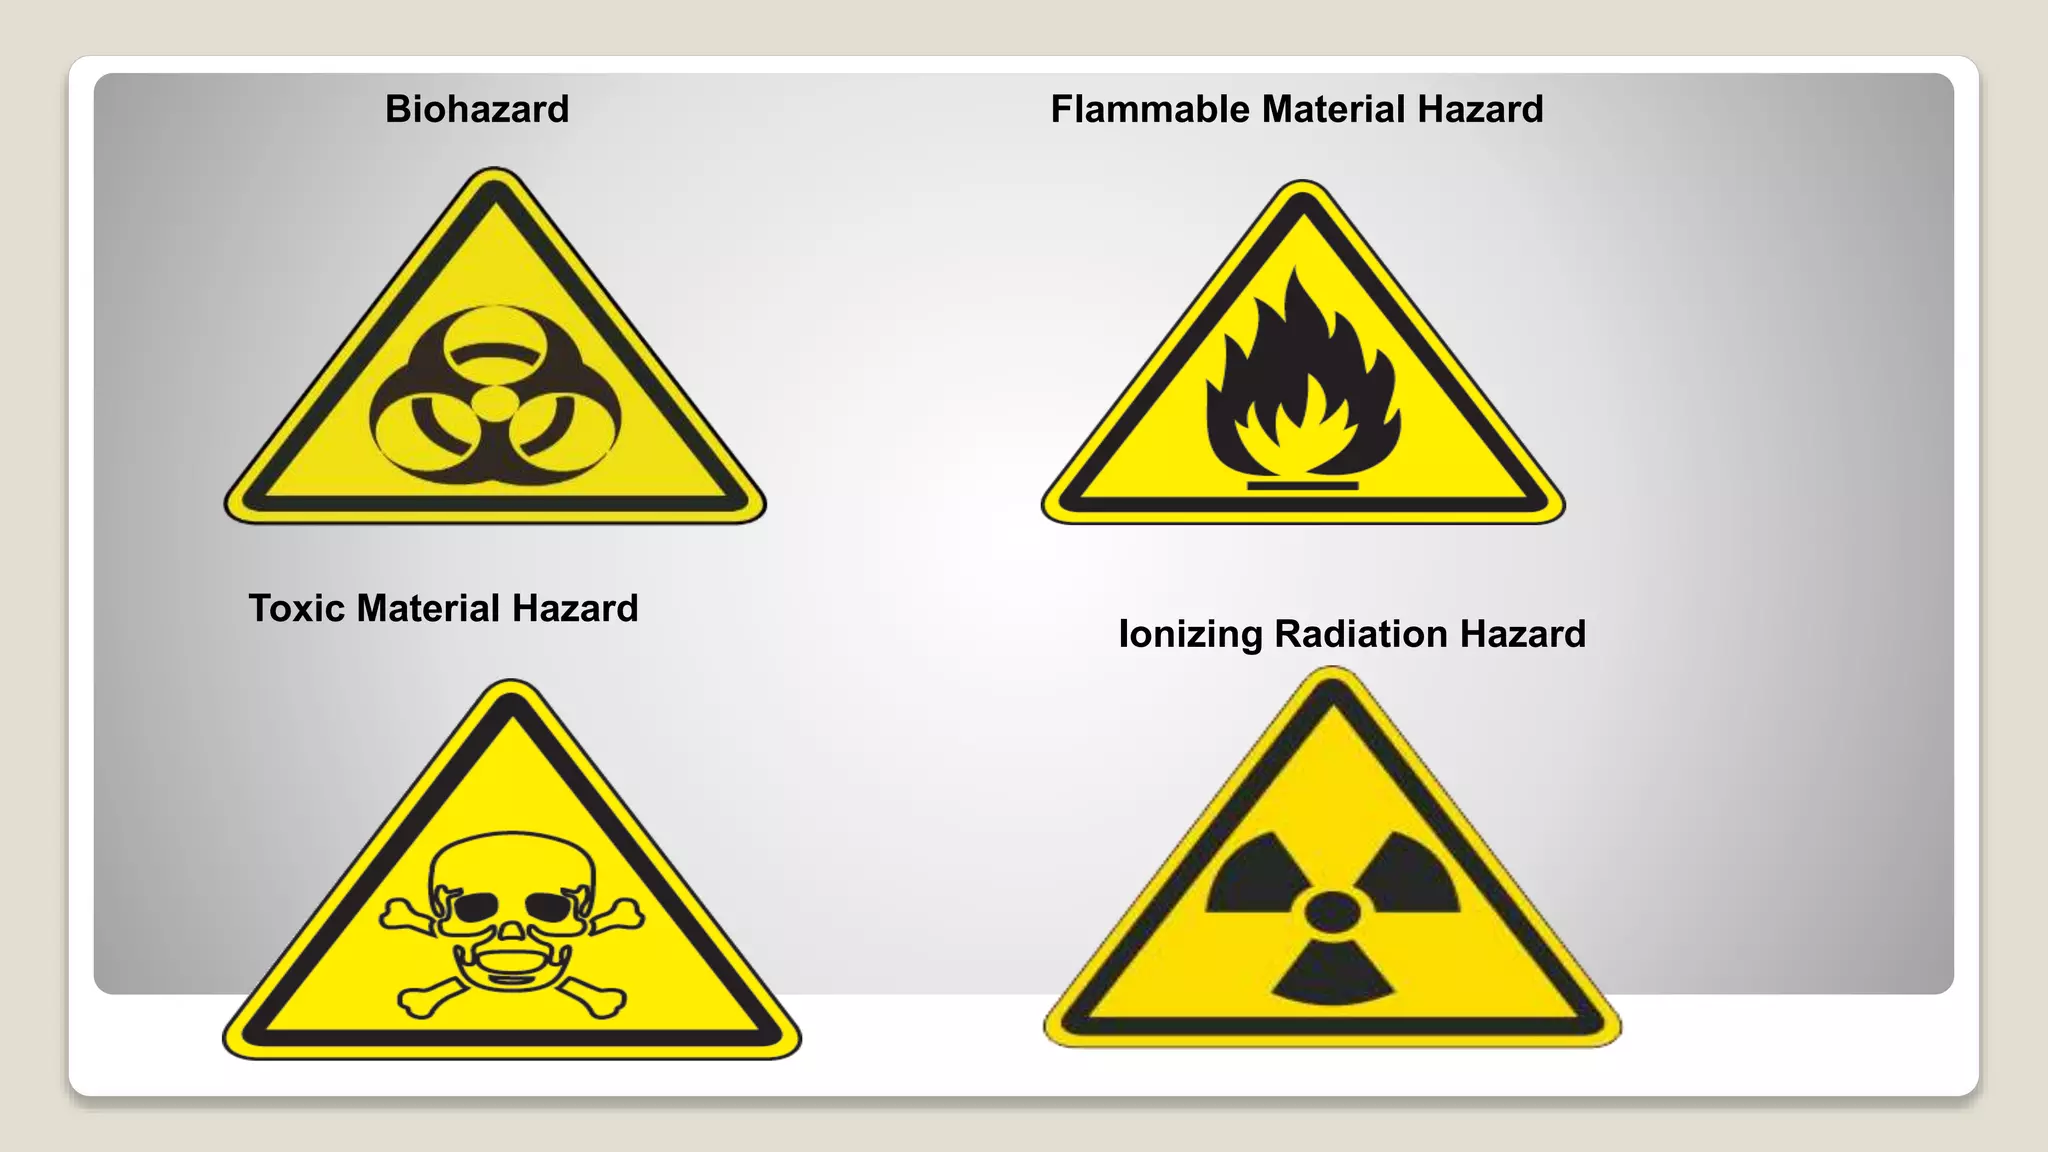


The document outlines blood sample collection procedures, emphasizing essential practices such as patient identification, site preparation, and proper handling of samples. It details necessary materials, safety precautions, and the order of blood draw for accurate test results. Guidelines for aftercare and record keeping are also included to ensure proper protocol and patient safety.


![14.(D) BLOOD SPECIMEN COLLECTION [Autosaved].pptx](https://cdn.slidesharecdn.com/ss_thumbnails/14-250819192558-8585fe55-thumbnail.jpg?width=640&height=640&fit=bounds)
![14.(D) BLOOD SPECIMEN COLLECTION [Autosaved].pptx](https://cdn.slidesharecdn.com/ss_thumbnails/14-250819194002-7af28af5-thumbnail.jpg?width=640&height=640&fit=bounds)
![14.(D) BLOOD SPECIMEN COLLECTION [Autosaved].pptx](https://cdn.slidesharecdn.com/ss_thumbnails/14-250819192726-0e642dda-thumbnail.jpg?width=640&height=640&fit=bounds)