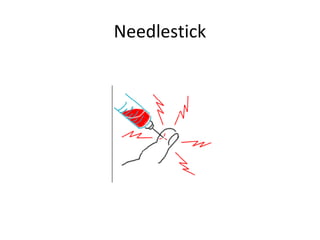
Downloaded 238 times


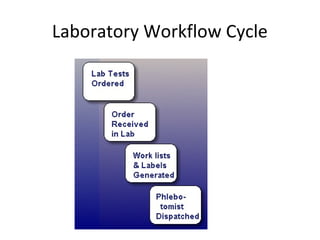
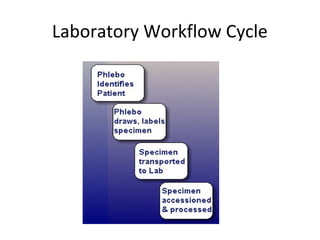
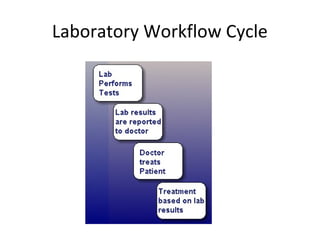

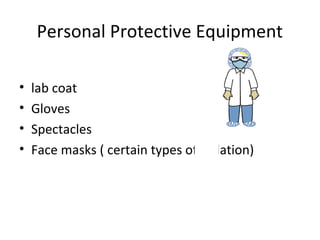
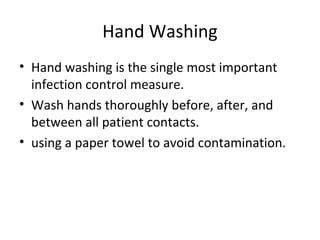
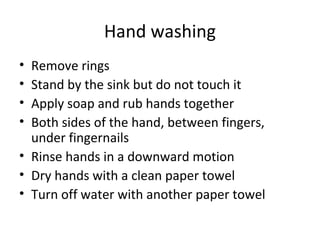

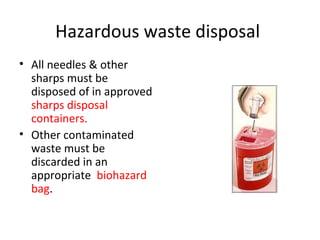
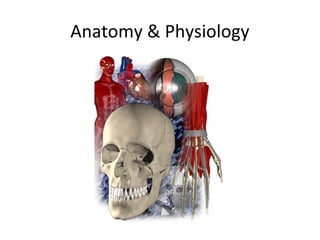
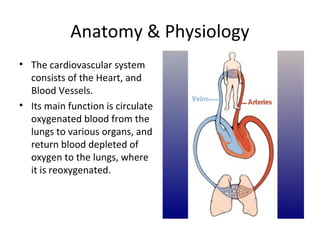
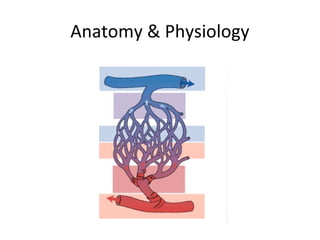
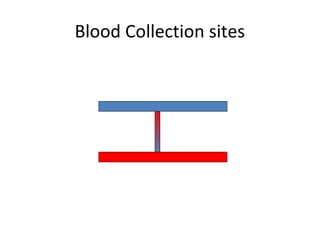
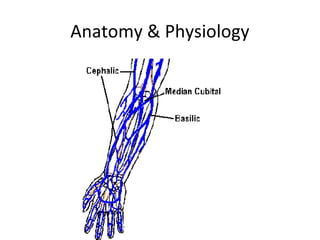
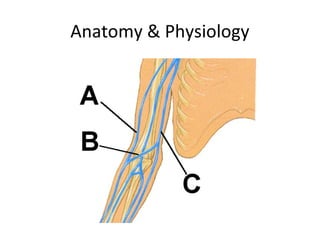
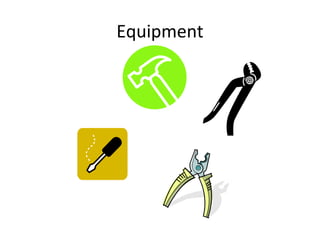


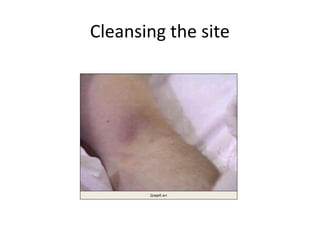

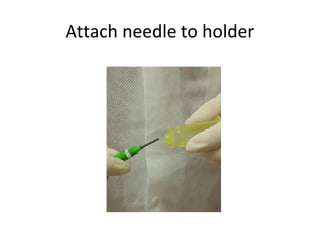
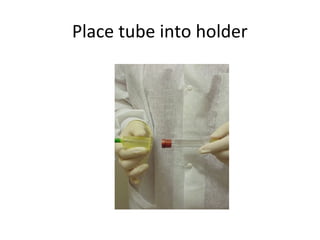
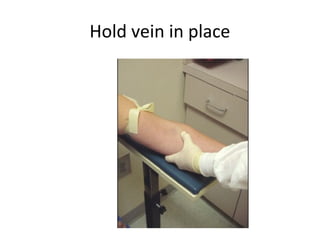
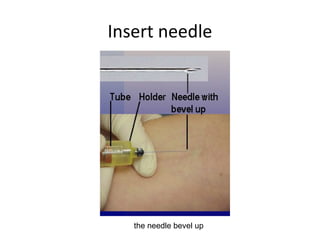
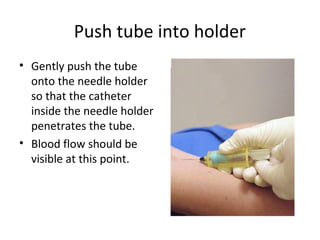


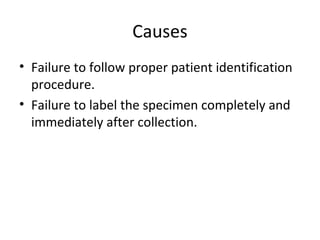

This document provides information about the objectives and theory of phlebotomy. It discusses what phlebotomy is, the roles and responsibilities of phlebotomists, and related anatomy and physiology. It also covers important topics like professionalism, safety, equipment used, and procedures for collecting blood. Phlebotomists must properly identify patients, take safety precautions, position the patient, locate a vein, and collect blood samples while maintaining patient comfort and confidentiality.


![Phlebotomy -2[1]](https://cdn.slidesharecdn.com/ss_thumbnails/phlebotomy-21-181028045815-thumbnail.jpg?width=640&height=640&fit=bounds)


![CTEV [ clubfoot] DR ARUN LAL ,DR MOHAMED ASHRAF travancore medical college k...](https://cdn.slidesharecdn.com/ss_thumbnails/ctevclubfootdrarunlaldrmohamedashraftravancoremedicalcollegekollamkeralaindia-260208063247-18fc466c-thumbnail.jpg?width=640&height=640&fit=bounds)


