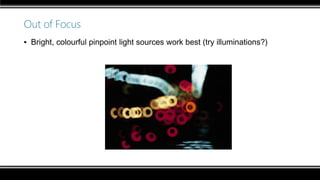
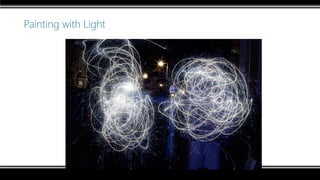
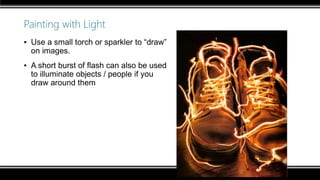
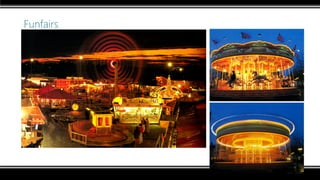
Downloaded 580 times

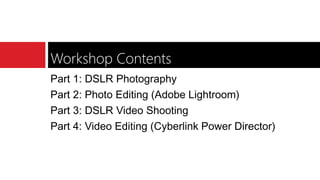


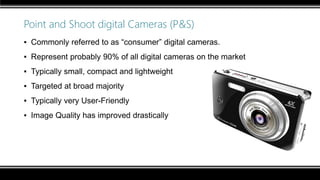
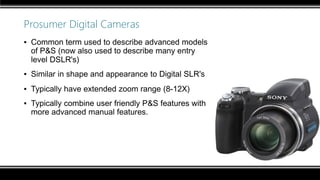
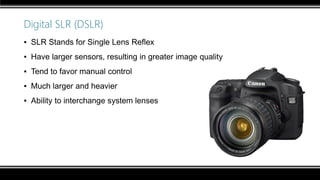
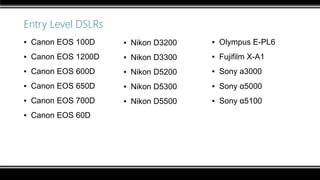
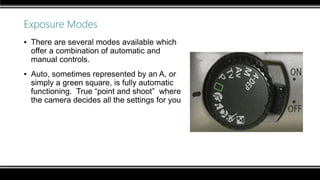
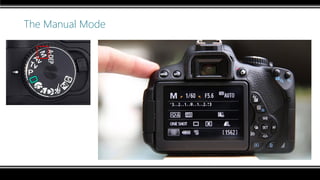
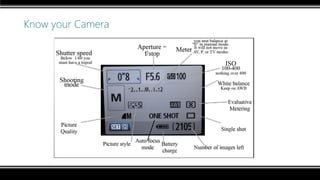
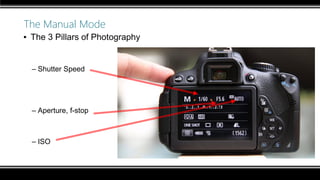
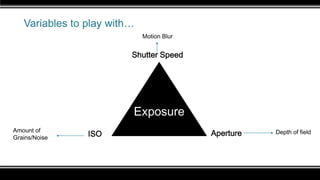
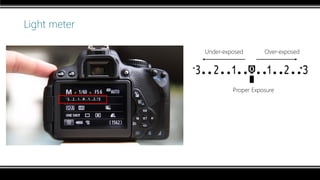
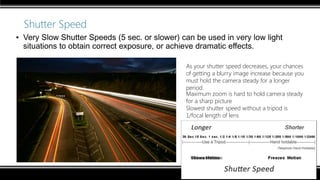
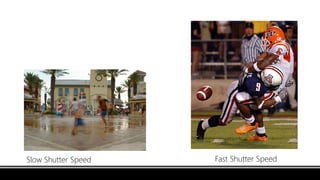

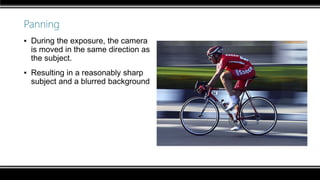
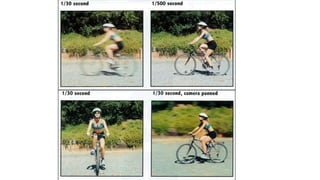
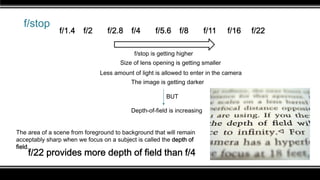
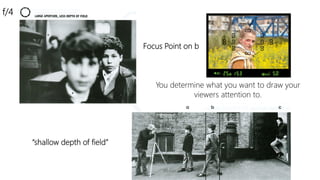
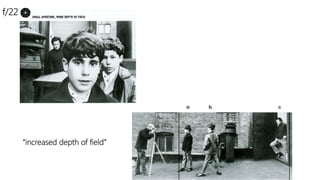
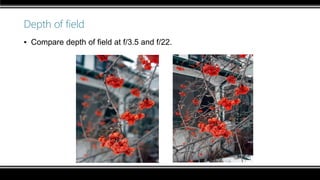


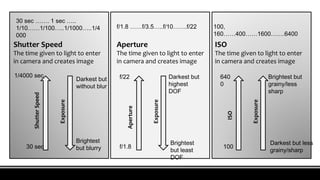
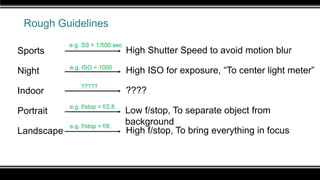
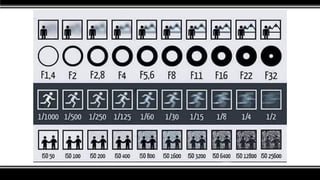
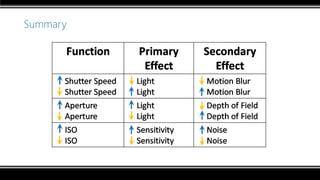
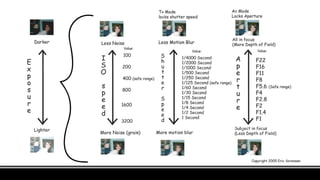
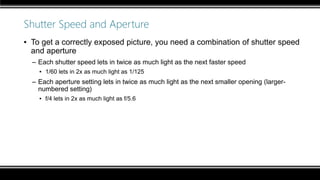
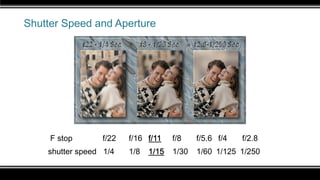
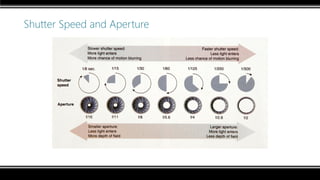

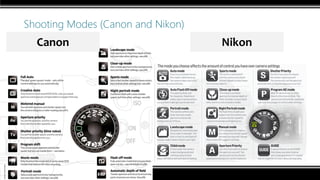

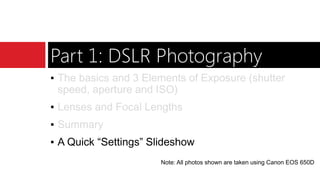
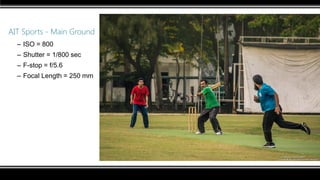


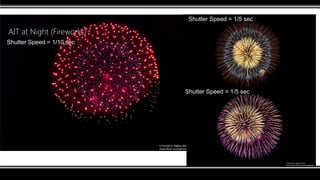
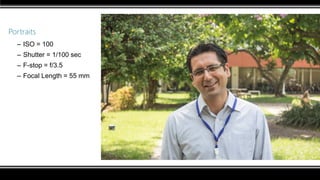
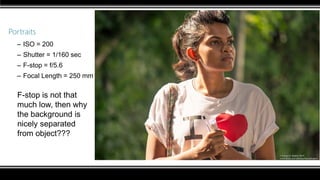

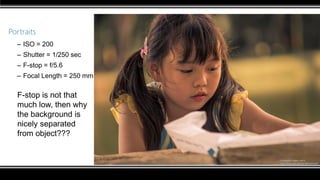

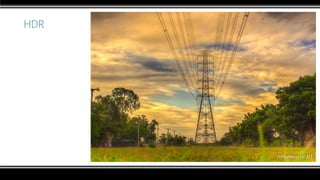
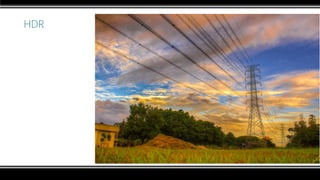
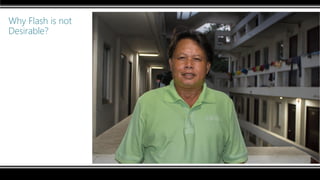
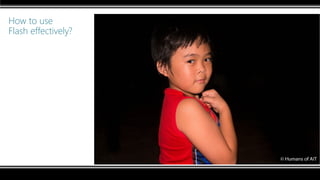


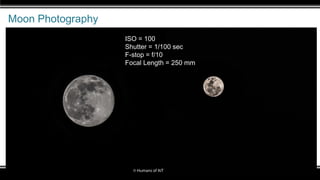


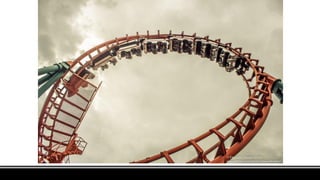
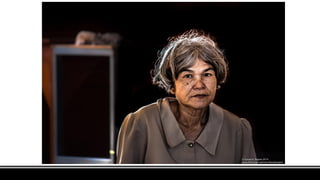


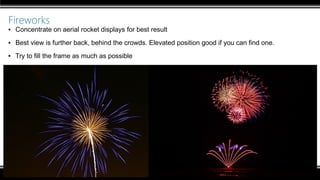
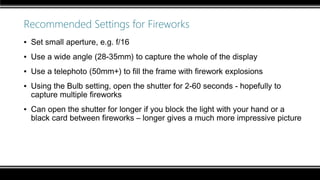
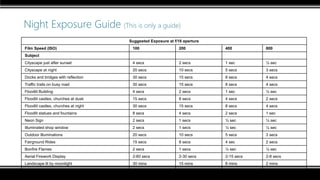


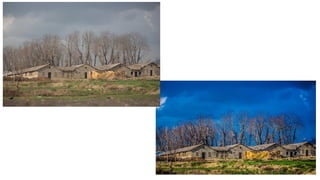


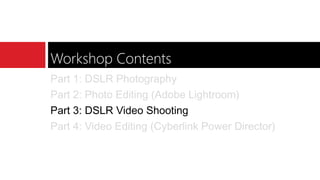
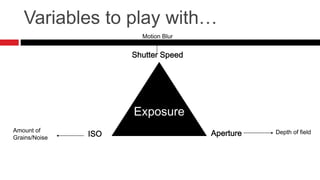

This document outlines parts of a workshop on DSLR photography, videography, and photo/video editing. It covers four main parts: 1) DSLR photography basics including the three elements of exposure - shutter speed, aperture, and ISO, as well as lenses and focal lengths. 2) Photo editing with Adobe Lightroom. 3) DSLR video shooting. 4) Video editing with Cyberlink Power Director. For DSLR photography, it explains key concepts like shutter speed and how it impacts motion blur, aperture/f-stops and how they control depth of field and light, and ISO and its effect on image noise. Examples of different camera types and entry-level DSLR models are also provided