


![Schedule
1. Introduction to Android
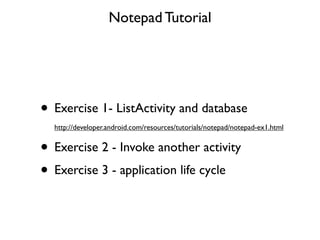
2. Hands On 1 [45 min]
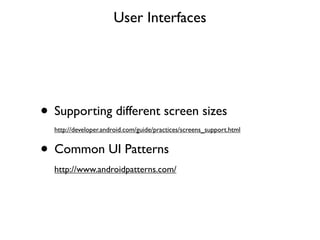
3. Application Fundamentals & User Interfaces
4. Hands On II [45 min]
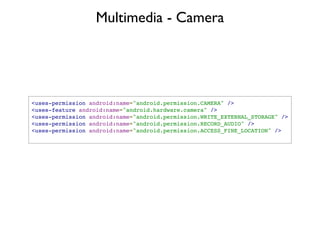
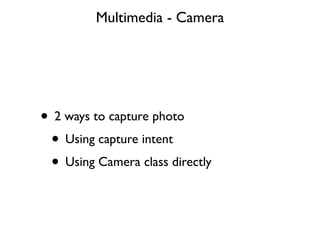
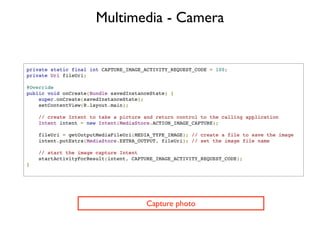
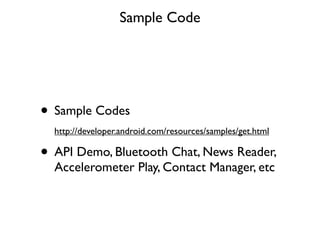
5. Advanced Topics - Preferences, Database, Network, Multimedia
6. What’s next?
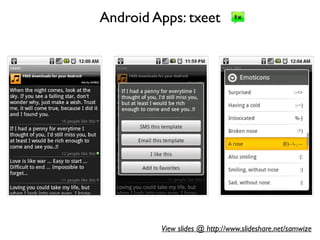
View slides @ http://www.slideshare.net/samwize](https://image.slidesharecdn.com/androidworkshop-120120101604-phpapp02/85/Android-Workshop-14-320.jpg)


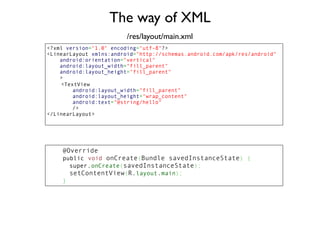
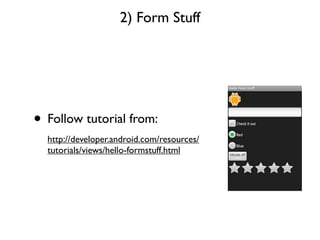
![2. Hands On I [45 min]](https://image.slidesharecdn.com/androidworkshop-120120101604-phpapp02/85/Android-Workshop-21-320.jpg)


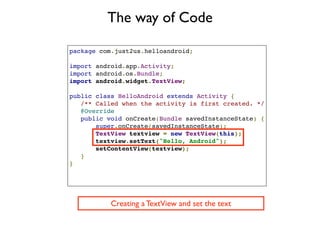


![4. Hands On II [45 min]](https://image.slidesharecdn.com/androidworkshop-120120101604-phpapp02/85/Android-Workshop-66-320.jpg)


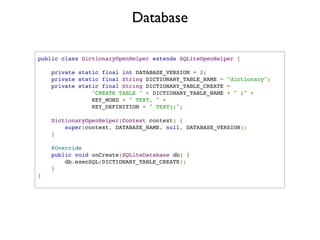

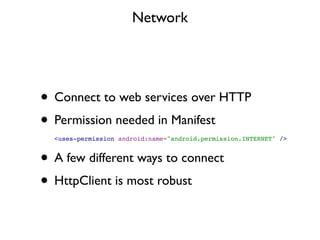
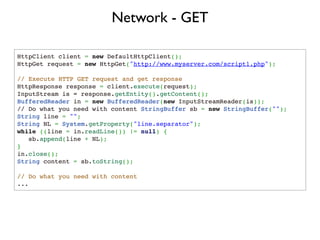
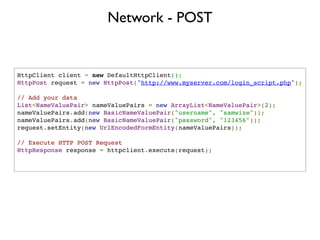


The document outlines a workshop on Android application development, including information on setup, core components like activities and services, and user interface design. It provides step-by-step instructions for installing necessary tools, creating projects, and implementing features using Java and XML. Additionally, it covers advanced topics including data management, networking, and multimedia functionalities within Android apps.