1) This document provides instructions for using Adobe Premiere Elements 10, including how to create a new project, import media files, adjust clip properties like start and end points, and apply effects like motion, opacity, volume, and balance.
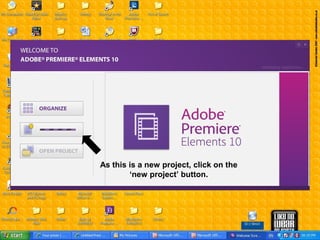
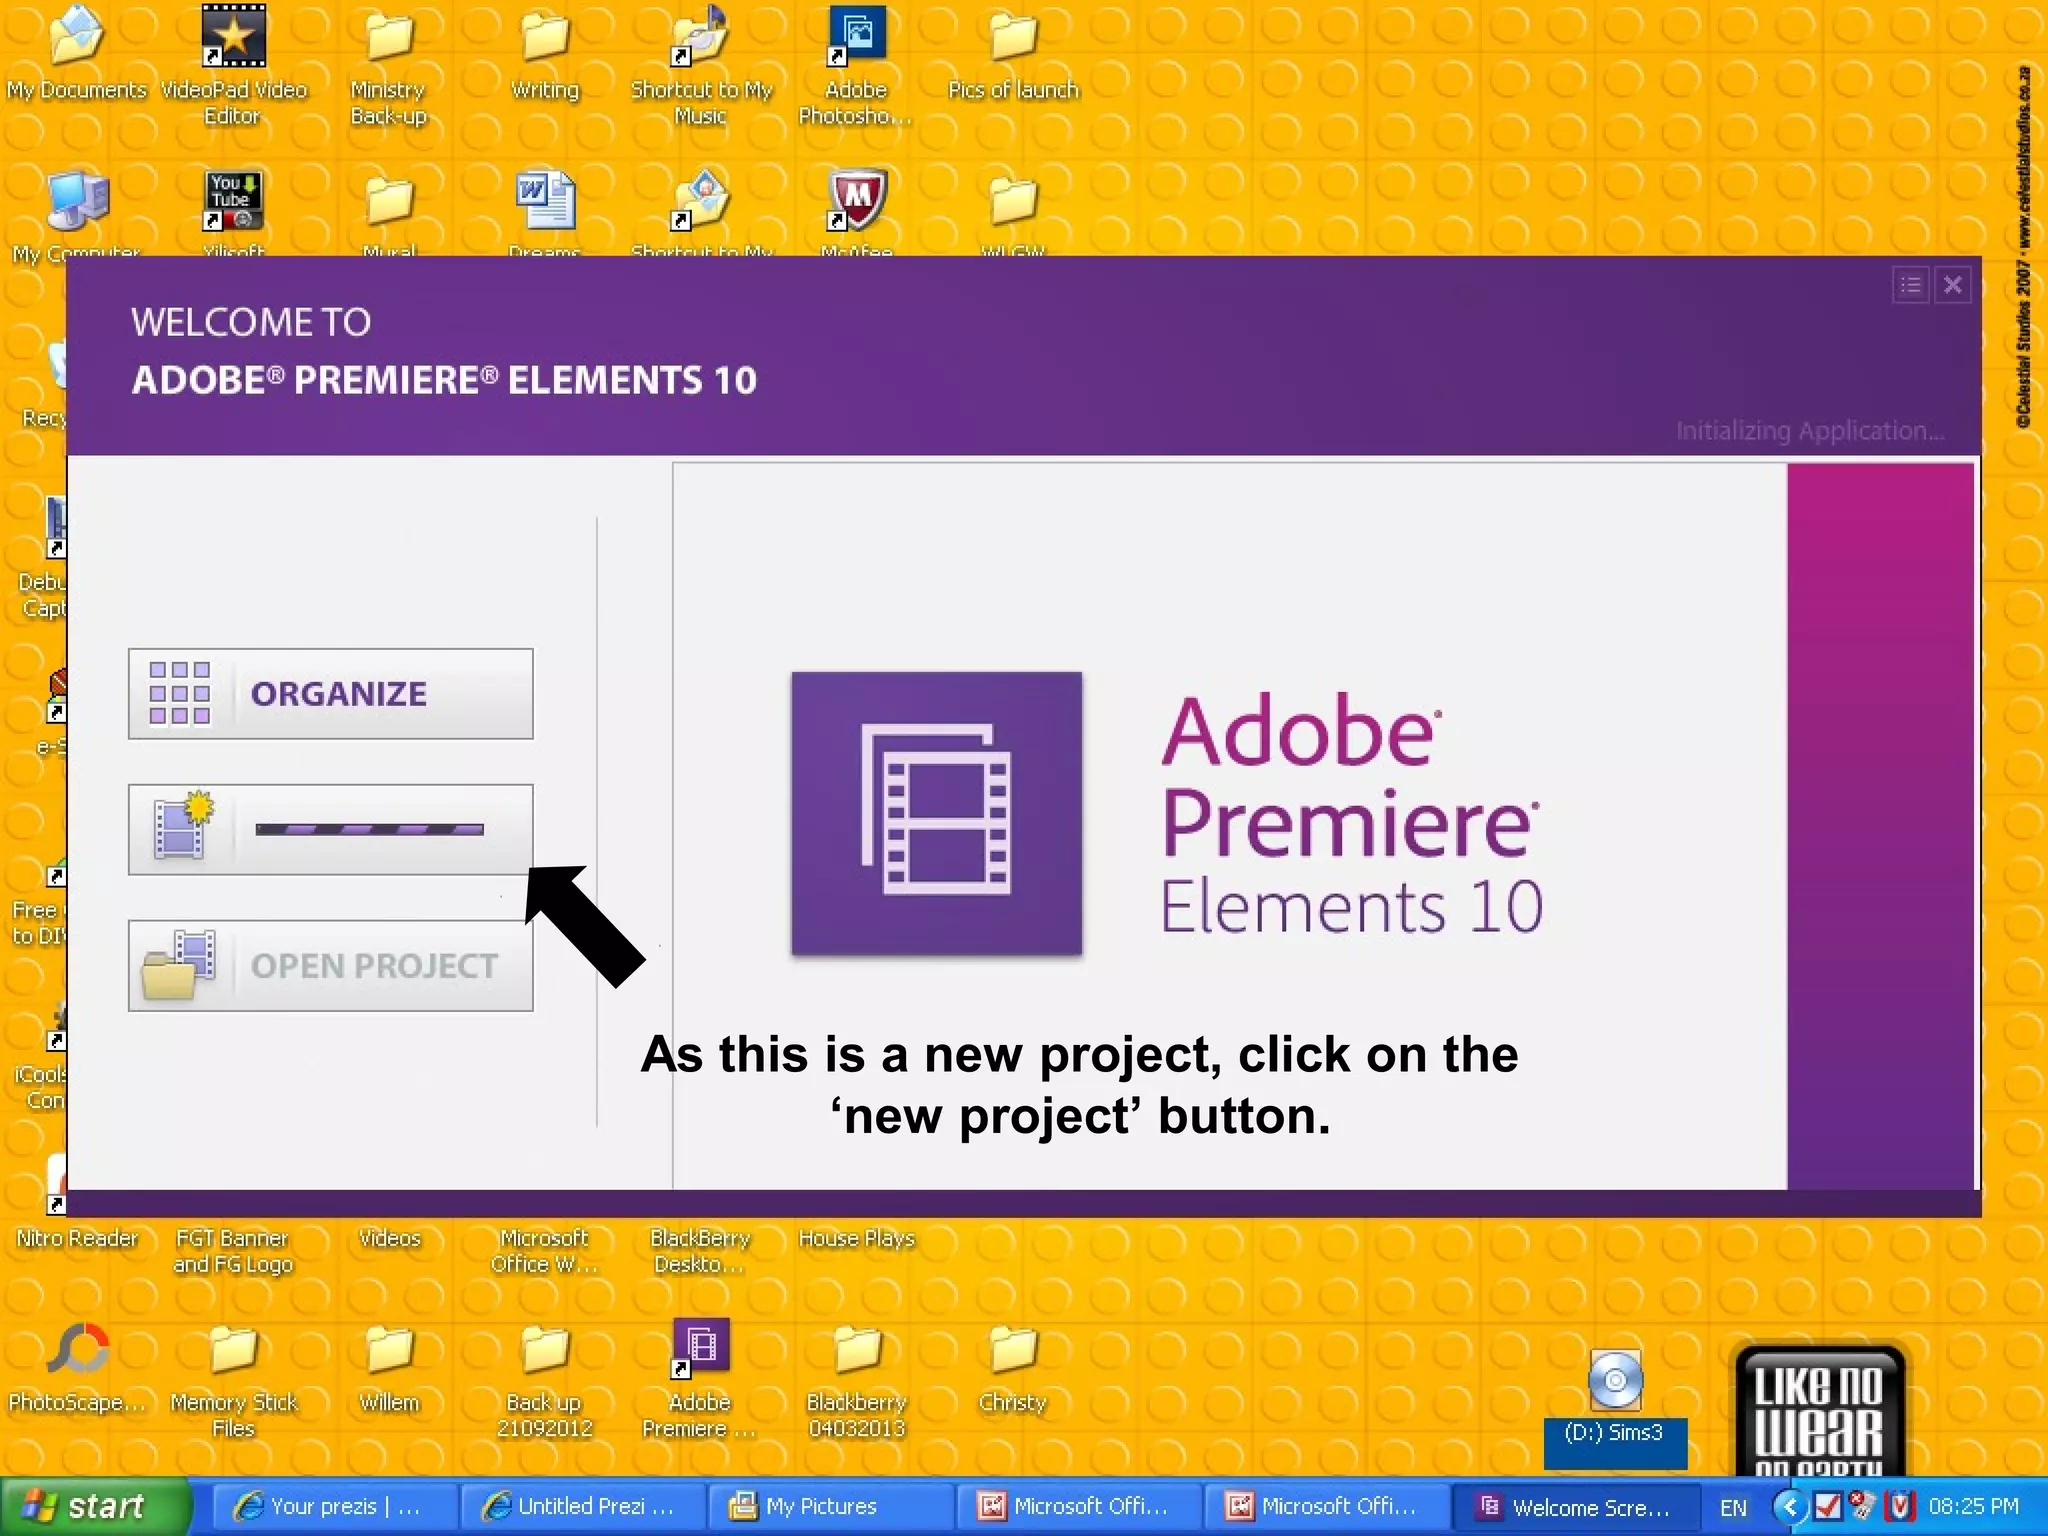
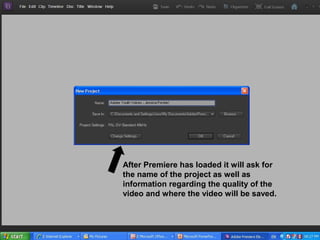
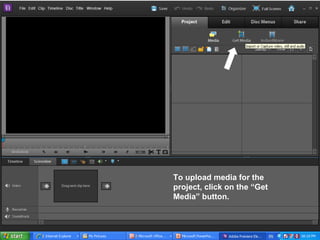
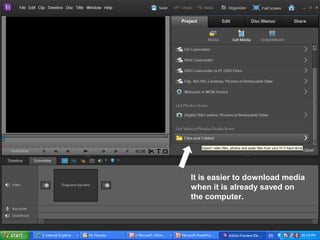
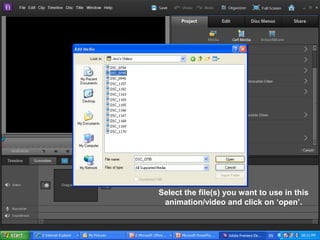
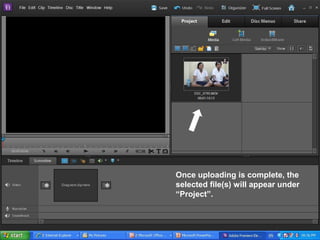
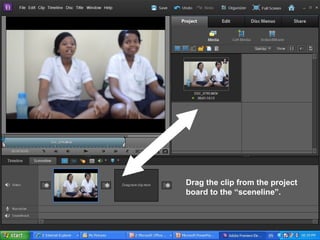
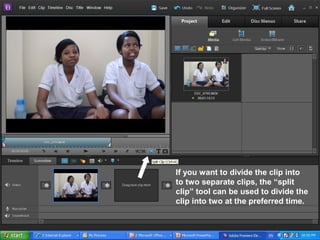
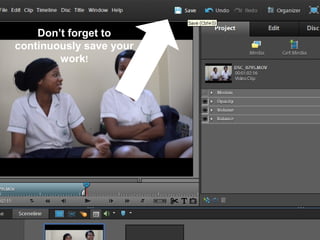
2) Key steps include clicking "new project" to start, selecting media files to import by clicking "Get Media", dragging clips to the timeline, and using tools like split clip to divide clips.
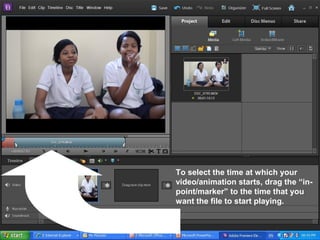
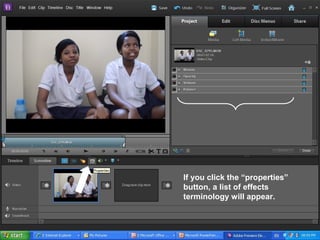
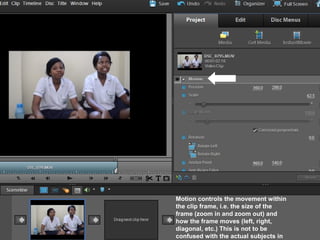
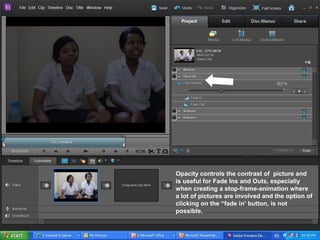
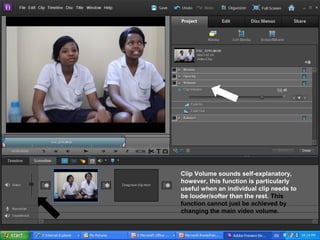
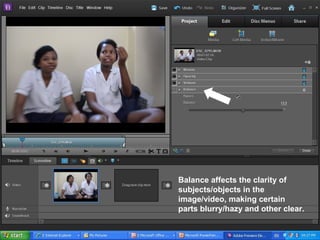
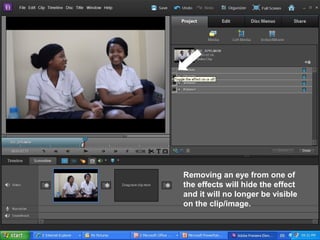
3) The properties panel allows adjusting effects for each clip, such as changing the motion, opacity, volume, or balance. Effects can be hidden by removing them from the properties list.


![[Pro forma] - production log](https://cdn.slidesharecdn.com/ss_thumbnails/pro-forma-productionlog-171123132521-thumbnail.jpg?width=640&height=640&fit=bounds)


