Download as PDF, PPTX

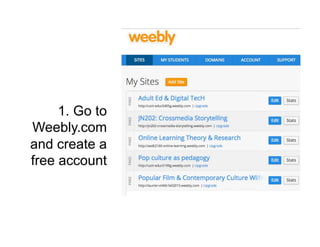

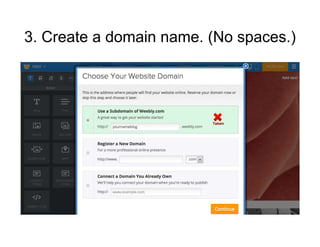


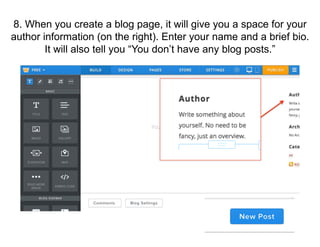


This document provides instructions for creating a blog on the website building platform Weebly. It outlines 10 steps to set up a free account, choose a theme and domain name, add header and sidebar elements, create pages including a blog page, and publish the first blog post. The instructions explain how to design the layout, enter author information, and insert different content types into posts.