Downloaded 283 times


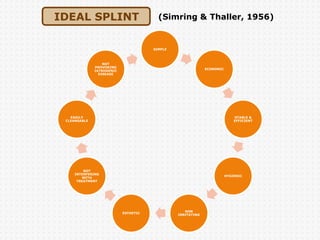
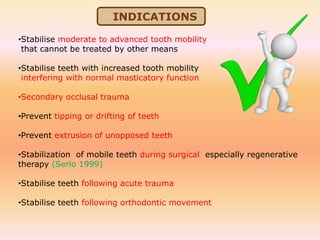

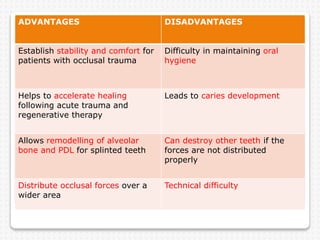
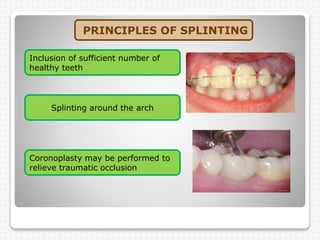
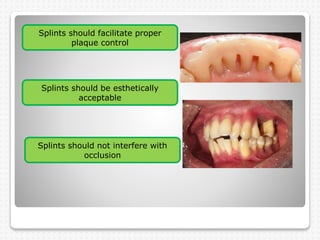
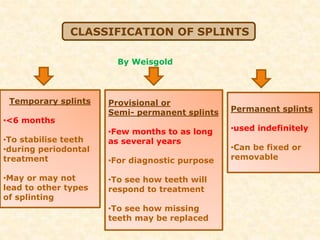

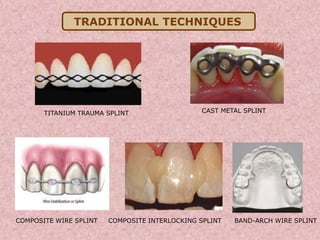
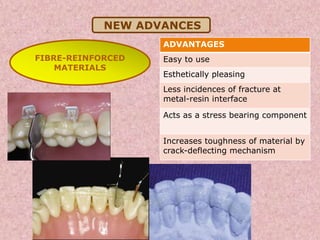


The document discusses dental splinting as a therapy for patients with mobile teeth, detailing its history, objectives, indications, and methodologies. It highlights the advantages and disadvantages of various splint types, including temporary, provisional, and permanent splints, as well as introduces modern materials and techniques for effective stabilization of teeth. The conclusion emphasizes the importance of plaque control and the integration of composite resin strengths in providing durable splint solutions.


