Downloaded 174 times


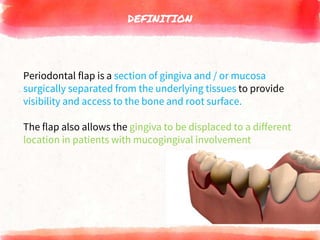

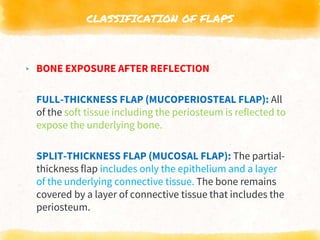
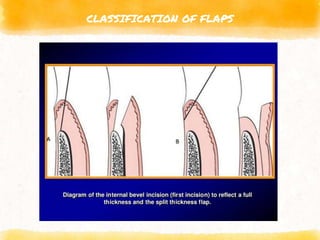


The document outlines the periodontal flap, a surgical technique used in periodontal therapy, offering definitions, classifications, and surgical techniques. It covers types of flaps, incision procedures, flap elevation, healing processes, and specific techniques like the modified Widman flap, undisplaced flap, and apically displaced flap. The document also details the importance of incision design, flap management, and healing stages vital for effective periodontal treatment.


