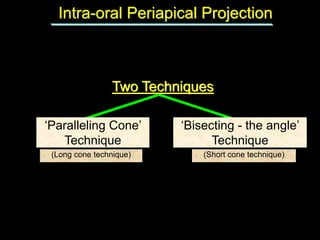
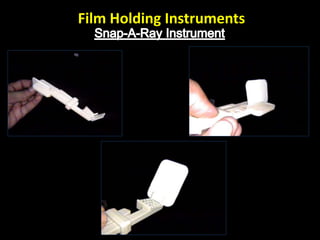
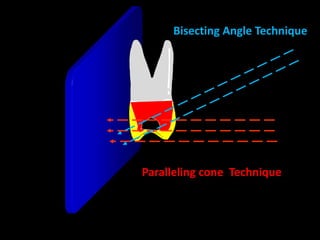
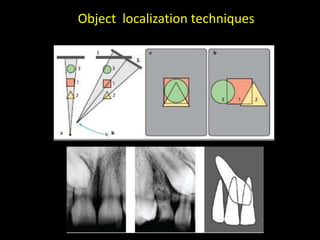
1. The document discusses various intra-oral radiographic techniques including the paralleling cone technique and bisecting angle technique.
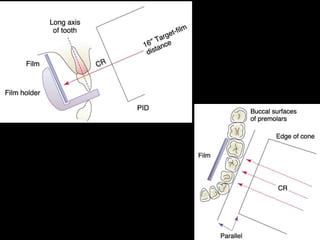
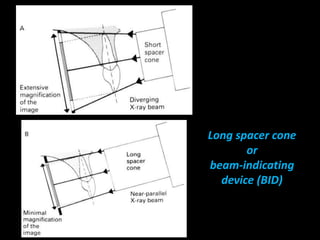
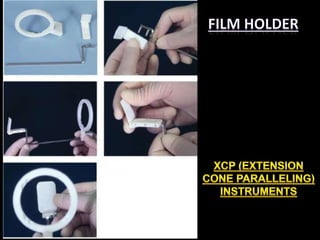
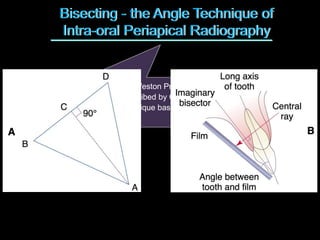
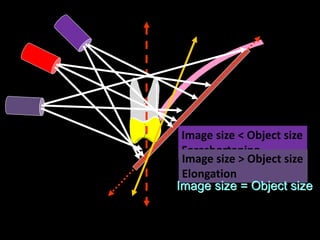
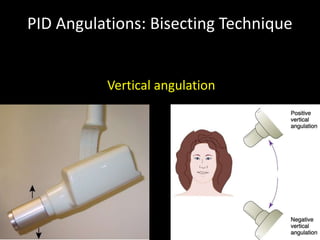
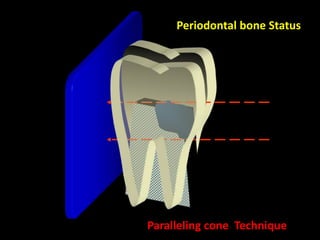
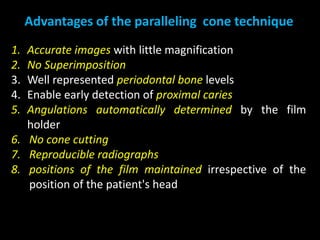
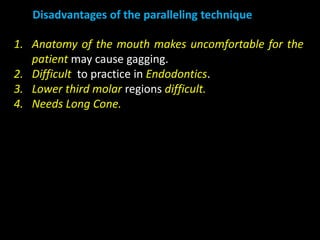
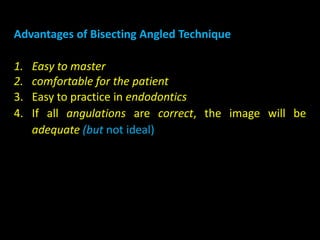
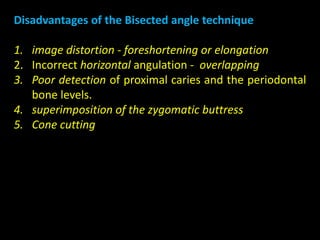
2. The paralleling cone technique provides accurate images with little magnification and no superimposition but is more difficult for patients. The bisecting angle technique is easier for patients but results in more image distortion.
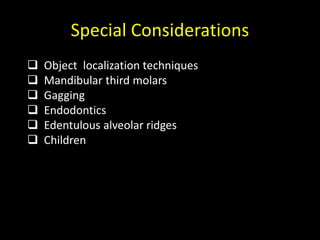
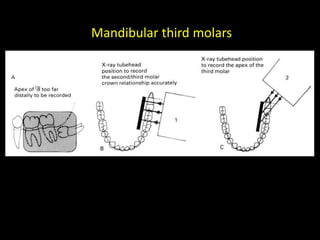
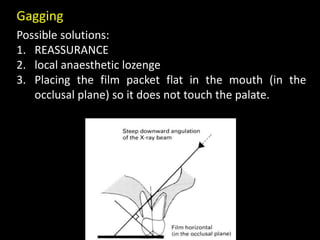
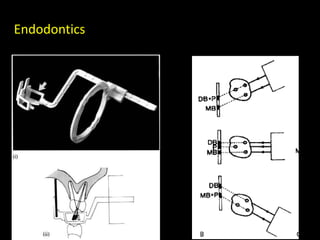
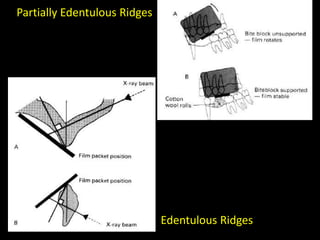
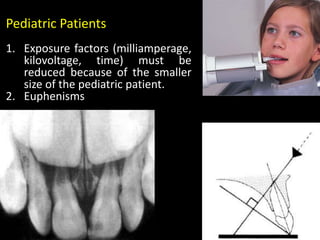
3. Special considerations for intra-oral radiography include techniques for mandibular third molars, gagging patients, endodontic procedures, edentulous ridges, and pediatric patients.
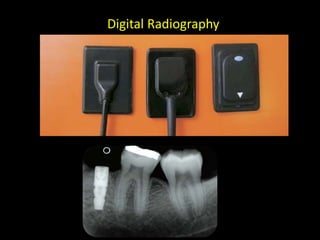
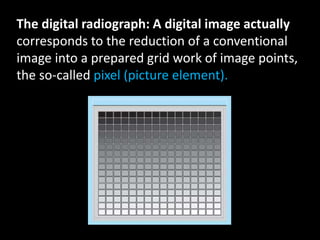
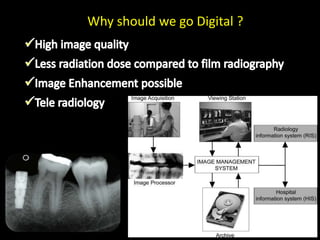
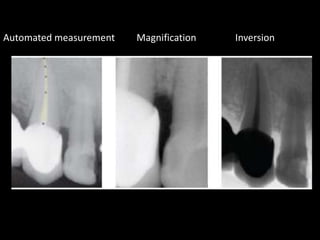
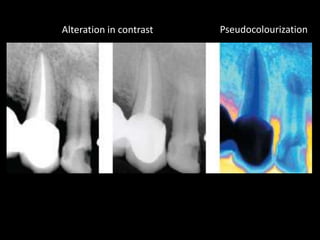
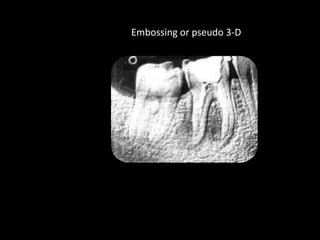
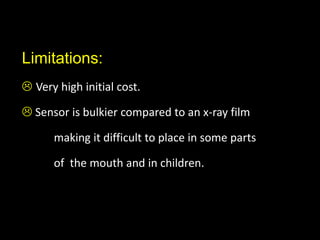
4. Digital radiography provides advantages like automated measurements and image manipulation but has higher initial costs and bulkier sensors.