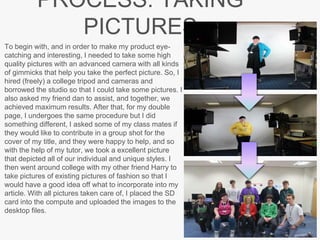
Amy Watson documented her process for creating a fashion magazine. She began by taking high quality photos with a borrowed camera and tripod in the college studio. Amy asked friends to assist with photos and to be in a group shot for the cover. She compiled fashion photos from around campus.
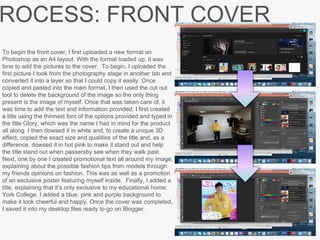
For the front cover in Photoshop, Amy uploaded her photo and removed the background. She added the title "Glory" in a thin font with a duplicated pink title for effect. Amy included promotional text and information around her image.
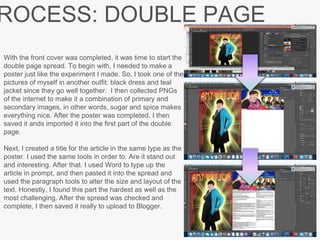
For the double page spread, Amy created a poster from one of her photos and PNG images. She typed the article text in Word and pasted it into the spread, adjusting formatting.