Downloaded 2,031 times

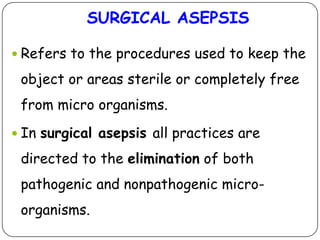
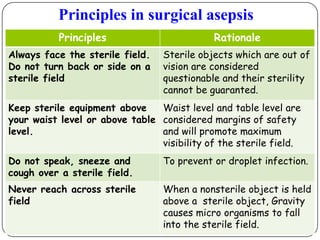
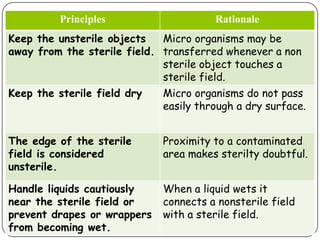
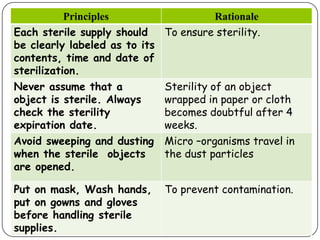
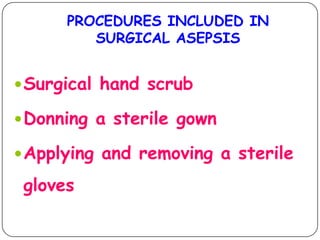
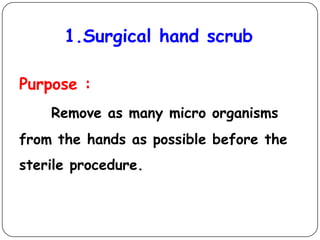
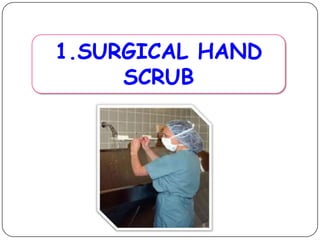
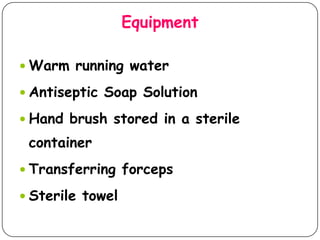
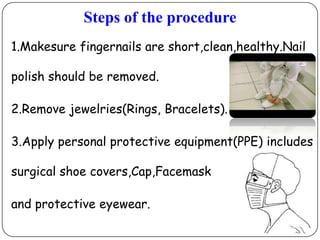
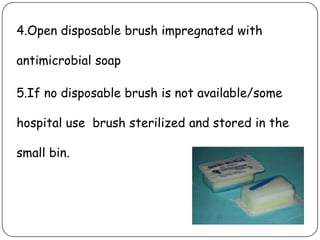
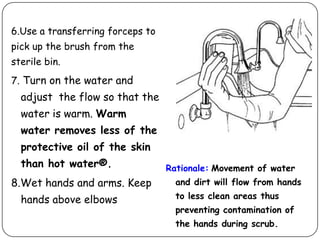

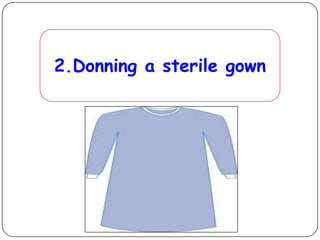
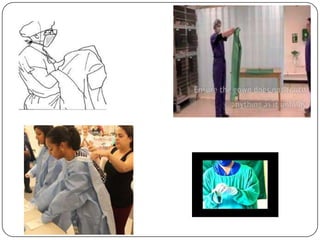
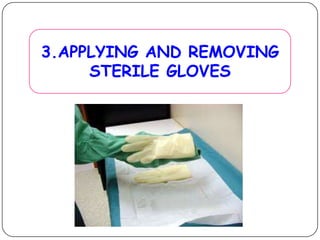

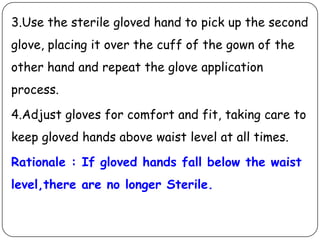


Surgical asepsis refers to procedures used to keep objects and areas free from microorganisms. The principles of surgical asepsis include always facing the sterile field, keeping sterile equipment above waist level, not speaking over sterile fields, and avoiding contact between sterile and non-sterile items. Procedures like surgical hand scrubbing, donning sterile gowns and gloves aim to eliminate pathogens. The surgical hand scrub involves washing arms and hands with antimicrobial soap for 5 minutes using specific techniques. Donning a sterile gown involves unfolding the gown without touching the floor and inserting arms while keeping hands above elbow level. Applying and removing sterile gloves is done using closed techniques to maintain sterility and prevent contamination.


![PERI-PROSTHETIC FRACTURE NAIL-PLATE CONSTRUCT [NPC].pptx](https://cdn.slidesharecdn.com/ss_thumbnails/drarunkumardrmohamedashrafperiprostheticfrasturenail-plateconstructnpc-260209164459-7e9d15a1-thumbnail.jpg?width=640&height=640&fit=bounds)


