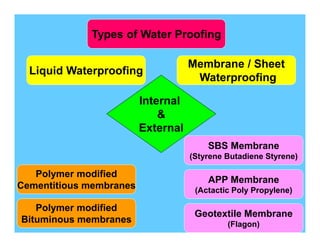
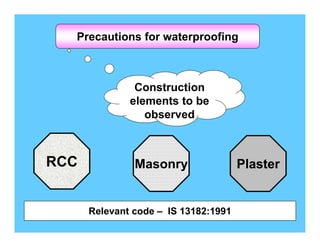
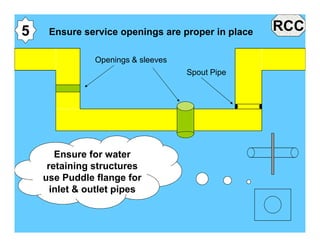
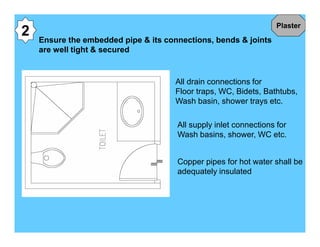
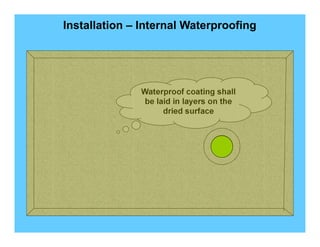
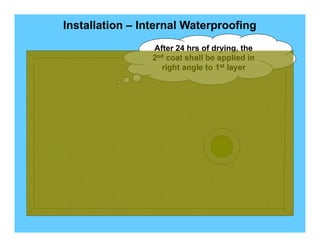
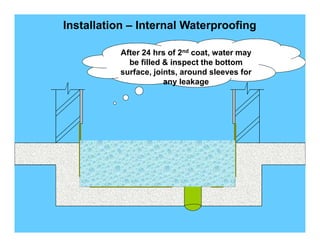
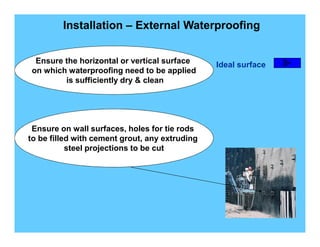
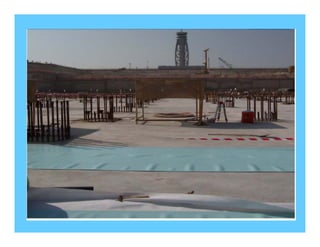
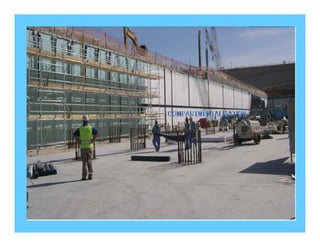
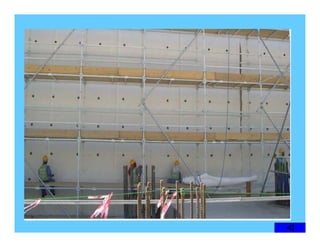
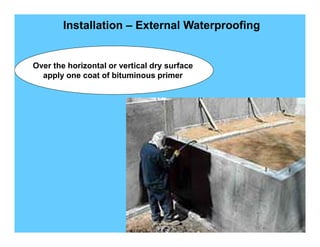
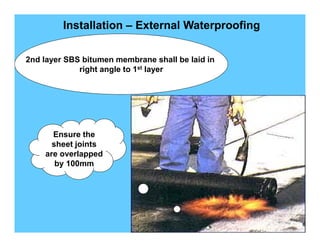
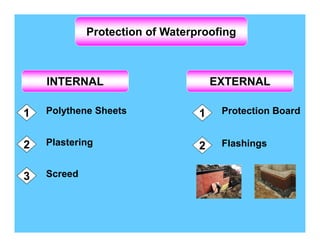
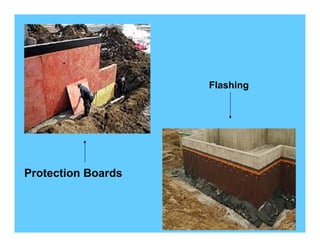
Waterproofing Methodology
Areas of Waterproofing
Gardens
Planter box
Terrace Garden
Foundations &
Retaining Walls
External Areas
Balcony,
Roof
Water bodies
Swimming Pool
Water tanks
Internal Areas
Toilets,
Kitchens
Types of Water Proofing
Liquid Waterproofing
Membrane / Sheet
Waterproofing
Internal
&
External
Polymer modified
Cementitious membranes
Polymer modified
Bituminous membranes
SBS Membrane
(Styrene Butadiene Styrene)
APP Membrane
(Actactic Poly Propylene)
Geotextile Membrane
(Flagon)
Precaution Protection
Installation
Waterproofing Stages
Precautions for waterproofing
RCC Masonry Plaster
Construction
elements to be
observed
Relevant code – IS 13182:1991
RCC
1 Avoid Construction joints in waterproofing areas
Avoid joints across
Toilet, kitchens,
balcony etc
For construction joints
of vertical elements
use water stopper /
swelling gaskets
RCC
2 RCC sunken slabs to be monolithic in construction
X
RCC
3 For waterproof areas ensure RCC has no
honey combs, presence of foreign materials, tie rod holes
RCC
4 Ensure the RCC surface finish is desirable &
suitable for waterproofing
Surface to be
made smooth
during
casting
To avoid reworks such
as surface grinding,
plastering
RCC
5 Ensure service openings are proper in place
Openings & sleeves
Spout Pipe
Ensure for water
retaining structures
use Puddle flange for
inlet & outlet pipes
Masonry
1 Solid blocks to be used till to a height of 100mm
above FFL
Solid Block
Hollow Blocks
FFL 100mm
Plaster
1 For wall surfaces adjacent to shower area, damp proof coating
or waterproof plaster shall be applied
Plaster
2 Ensure the embedded pipe & its connections, bends & joints
are well tight & secured
All drain connections for
Floor traps, WC, Bidets, Bathtubs,
Wash basin, shower trays etc.
All supply inlet connections for
Wash basins, shower, WC etc.
Copper pipes for hot water shall be
adequately insulated
Precaution Protection
Installation
Waterproofing Stages
Liquid Waterproofing
(Internal areas)
( Cementitious / Bituminous
Polymer modified membranes)
Installation – Internal Waterproofing
Surface of waterproofing shall be
dry & made smooth either by
surface grinding or by thin layer of
plastering
Haunches shall be
made around
corners, sleeve
openings
Installation – Internal Waterproofing
Waterproof coating shall
be laid in layers on the
dried surface
Installation – Internal Waterproofing
After 24 hrs of drying, the
2nd coat shall be applied in
right angle to 1st layer
Installation – Internal Waterproofing
After 24 hrs of 2nd coat, water may
be filled & inspect the bottom
surface, joints, around sleeves for
any leakage
Sheet Waterproofing
(External & foundation levels)
( SBS/APP/Flagon membranes)
Installation – External Waterproofing
Ensure the horizontal or vertical surface
on which waterproofing need to be applied
is sufficiently dry & clean
Ensure on wall surfaces, holes for tie rods
to be filled with cement grout, any extruding
steel projections to be cut
Ideal surface
Installation – External Waterproofing
Over the horizontal or vertical dry surface
apply one coat of bituminous primer
Installation – External Waterproofing
1st layer SBS bitumen membrane shall be laid over
the surface by the flame torch
Ensure the
sheet joints
are overlapped
by 100mm
Installation – External Waterproofing
2nd layer SBS bitumen membrane shall be laid in
right angle to 1st layer
Ensure the
sheet joints
are overlapped
by 100mm
Precaution Protection
Installation
Waterproofing Stages
Protection of Waterproofing
INTERNAL EXTERNAL
1 Polythene Sheets
2 Plastering
3 Screed
1 Protection Board
2 Flashings
Protection Boards
Flashing
THANK YOU

Waterproofing step by step.pdf