Downloaded 3,754 times

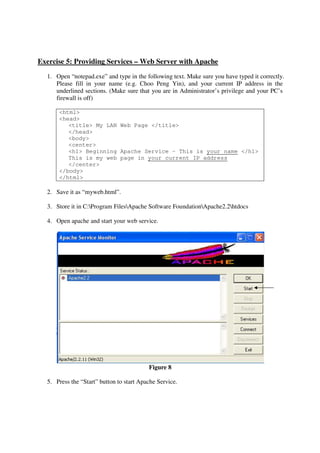
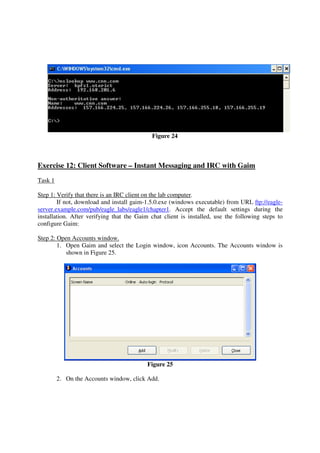

This lab introduces students to various networking commands, client software, and services through a series of exercises. Students will use commands like ipconfig, ping, nmap and nslookup to test network connectivity and identify services. They will use client software like web browsers, FTP, PuTTY, and telnet to access files and login remotely. Students will also use networking software like Apache web server to provide services to other clients on the network. The goal is for students to gain a better understanding of the interactions between clients, services, and networking. Students are instructed to document their results and answers to questions in a Word document for later assessment.