The document contains descriptions of several movie posters created by the author, including:
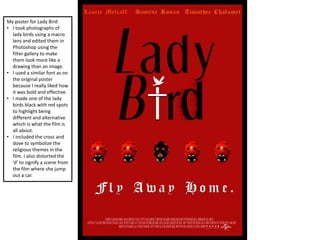
1) A Lady Bird poster featuring edited photographs of ladybugs in a drawing-like style, using a bold font similar to the original poster.
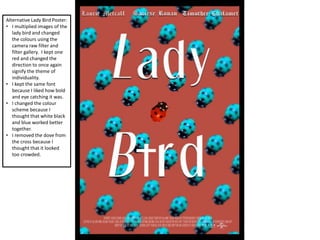
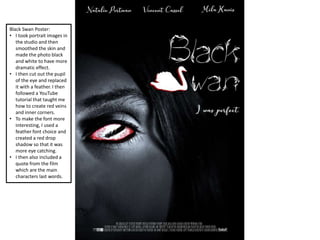
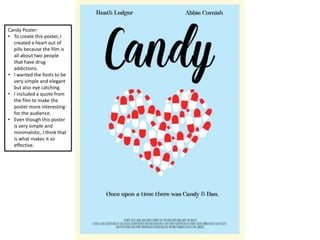
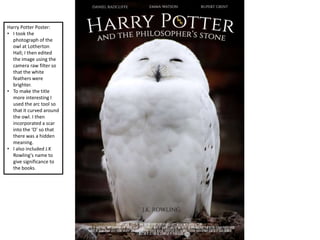
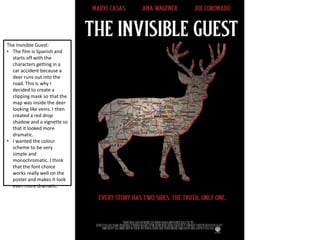
2) Alternative posters for Lady Bird, Perks of Being a Wallflower, Black Swan, Candy, Harry Potter, and The Invisible Guest, describing the visual elements and design choices for each.
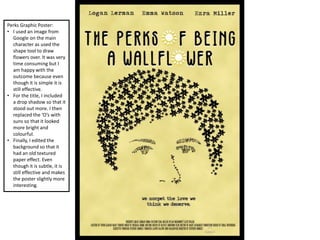
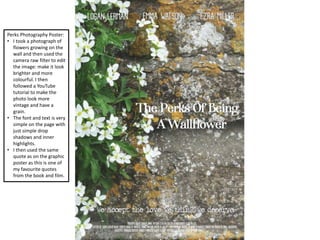
3) The Perks of Being a Wallflower and Black Swan posters incorporate additional symbolic elements relating to themes in the films. Design elements like fonts, shadows, and filters are used across the posters to make them eye-catching while representing the films' tones.