Download to read offline


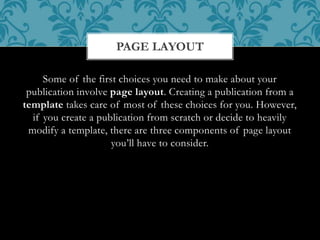


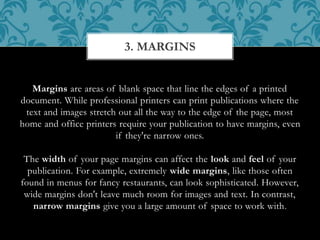


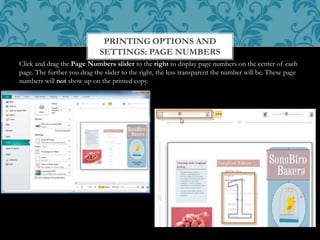


This document discusses the key considerations and steps for producing a publication in Microsoft Publisher. Some important things to determine early on include the intended format (print or online), page size and orientation. Additional decisions involve paper type and color, as well as print quality settings. Publisher allows previewing double-sided pages and offers tools for collating copies. The document can then be printed or published as a PDF for electronic distribution.


![Input devices [autosaved]](https://cdn.slidesharecdn.com/ss_thumbnails/inputdevicesautosaved-140918123014-phpapp01-thumbnail.jpg?width=640&height=640&fit=bounds)


![Lect 1 Number systems and base conversions. [Autosaved].pptx](https://cdn.slidesharecdn.com/ss_thumbnails/lect1numbersystemsandbaseconversions-260111134109-67c2d865-thumbnail.jpg?width=640&height=640&fit=bounds)


