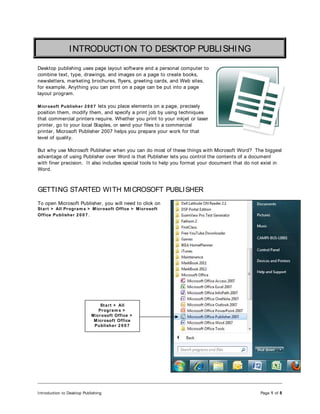
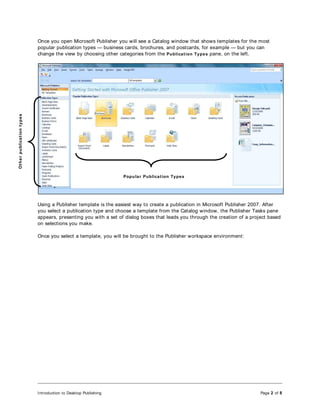
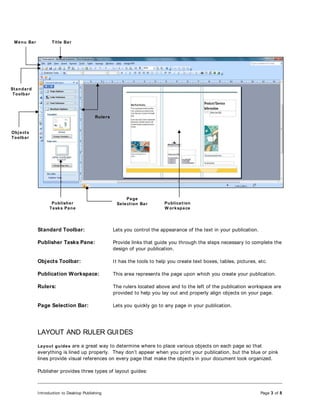
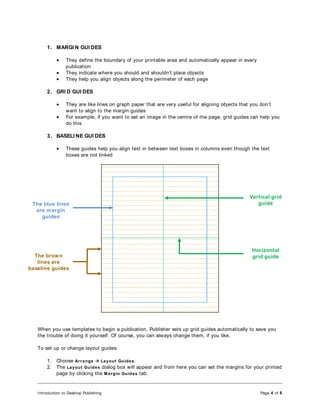
Desktop publishing uses page layout software and a personal computer to combine various elements like text, images, and drawings on a page to create publications. Microsoft Publisher 2007 is an example of desktop publishing software that allows positioning of elements, formatting, and print specifications. It offers more precise layout controls than Microsoft Word. Publisher provides templates, tools, and guides to help align objects and control the design of publications. Layout guides and ruler guides can be used to precisely position and align objects.