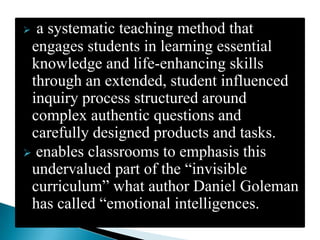
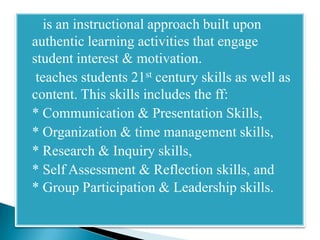
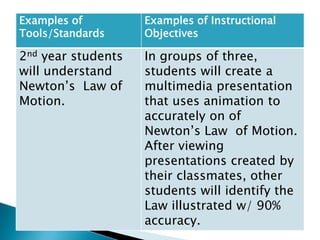
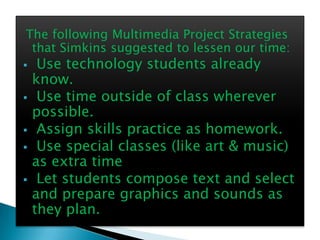
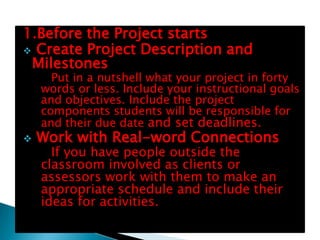
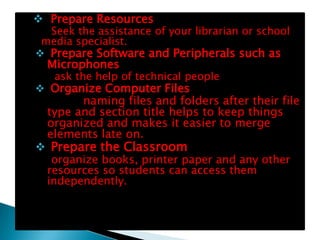
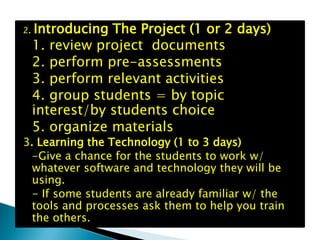
 a systematic teaching method that
 engages students in learning essential
 knowledge and life-enhancing skills
 through an extended, student influenced
 inquiry process structured around
 complex authentic questions and
 carefully designed products and tasks.
 enables classrooms to emphasis this
 undervalued part of the “invisible
 curriculum” what author Daniel Goleman
 has called “emotional intelligences.
  is an instructional approach built upon
 authentic learning activities that engage
 student interest & motivation.
 teaches students 21st century skills as well as
 content. This skills includes the ff:
 * Communication & Presentation Skills,
 * Organization & time management skills,
 * Research & Inquiry skills,
 * Self Assessment & Reflection skills, and
 * Group Participation & Leadership skills.
MICHAEL SIMKINS
 expert in Project-based multimedia
 learning
 *Effective Use of Project Multimedia
 Suggested By Michael Simkins.
1. Go over the subject competencies to
  determine objectives and content that
  the multimedia project will address
  effectively.
Examples of         Examples of Instructional
Tools/Standards     Objectives

2nd year students   In groups of three,
will understand     students will create a
Newton’s Law of     multimedia presentation
Motion.             that uses animation to
                    accurately on of
                    Newton’s Law of Motion.
                    After viewing
                    presentations created by
                    their classmates, other
                    students will identify the
                    Law illustrated w/ 90%
                    accuracy.
2.Estimate how much time you need to
 spend compared to how much time is
 available.
3. Make clear & explicit parameters and
 procedures that must be observed in
 decision making.
4. Set collaborative working
 arrangements to enable students to
 share their knowledge and skills and
 to build on one another’s strengths.
5. Determine what resources you
 will need and what are available.
6. Plan on how you will measure
 what students learn.
The following Multimedia Project Strategies
 that Simkins suggested to lessen our time:
    Use technology students already
    know.
    Use time outside of class wherever
    possible.
    Assign skills practice as homework.
    Use special classes (like art & music)
    as extra time
    Let students compose text and select
    and prepare graphics and sounds as
    they plan.
1.Before the Project starts
 Create Project Description and
 Milestones
      Put in a nutshell what your project in forty
    words or less. Include your instructional goals
    and objectives. Include the project
    components students will be responsible for
    and their due date and set deadlines.
   Work with Real-word Connections
      If you have people outside the
    classroom involved as clients or
    assessors work with them to make an
    appropriate schedule and include their
    ideas for activities.
 Prepare Resources
  Seek the assistance of your librarian or school
 media specialist.
 Prepare Software and Peripherals such as
  Microphones
   ask the help of technical people
 Organize Computer Files
        naming files and folders after their file
  type and section title helps to keep things
  organized and makes it easier to merge
  elements late on.
 Prepare the Classroom
  organize books, printer paper and any other
 resources so students can access them
 independently.
2.   Introducing The Project (1 or 2 days)
     1. review project documents
     2. perform pre-assessments
     3. perform relevant activities
     4. group students = by topic
     interest/by students choice
     5. organize materials
3. Learning the Technology (1 to 3 days)
  -Give a chance for the students to work w/
  whatever software and technology they will be
  using.
  - If some students are already familiar w/ the
  tools and processes ask them to help you train
  the others.
Preliminary Research & Planning(3 days to 3
4.
4.weeks, depending on the project Size)
   Preliminary Research & Planning(3
     days to 3 weeks, depending on
             Students should immerse
themselves in the content or subject matter
they need to understand to create their
presentations. Students will engage in
relevant experiences or conduct research to
collect information and gather ideas.
 5. Concept design & Storyboarding (3-5
days)
      After collecting initial information, hold
a brain storming session where the whole the
class or a subgroup defines a tentative
approach to the subjects and discusses some
preliminary design ideas.
STORY BOARDING – Is a paper-and –pencil
 sketch of the entire presentation, screen by
 screen or in the case of video, shot by shot.
6. Assessing, Testing & Finalizing
 Presentations (1-3 weeks)
     2 KINDS of TESTING TO THINK ABOUT
     1. Functional Testing
     2. User testing
7. Concluding Activities (1-3 days)
     Allow time for students to present and
 show off their hard work. You and they will
 be proud of what they have done and will
 want to share it with others.
* Dis Advantages
   @ PBL will be useful in the learning
process of the learners. It will enable them to
enhance their talent that will developed
during the process of accomplishing specific
project.
   @ With PBL We can easily monitor the
learning progress of the learners through
project outputs.
* Advantages
   @Time allotted in doing projects.
THANK YOU

Project based learning ...16

  • 2.
     a systematicteaching method that engages students in learning essential knowledge and life-enhancing skills through an extended, student influenced inquiry process structured around complex authentic questions and carefully designed products and tasks.  enables classrooms to emphasis this undervalued part of the “invisible curriculum” what author Daniel Goleman has called “emotional intelligences.
  • 3.
     isan instructional approach built upon authentic learning activities that engage student interest & motivation.  teaches students 21st century skills as well as content. This skills includes the ff: * Communication & Presentation Skills, * Organization & time management skills, * Research & Inquiry skills, * Self Assessment & Reflection skills, and * Group Participation & Leadership skills.
  • 4.
    MICHAEL SIMKINS  expertin Project-based multimedia learning *Effective Use of Project Multimedia Suggested By Michael Simkins. 1. Go over the subject competencies to determine objectives and content that the multimedia project will address effectively.
  • 5.
    Examples of Examples of Instructional Tools/Standards Objectives 2nd year students In groups of three, will understand students will create a Newton’s Law of multimedia presentation Motion. that uses animation to accurately on of Newton’s Law of Motion. After viewing presentations created by their classmates, other students will identify the Law illustrated w/ 90% accuracy.
  • 6.
    2.Estimate how muchtime you need to spend compared to how much time is available. 3. Make clear & explicit parameters and procedures that must be observed in decision making. 4. Set collaborative working arrangements to enable students to share their knowledge and skills and to build on one another’s strengths.
  • 7.
    5. Determine whatresources you will need and what are available. 6. Plan on how you will measure what students learn.
  • 8.
    The following MultimediaProject Strategies that Simkins suggested to lessen our time:  Use technology students already know.  Use time outside of class wherever possible.  Assign skills practice as homework.  Use special classes (like art & music) as extra time  Let students compose text and select and prepare graphics and sounds as they plan.
  • 9.
    1.Before the Projectstarts  Create Project Description and Milestones Put in a nutshell what your project in forty words or less. Include your instructional goals and objectives. Include the project components students will be responsible for and their due date and set deadlines.  Work with Real-word Connections If you have people outside the classroom involved as clients or assessors work with them to make an appropriate schedule and include their ideas for activities.
  • 10.
     Prepare Resources Seek the assistance of your librarian or school media specialist.  Prepare Software and Peripherals such as Microphones ask the help of technical people  Organize Computer Files naming files and folders after their file type and section title helps to keep things organized and makes it easier to merge elements late on.  Prepare the Classroom organize books, printer paper and any other resources so students can access them independently.
  • 11.
    2. Introducing The Project (1 or 2 days) 1. review project documents 2. perform pre-assessments 3. perform relevant activities 4. group students = by topic interest/by students choice 5. organize materials 3. Learning the Technology (1 to 3 days) -Give a chance for the students to work w/ whatever software and technology they will be using. - If some students are already familiar w/ the tools and processes ask them to help you train the others.
  • 12.
    Preliminary Research &Planning(3 days to 3 4. 4.weeks, depending on the project Size) Preliminary Research & Planning(3 days to 3 weeks, depending on Students should immerse themselves in the content or subject matter they need to understand to create their presentations. Students will engage in relevant experiences or conduct research to collect information and gather ideas. 5. Concept design & Storyboarding (3-5 days) After collecting initial information, hold a brain storming session where the whole the class or a subgroup defines a tentative approach to the subjects and discusses some preliminary design ideas.
  • 13.
    STORY BOARDING –Is a paper-and –pencil sketch of the entire presentation, screen by screen or in the case of video, shot by shot. 6. Assessing, Testing & Finalizing Presentations (1-3 weeks) 2 KINDS of TESTING TO THINK ABOUT 1. Functional Testing 2. User testing 7. Concluding Activities (1-3 days) Allow time for students to present and show off their hard work. You and they will be proud of what they have done and will want to share it with others.
  • 14.
    * Dis Advantages @ PBL will be useful in the learning process of the learners. It will enable them to enhance their talent that will developed during the process of accomplishing specific project. @ With PBL We can easily monitor the learning progress of the learners through project outputs. * Advantages @Time allotted in doing projects.
  • 15.