Downloaded 481 times


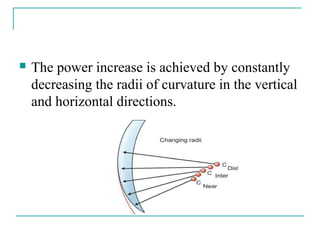
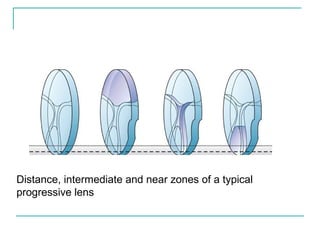
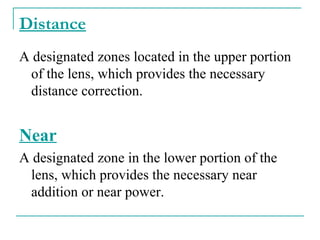
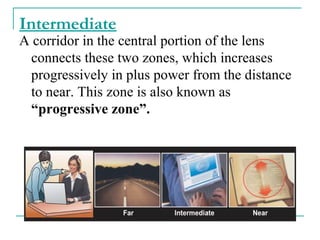
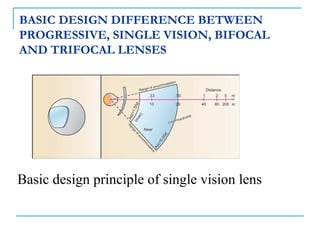
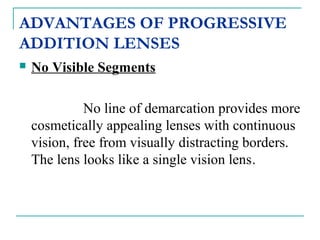
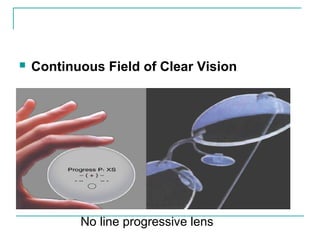
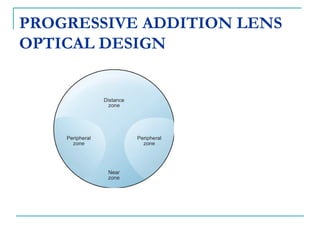
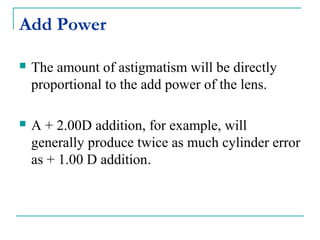
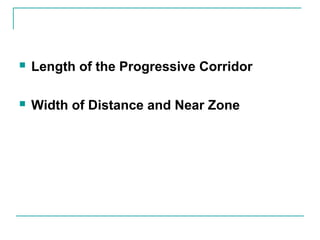


Progressive addition lenses are lenses that gradually change in optical power from the top to the bottom to provide clear vision at all distances without visible lines. They were invented in 1907 and the Varilux 1 was introduced in 1959. Unlike bifocals or trifocals, progressives ensure smooth vision at all distances. The power increase is achieved by gradually decreasing the lens curvature vertically and horizontally. Progressives have advantages over other lenses like continuous vision and no visible lines. Optical design factors like add power, corridor length, and zone widths affect progressives. Proper fitting involves adjusting the frame position and measuring pupil distance and fitting height.


