Downloaded 217 times
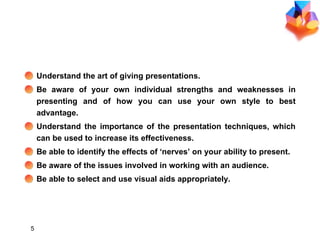
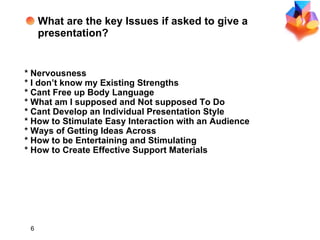


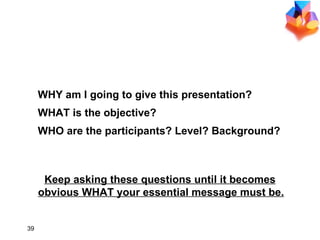
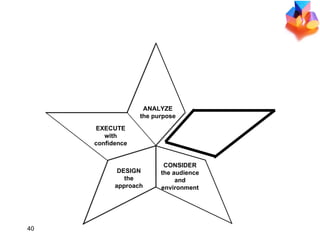
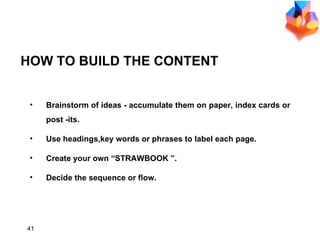
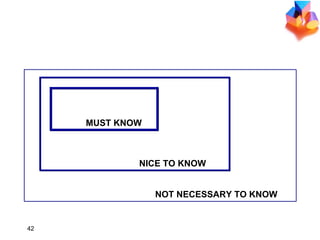


The document provides an overview of a workshop on presentation skills. It discusses introducing oneself, setting expectations, objectives of improving presentation techniques and reducing nerves. It covers key issues like body language, rehearsal tips, ways to begin and structure a presentation, and using visual aids to engage audiences. The goal is to help participants understand the art of giving effective presentations.


