Downloaded 15 times


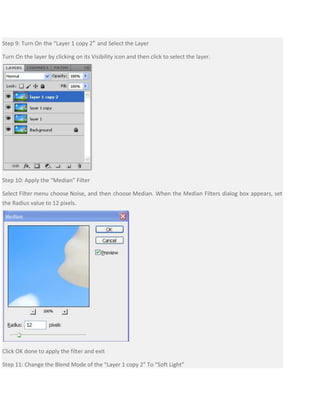
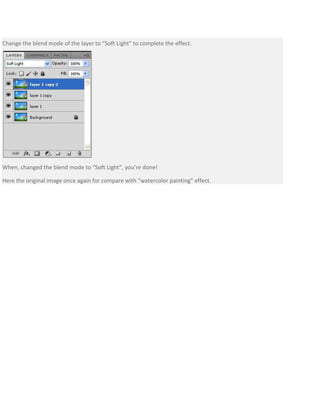


This document provides a tutorial for applying a watercolor painting effect to a photo using Photoshop layers and filters. The tutorial involves duplicating the background layer 3 times, hiding the top two layers, applying the Cutout filter to simplify the image, and changing the blend mode to Luminosity. Next, the Dry Brush filter is applied to the next layer with the blend mode changed to Screen. Finally, the Median filter is used on the top layer with the blend mode set to Soft Light to complete the watercolor effect.


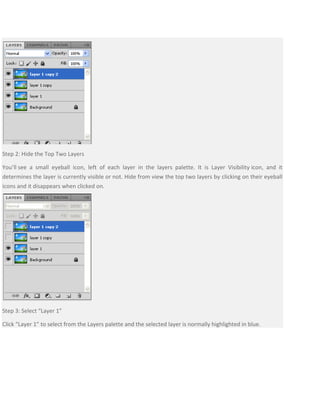
![Steps to work_on_photoshop[1]](https://cdn.slidesharecdn.com/ss_thumbnails/stepstoworkonphotoshop1-110902192646-phpapp02-thumbnail.jpg?width=640&height=640&fit=bounds)
![Steps to work_on_photoshop[1]](https://cdn.slidesharecdn.com/ss_thumbnails/stepstoworkonphotoshop1-110902192923-phpapp01-thumbnail.jpg?width=640&height=640&fit=bounds)


