Download to read offline


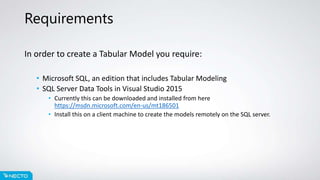


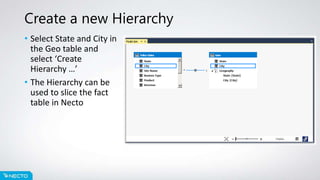


This document provides an overview of creating a tabular model in Visual Studio using Excel data sources that can then be used as a data source in Necto. The key steps covered are: - Creating a new tabular model project in Visual Studio SQL Server Data Tools - Importing Excel files as data sources and defining relationships between tables - Creating measures and hierarchies for slicing data - Customizing the model by hiding unnecessary columns - Deploying the completed model for use in Necto