Download to read offline
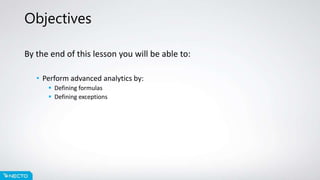
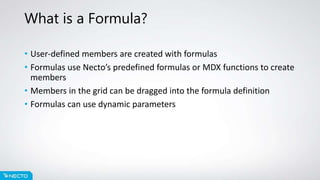
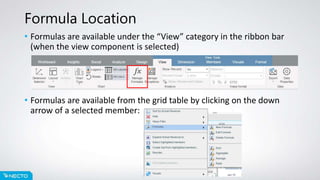

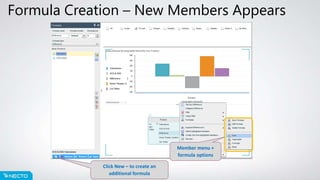
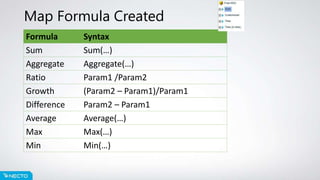
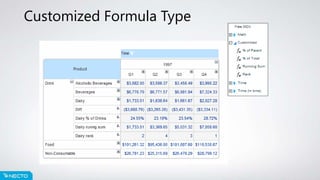
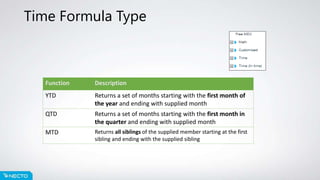
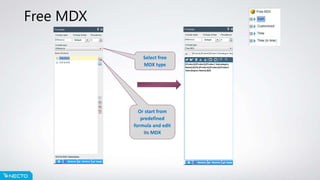

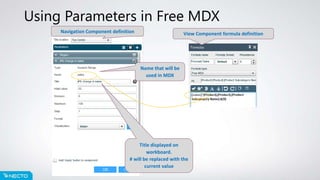
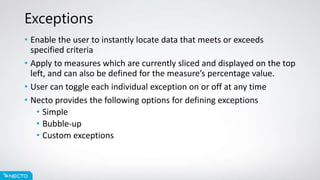
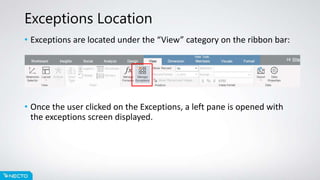

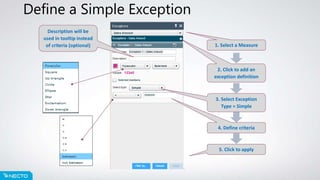
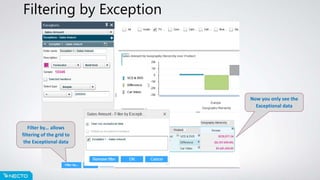
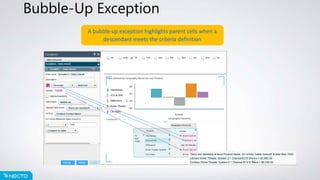

The document discusses formulas and exceptions in Necto 16 Training. It describes how to define formulas using predefined functions or MDX to create custom members, and how exceptions can be used to highlight data that meets specified criteria. Formulas can include parameters and be time-based. Exceptions include simple, bubble-up, and custom types defined with MDX.


