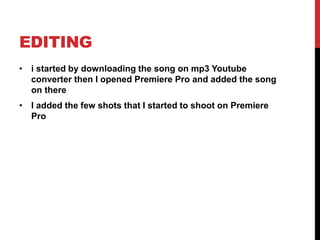
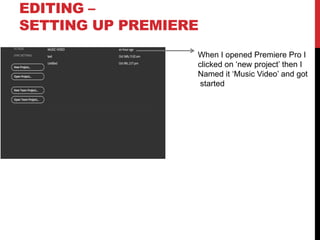
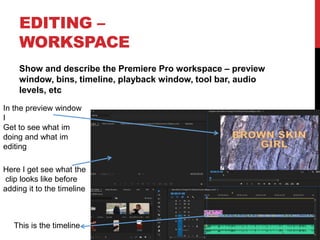
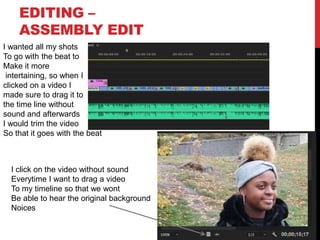
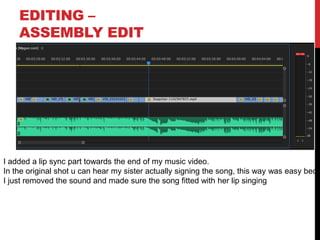
Logfaith Fomekong produced a music video with limited resources. She had to use her phone instead of a camera and had some cast and crew issues during filming. Some members could not make it or changed her plans. During editing in Premiere Pro, she organized her footage and added shots to the timeline to match the beat of the song. She refined her assembly edit and added a lip sync scene by removing background noise. She exported her completed project but does not describe her export settings.
![EDITING –
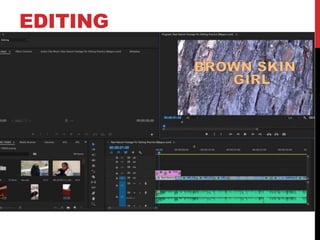
IMPORTING FOOTAGE
Show how you imported your footage, your file set up in
Premiere and how you have organised your different docs
[video, audio, etc]](https://image.slidesharecdn.com/mvprocesslogform2019-2-191119155246/85/Mv-process-log-form-2019-2-10-320.jpg)


![Problem solving [autosaved] (1)](https://cdn.slidesharecdn.com/ss_thumbnails/problemsolvingautosaved1-210223025424-thumbnail.jpg?width=640&height=640&fit=bounds)


