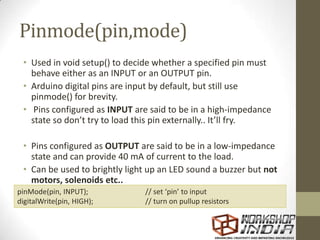
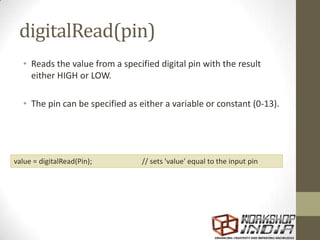
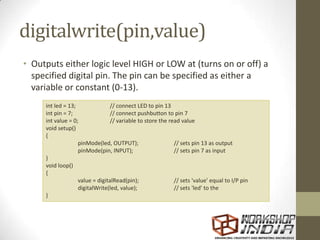
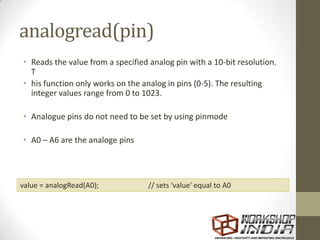
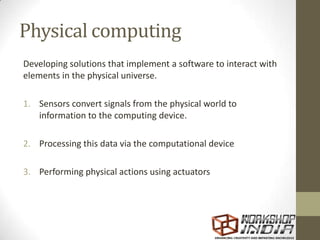
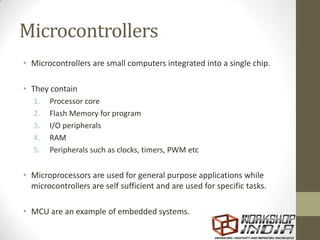
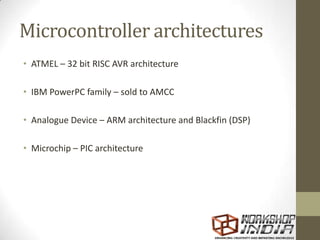
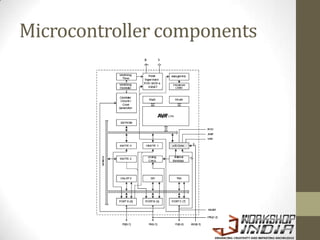
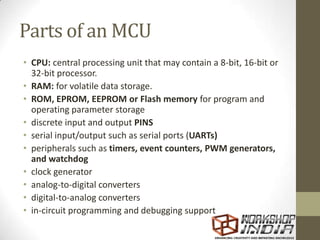
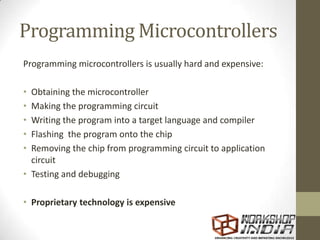
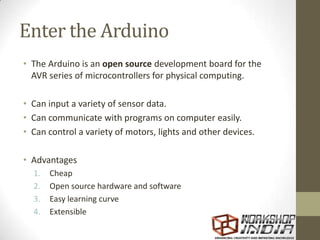
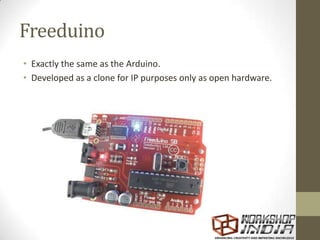
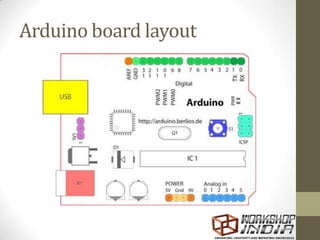
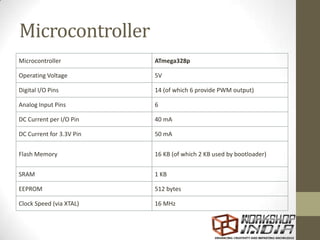
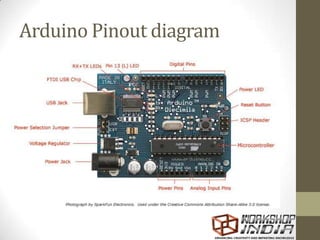
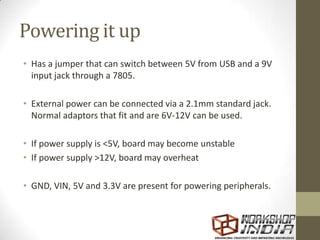
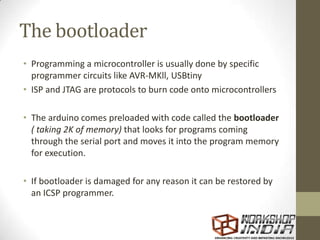
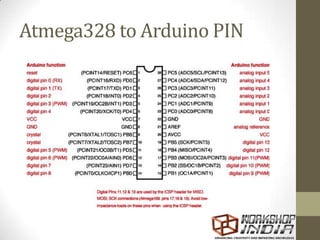
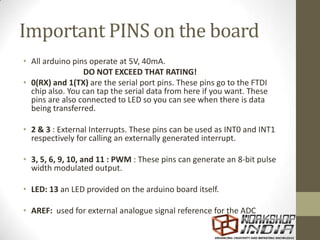
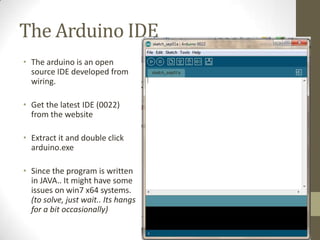
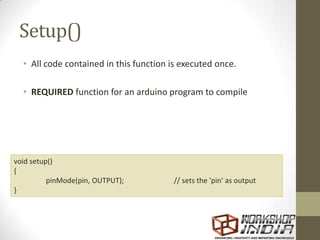
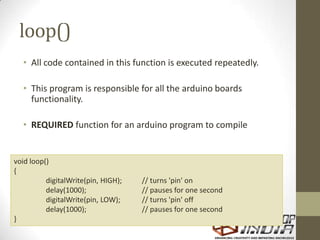
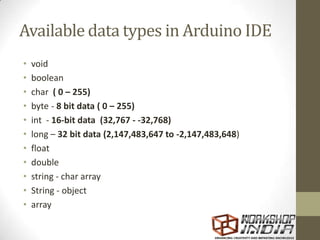
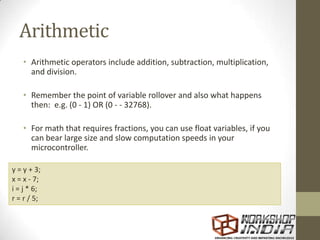
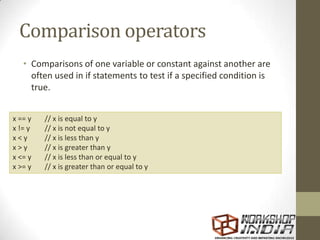
This document provides an introduction to Arduino microcontrollers and programming. It discusses physical computing using sensors and actuators, microcontroller architectures and components. It then introduces the Arduino development board as an open source and easy to use platform for physical computing. The document explains the Arduino IDE, programming structure, data types, functions, and basic programming concepts like digital and analog I/O.


![Arrays
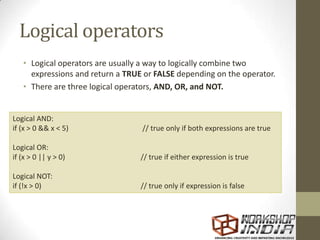
• An array is a collection of values that are accessed with an
index number.
• Arrays are zero indexed, with the first value in the array
beginning at index number 0.
int myArray[5]; // declares integer array w/ 6 positions
myArray[3] = 10; // assigns the 4th index the value 10
int x;
x = myArray[3]; // x now equals 10](https://image.slidesharecdn.com/introductiontoarduino-111120102058-phpapp02-221029122353-f833b149/85/introductiontoarduino-111120102058-phpapp02-pdf-32-320.jpg)
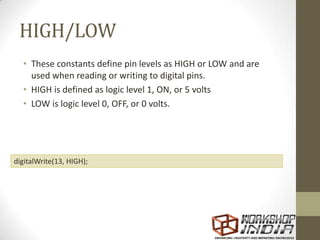
![int ledPin = 10; // LED on pin 10
byte flikr[] = {160, 130, 5, 20, 100, 30, 110, 25};
// above array of 8
void setup()
{
pinMode(ledPin, OUTPUT); // sets OUTPUT pin
}
void loop()
{
for(int i=0; i<7; i++) // looping though array
{
analogWrite(ledPin, flikr[i]); // write index value
delay(200); // pause 200ms
}
}](https://image.slidesharecdn.com/introductiontoarduino-111120102058-phpapp02-221029122353-f833b149/85/introductiontoarduino-111120102058-phpapp02-pdf-33-320.jpg)