Download as PDF, PPTX
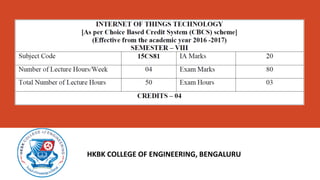
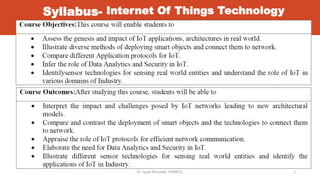
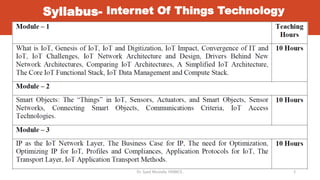
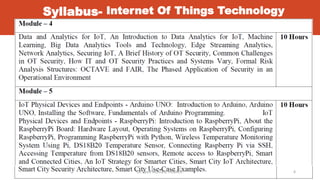
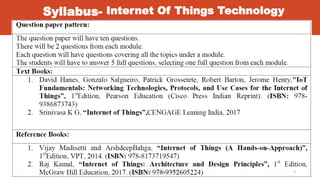
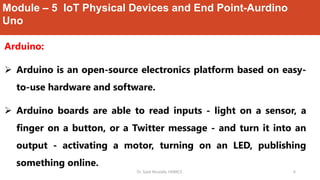
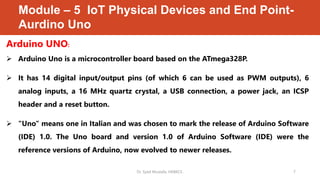
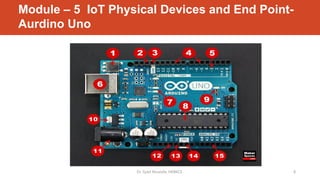
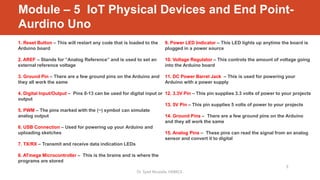
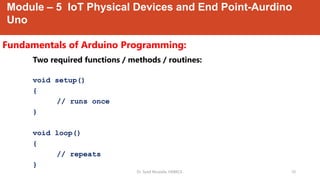
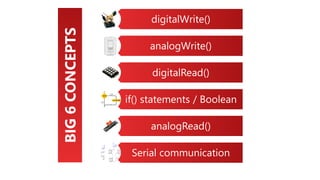

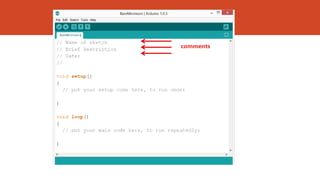
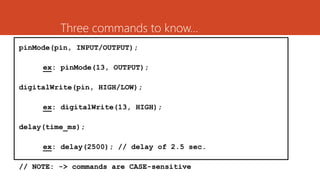
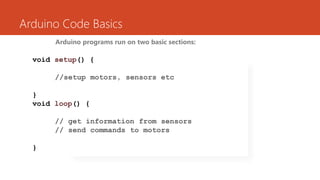
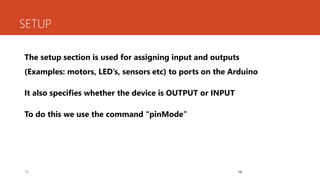
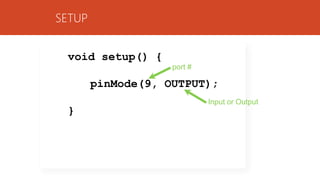
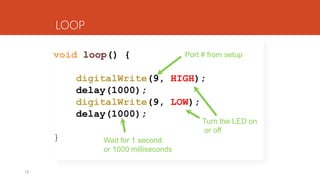
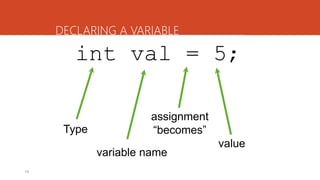
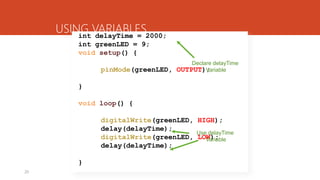
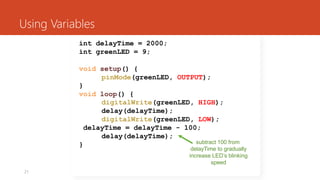
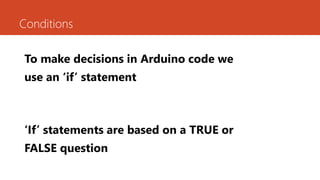
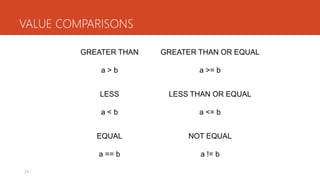
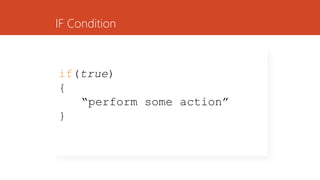
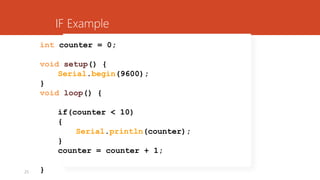
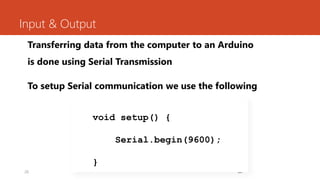
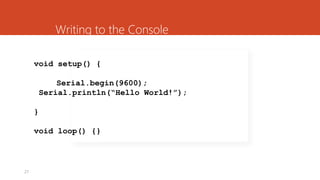
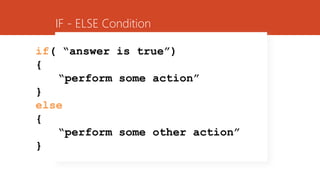
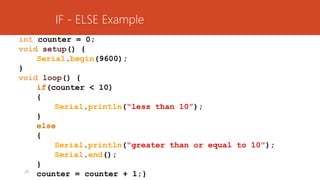
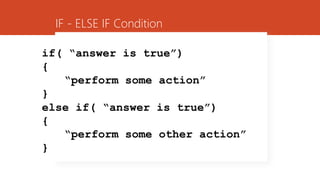
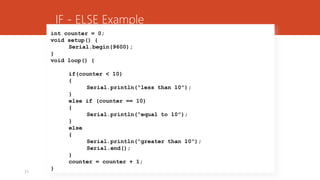
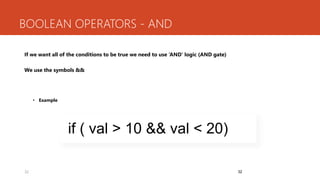
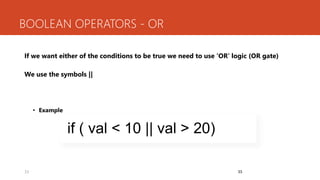
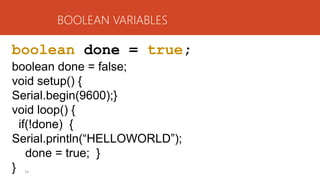
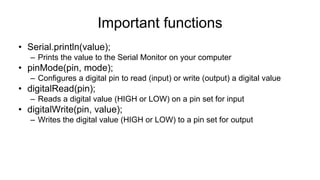


This document outlines the syllabus for a course on Internet of Things (IoT) technology taught by Dr. Syed Mustafa at HKBK College of Engineering, Bengaluru. It covers key modules including IoT physical devices and endpoints such as Arduino and Raspberry Pi. The Arduino section describes the Arduino microcontroller board and its components. It also covers Arduino programming basics like setup and loop functions, input/output functions, variables, conditional statements, and serial communication. The Raspberry Pi section provides an overview of the single-board computer and its hardware layout.