This document provides steps to create and share a Google presentation. It includes:
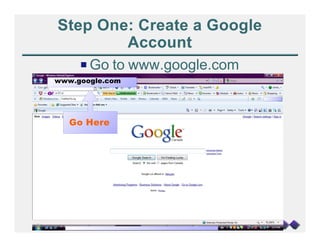
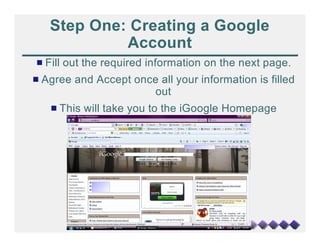
1) Creating a Google account and accessing Google presentations.
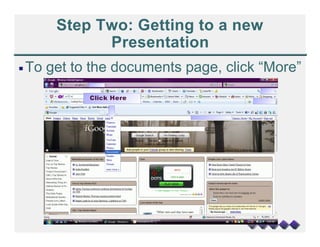
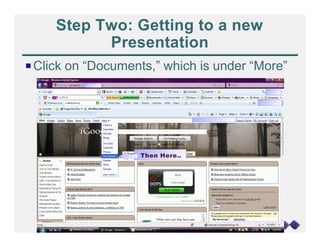
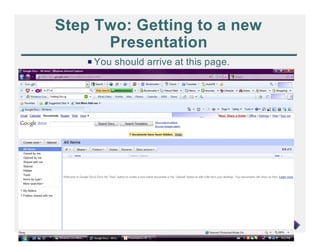
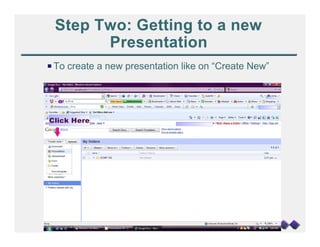
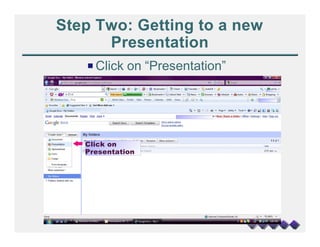
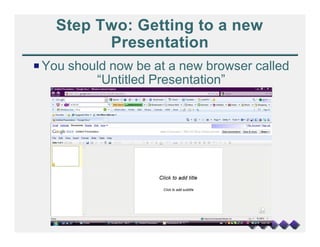
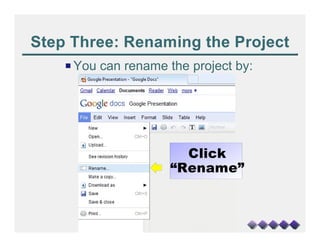
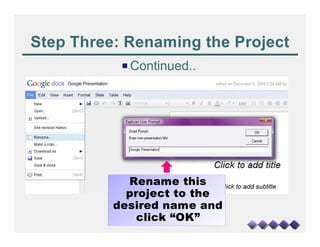
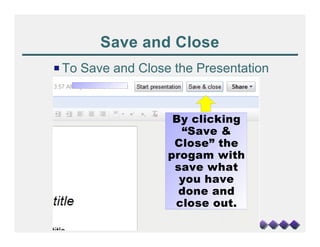
2) Getting to a new presentation and renaming the project.
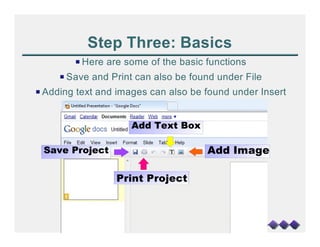
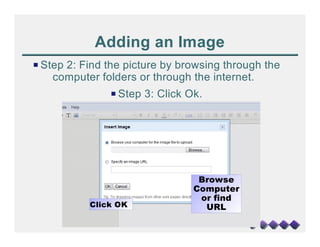
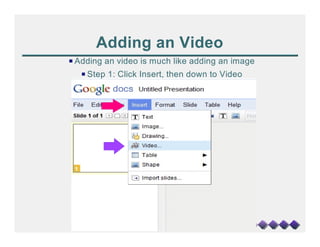
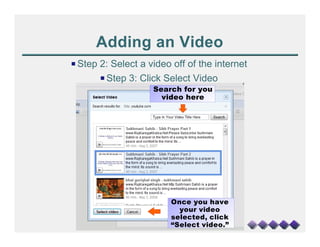
3) Adding basic elements like text boxes, images, videos, and speaker notes.
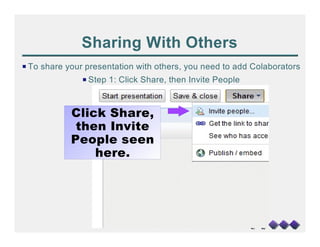
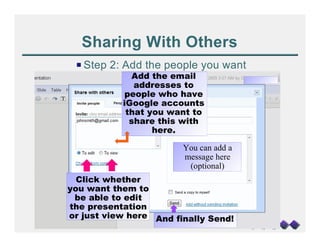
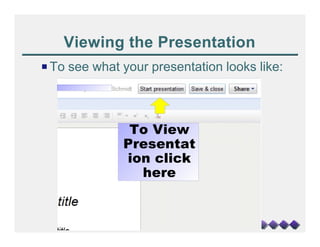
4) Sharing the presentation with other collaborators and viewing the final presentation.