Downloaded 154 times

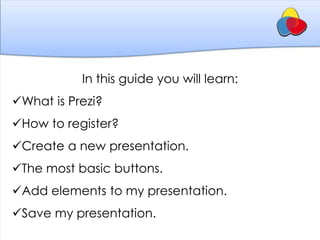


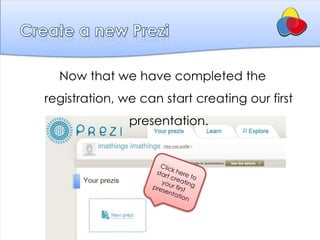


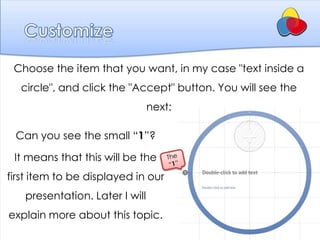


This guide introduces Prezi, a non-linear presentation tool that allows users to create engaging presentations using zoom functionality instead of traditional slides. It covers the basics of signing up for an account, creating presentations with various elements, and saving work. Additionally, it provides encouragement to practice and explore further resources and social media connections for continued learning.


