Download to read offline


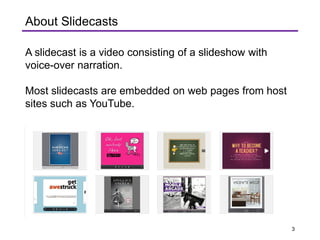
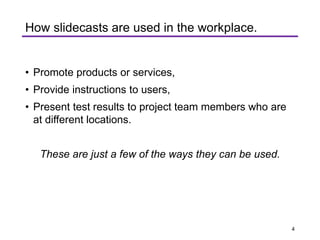
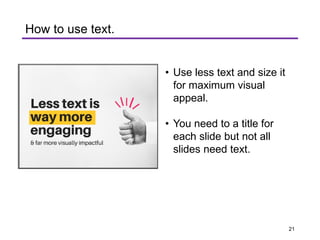
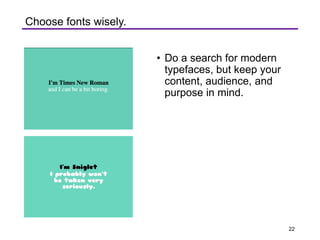
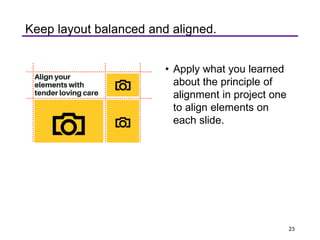
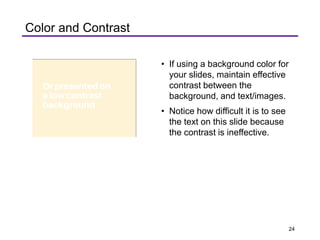
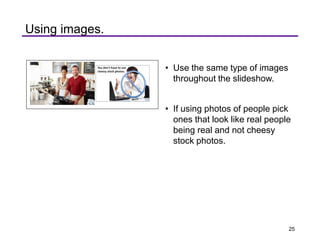
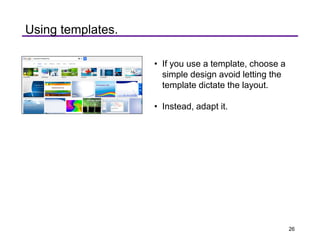

This document provides instructions for creating a slidecast, which is a slideshow with voice narration. It discusses slidecasting tool options like Knovio, PowerPoint, Keynote, and Screencast-O-Matic. The document advises deciding whether to write the script or design slides first. It offers tips for writing the script, such as using short sentences and signposts. Design recommendations include using bold visuals, minimal text, aligned elements, and effective use of images, fonts, colors and templates. The goal is to engage viewers and avoid long reads from slides.