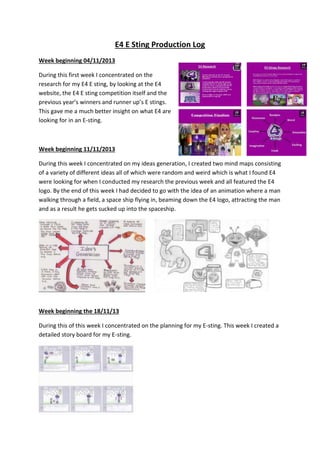
1) Over several weeks, the document's author planned and produced an animated E-sting for E4 featuring a man in a field who gets sucked into a flying saucer by the E4 logo.
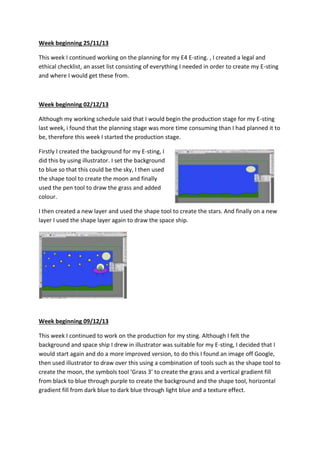
2) Planning involved researching previous winners, developing ideas, storyboarding, and creating asset and legal checklists.
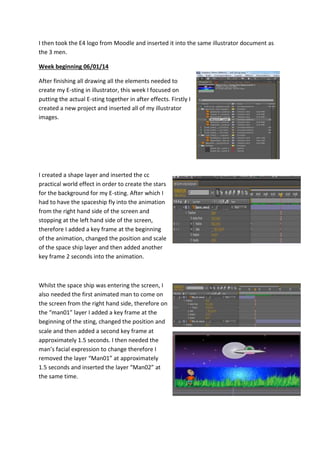
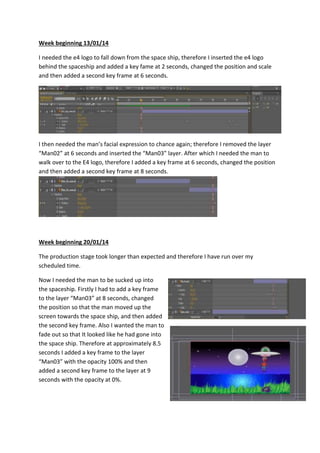
3) Production used Illustrator to draw background elements, spaceships, and characters, then After Effects to animate them with keyframes over time. Elements included a changing man, falling E4 logo, and flying/fading spaceship.
4) The completed E-sting was then imported into Premier Pro with a soundtrack added.