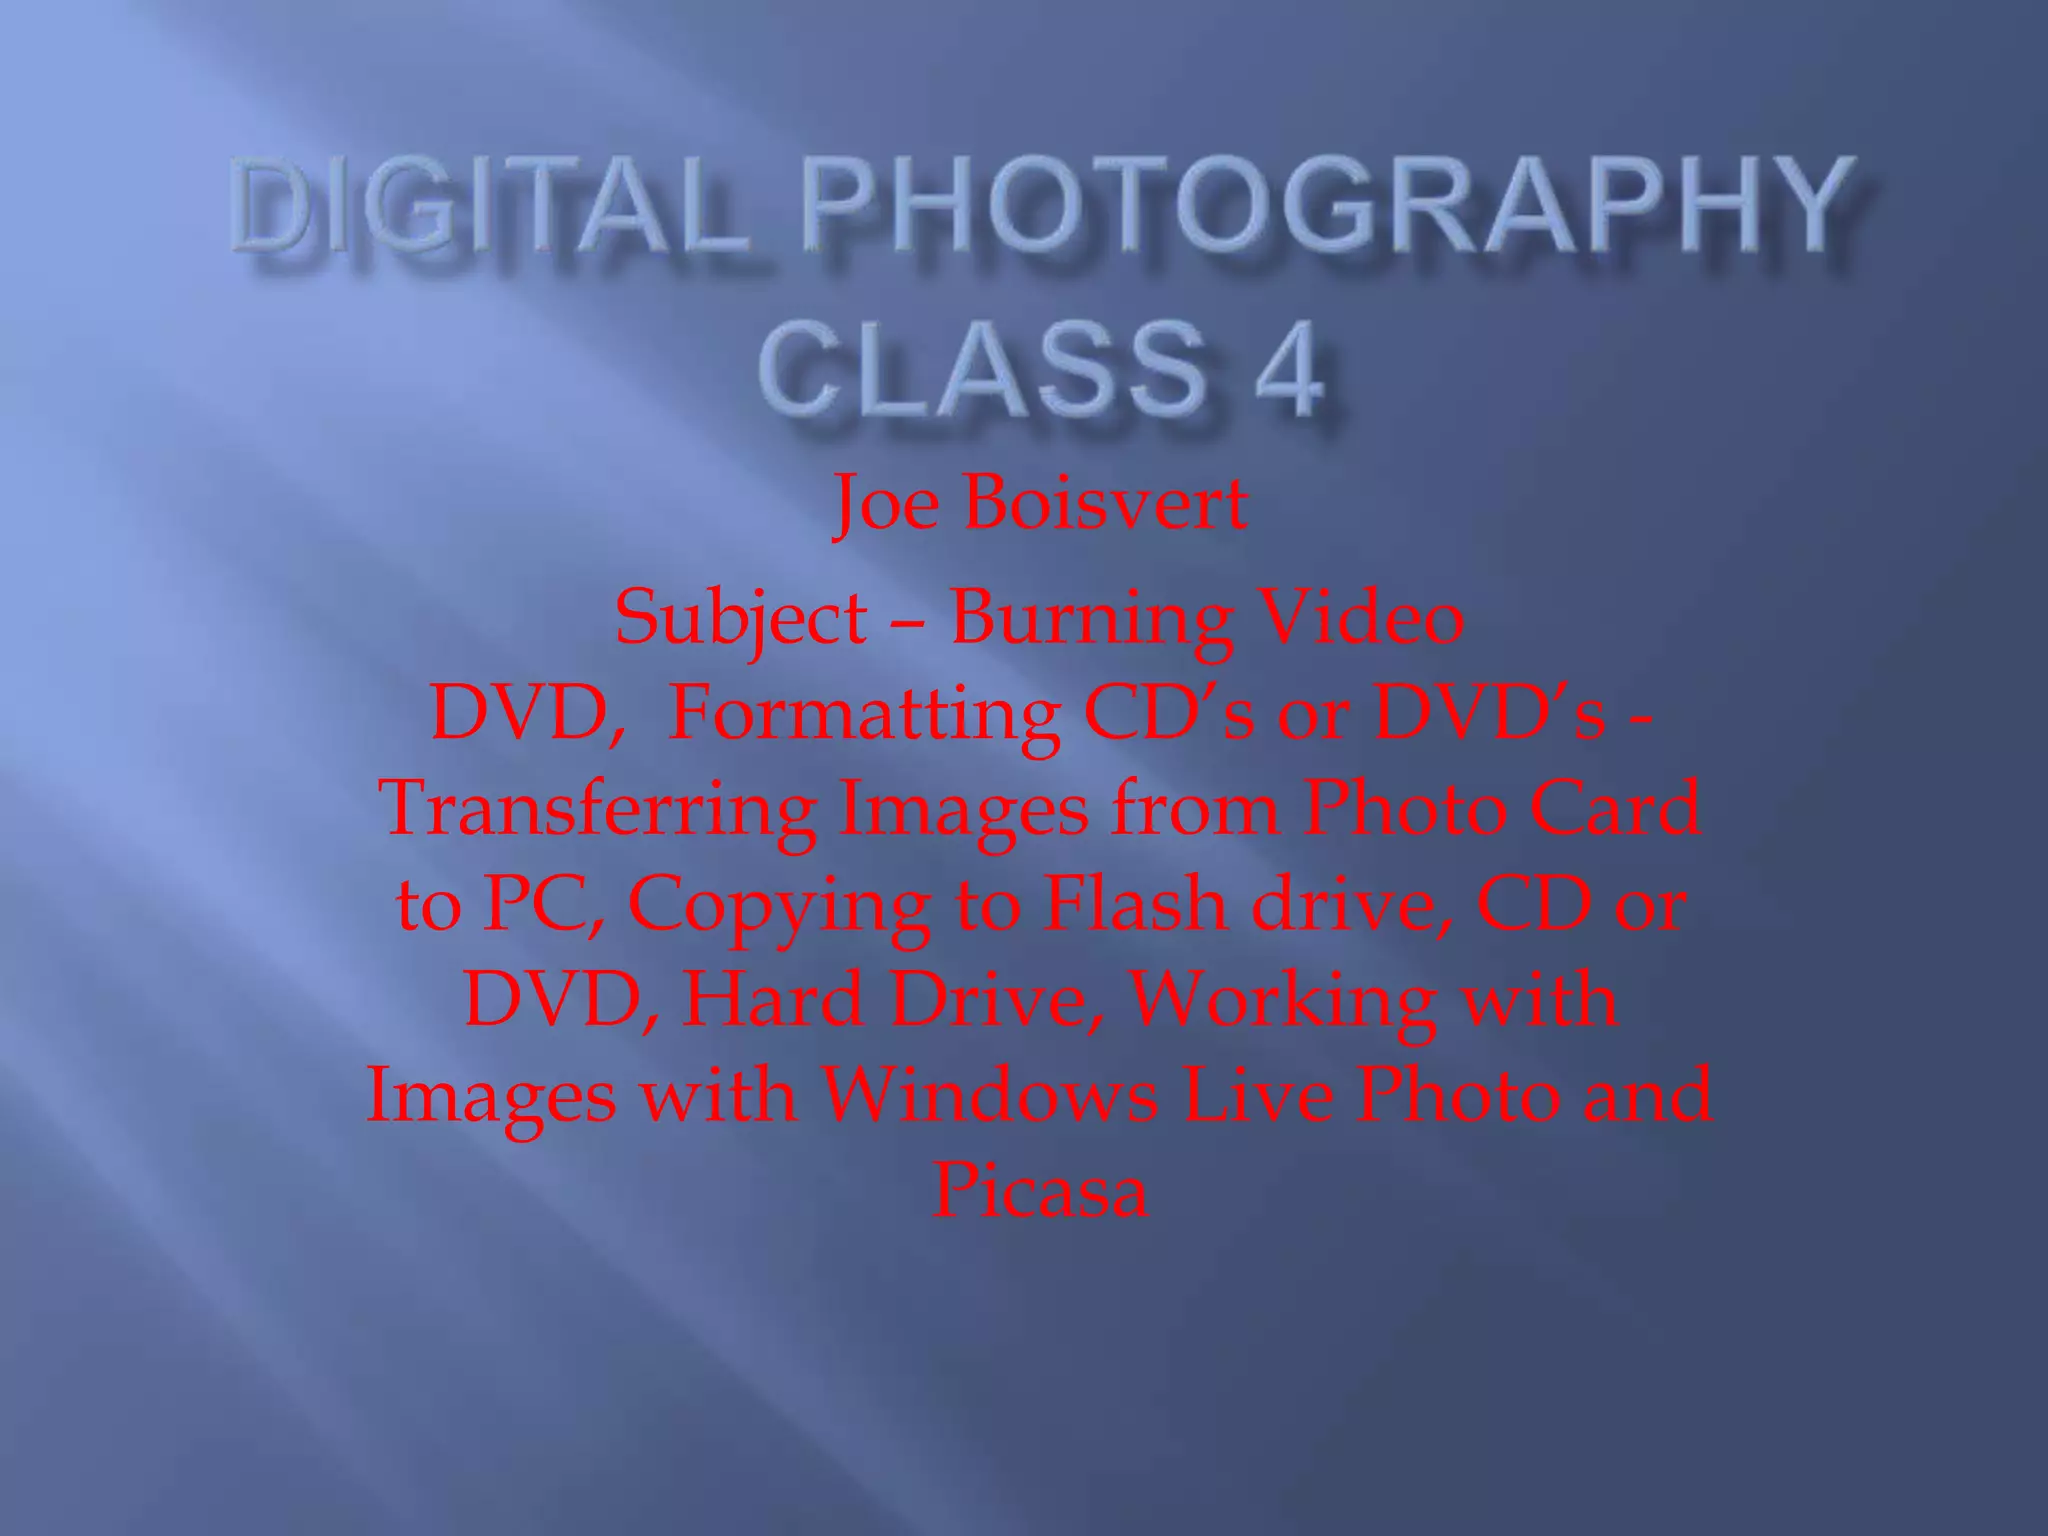
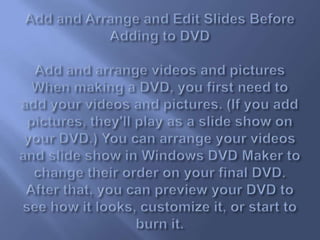
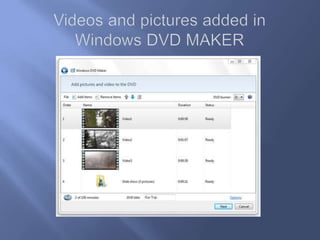
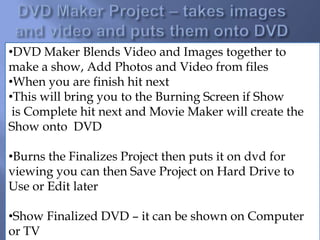
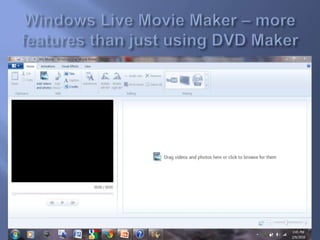
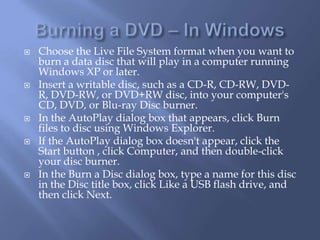
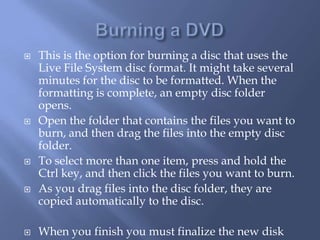
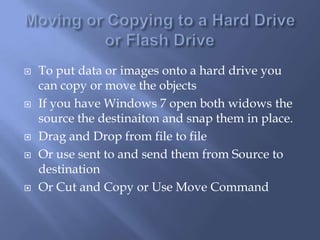
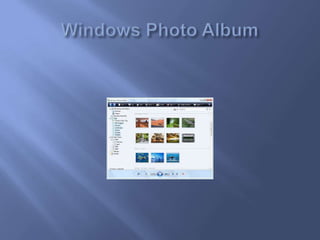
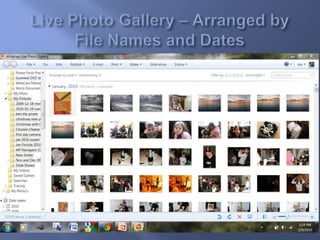
Digital Photography Class 4Joe BoisvertSubject – Burning Video DVD,  Formatting CD’s or DVD’s - Transferring Images from Photo Card to PC, Copying to Flash drive, CD or DVD, Hard Drive, Working with Images with Windows Live Photo and Picasa
Burn a DVD-Video disc with Windows DVD MakerWINDOOWS  DVD Maker is a feature you can use to make DVDs that you can watch on a computer or on a TV using a regular DVD player. The quickest way to make a DVD is to add pictures and videos in Windows DVD Maker, and then burn your DVD. If you want to get creative, you can customize the DVD menu style and text before you burn the DVD.
Add and Arrange and Edit Slides Before Adding to DVDAdd and arrange videos and picturesWhen making a DVD, you first need to add your videos and pictures. (If you add pictures, they'll play as a slide show on your DVD.) You can arrange your videos and slide show in Windows DVD Maker to change their order on your final DVD. After that, you can preview your DVD to see how it looks, customize it, or start to burn it.
Videos and pictures added in Windows DVD MAKER
DVD Maker Project – takes images and video and puts them onto DVDDVD Maker Blends Video and Images together to make a show, Add Photos and Video from files
When you are finish hit next
This will bring you to the Burning Screen if Show  is Complete hit next and Movie Maker will create the  Show onto  DVDBurns the Finalizes Project then puts it on dvd for viewing you can then Save Project on Hard Drive to Use or Edit later
Show Finalized DVD – it can be shown on Computer or TVWindows Live Movie Maker – more features than just using DVD Maker
Burning a DVD – In WindowsChoose the Live File System format when you want to burn a data disc that will play in a computer running Windows XP or later. Insert a writable disc, such as a CD-R, CD-RW, DVD-R, DVD-RW, or DVD+RW disc, into your computer's CD, DVD, or Blu-ray Disc burner.In the AutoPlay dialog box that appears, click Burn files to disc using Windows Explorer.If the AutoPlay dialog box doesn't appear, click the Start button , click Computer, and then double-click your disc burner.In the Burn a Disc dialog box, type a name for this disc in the Disc title box, click Like a USB flash drive, and then click Next.
Burning a DVDThis is the option for burning a disc that uses the Live File System disc format. It might take several minutes for the disc to be formatted. When the formatting is complete, an empty disc folder opens.Open the folder that contains the files you want to burn, and then drag the files into the empty disc folder.To select more than one item, press and hold the Ctrl key, and then click the files you want to burn.As you drag files into the disc folder, they are copied automatically to the disc.When you finish you must finalize the new disk
Moving or Copying to a Hard Driveor Flash DriveTo put data or images onto a hard drive you can copy or move the objects If you have Windows 7 open both widows the source the destinaiton and snap them in place.Drag and Drop from file to fileOr use sent to and send them from Source to destinationOr Cut and Copy or Use Move Command
Windows Photo Album
Live Photo Gallery – Arranged by File Names and Dates
Live Photo Gallery Fix for Editing the Image
Geotag Your Photo’s

Digital Photography Class 4

  • 1.
    Digital Photography Class4Joe BoisvertSubject – Burning Video DVD, Formatting CD’s or DVD’s - Transferring Images from Photo Card to PC, Copying to Flash drive, CD or DVD, Hard Drive, Working with Images with Windows Live Photo and Picasa
  • 2.
    Burn a DVD-Videodisc with Windows DVD MakerWINDOOWS DVD Maker is a feature you can use to make DVDs that you can watch on a computer or on a TV using a regular DVD player. The quickest way to make a DVD is to add pictures and videos in Windows DVD Maker, and then burn your DVD. If you want to get creative, you can customize the DVD menu style and text before you burn the DVD.
  • 3.
    Add and Arrangeand Edit Slides Before Adding to DVDAdd and arrange videos and picturesWhen making a DVD, you first need to add your videos and pictures. (If you add pictures, they'll play as a slide show on your DVD.) You can arrange your videos and slide show in Windows DVD Maker to change their order on your final DVD. After that, you can preview your DVD to see how it looks, customize it, or start to burn it.
  • 4.
    Videos and picturesadded in Windows DVD MAKER
  • 5.
    DVD Maker Project– takes images and video and puts them onto DVDDVD Maker Blends Video and Images together to make a show, Add Photos and Video from files
  • 6.
    When you arefinish hit next
  • 7.
    This will bringyou to the Burning Screen if Show is Complete hit next and Movie Maker will create the Show onto DVDBurns the Finalizes Project then puts it on dvd for viewing you can then Save Project on Hard Drive to Use or Edit later
  • 8.
    Show Finalized DVD– it can be shown on Computer or TVWindows Live Movie Maker – more features than just using DVD Maker
  • 9.
    Burning a DVD– In WindowsChoose the Live File System format when you want to burn a data disc that will play in a computer running Windows XP or later. Insert a writable disc, such as a CD-R, CD-RW, DVD-R, DVD-RW, or DVD+RW disc, into your computer's CD, DVD, or Blu-ray Disc burner.In the AutoPlay dialog box that appears, click Burn files to disc using Windows Explorer.If the AutoPlay dialog box doesn't appear, click the Start button , click Computer, and then double-click your disc burner.In the Burn a Disc dialog box, type a name for this disc in the Disc title box, click Like a USB flash drive, and then click Next.
  • 10.
    Burning a DVDThisis the option for burning a disc that uses the Live File System disc format. It might take several minutes for the disc to be formatted. When the formatting is complete, an empty disc folder opens.Open the folder that contains the files you want to burn, and then drag the files into the empty disc folder.To select more than one item, press and hold the Ctrl key, and then click the files you want to burn.As you drag files into the disc folder, they are copied automatically to the disc.When you finish you must finalize the new disk
  • 11.
    Moving or Copyingto a Hard Driveor Flash DriveTo put data or images onto a hard drive you can copy or move the objects If you have Windows 7 open both widows the source the destinaiton and snap them in place.Drag and Drop from file to fileOr use sent to and send them from Source to destinationOr Cut and Copy or Use Move Command
  • 12.
  • 13.
    Live Photo Gallery– Arranged by File Names and Dates
  • 14.
    Live Photo GalleryFix for Editing the Image
  • 15.
  • 16.
  • 17.