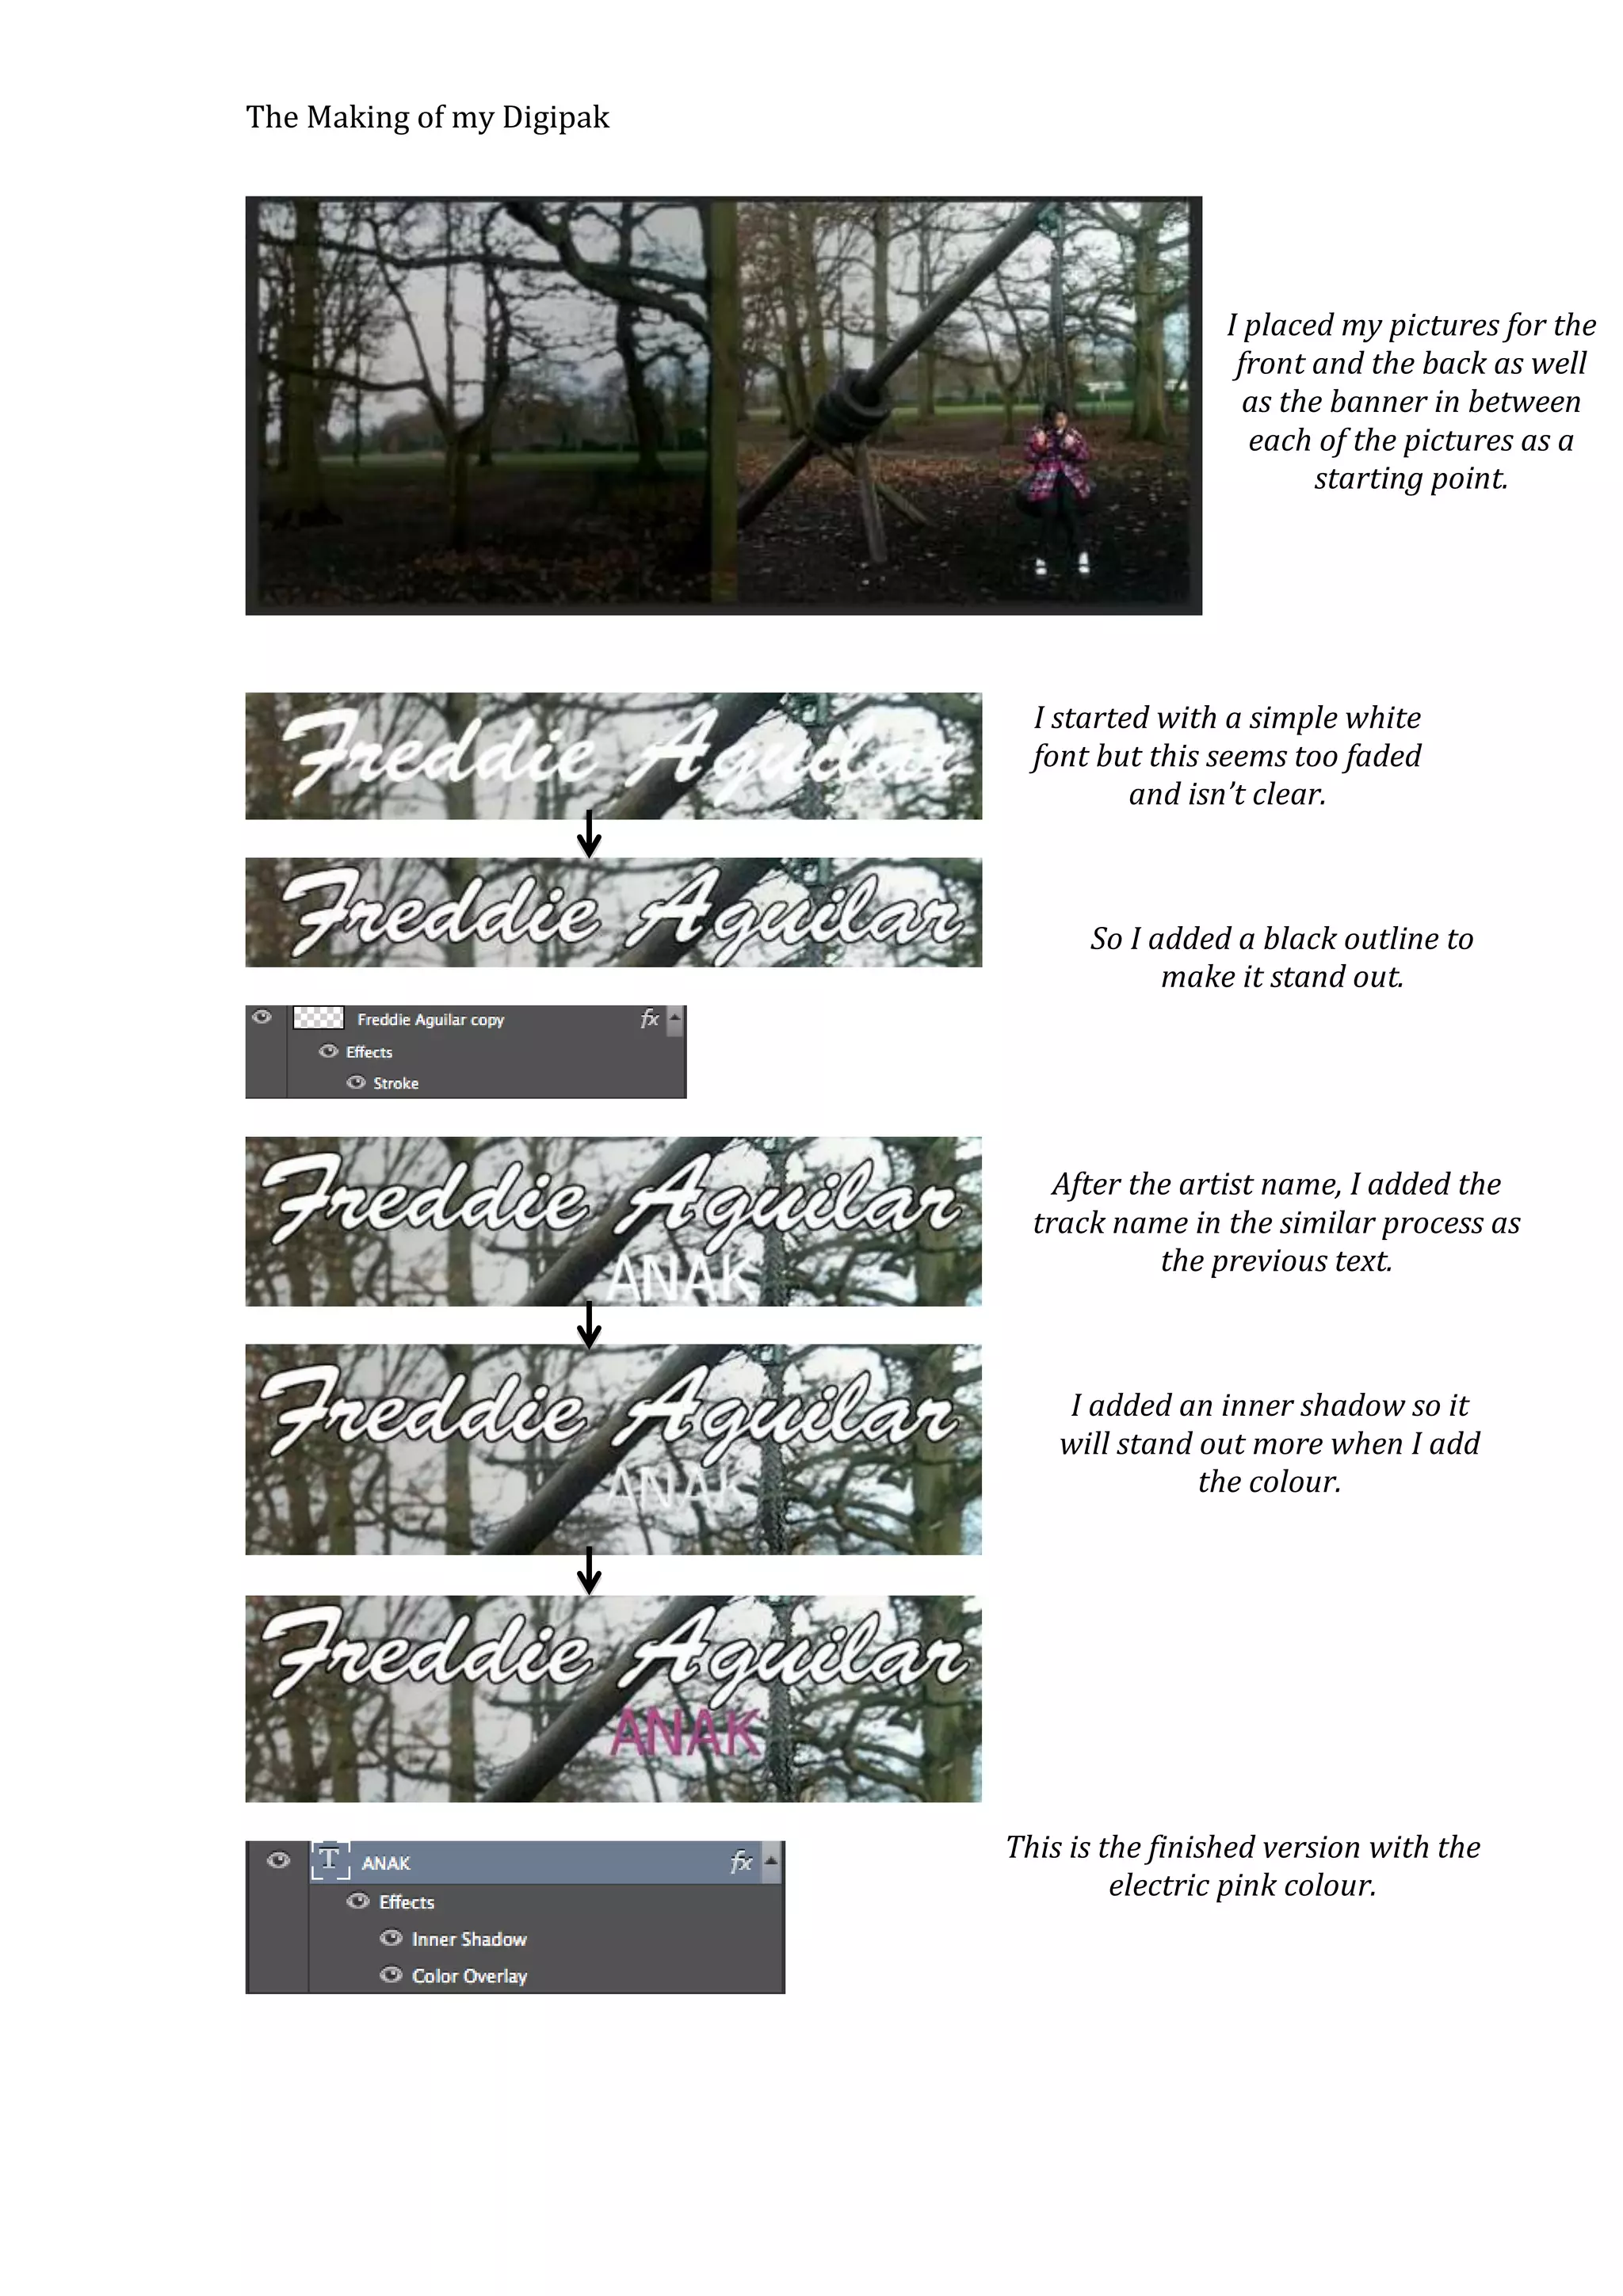
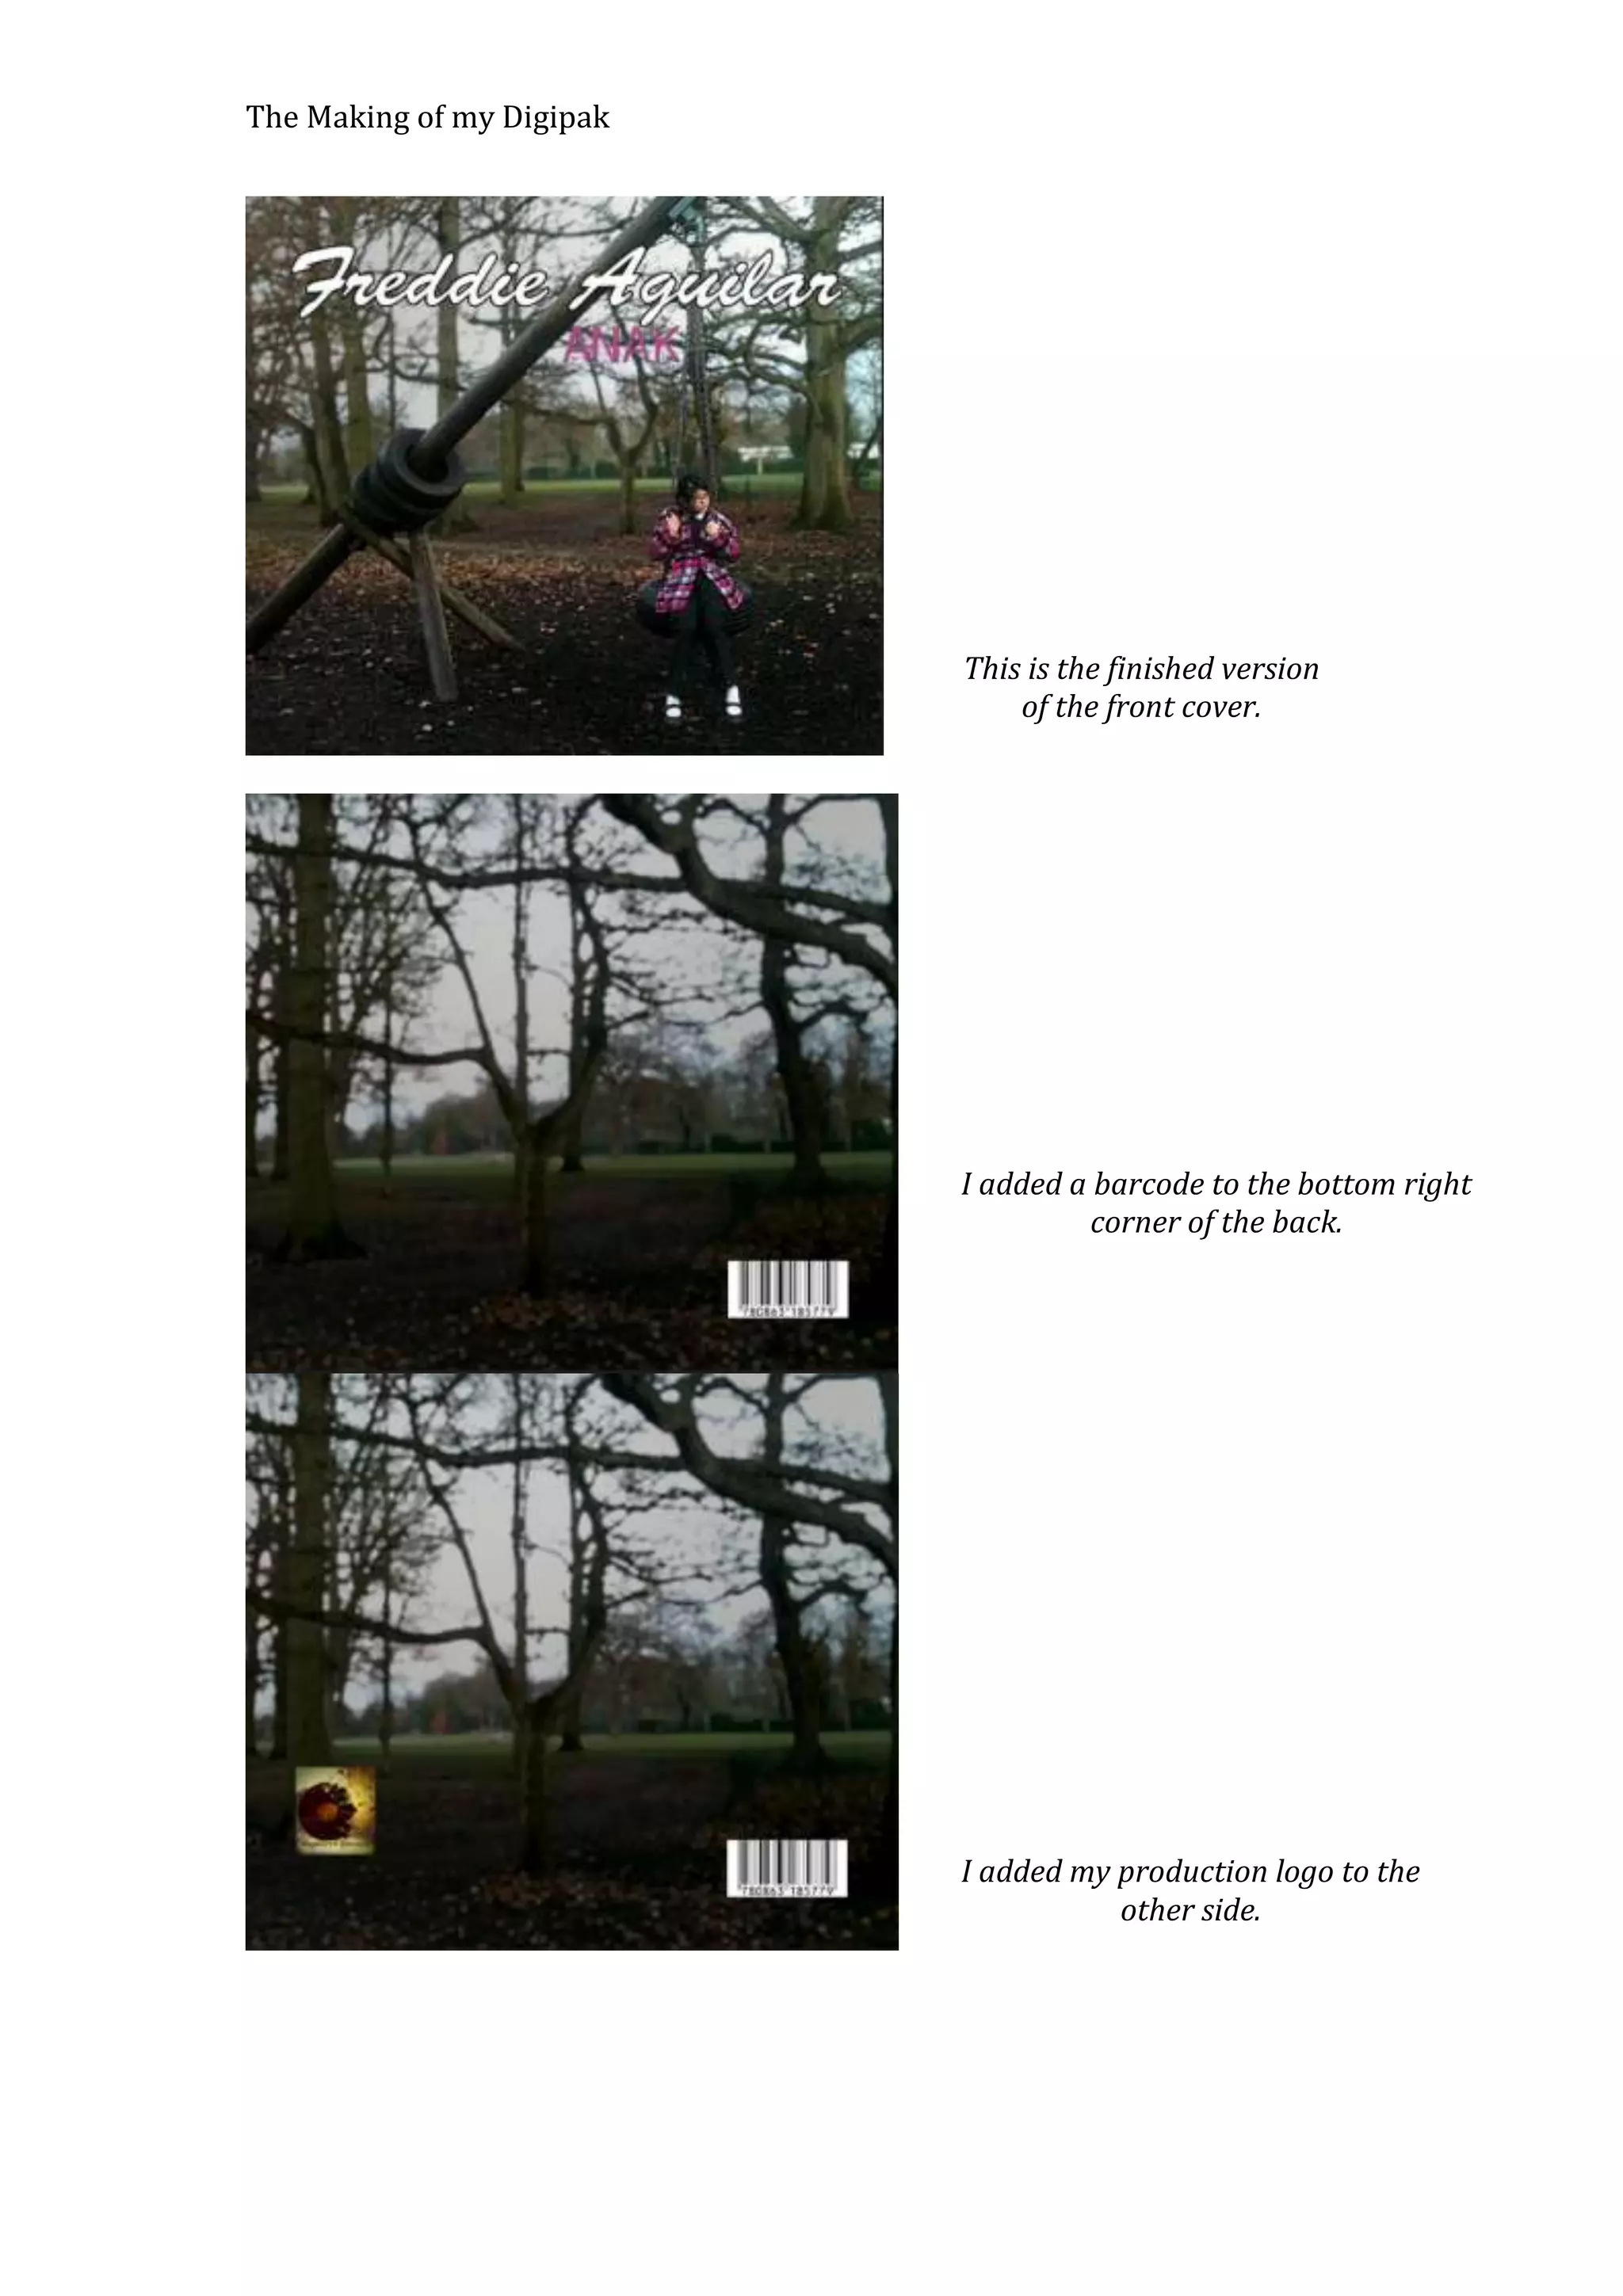
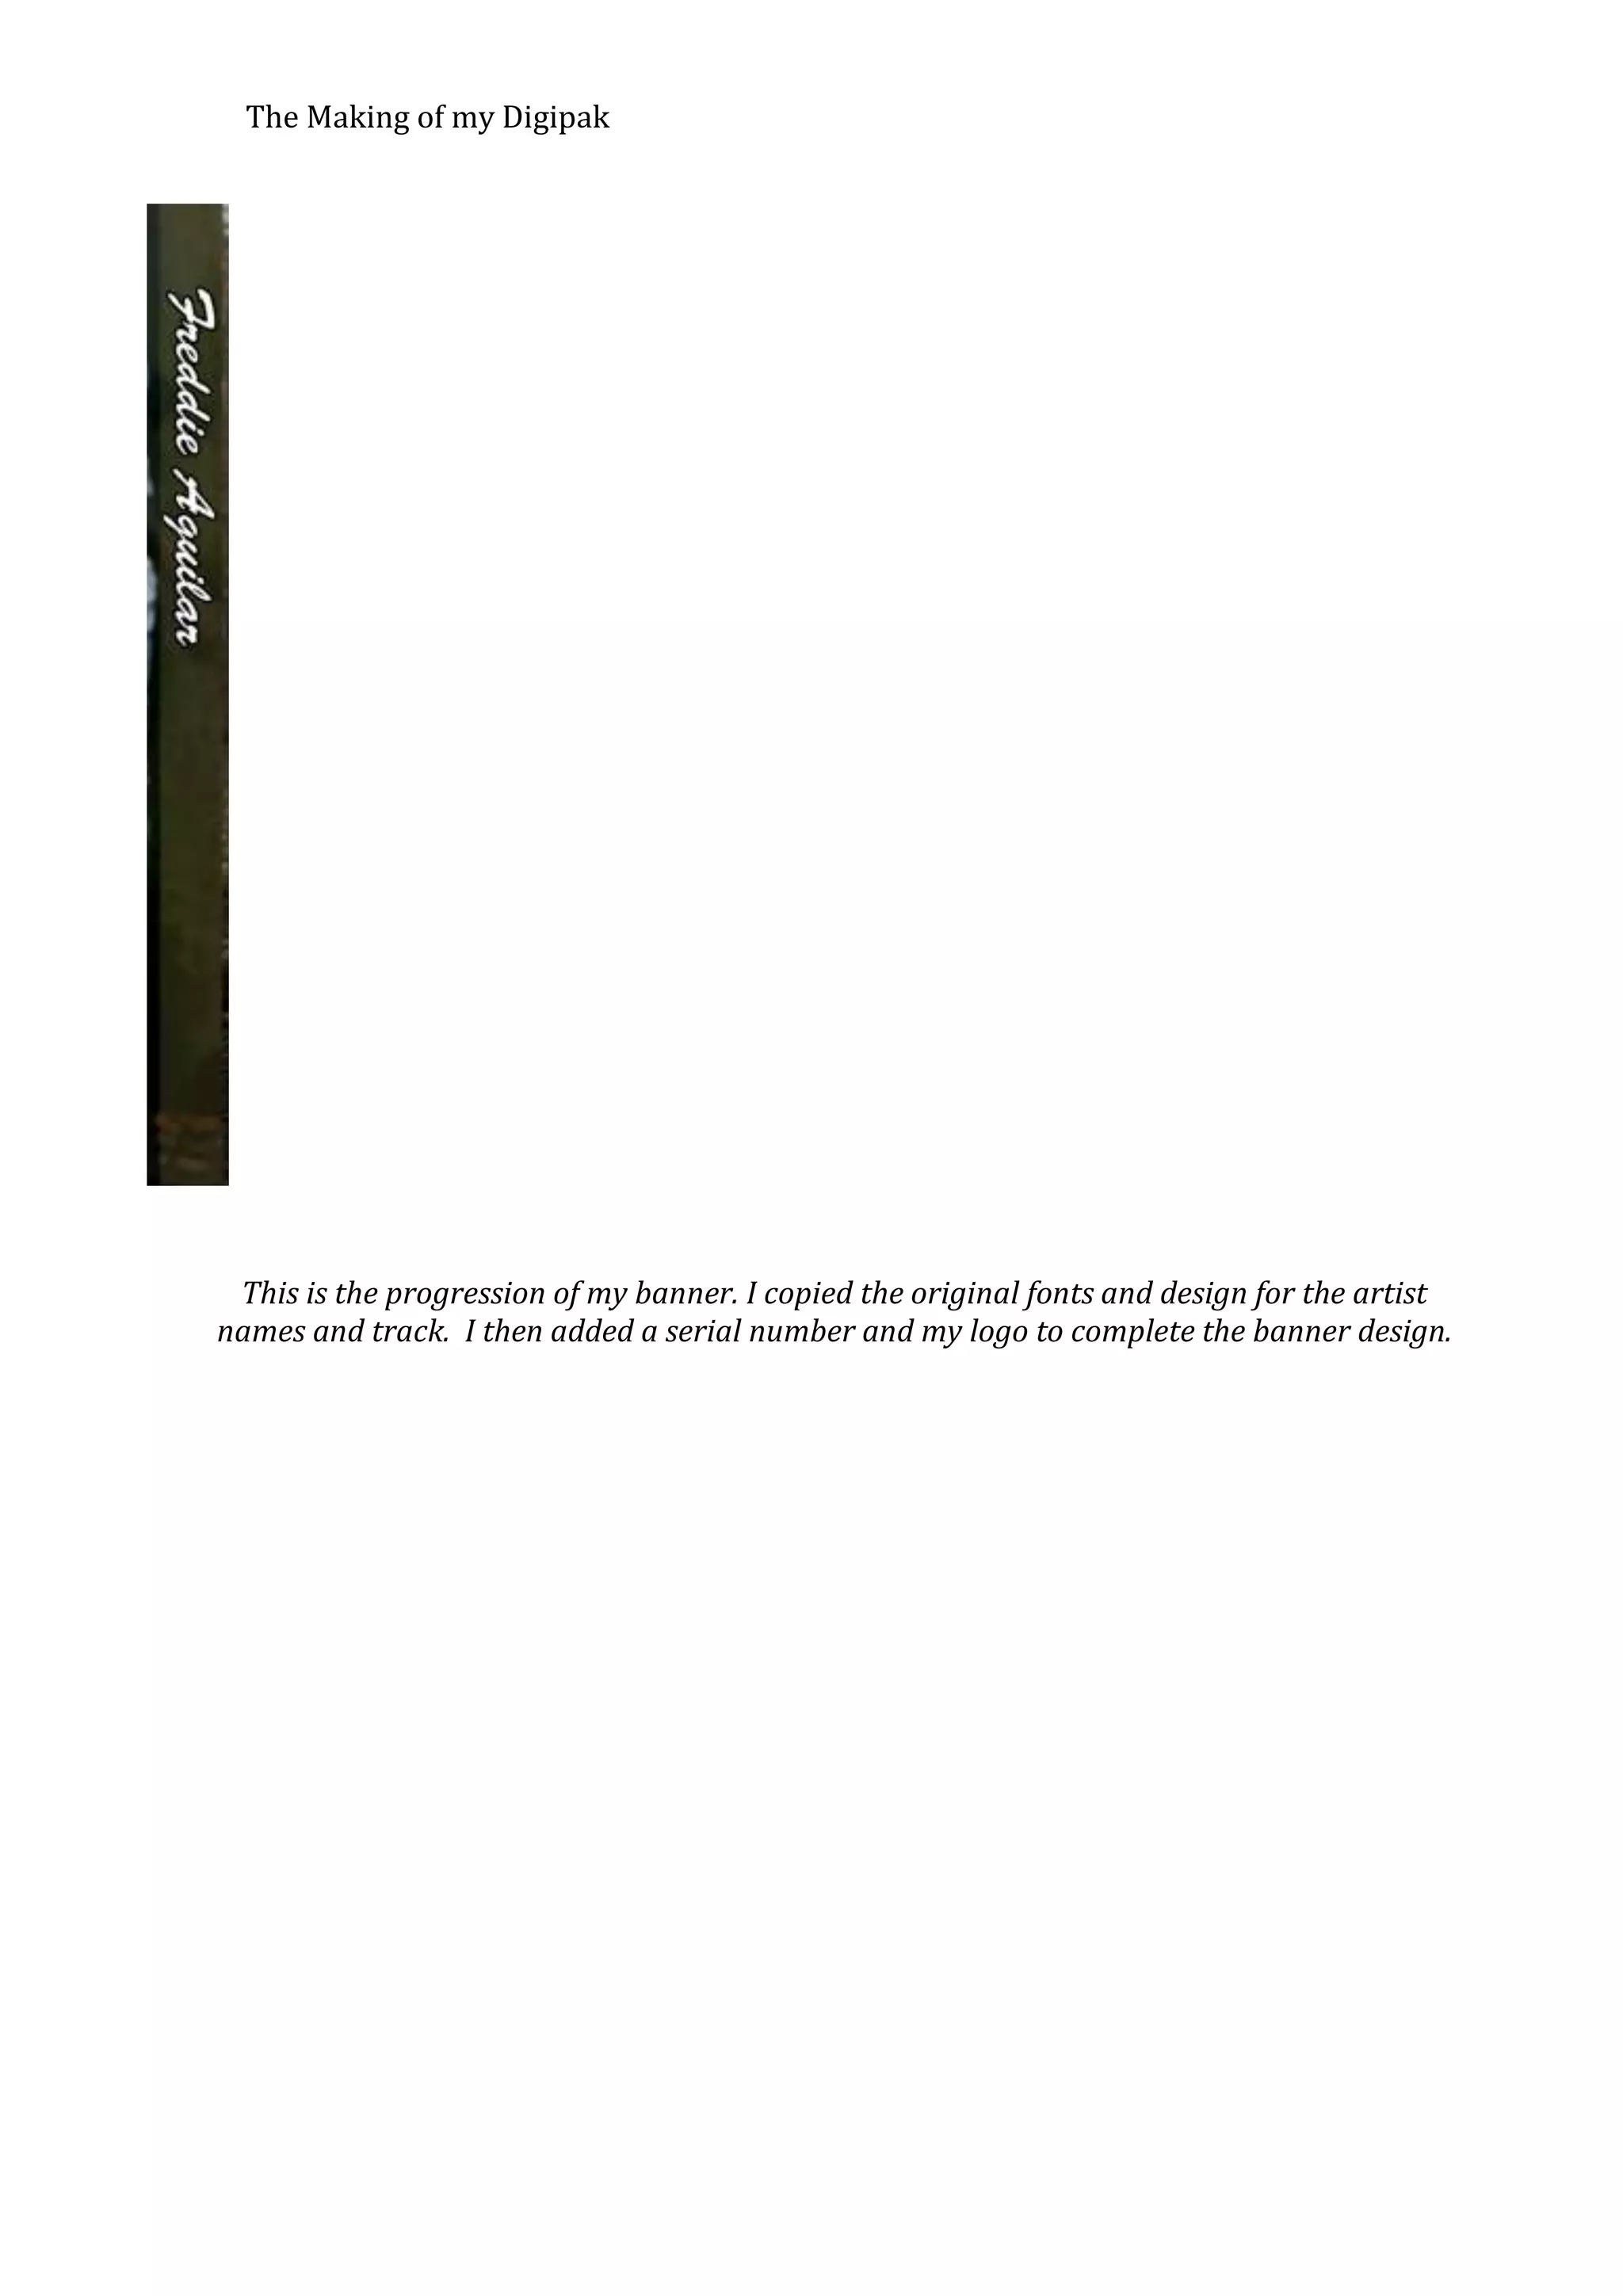
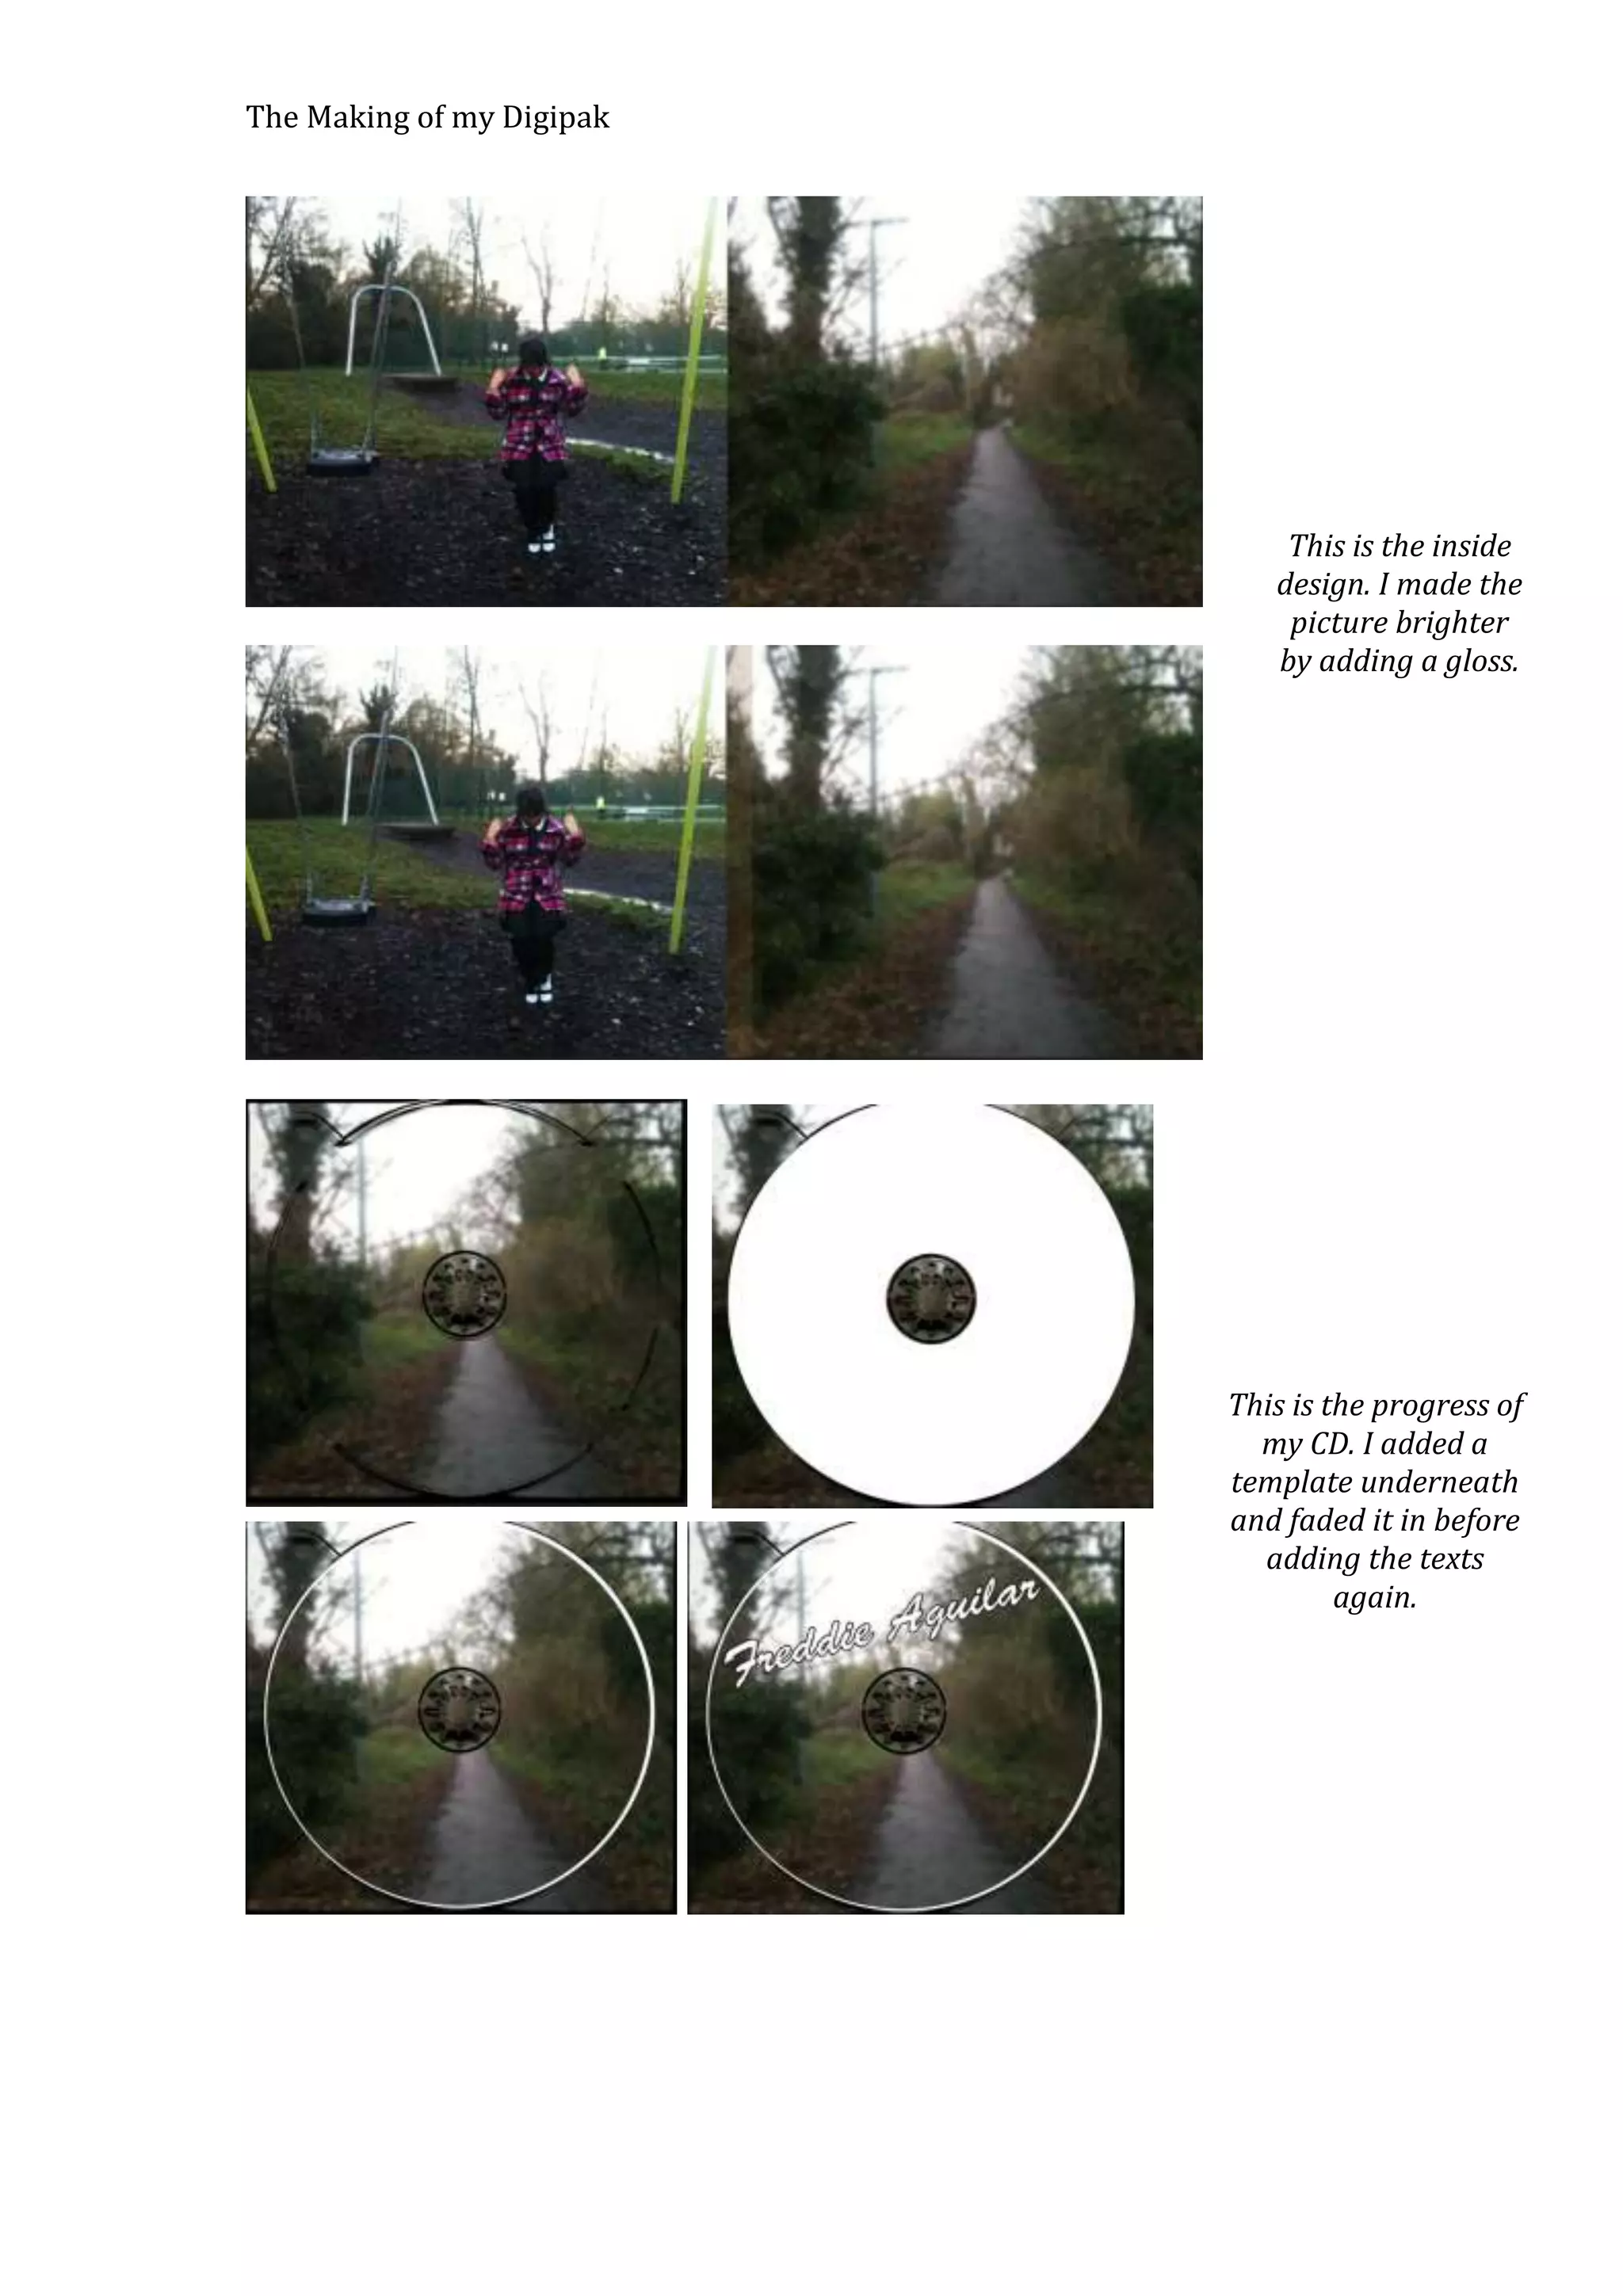
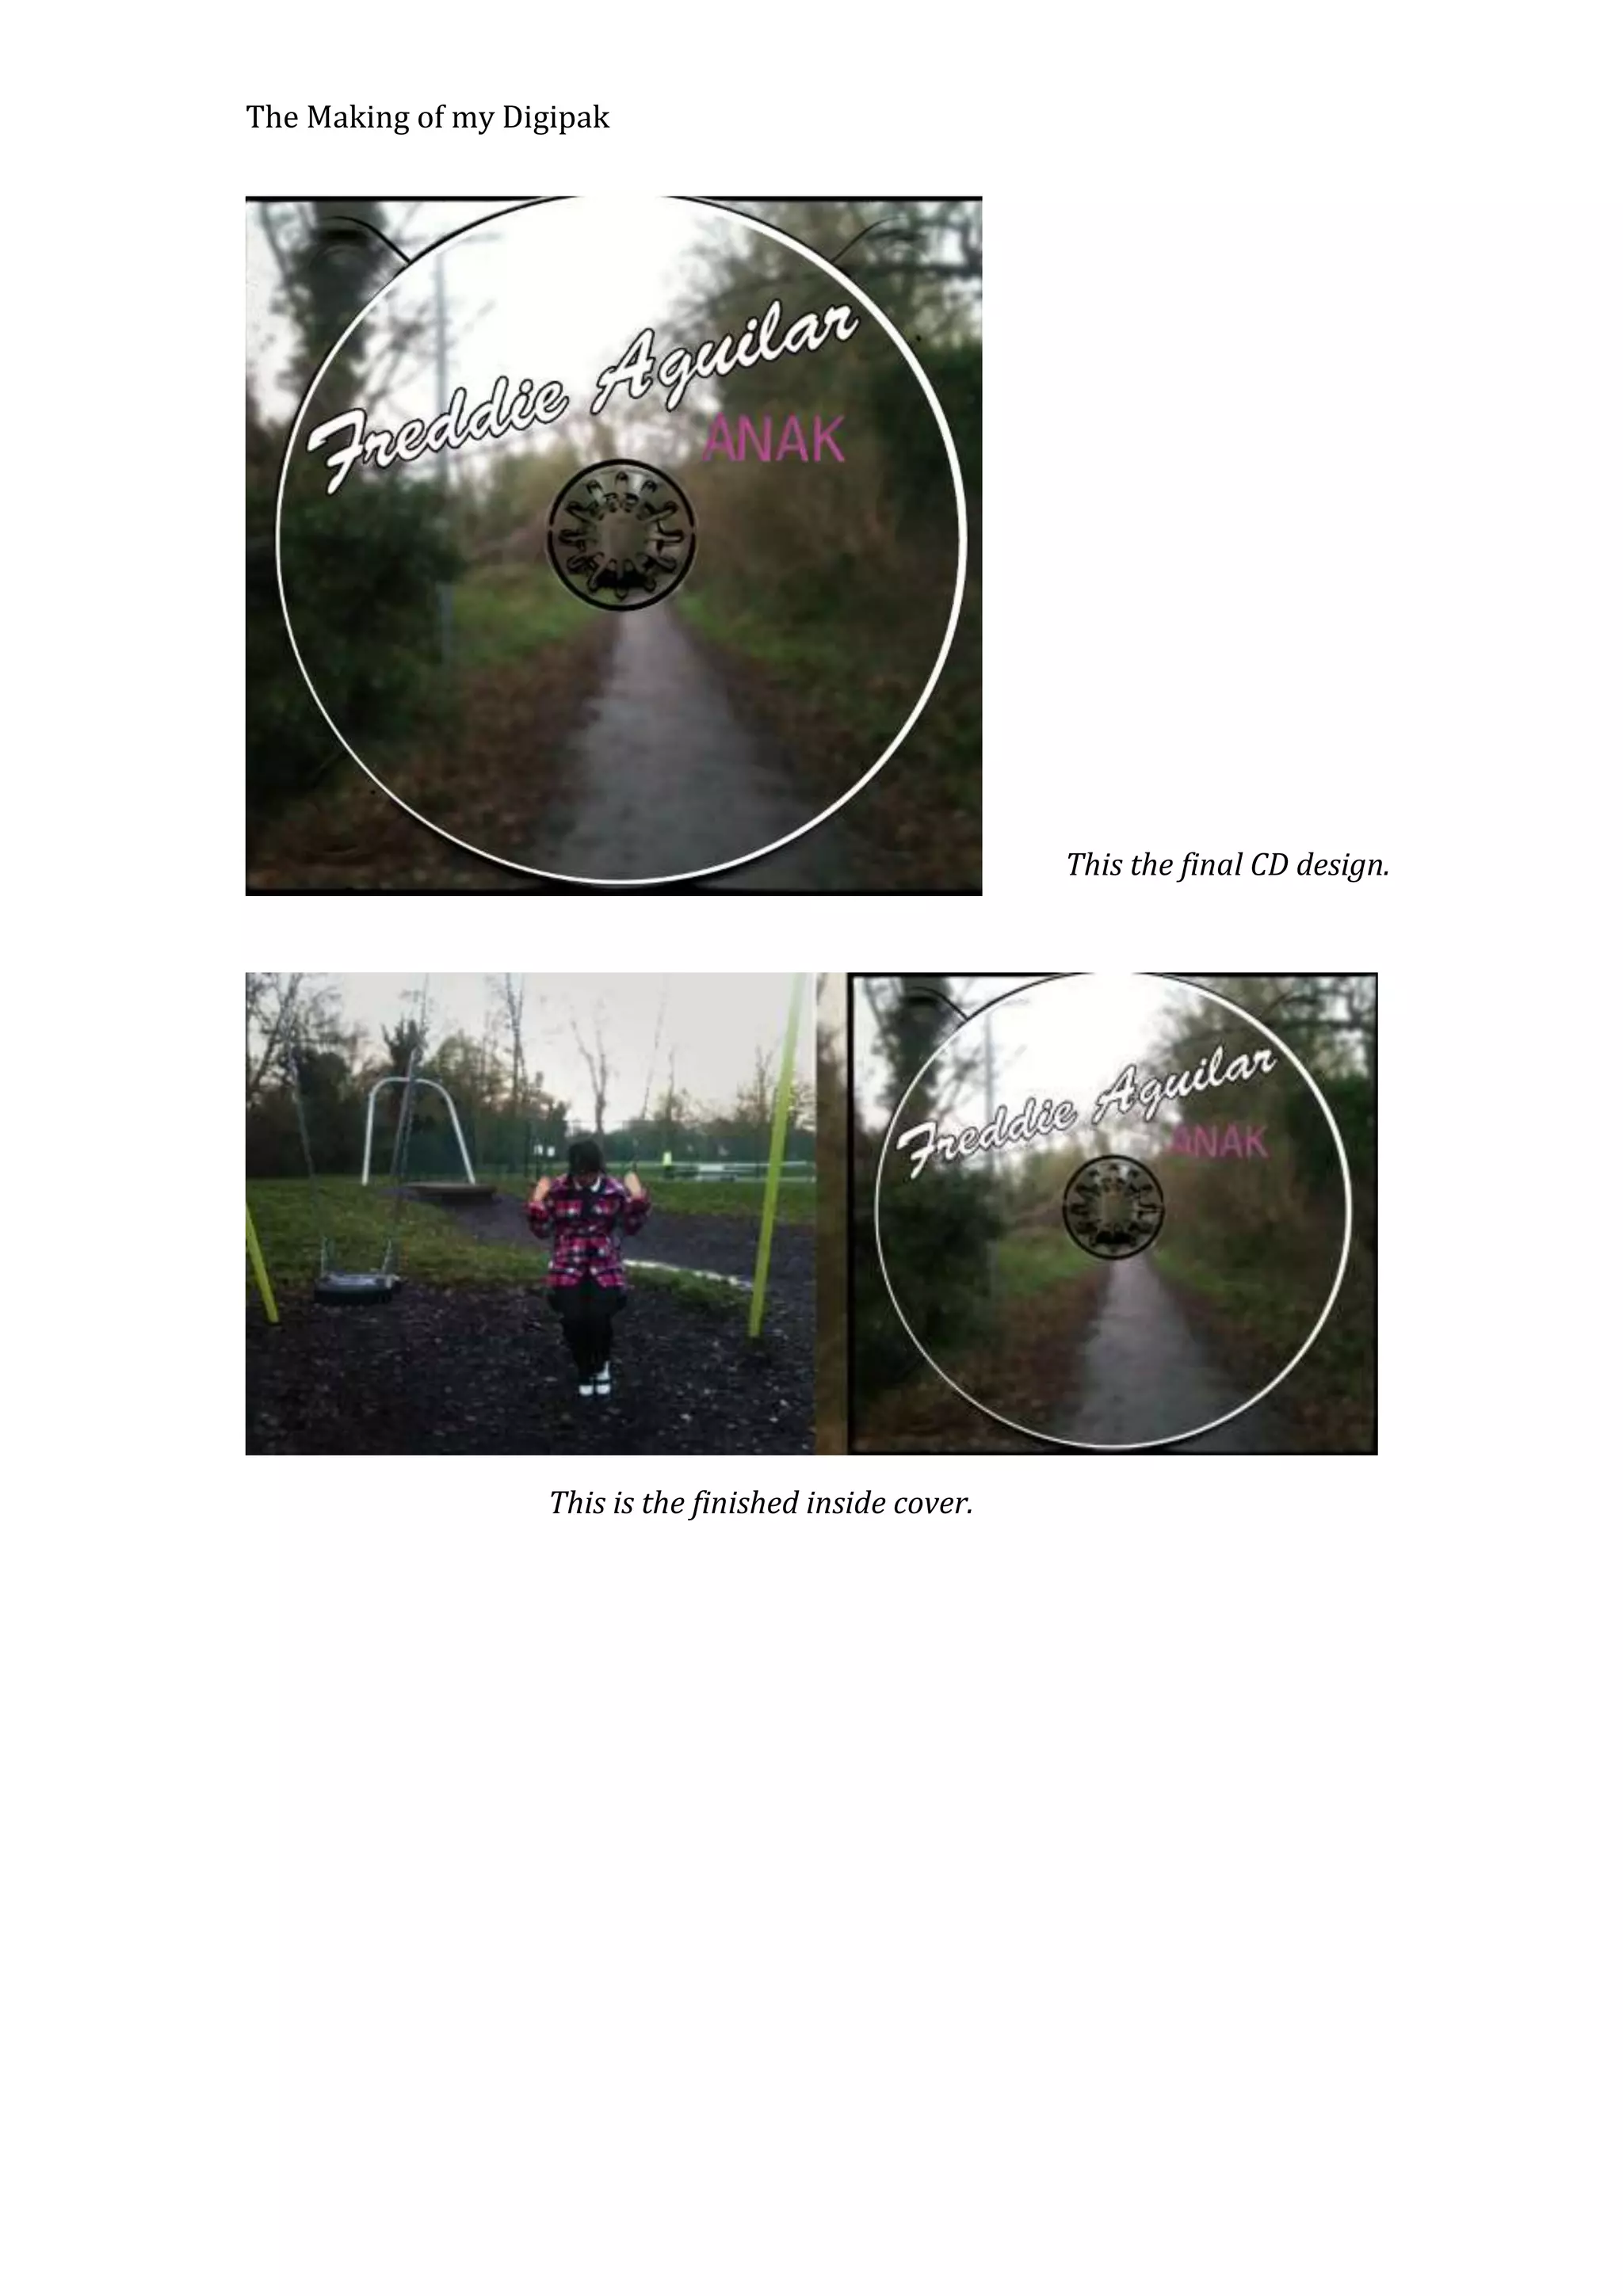
The Making of my Digipak

I placed my pictures for the
front and the back as well
as the banner in between
each of the pictures as a
starting point.

I started with a simple white
font but this seems too faded
and isn’t clear.

So I added a black outline to
make it stand out.

After the artist name, I added the
track name in the similar process as
the previous text.

I added an inner shadow so it
will stand out more when I add
the colour.

This is the finished version with the
electric pink colour.
The Making of my Digipak

This is the finished version
of the front cover.

I added a barcode to the bottom right
corner of the back.

I added my production logo to the
other side.
The Making of my Digipak

I added the song list and made
it the same colour as the album
name.

This is the final version of the
back with the addition of the
copyright information next to
the barcode.
The Making of my Digipak

This is the progression of my banner. I copied the original fonts and design for the artist
names and track. I then added a serial number and my logo to complete the banner design.
The Making of my Digipak

This is the inside
design. I made the
picture brighter
by adding a gloss.

This is the progress of
my CD. I added a
template underneath
and faded it in before
adding the texts
again.
The Making of my Digipak

This the final CD design.

This is the finished inside cover.

Digipak

  • 1.
    The Making ofmy Digipak I placed my pictures for the front and the back as well as the banner in between each of the pictures as a starting point. I started with a simple white font but this seems too faded and isn’t clear. So I added a black outline to make it stand out. After the artist name, I added the track name in the similar process as the previous text. I added an inner shadow so it will stand out more when I add the colour. This is the finished version with the electric pink colour.
  • 2.
    The Making ofmy Digipak This is the finished version of the front cover. I added a barcode to the bottom right corner of the back. I added my production logo to the other side.
  • 3.
    The Making ofmy Digipak I added the song list and made it the same colour as the album name. This is the final version of the back with the addition of the copyright information next to the barcode.
  • 4.
    The Making ofmy Digipak This is the progression of my banner. I copied the original fonts and design for the artist names and track. I then added a serial number and my logo to complete the banner design.
  • 5.
    The Making ofmy Digipak This is the inside design. I made the picture brighter by adding a gloss. This is the progress of my CD. I added a template underneath and faded it in before adding the texts again.
  • 6.
    The Making ofmy Digipak This the final CD design. This is the finished inside cover.