Download as PDF, PPTX

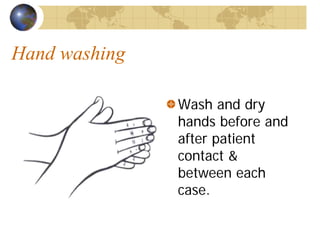
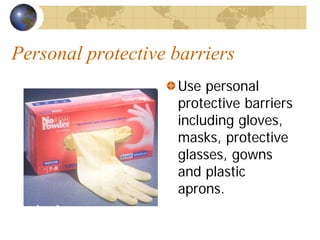

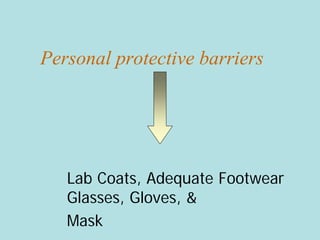


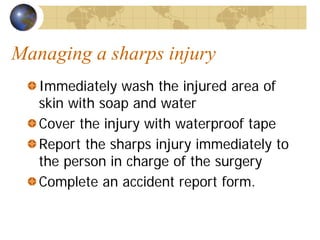
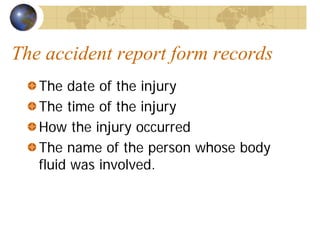

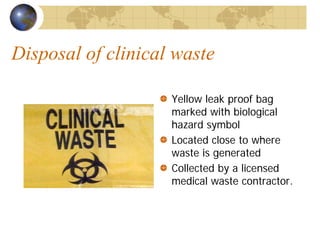
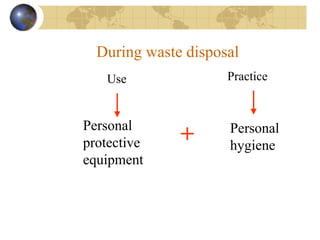

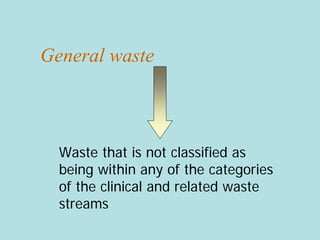
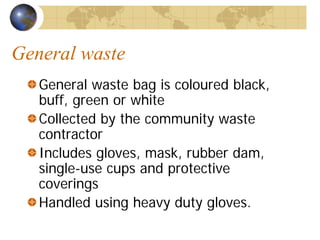
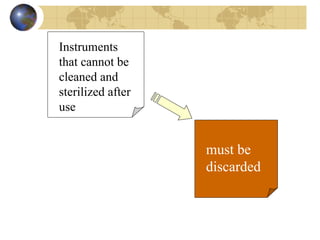


The document provides comprehensive guidelines for infection control and personal hygiene in the dental field, detailing standard precautions such as hand washing, use of personal protective barriers (gloves, masks, and eyewear), and proper disposal of clinical waste. It emphasizes the importance of maintaining personal hygiene, following safe practices when handling sharps, and adhering to established protocols to prevent infection transmission. Additionally, it outlines responsibilities for staff to comply with safety regulations and manage risks associated with various hazards in the dental practice.