Download as PDF, PPTX

![Minimal SRP implementation
1
2
3
4
5
6
7
8
9
10
11
12
13
14
15
16
17
18
19
20
21
22
23
24
25
public class MinimalSRP : RenderPipeline{
protected override void Render(ScriptableRenderContext context, Camera[] cameras)
{
foreach (var camera in cameras)
{
//Setup the basics, rendertarget, view rect etc.
context.SetupCameraProperties(camera);
//create a command buffer that clears the screen
var commandBuffer = new CommandBuffer();
commandBuffer.ClearRenderTarget(true, true, Color.blue);
//execute the command buffer in the render context
context.ExecuteCommandBuffer(commandBuffer);
}
//submit everything to the rendering context
context.Submit();
}
}
7](https://image.slidesharecdn.com/customscriptablerenderpipelineandgraphicsworkflowsinbattleplanet-judgementdayunitecopenhagen2019-191021233223/75/Custom-SRP-and-graphics-workflows-Unite-Copenhagen-2019-7-2048.jpg)
![Minimal SRP implementation
1
2
3
4
5
6
7
8
9
10
11
12
13
14
15
16
17
18
19
20
21
22
23
24
25
public class MinimalSRP : RenderPipeline{
protected override void Render(ScriptableRenderContext context, Camera[] cameras)
{
foreach (var camera in cameras)
{
//Setup the basics, rendertarget, view rect etc.
context.SetupCameraProperties(camera);
//create a command buffer that clears the screen
var commandBuffer = new CommandBuffer();
commandBuffer.ClearRenderTarget(true, true, Color.blue);
//execute the command buffer in the render context
context.ExecuteCommandBuffer(commandBuffer);
}
//submit everything to the rendering context
context.Submit();
}
}
8](https://image.slidesharecdn.com/customscriptablerenderpipelineandgraphicsworkflowsinbattleplanet-judgementdayunitecopenhagen2019-191021233223/75/Custom-SRP-and-graphics-workflows-Unite-Copenhagen-2019-8-2048.jpg)


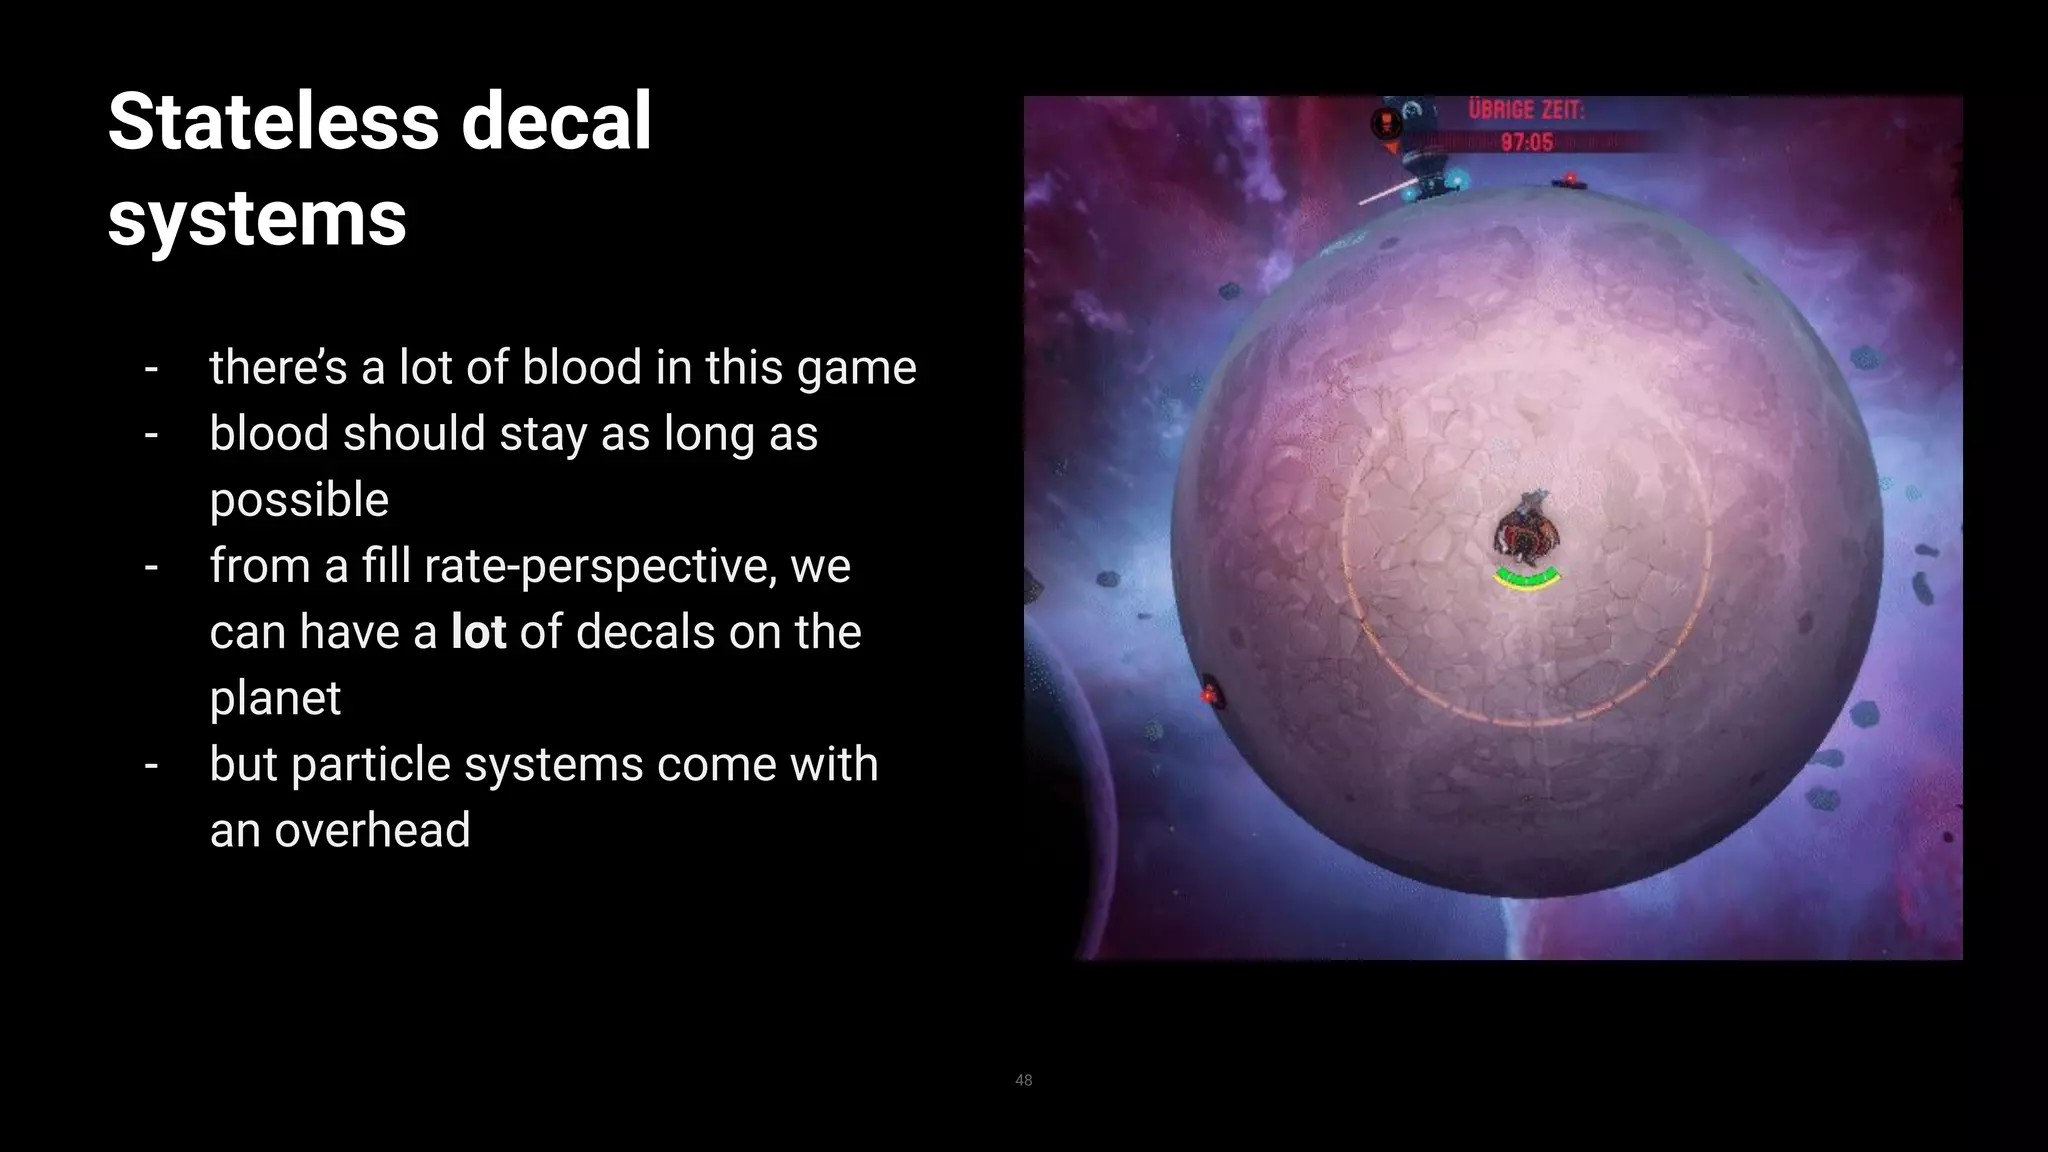
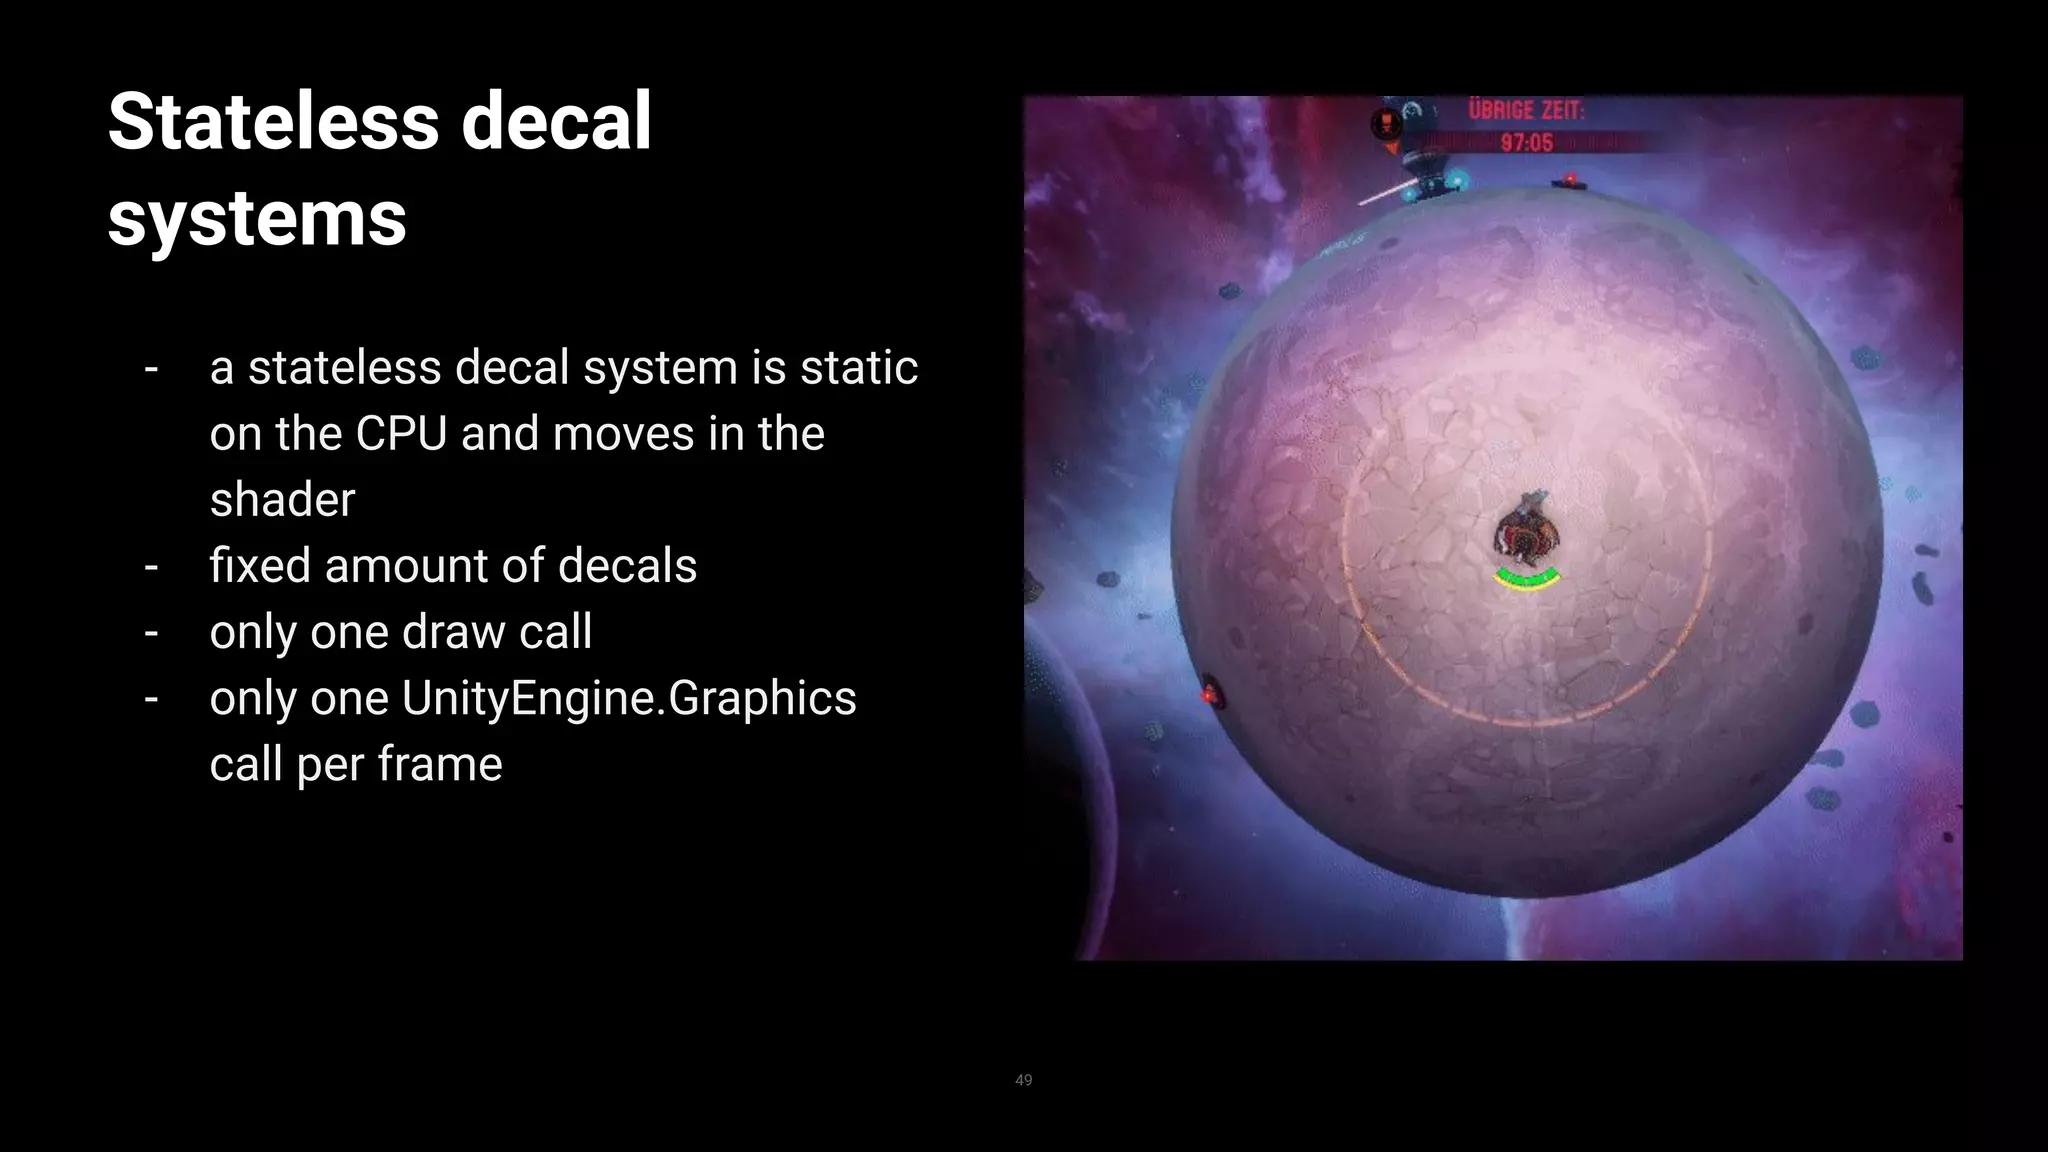
![Stateless decal systems
1
2
3
4
5
6
7
8
9
10
11
12
13
14
15
16
17
18
19
20
21
22
23
24
25
struct DecalComputeStruct
{
float4x4 Transformation;
float4 UV;
float SpawnTime;
float LifeTime;
float FadeInDuration;
float FadeOutDuration;
float ScaleInDuration;
float ForwardClipInDuration;
float HeightmapEffect;
float SelfIllumination;
};
StructuredBuffer<DecalComputeStruct> _DecalData;
//inside vertex shader
DecalComputeStruct decal = _DecalData[instanceID];
float time = _Time.y - currentDecal.SpawnTime
v.vertex.xyz *= saturate(time / decal.ScaleInDuration);
50
public struct DecalComputeStruct
{
public Matrix4x4 DecalTransformation;
public Vector4 UV;
public float SpawnTime;
public float Lifetime;
public float FadeInDuration;
public float FadeOutDuration;
public float ScaleInDuration;
public float ForwardClipInDuration;
public float HeightmapEffect;
public float SelfIllumination;
}
var buffer = new ComputeBuffer(1024, 176);
decalMaterial.SetBuffer(“_DecalData”, buffer);
Graphics.DrawMeshInstancedIndirect(…)
*actual implementation was different](https://image.slidesharecdn.com/customscriptablerenderpipelineandgraphicsworkflowsinbattleplanet-judgementdayunitecopenhagen2019-191021233223/75/Custom-SRP-and-graphics-workflows-Unite-Copenhagen-2019-50-2048.jpg)


The document discusses custom graphics workflows used in the game "Battle Planet - Judgement Day". It describes how a custom Scriptable Render Pipeline (SRP) was implemented to render the spherical planets with matcaps and indirect lighting. Key aspects summarized include using multiple passes for lighting and shadows, shader libraries for shared lighting code, and stateless systems for decals and projectiles to improve performance.
Discussion of the Custom Scriptable Render Pipeline (SRP) in 'Battle Planet - Judgement Day' by Threaks.
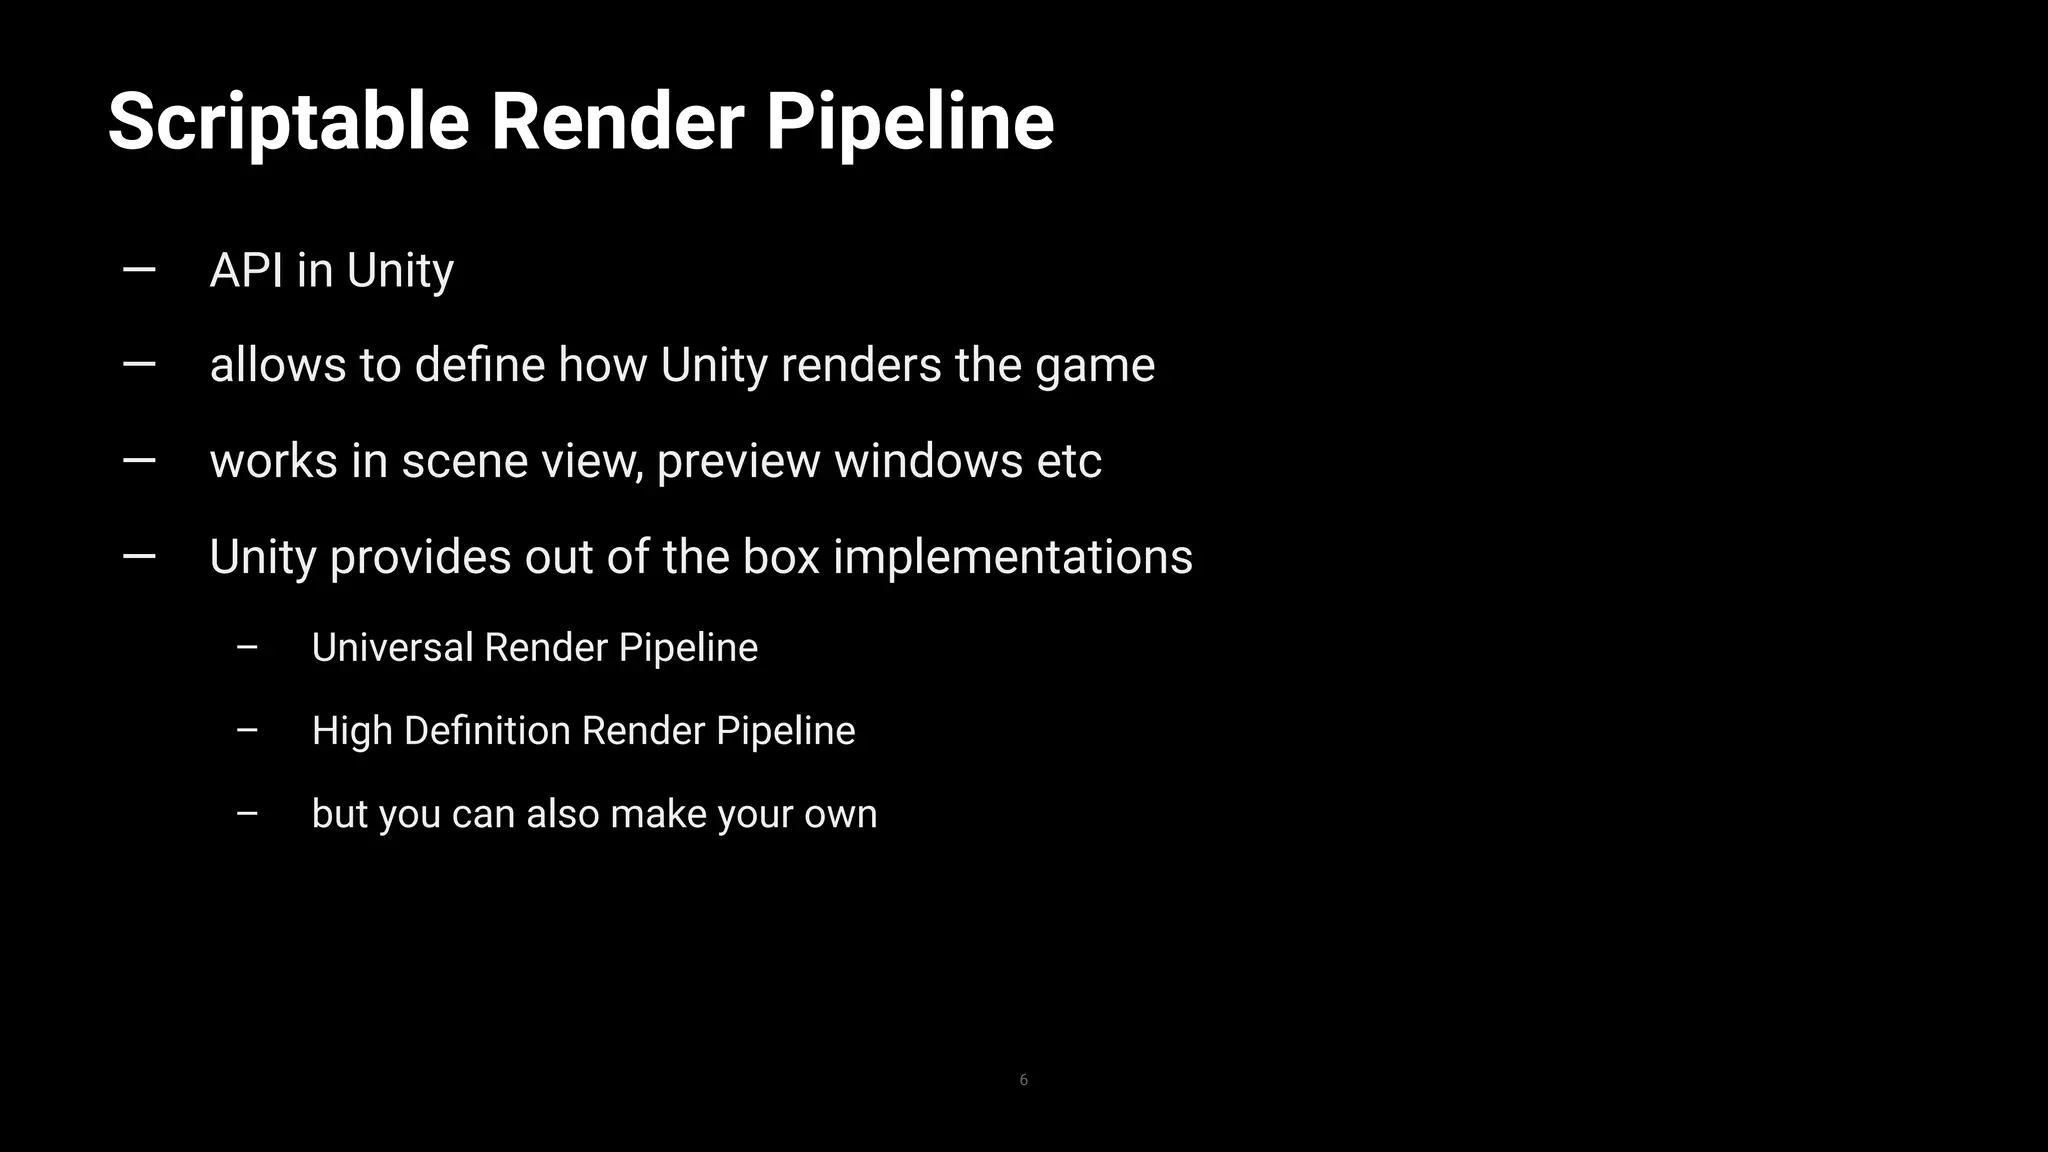
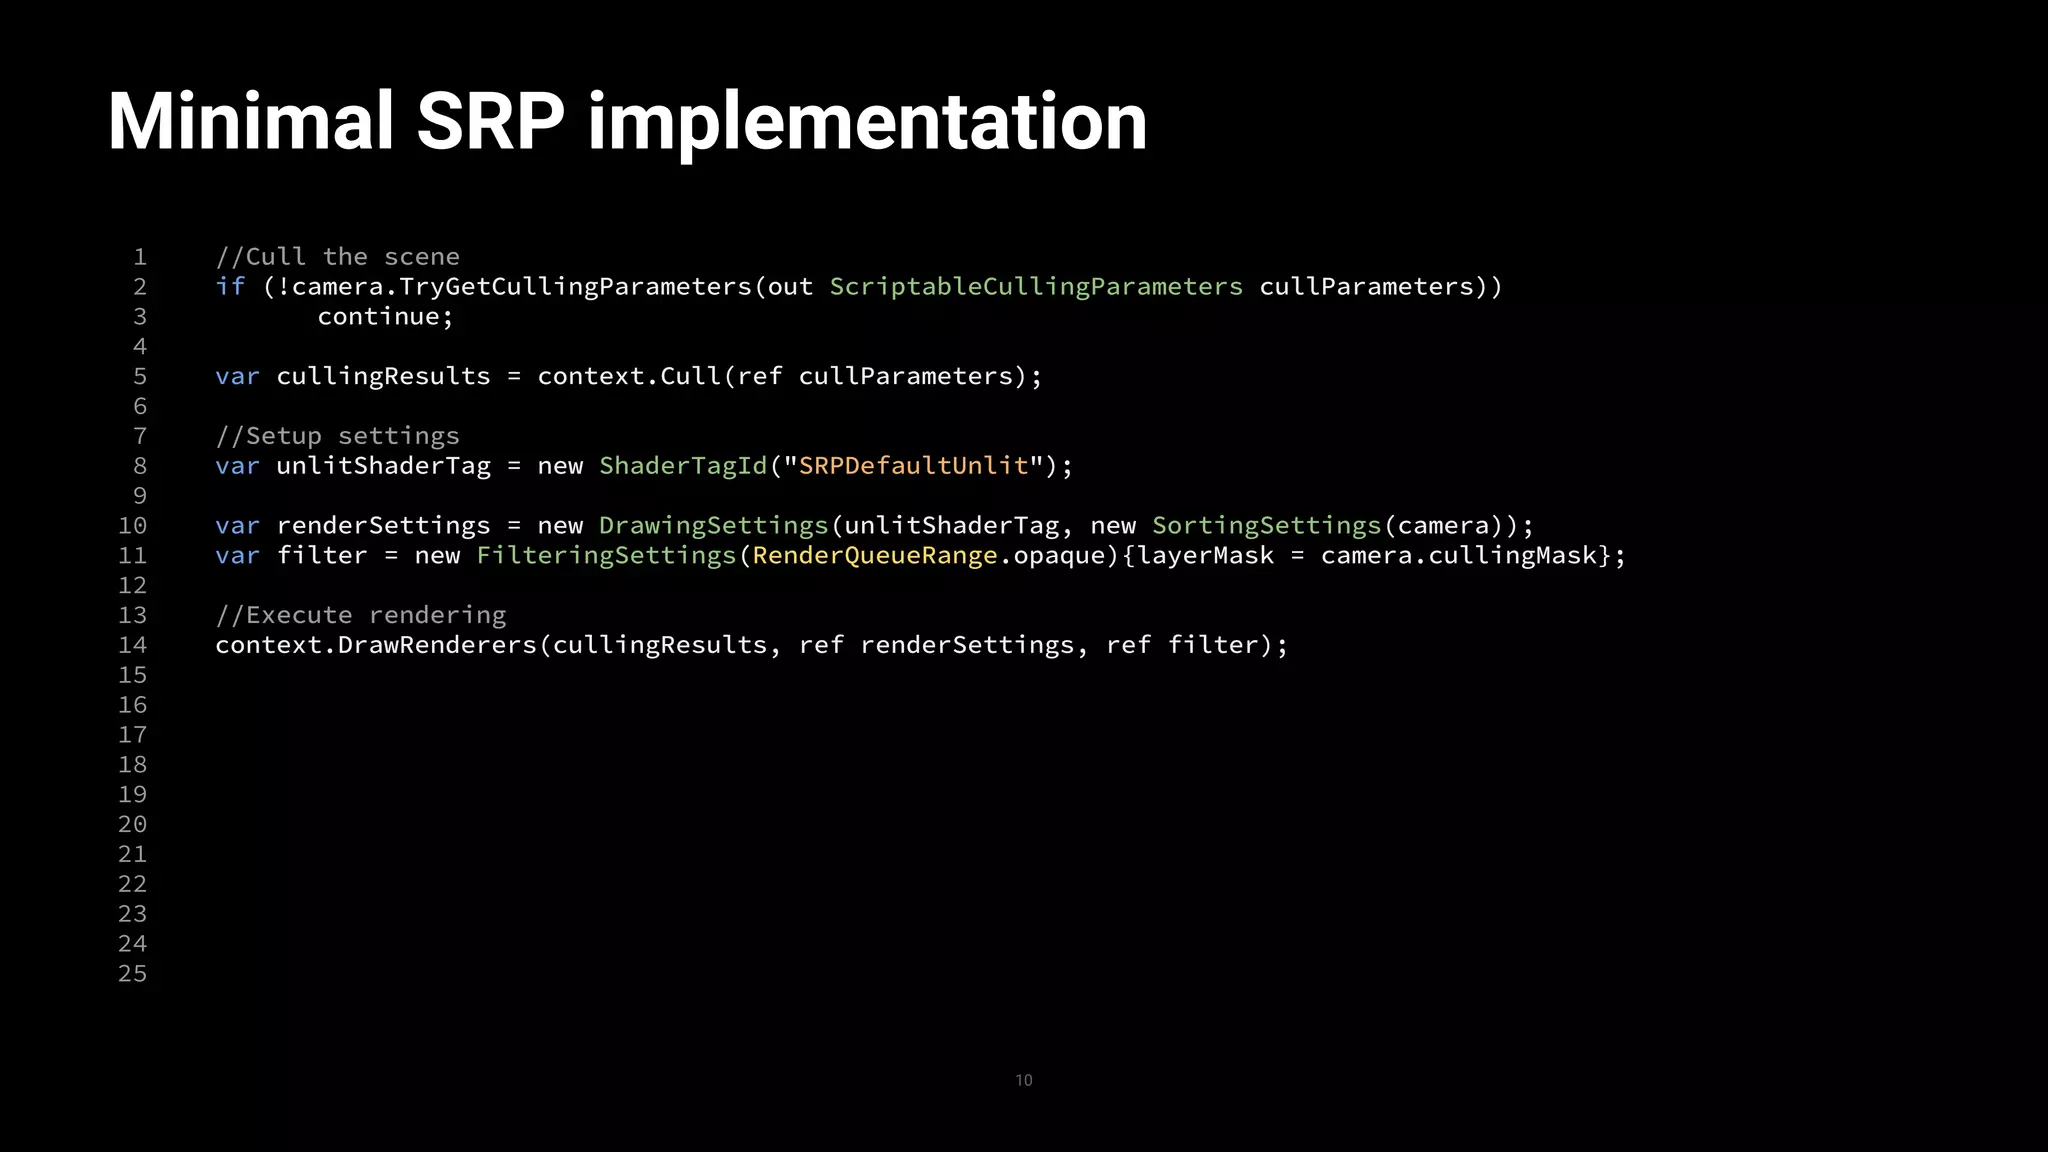
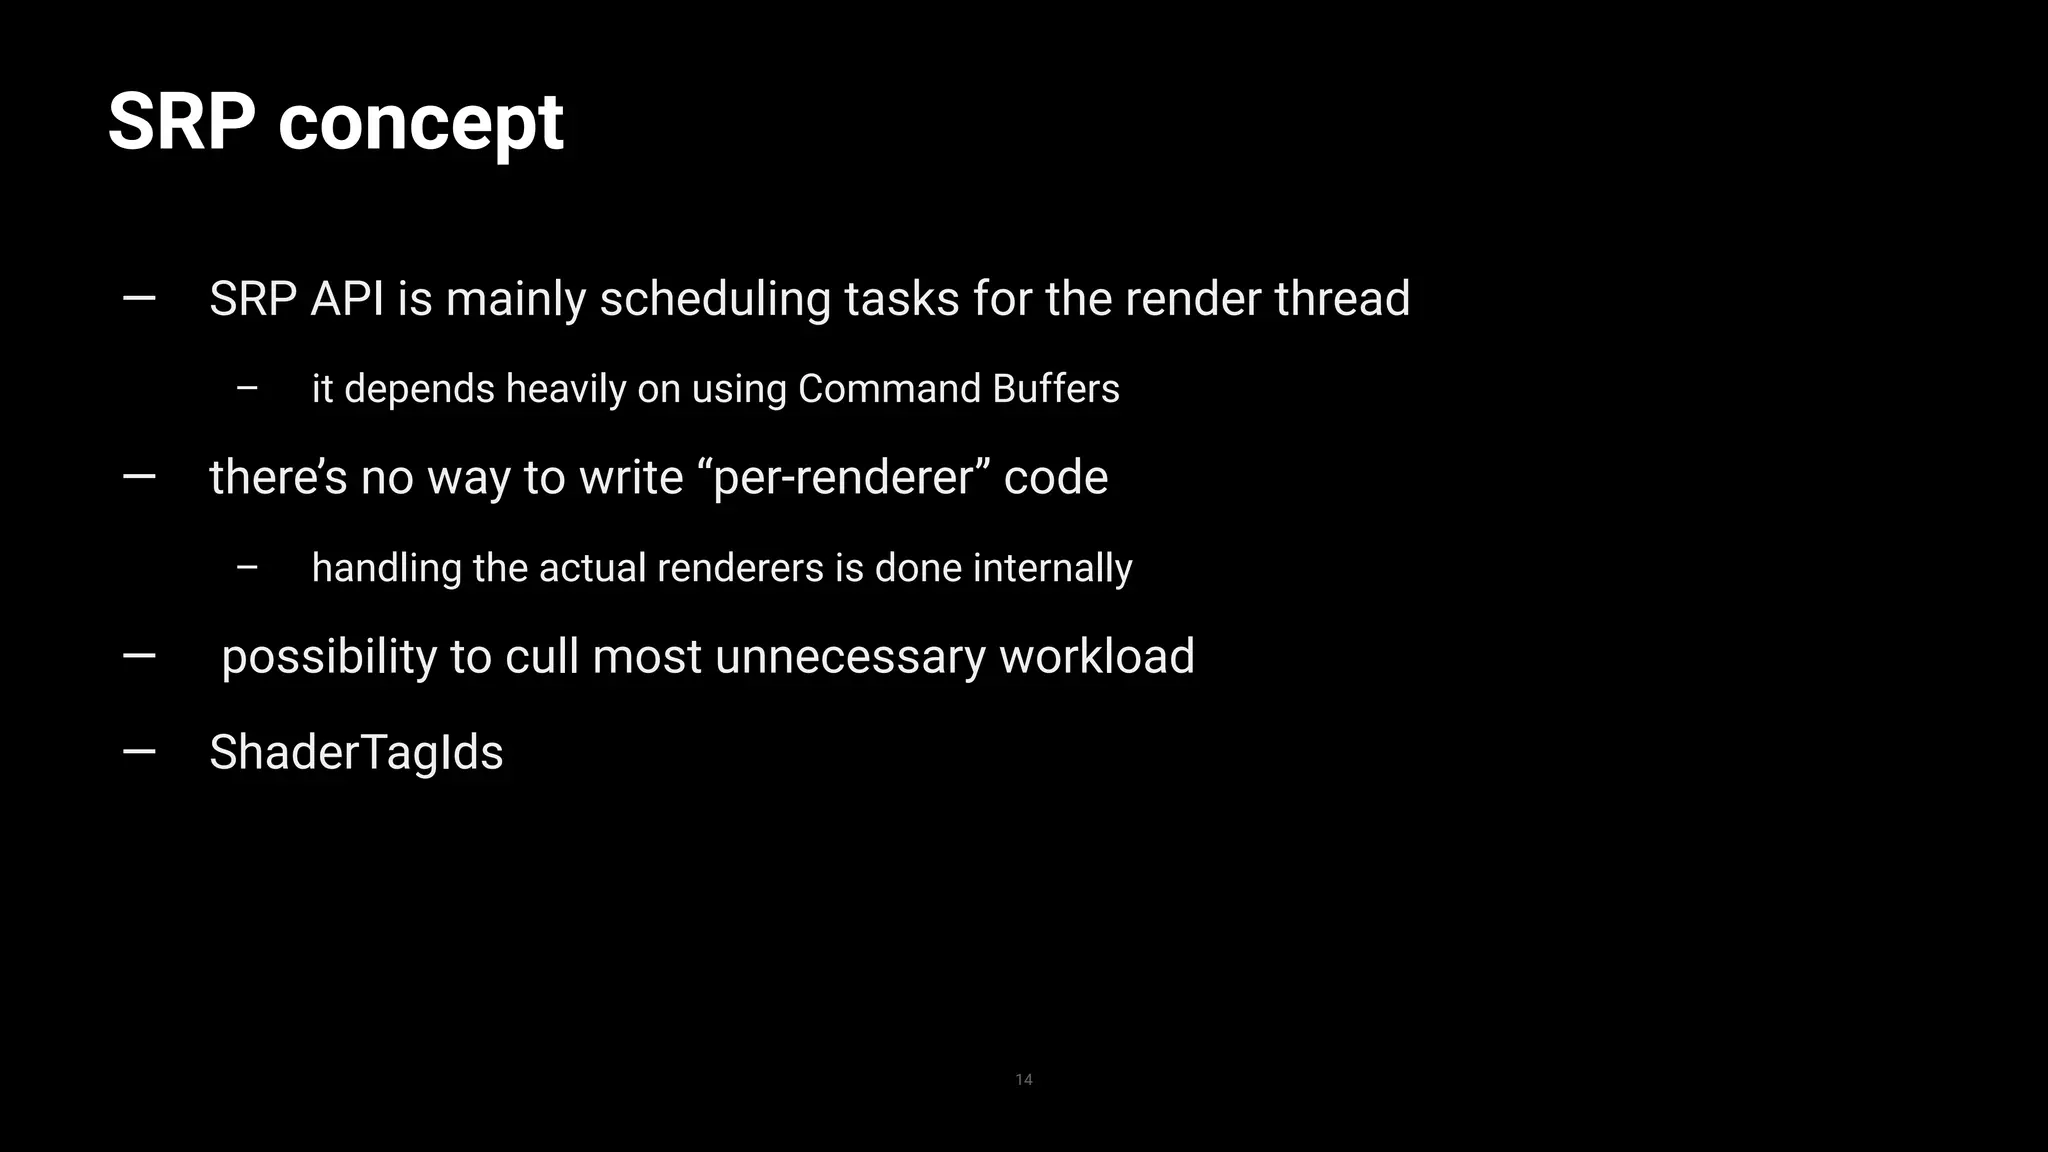
Explanation of Scriptable Render Pipeline (SRP) in Unity; its API, advantages, and initial implementation.
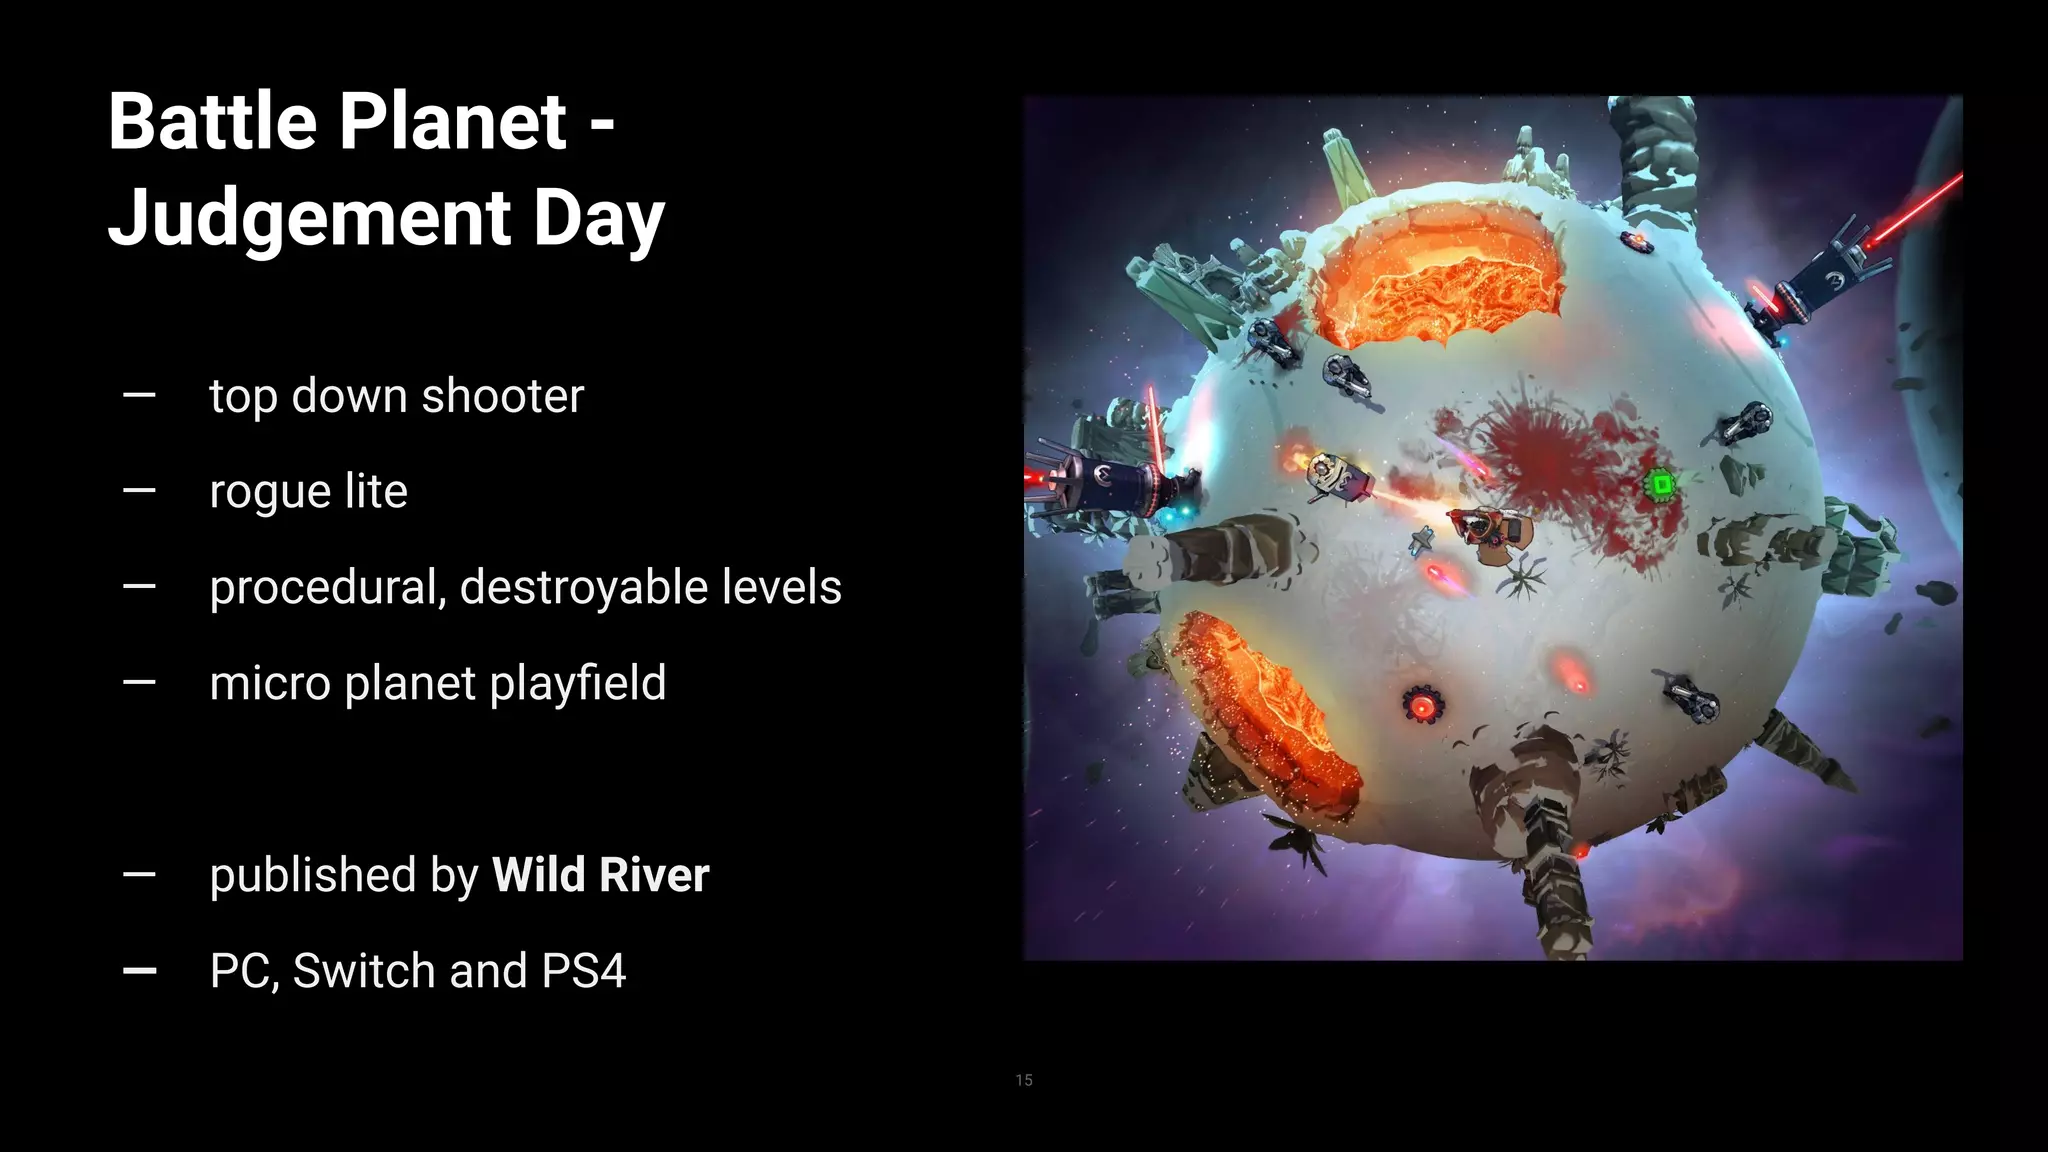
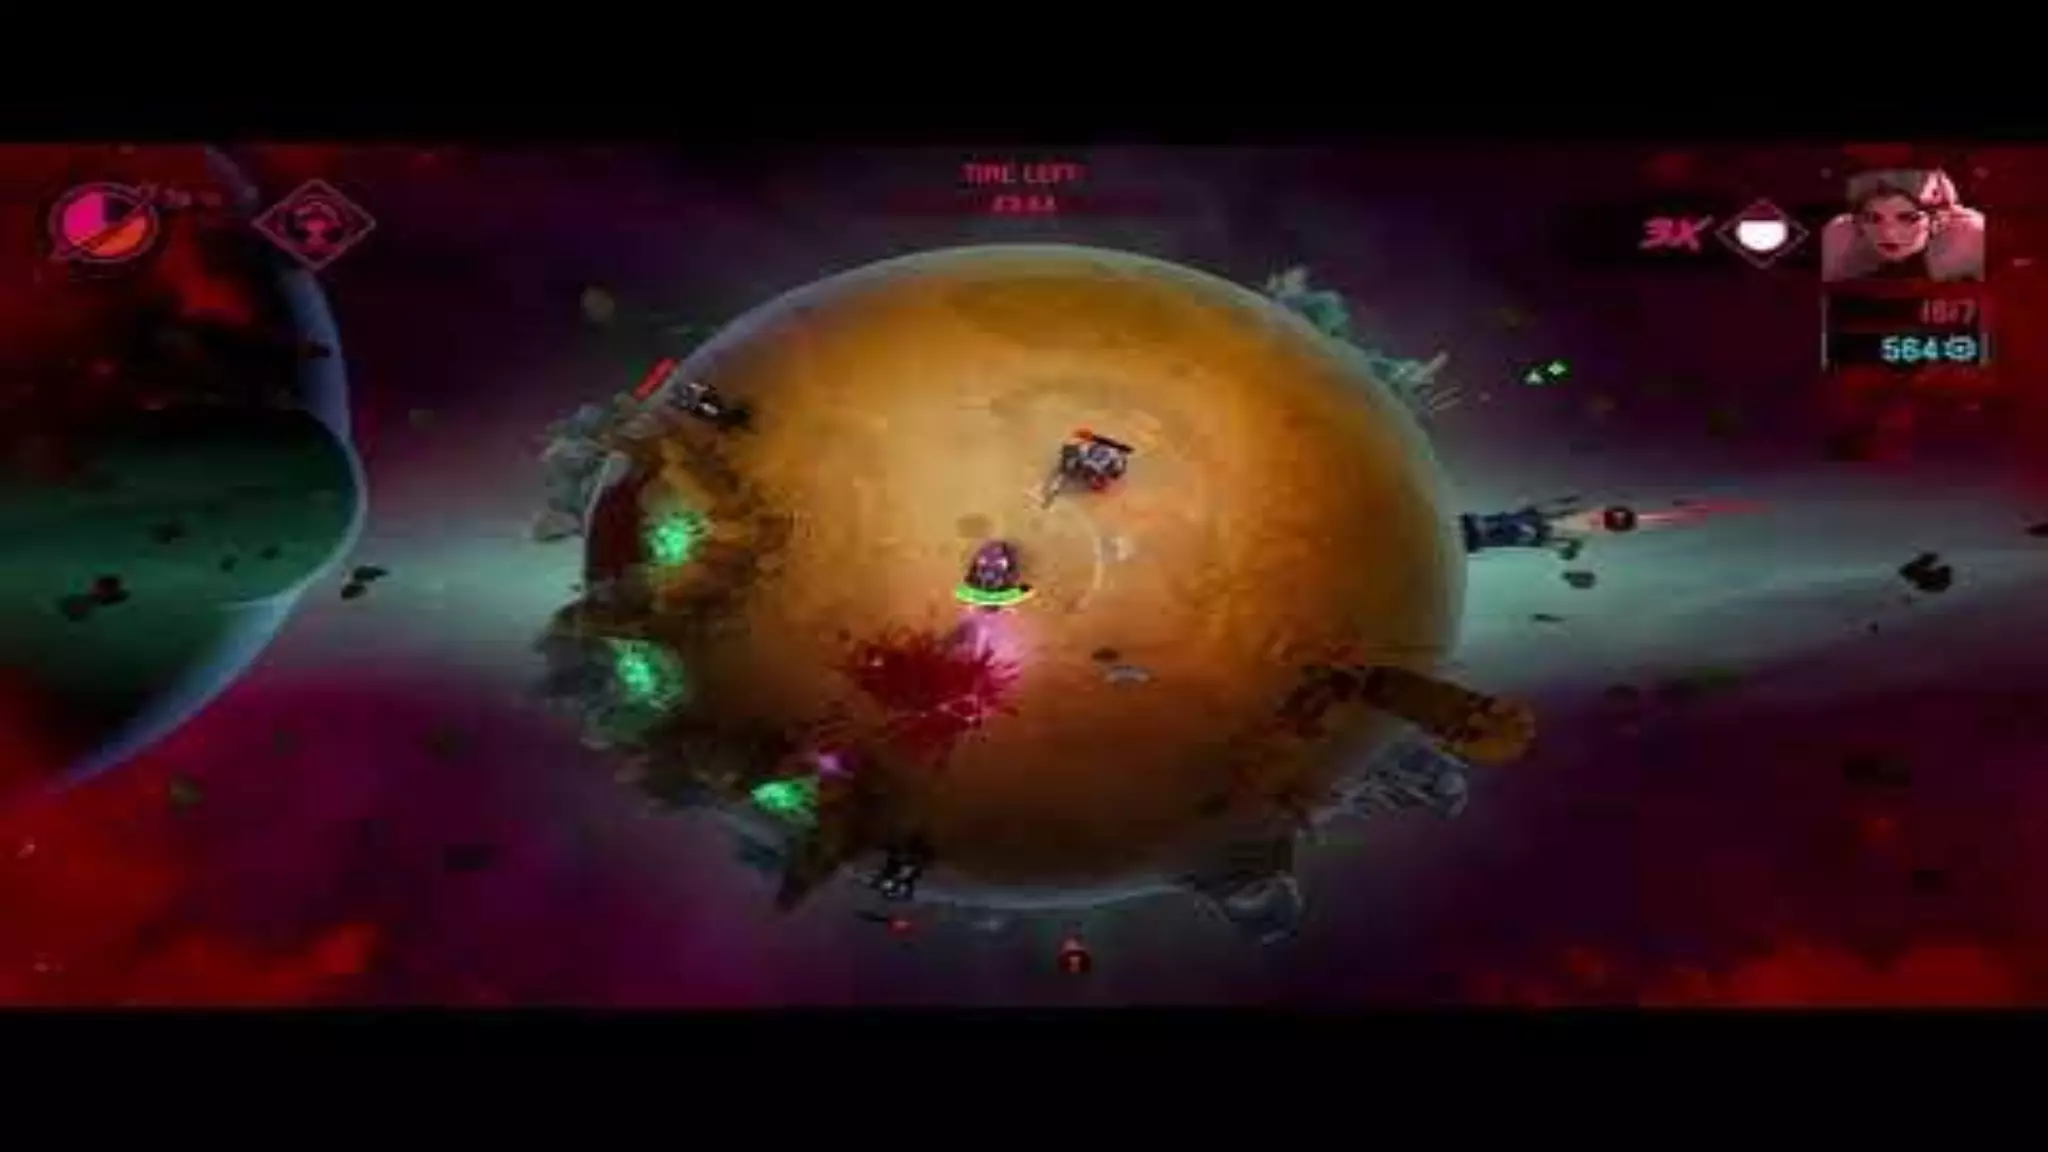
Overview of 'Battle Planet - Judgement Day', emphasizing its genre, procedural levels, and visual challenges.
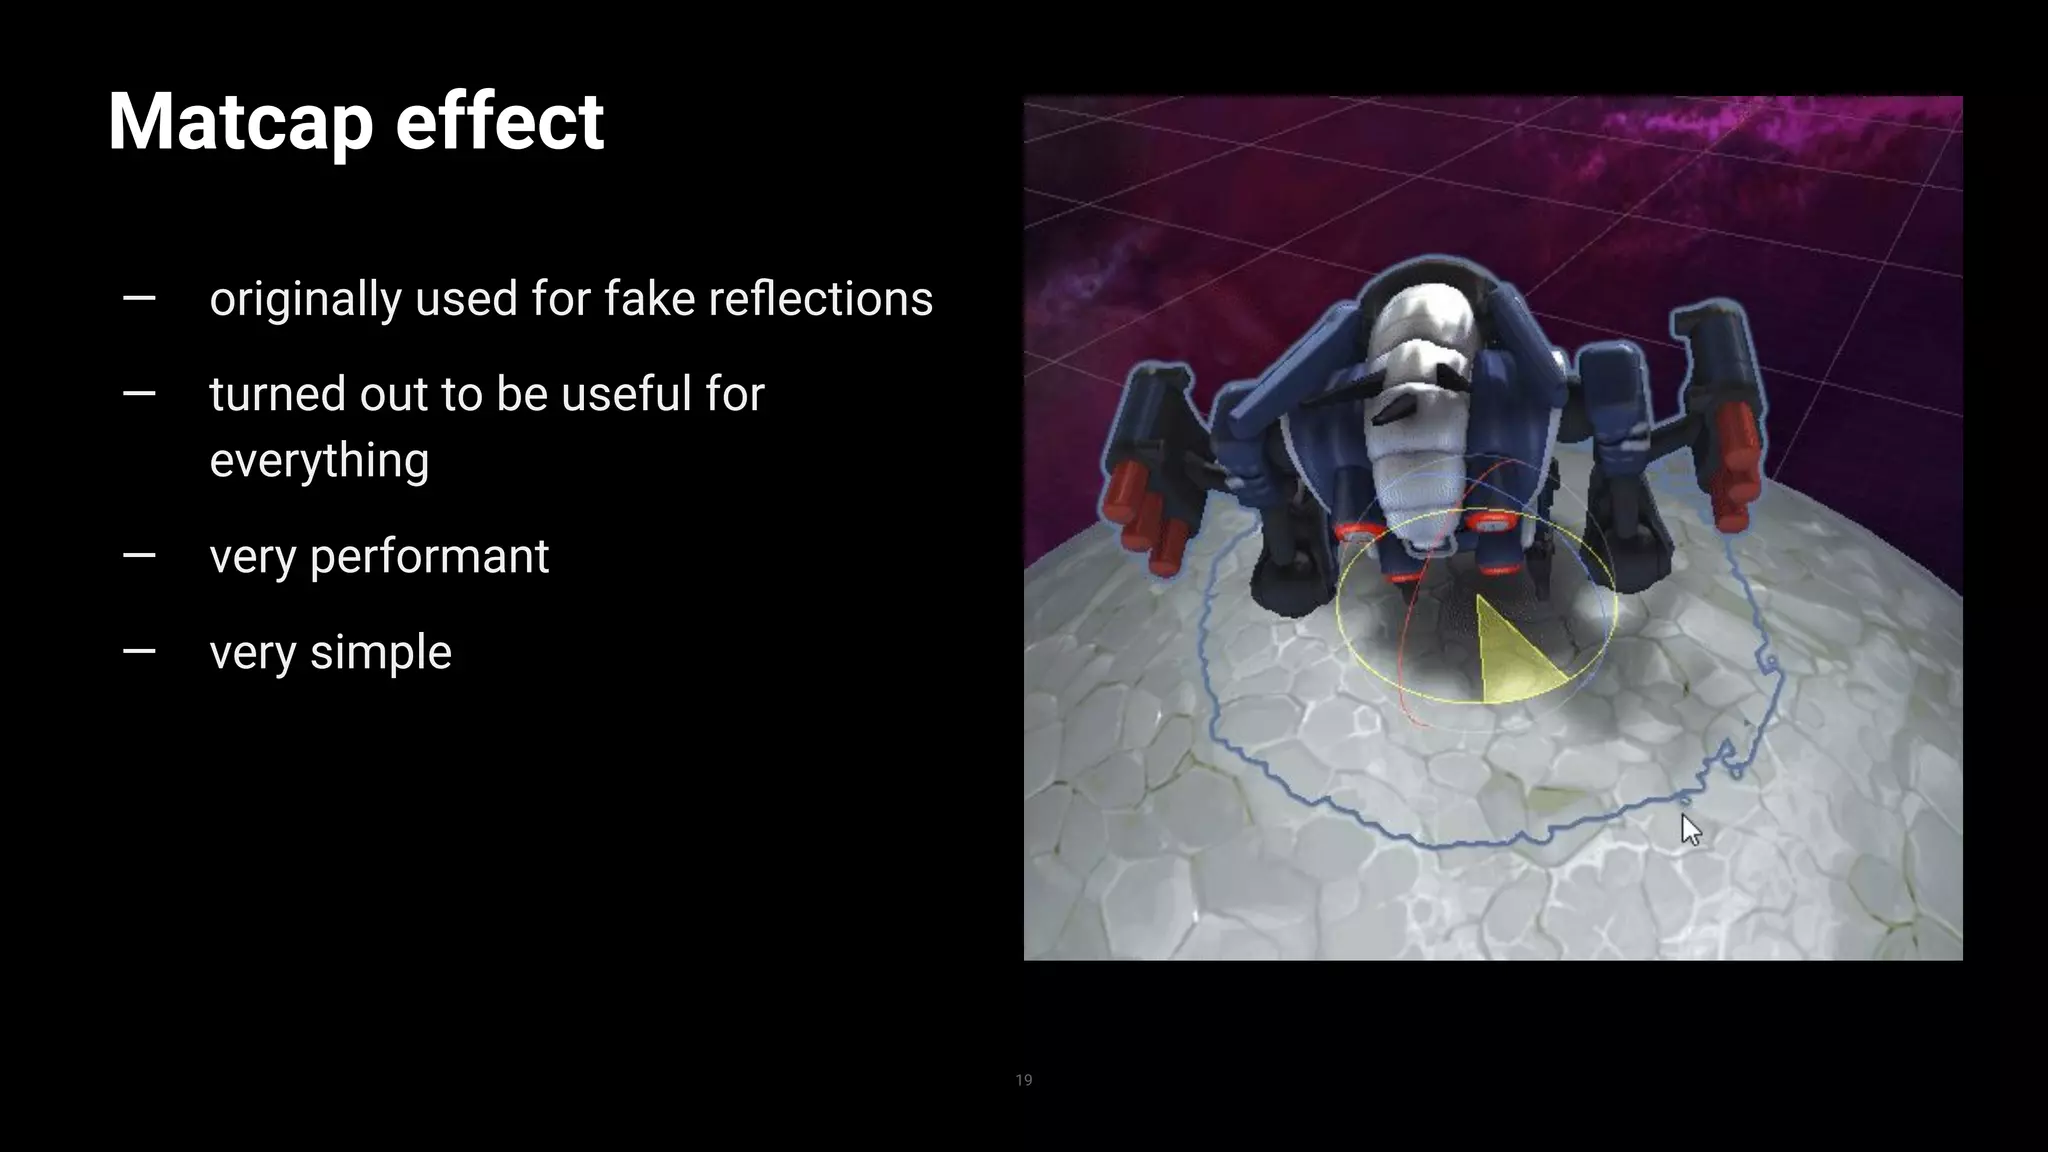
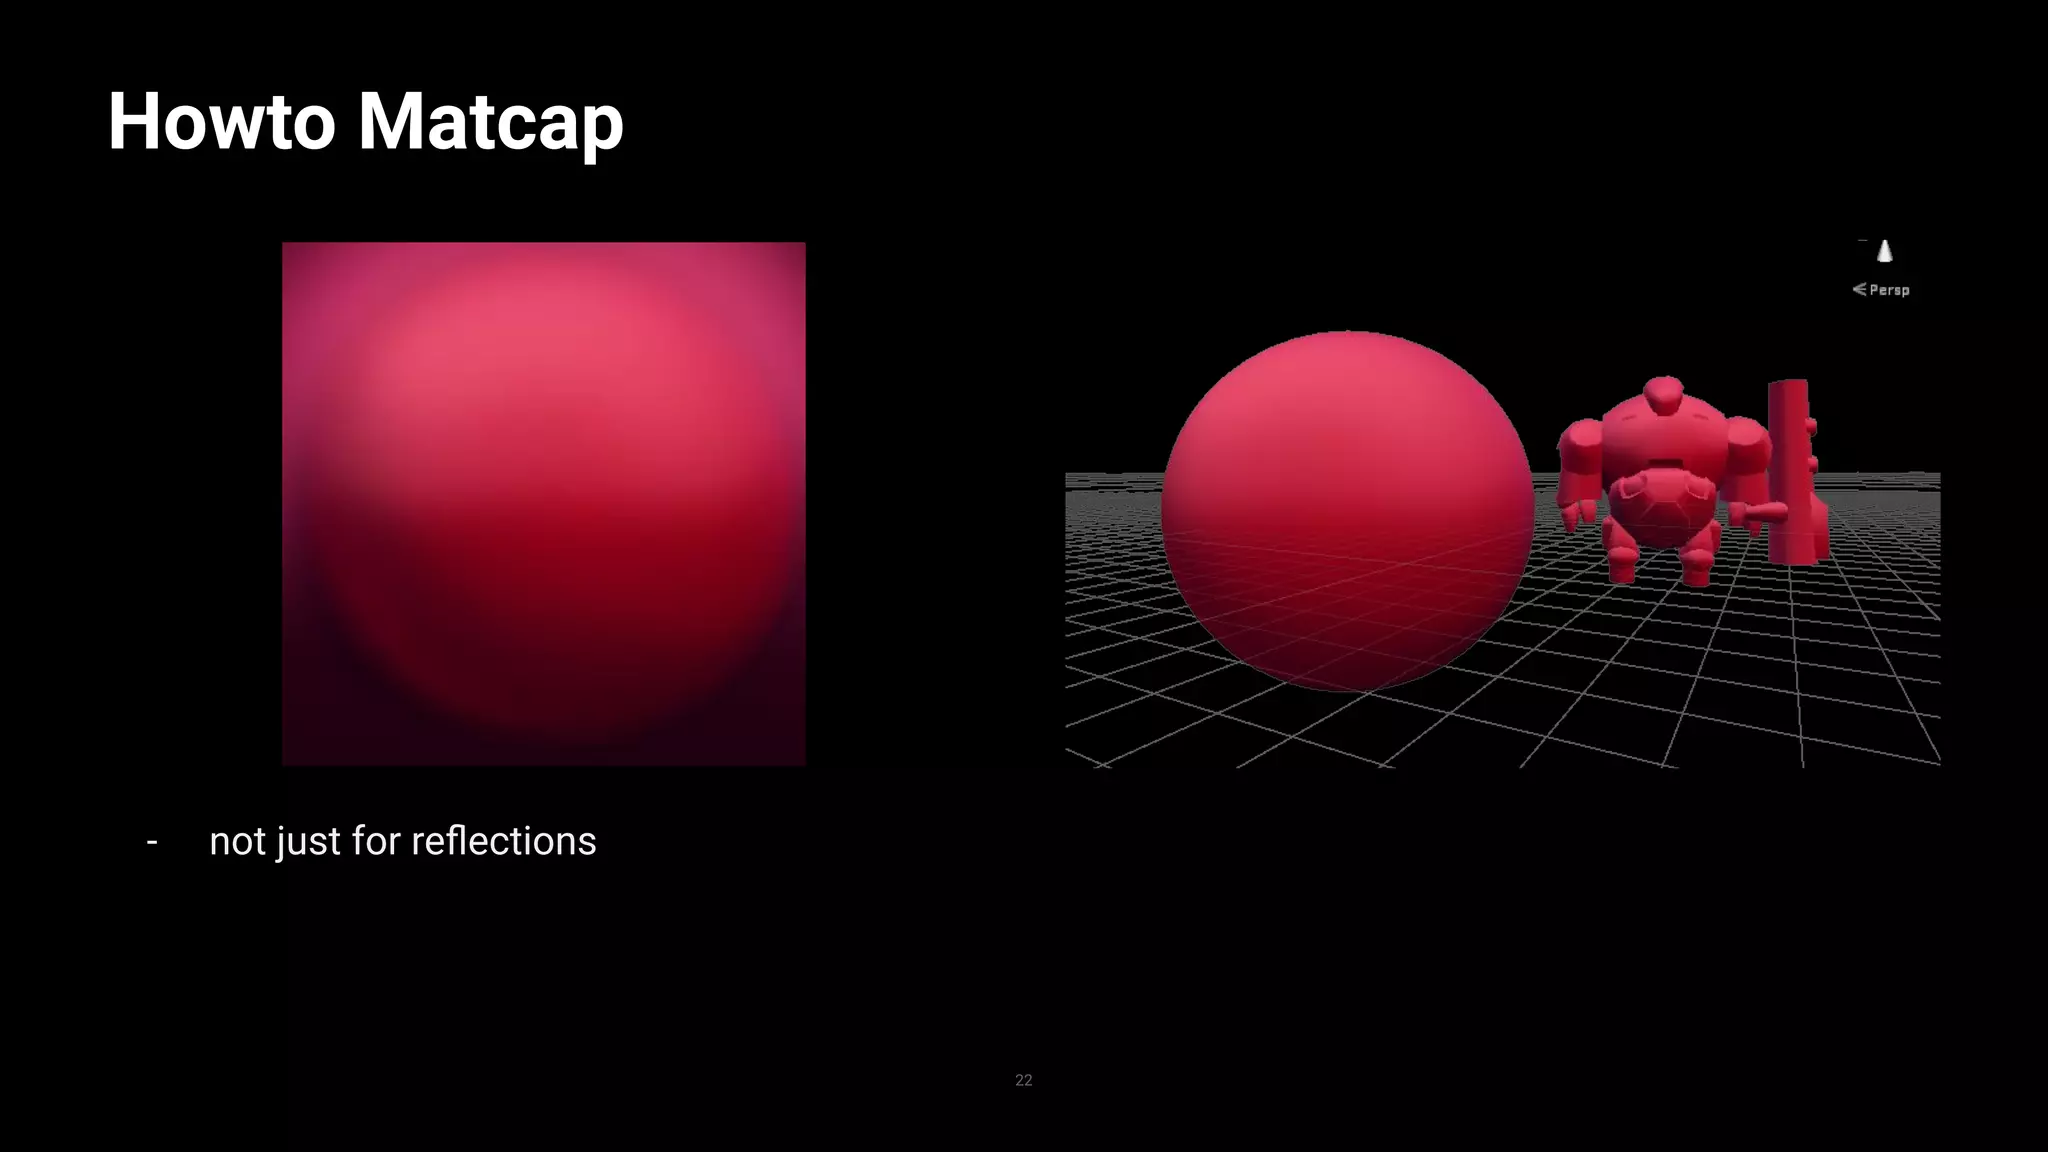
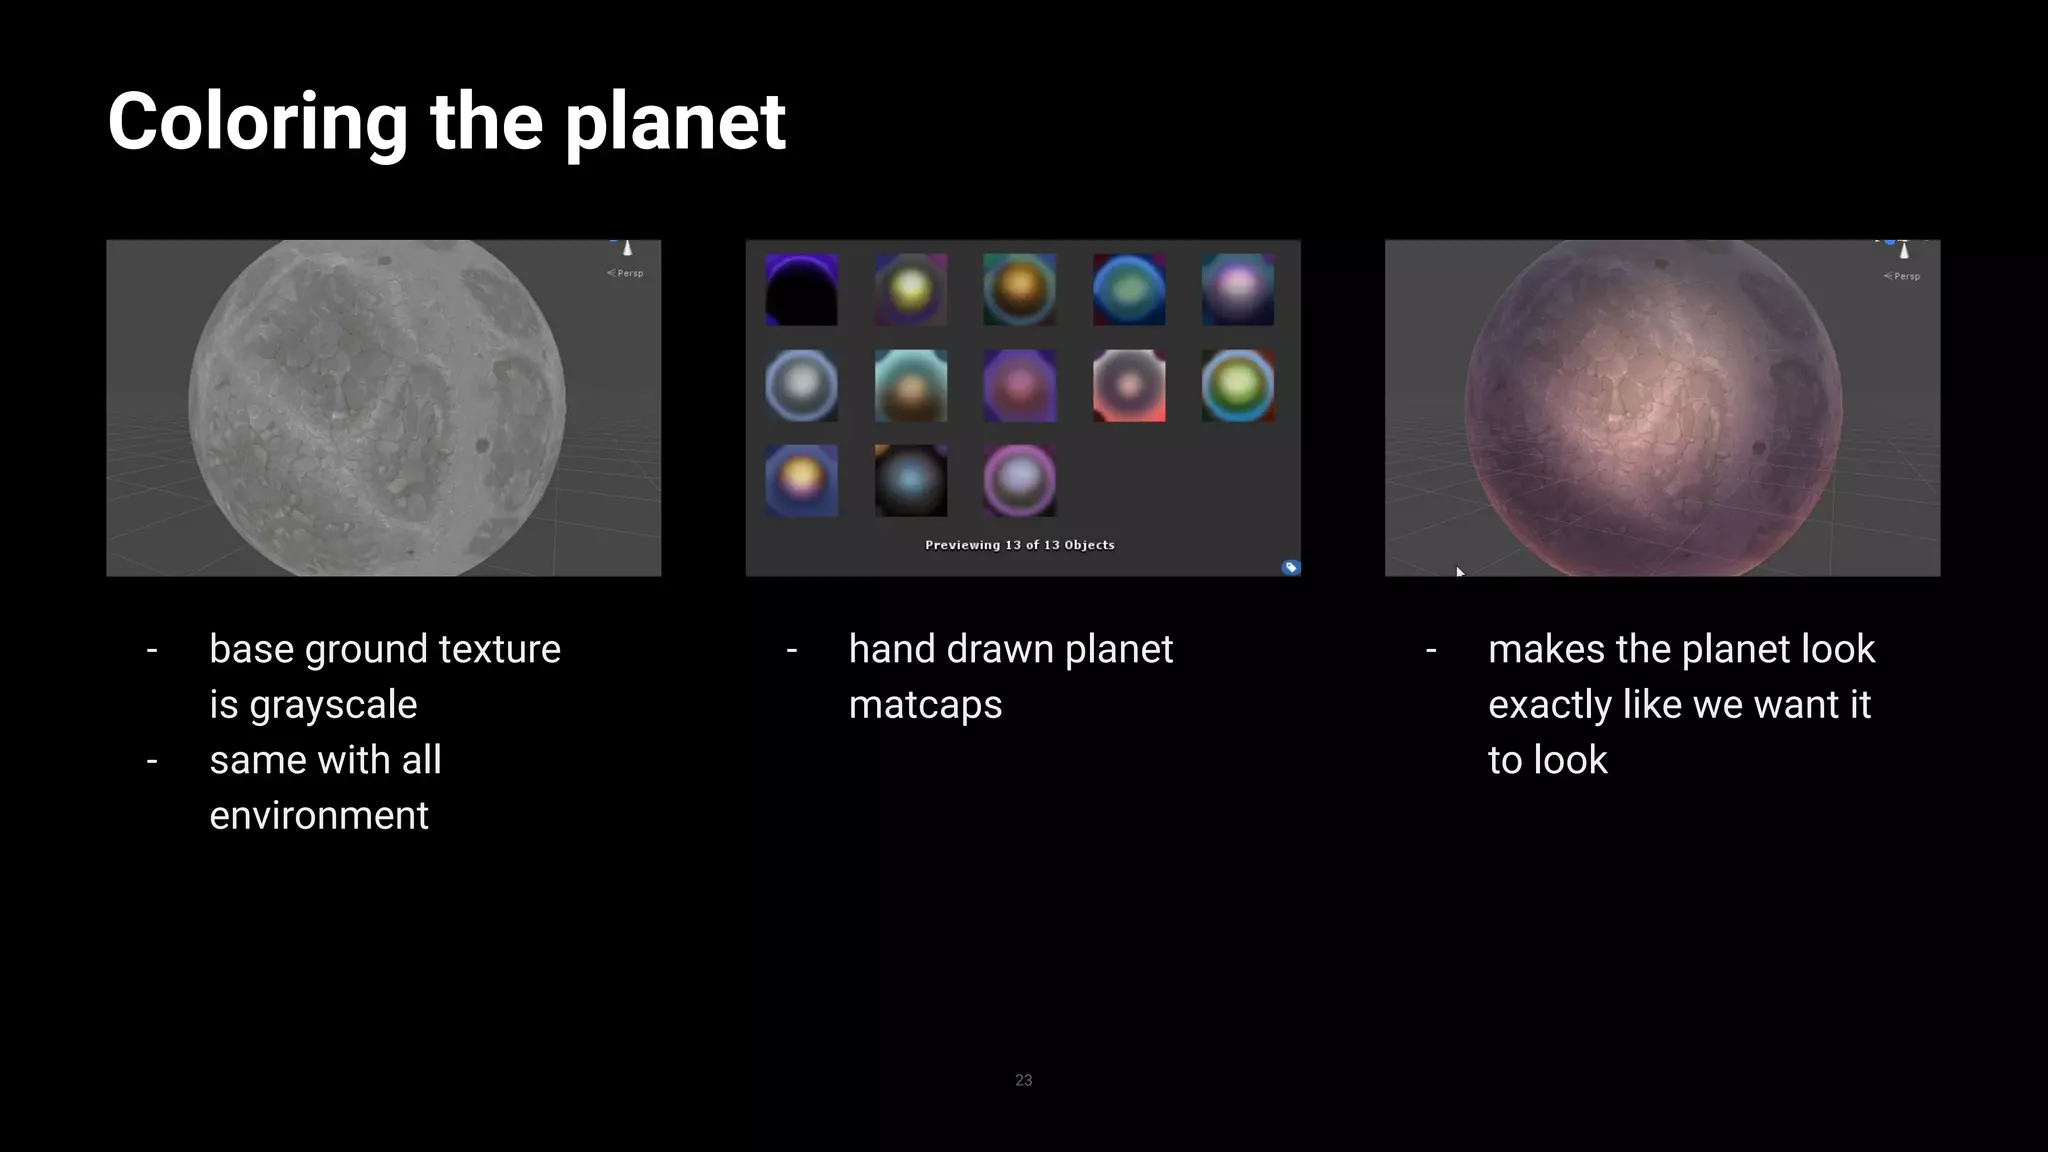
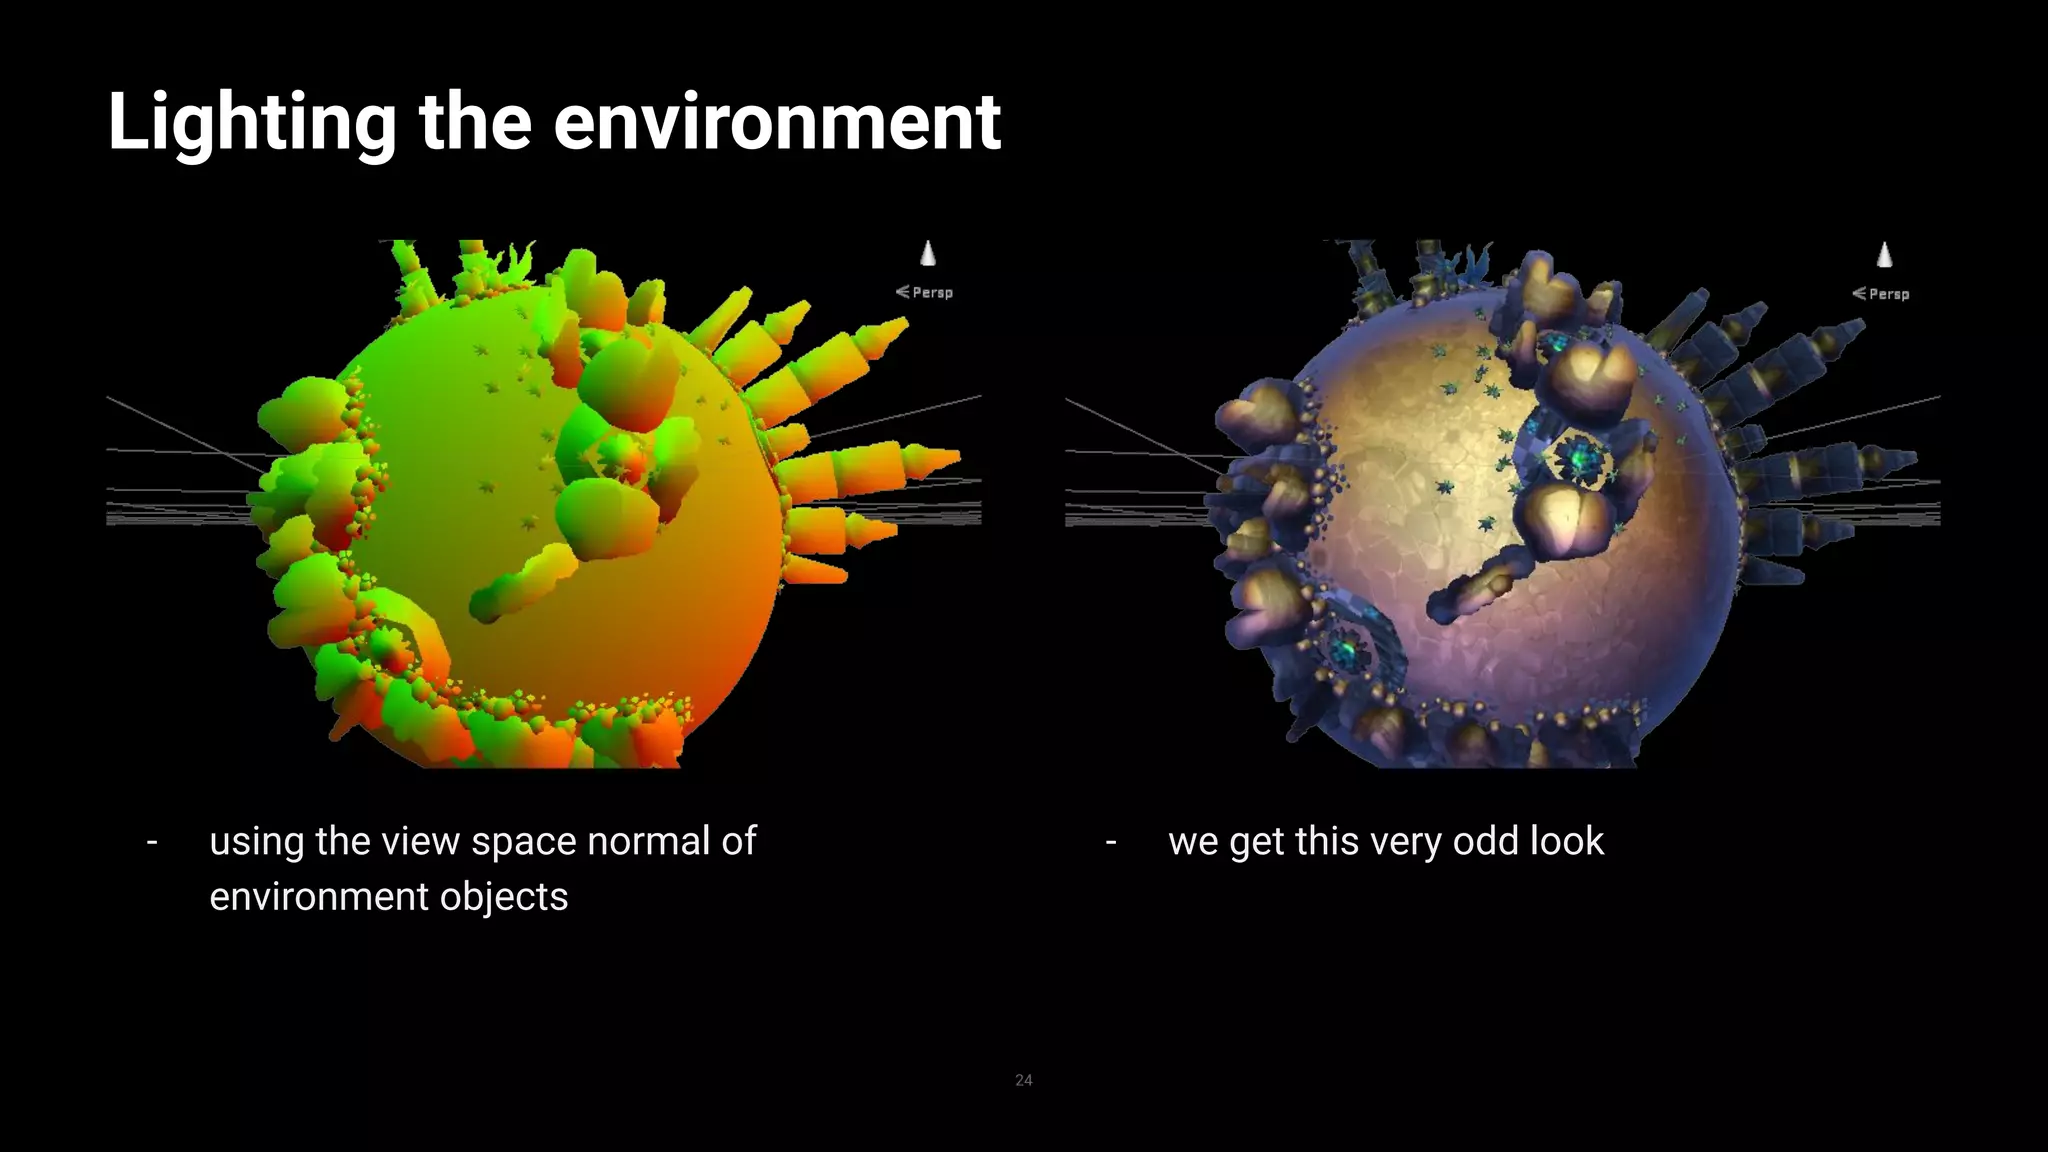
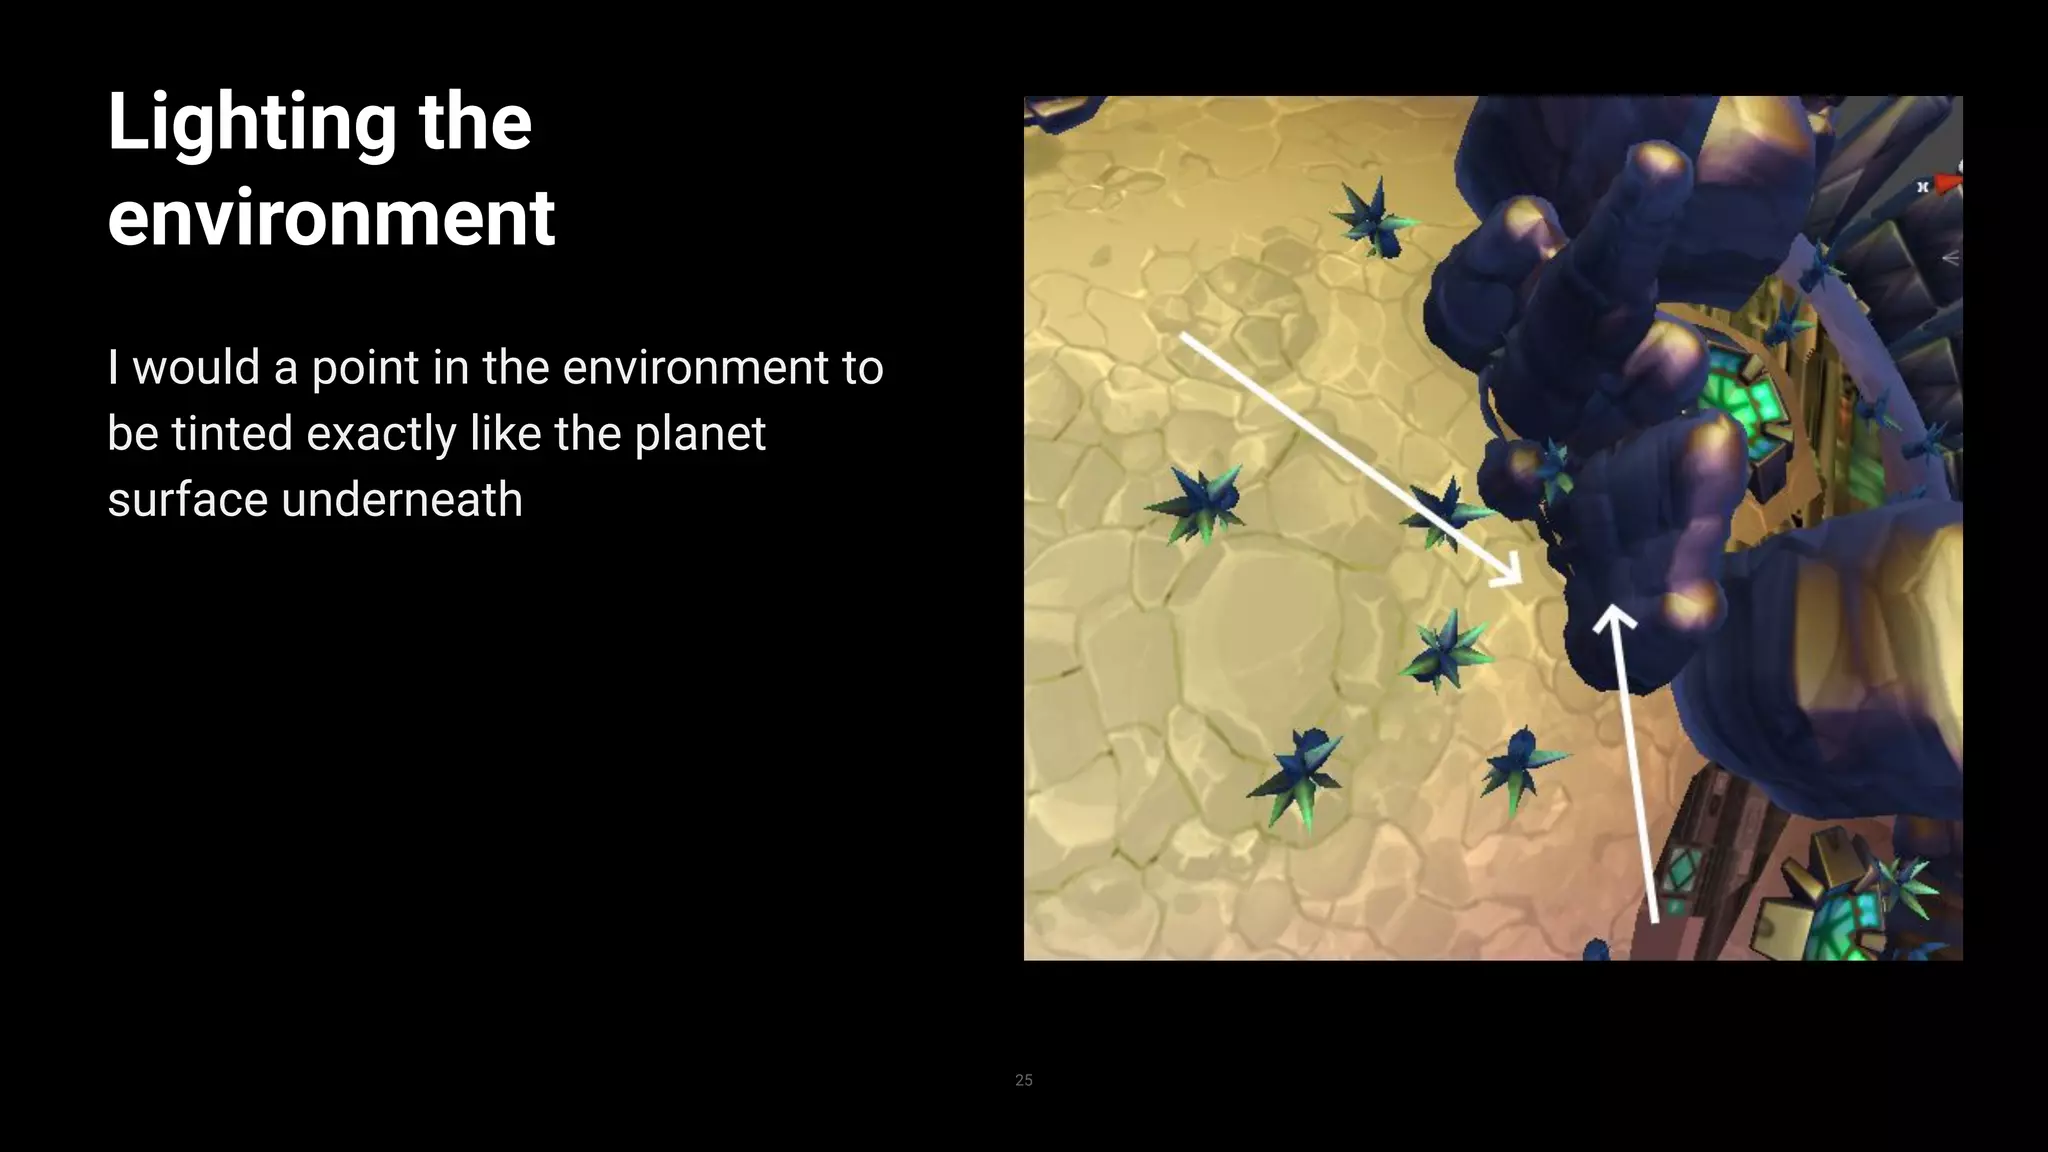
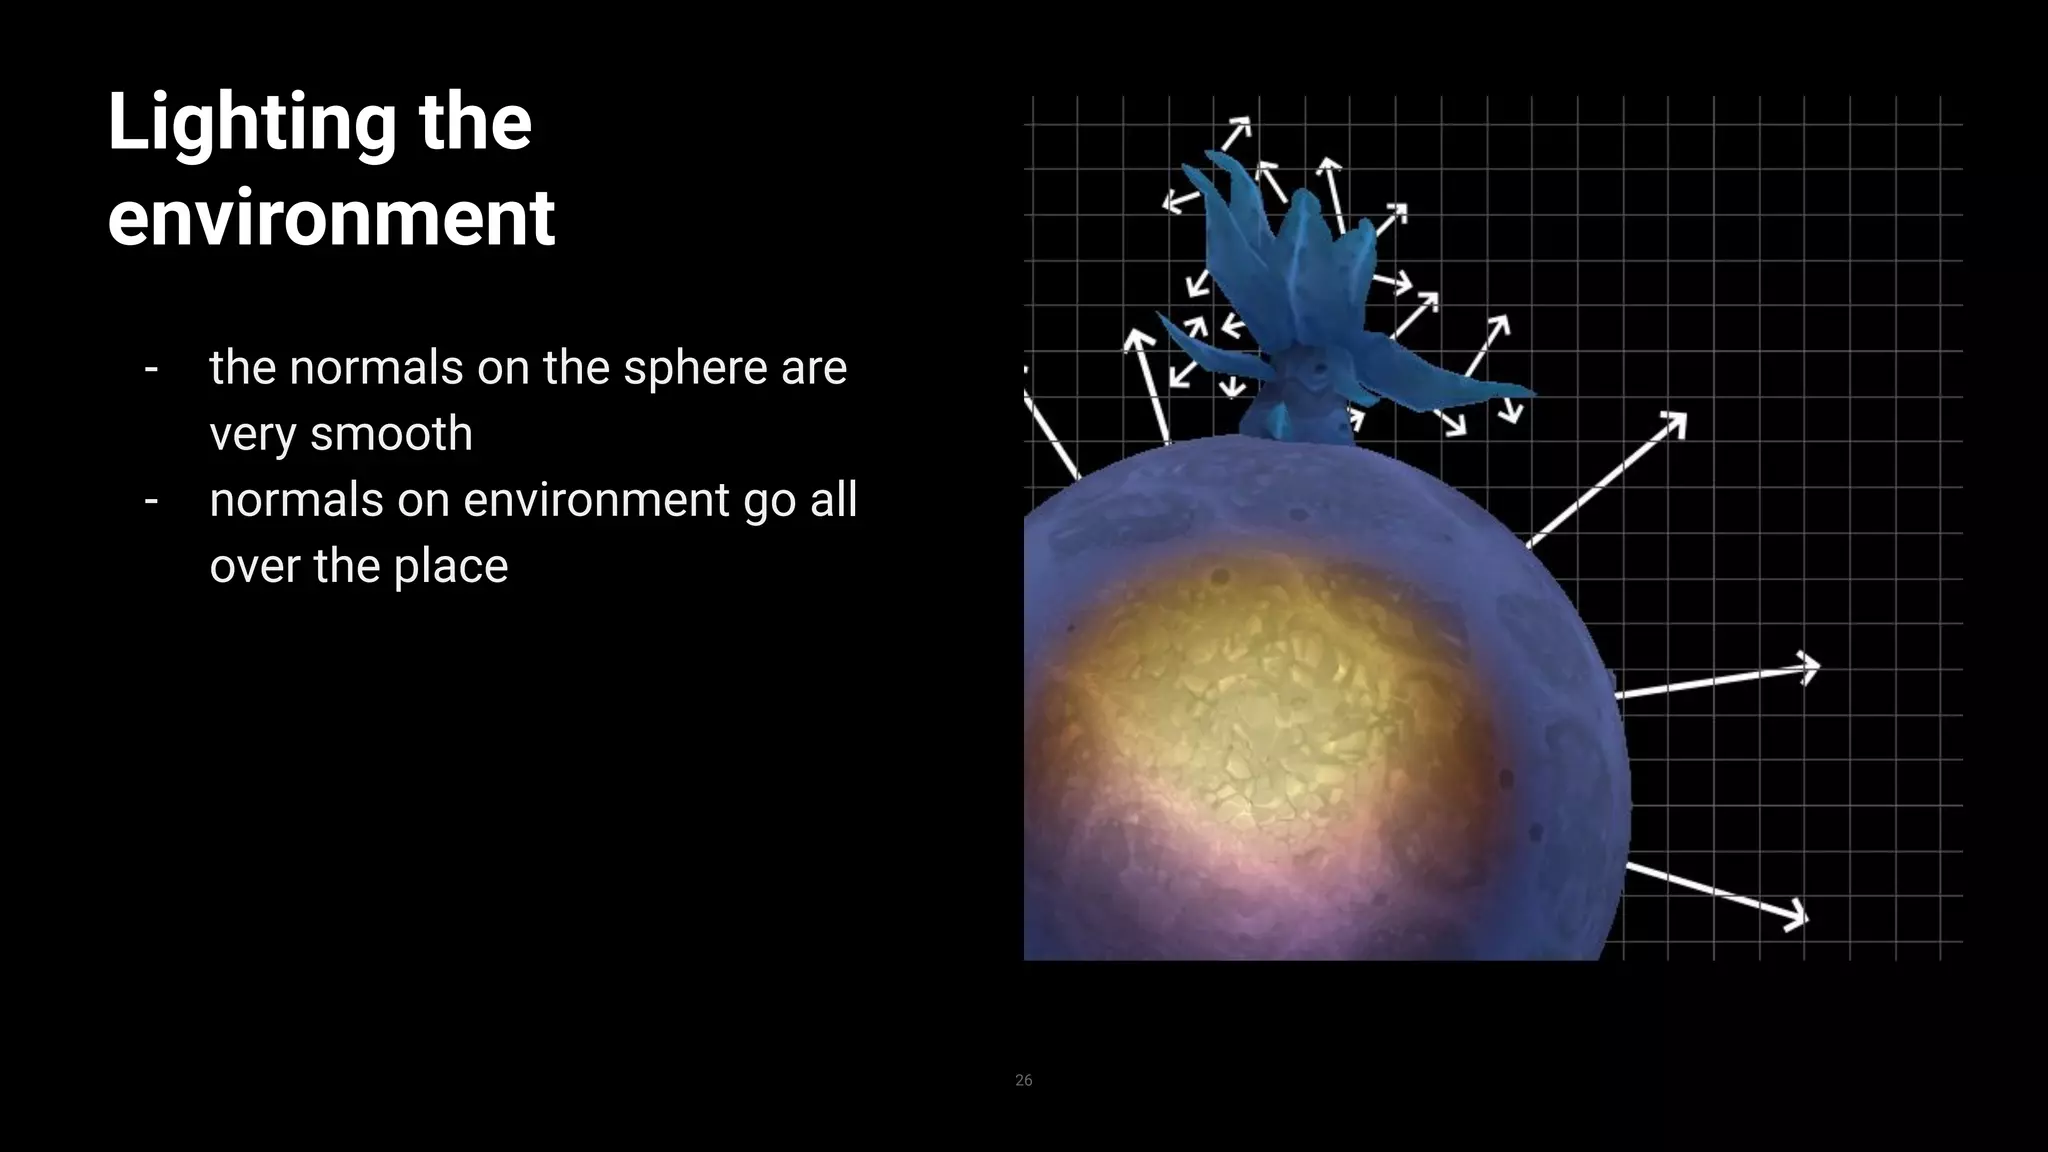
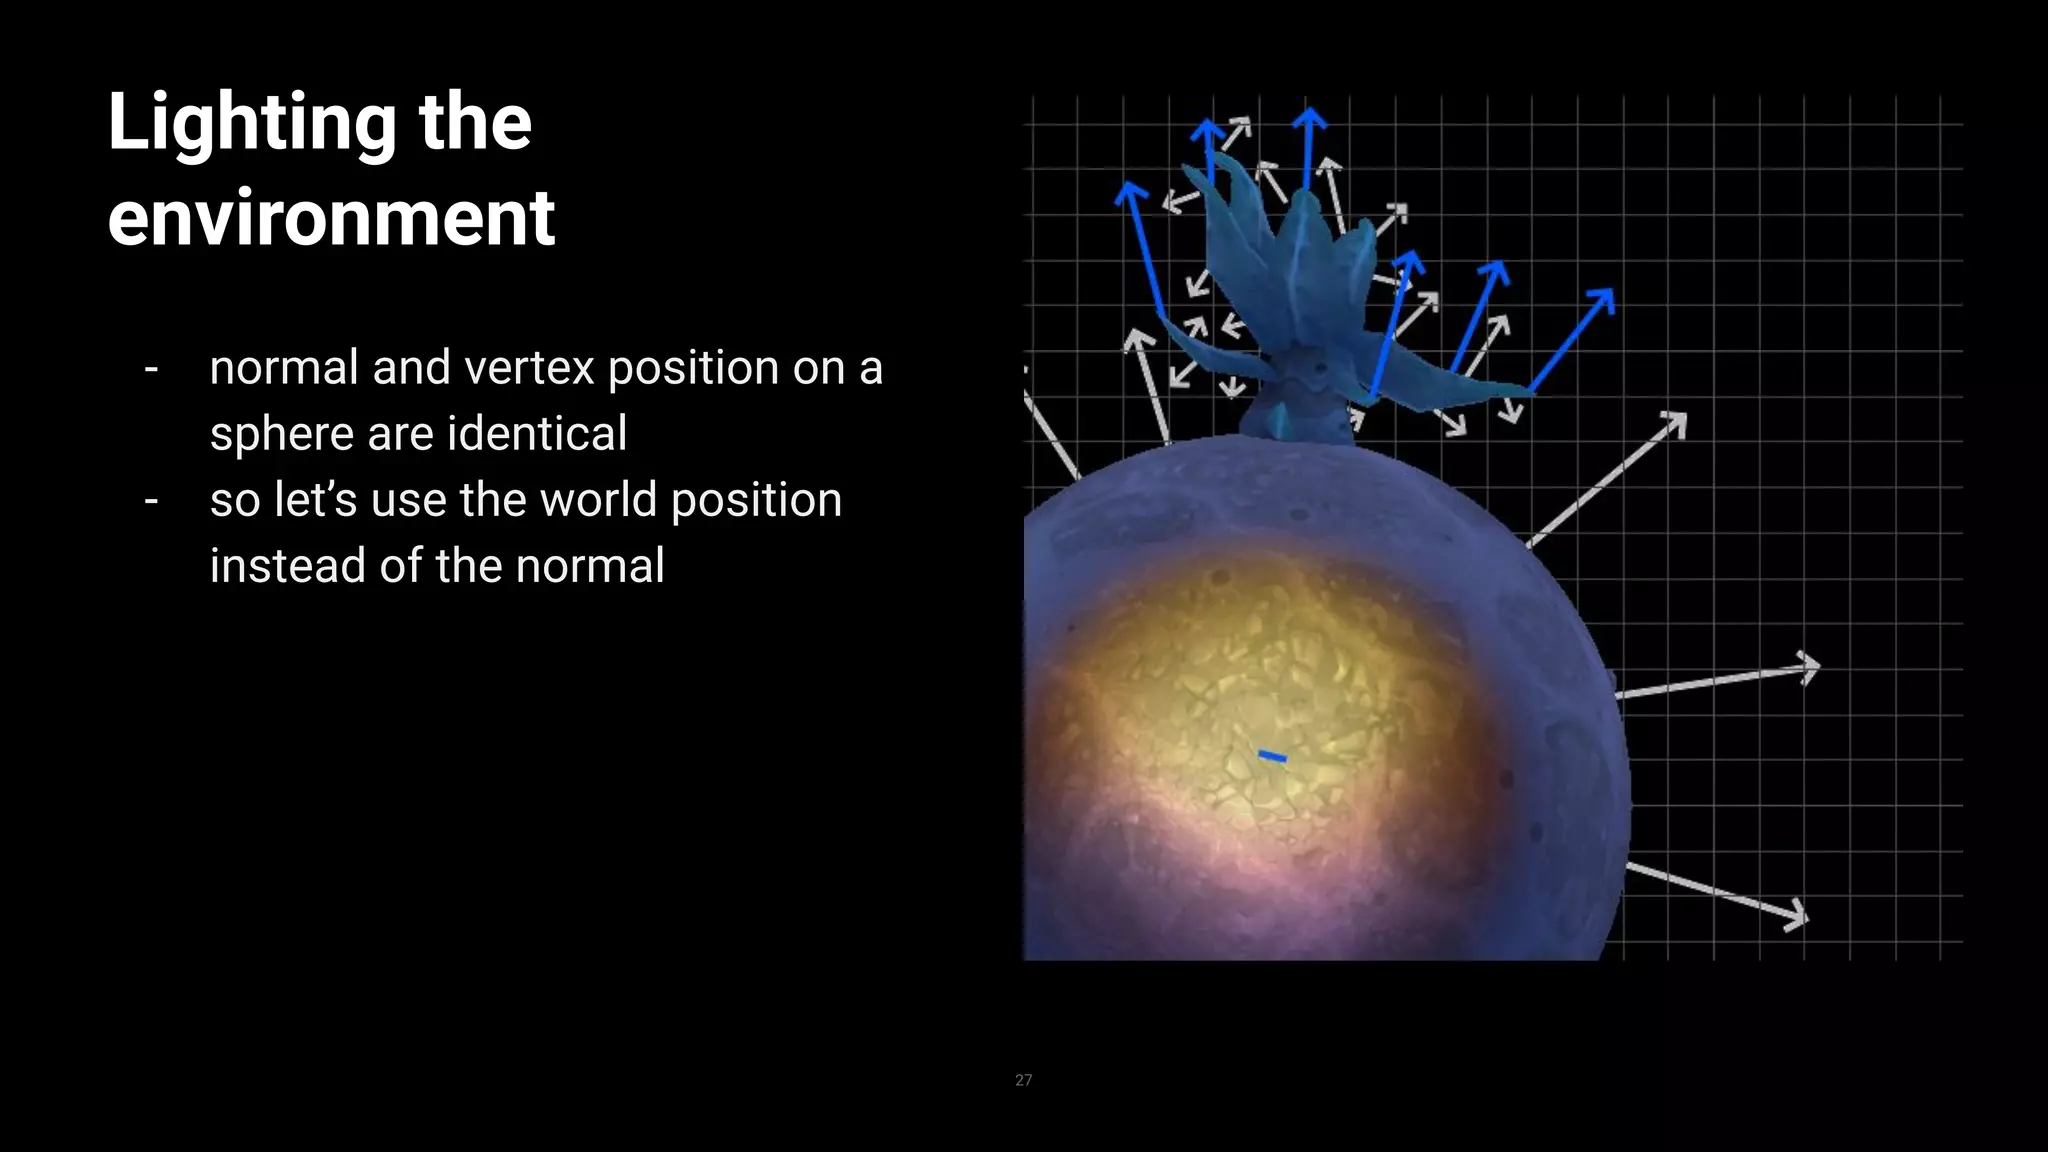
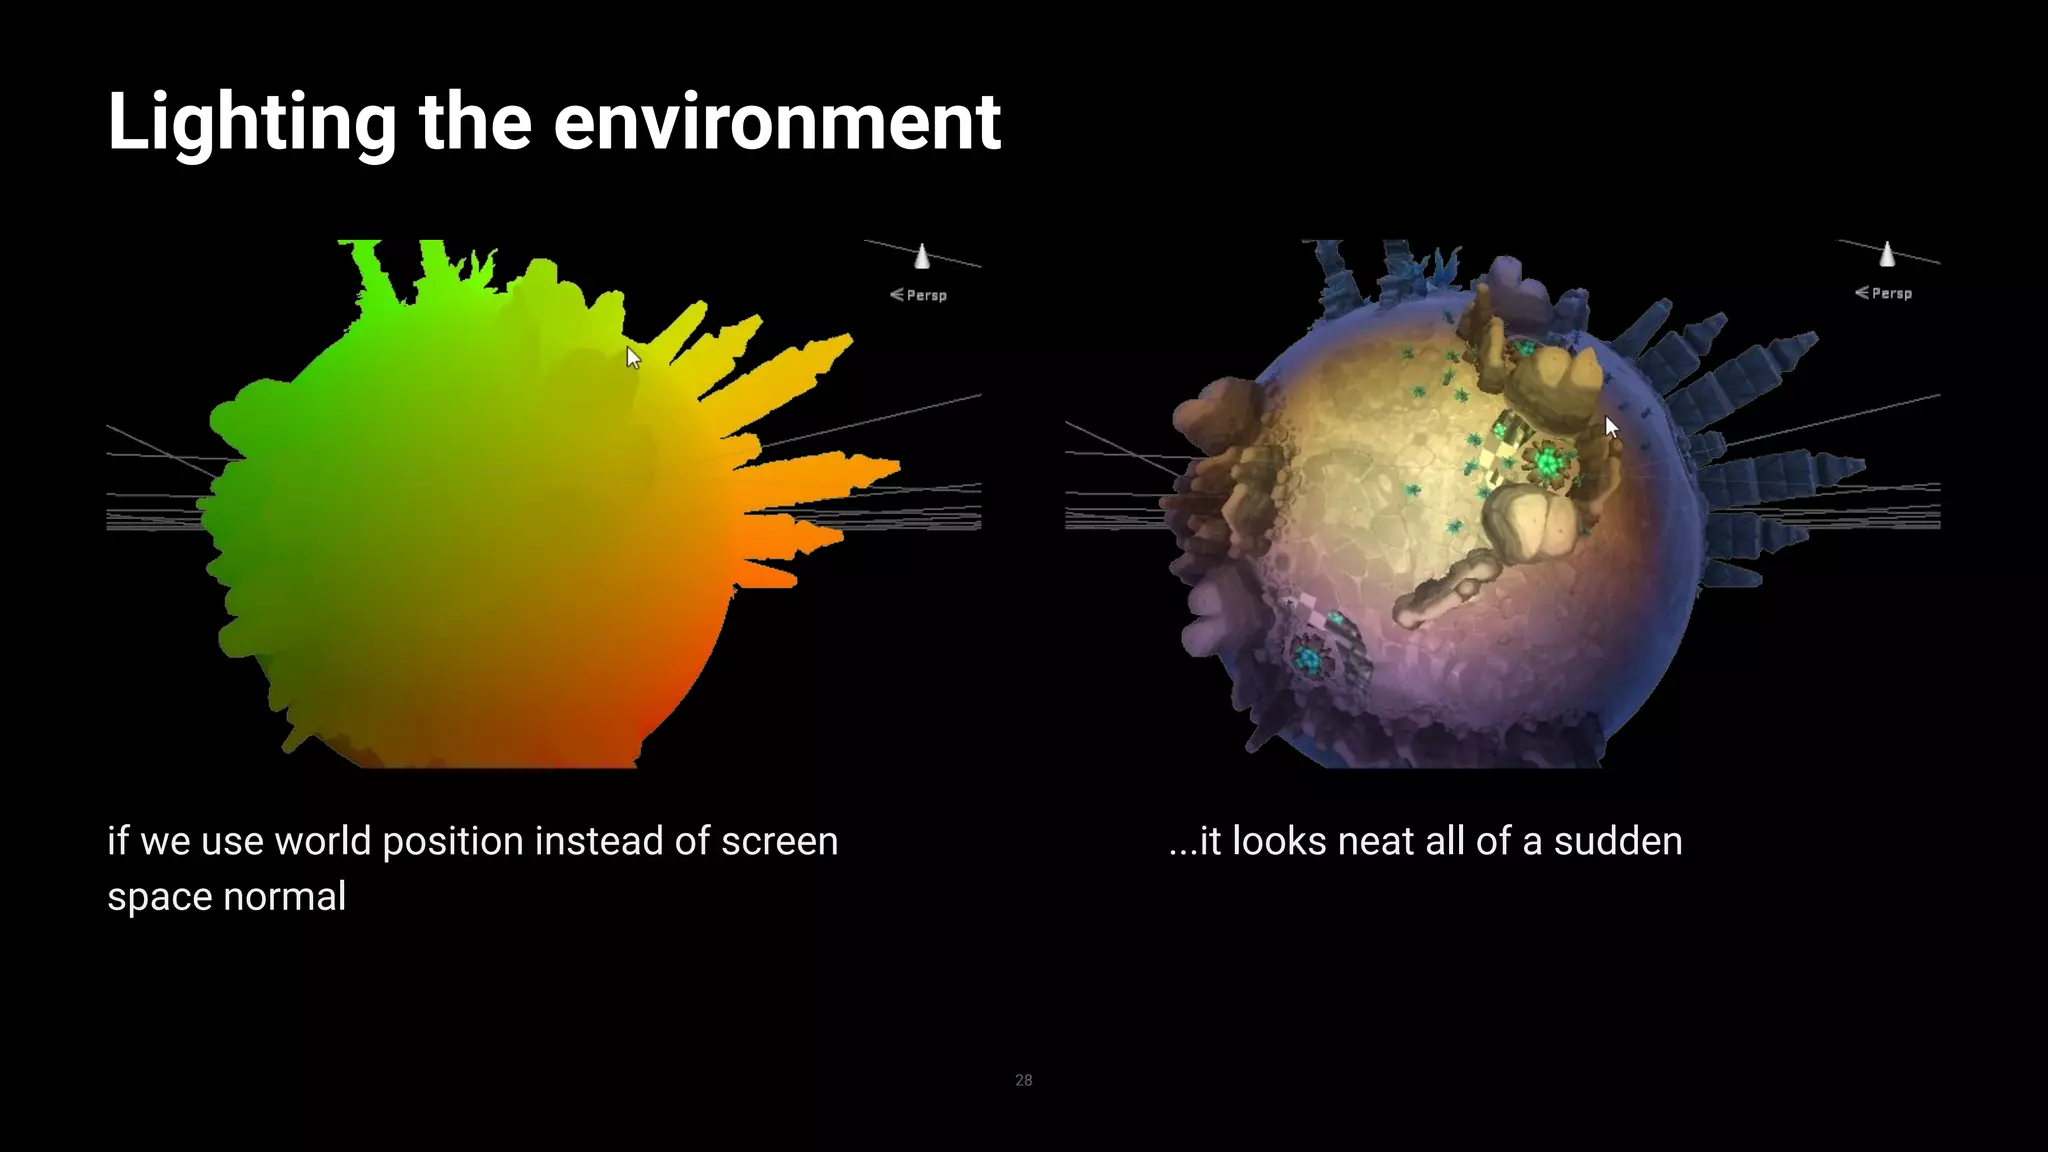
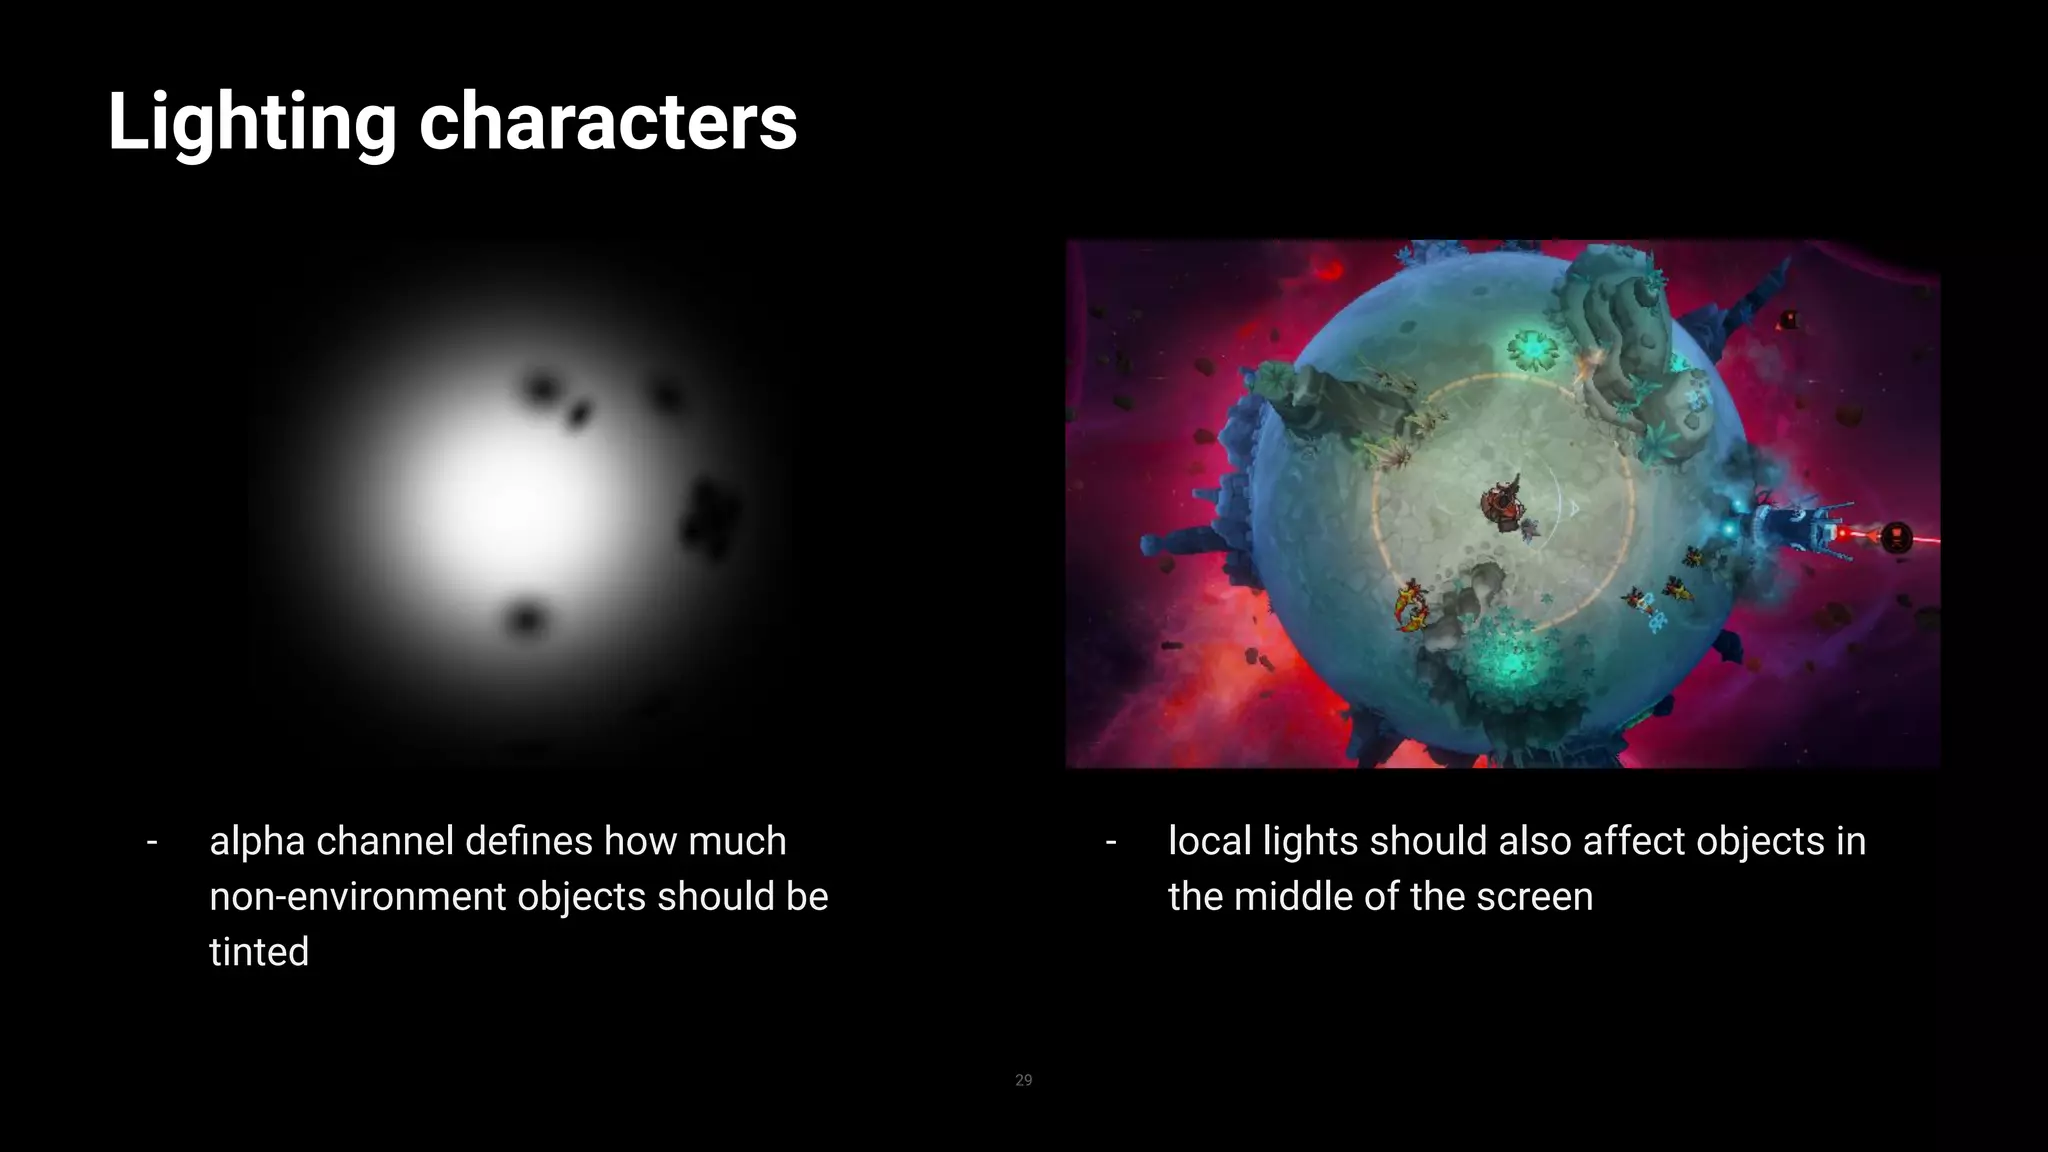
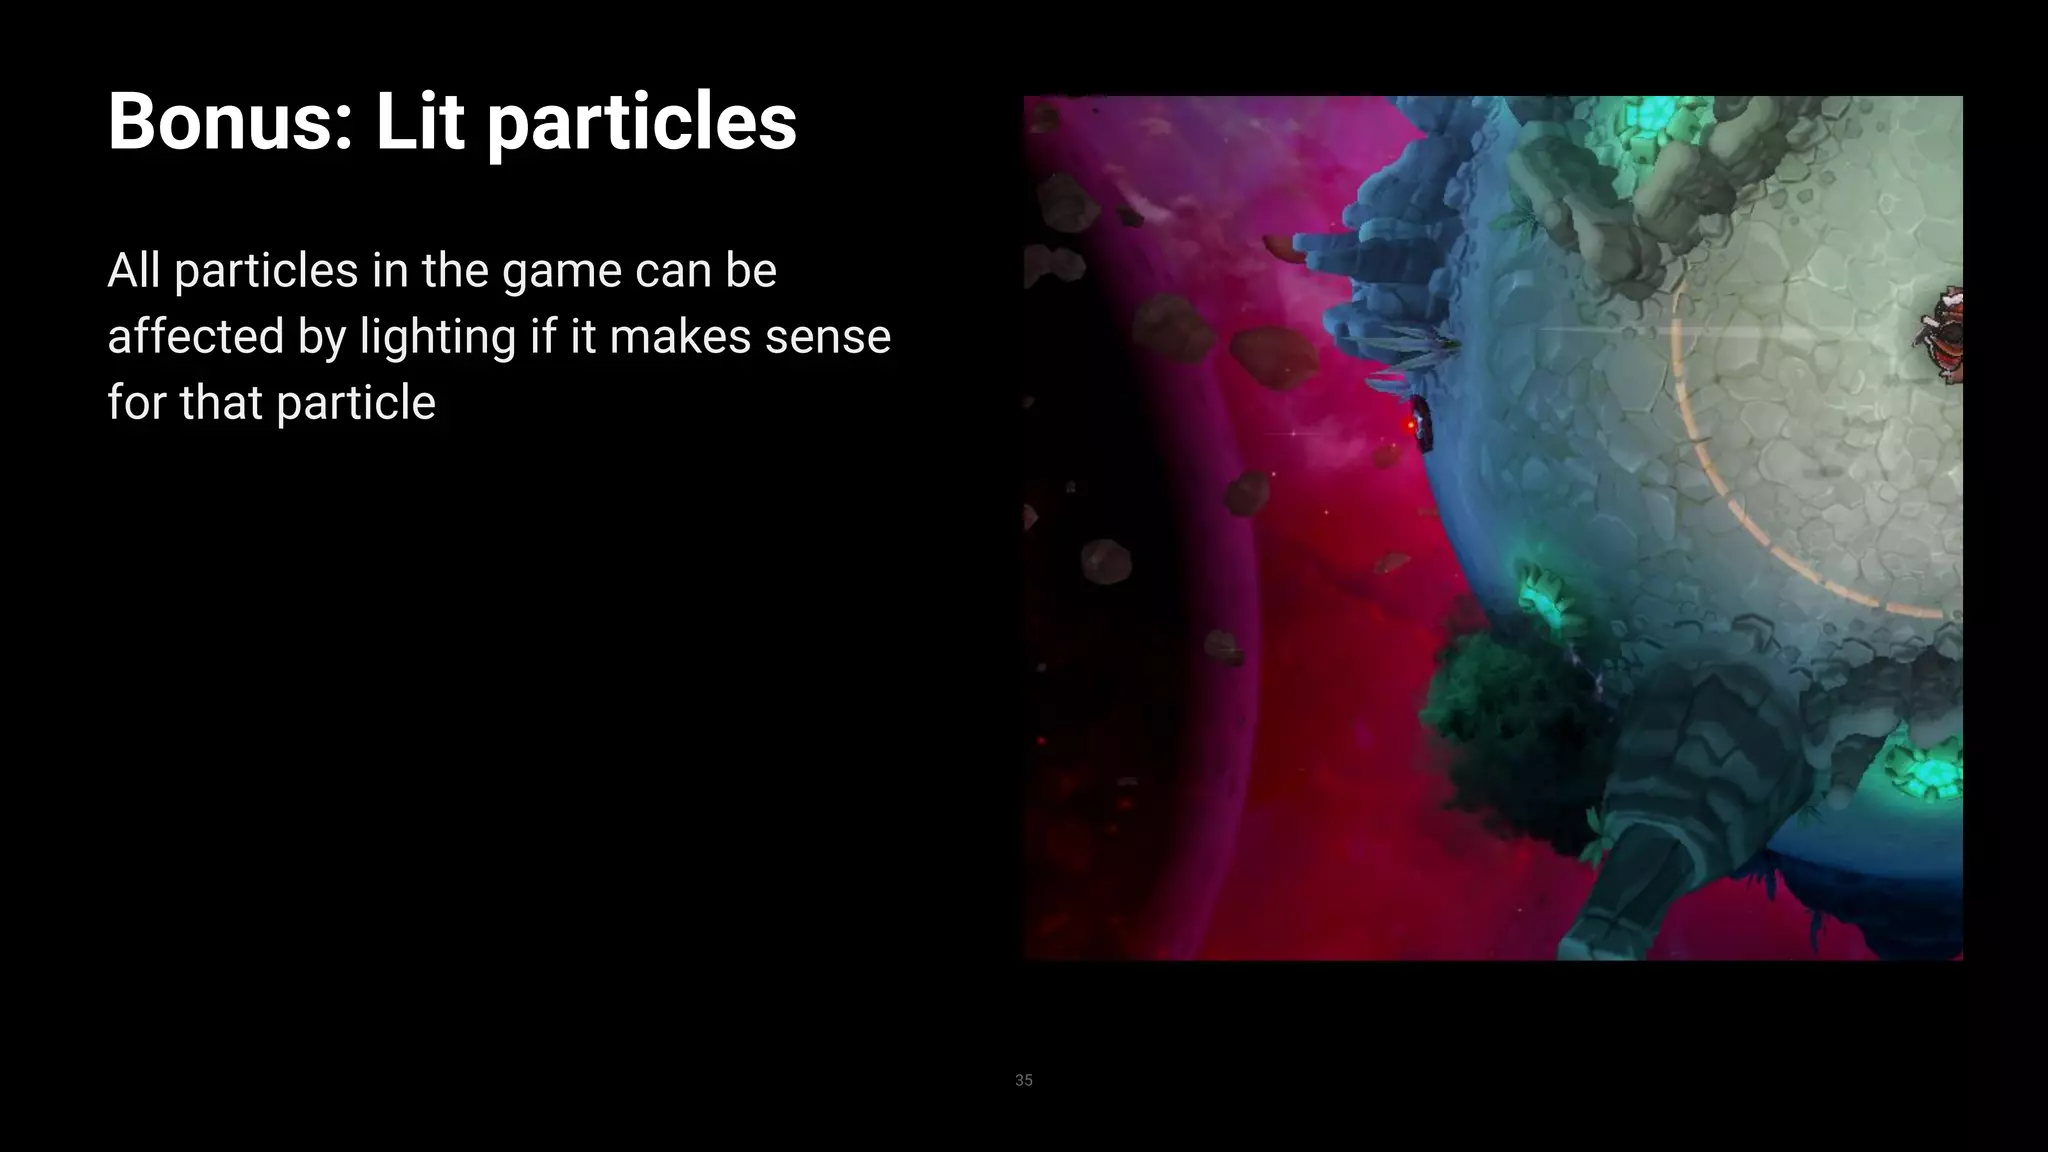
Insights into lighting in the game, addressing challenges and techniques like Matcap for efficient reflections.
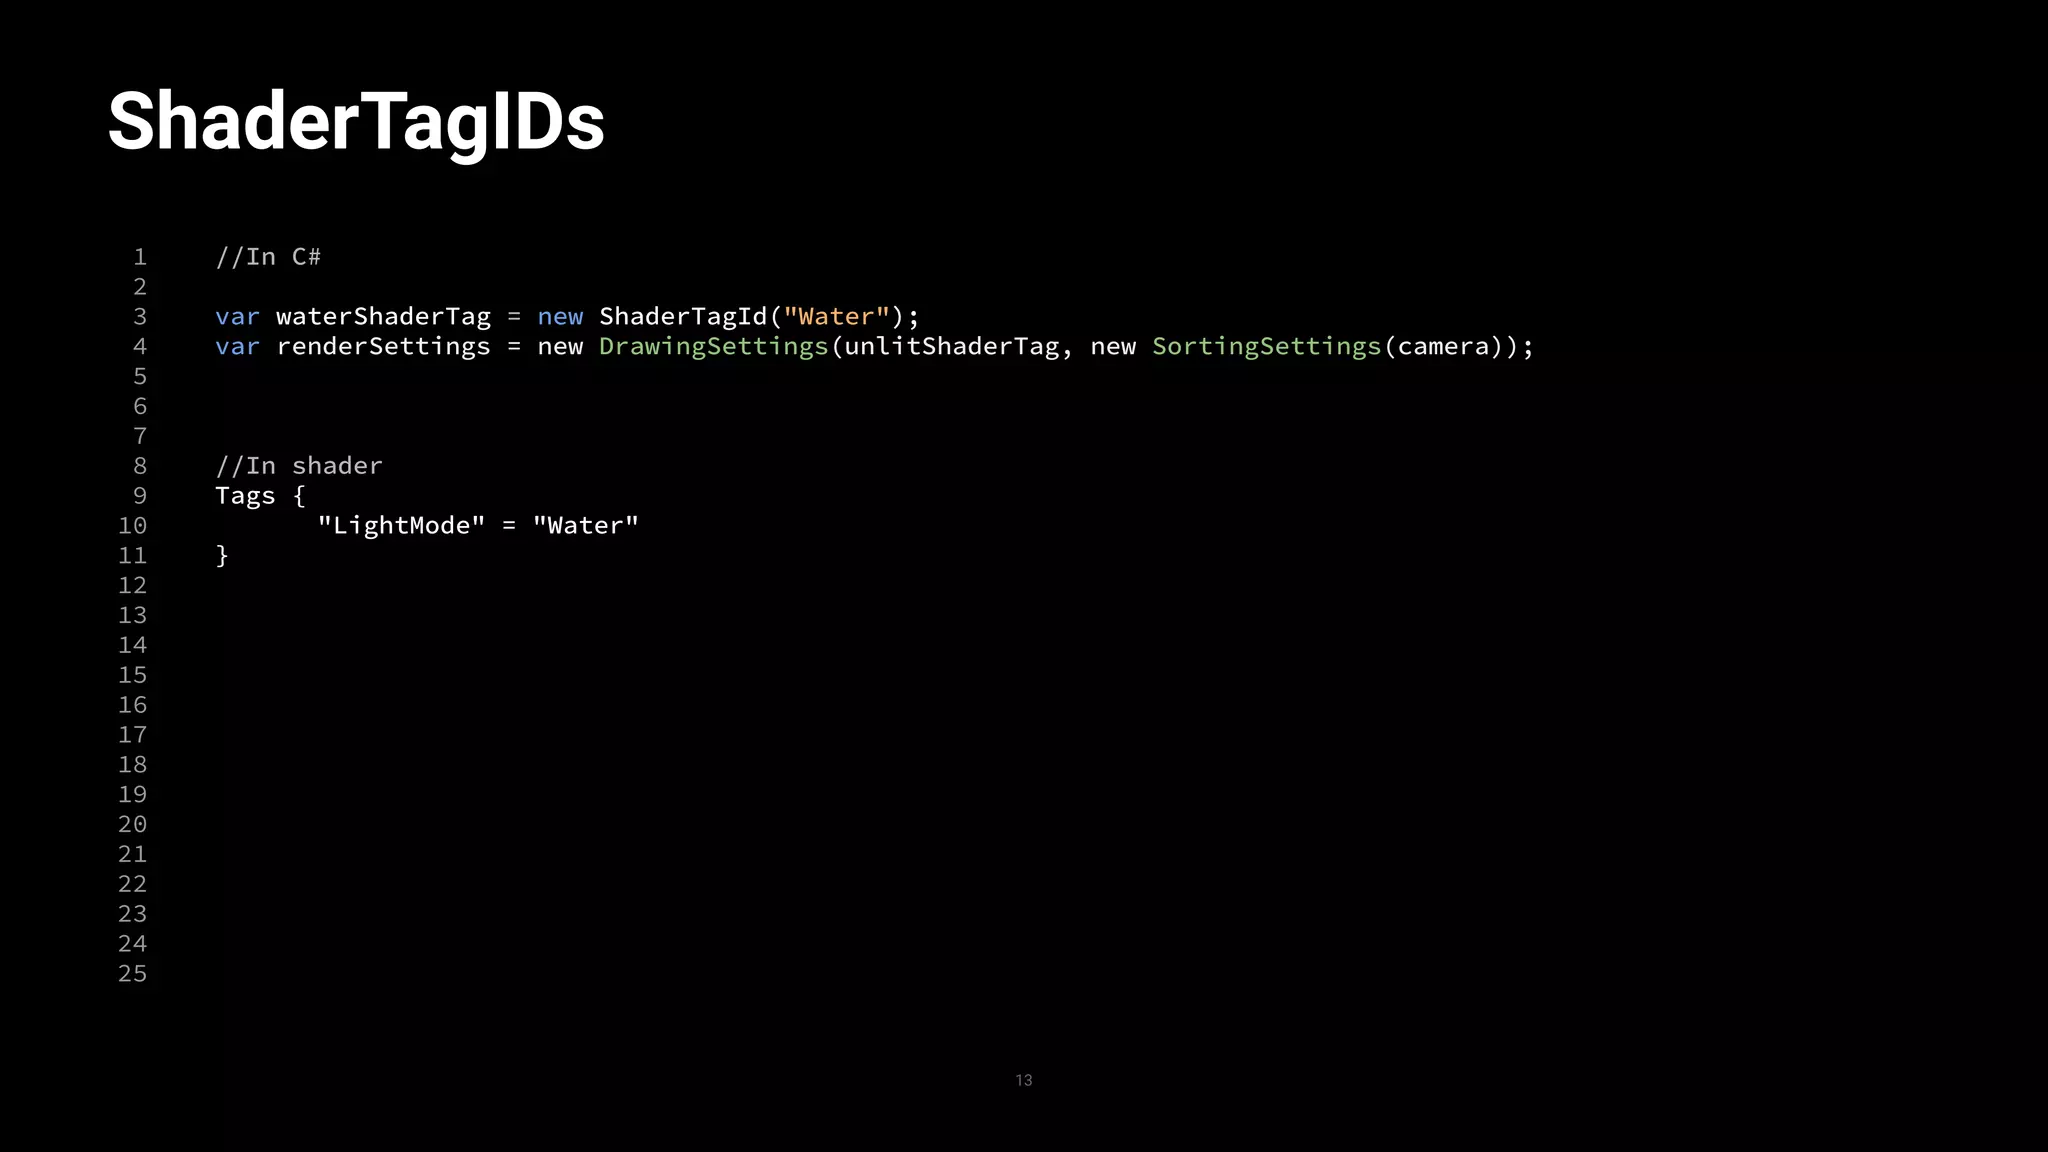
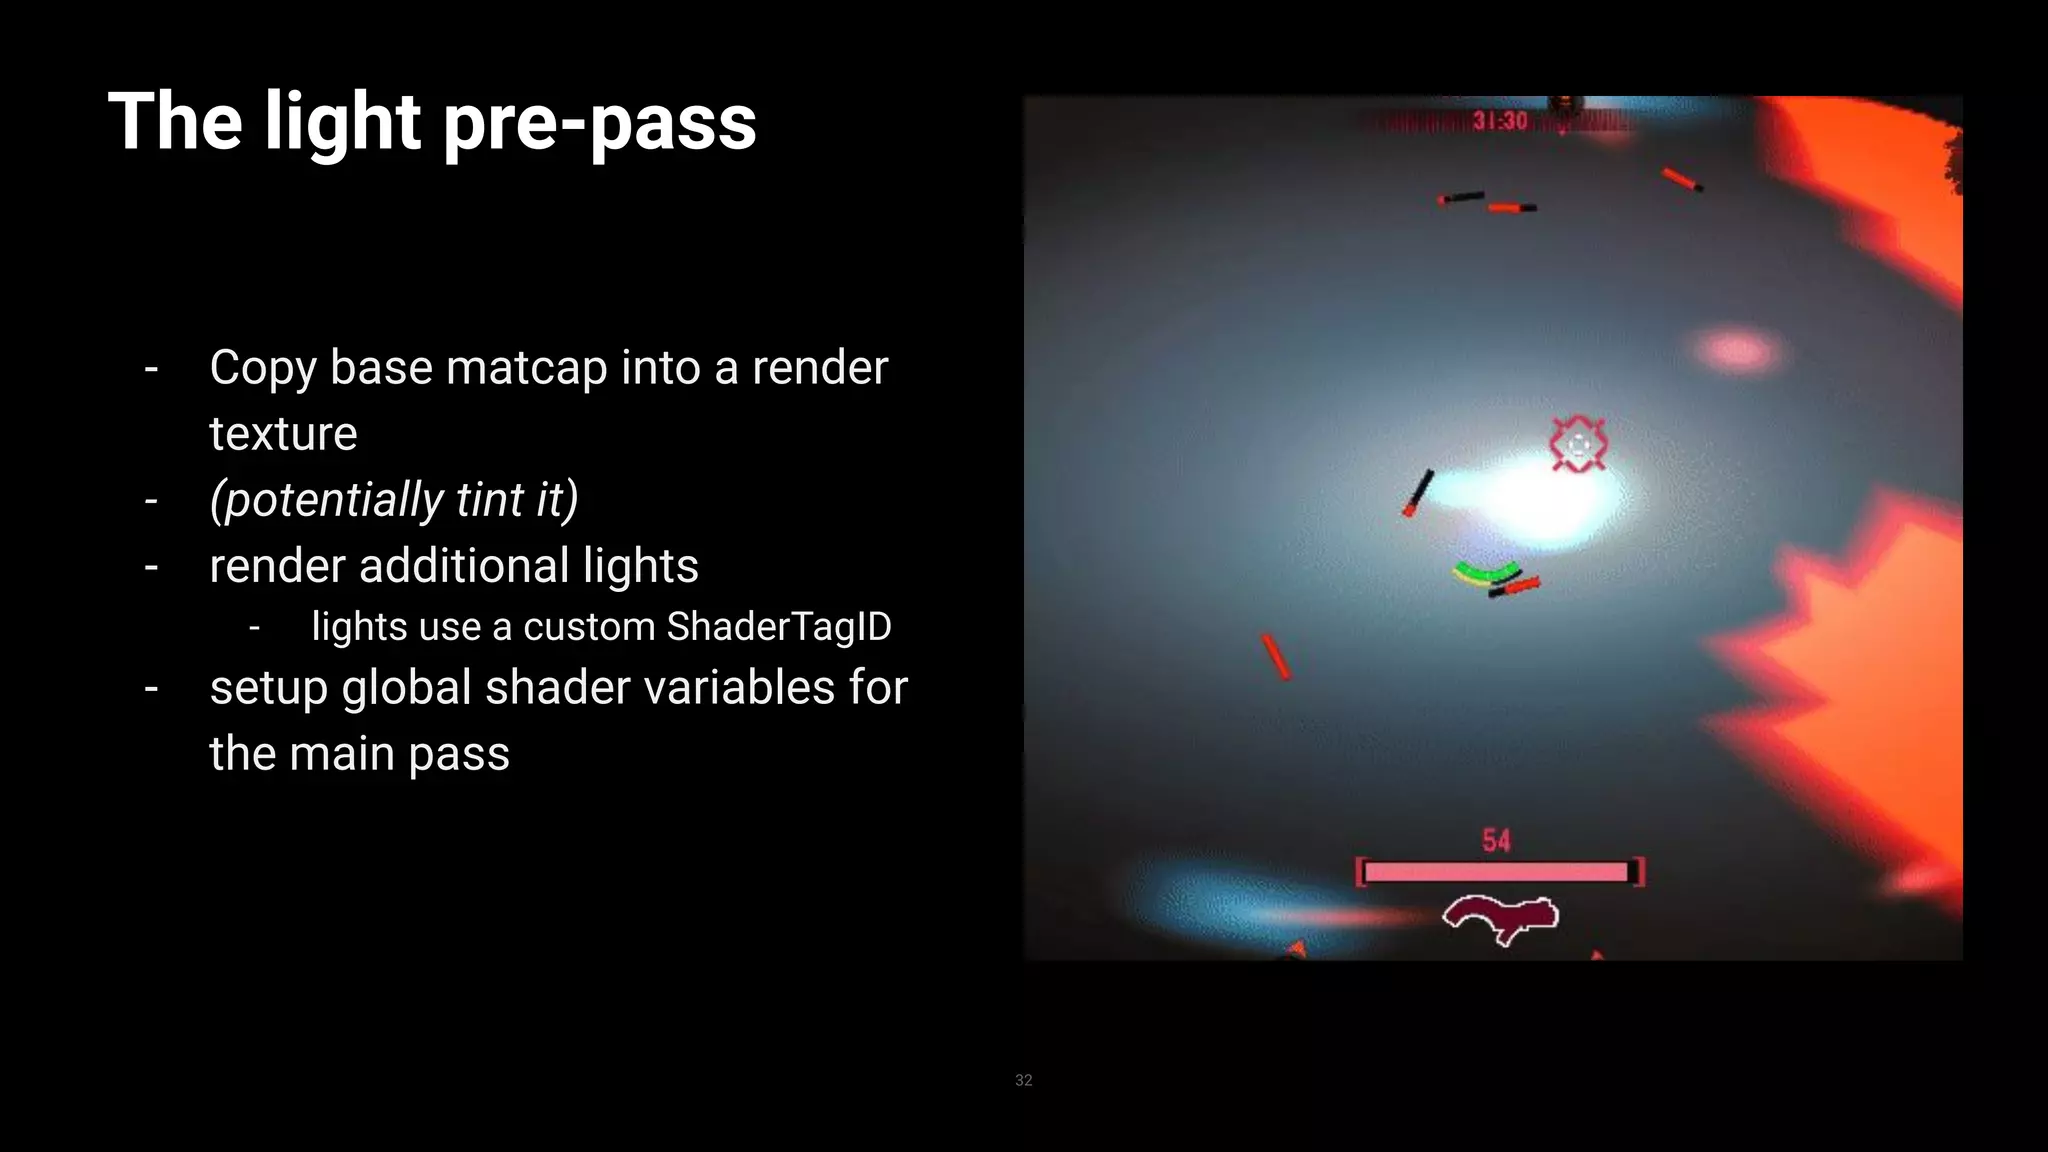
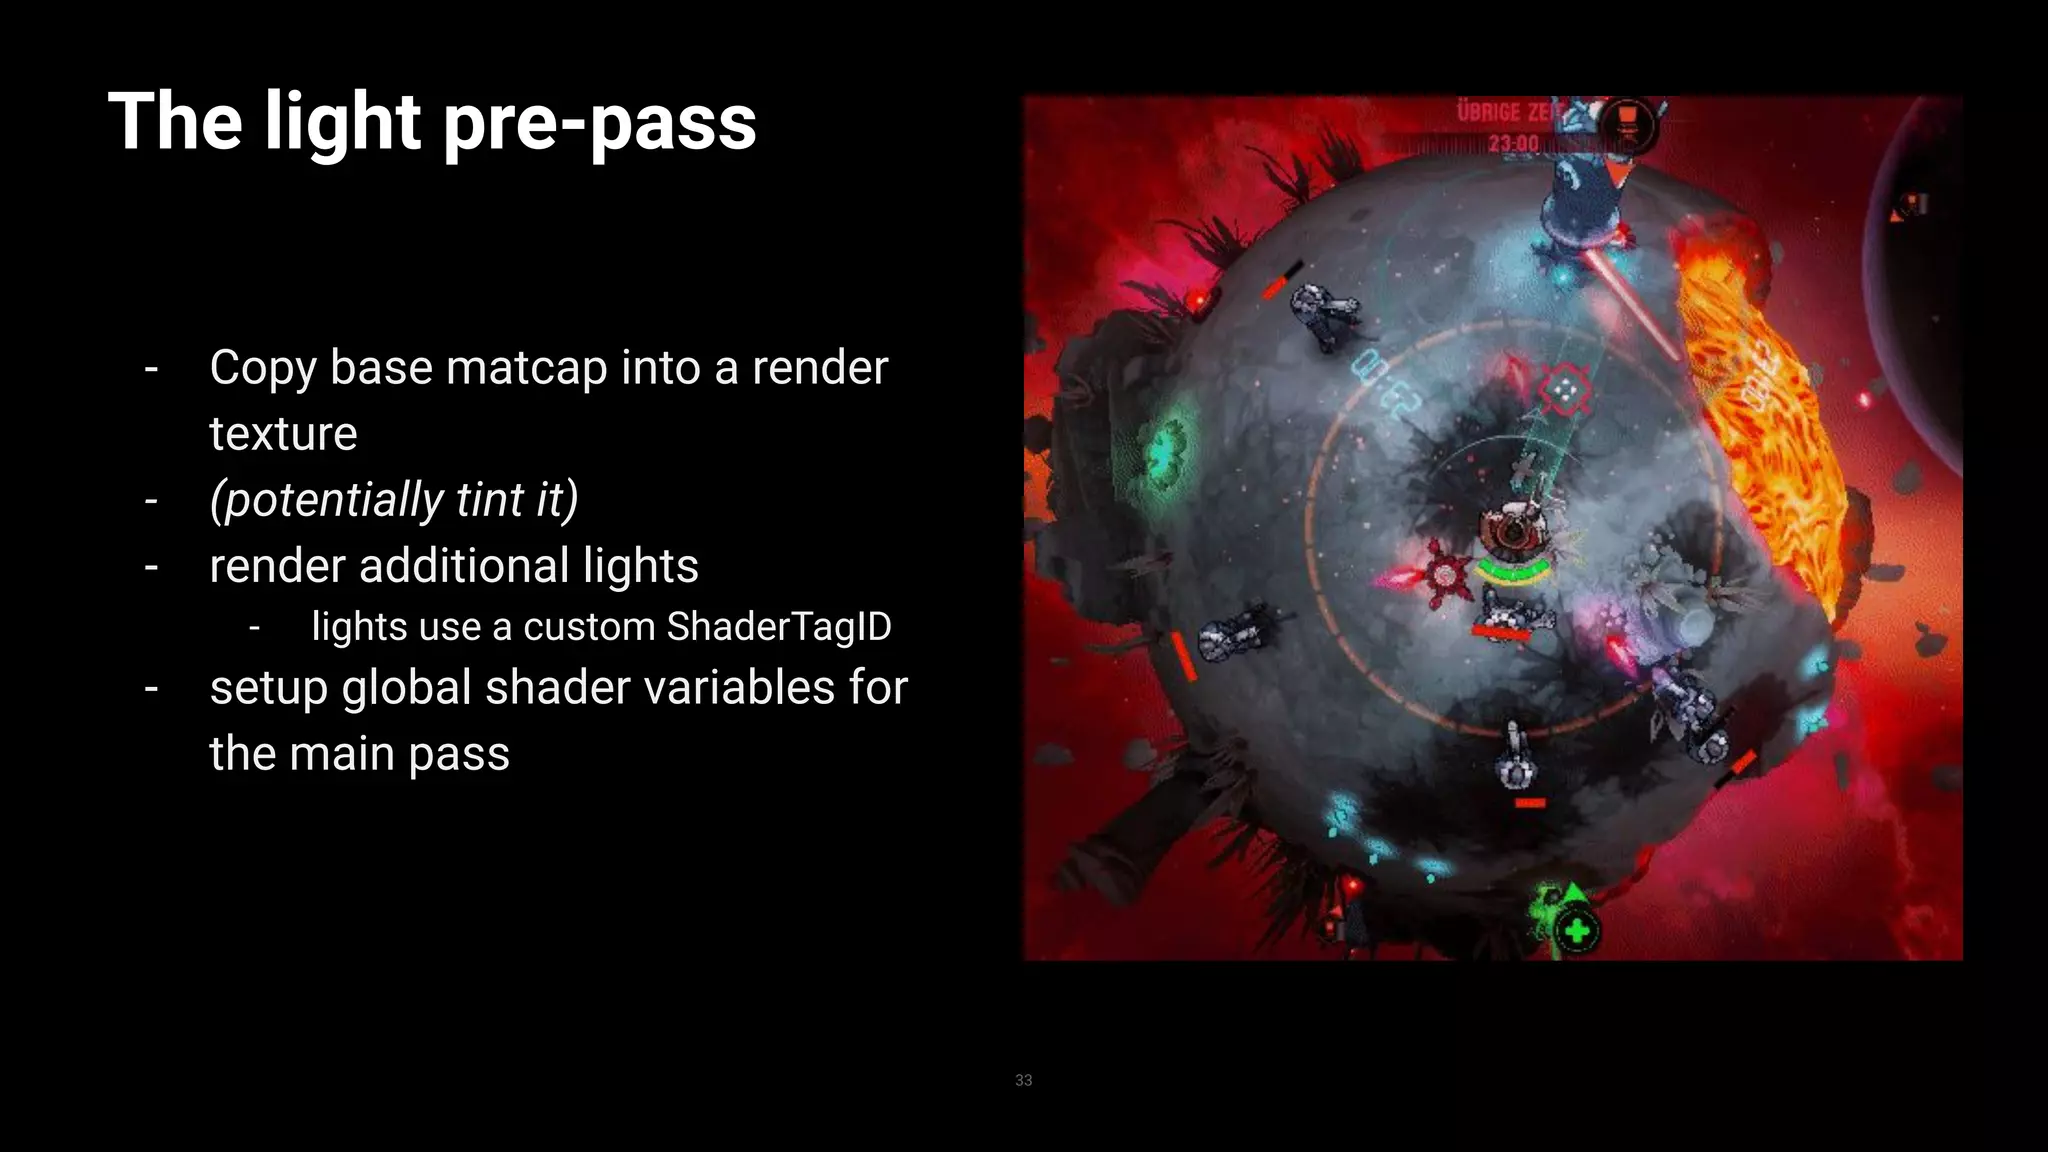
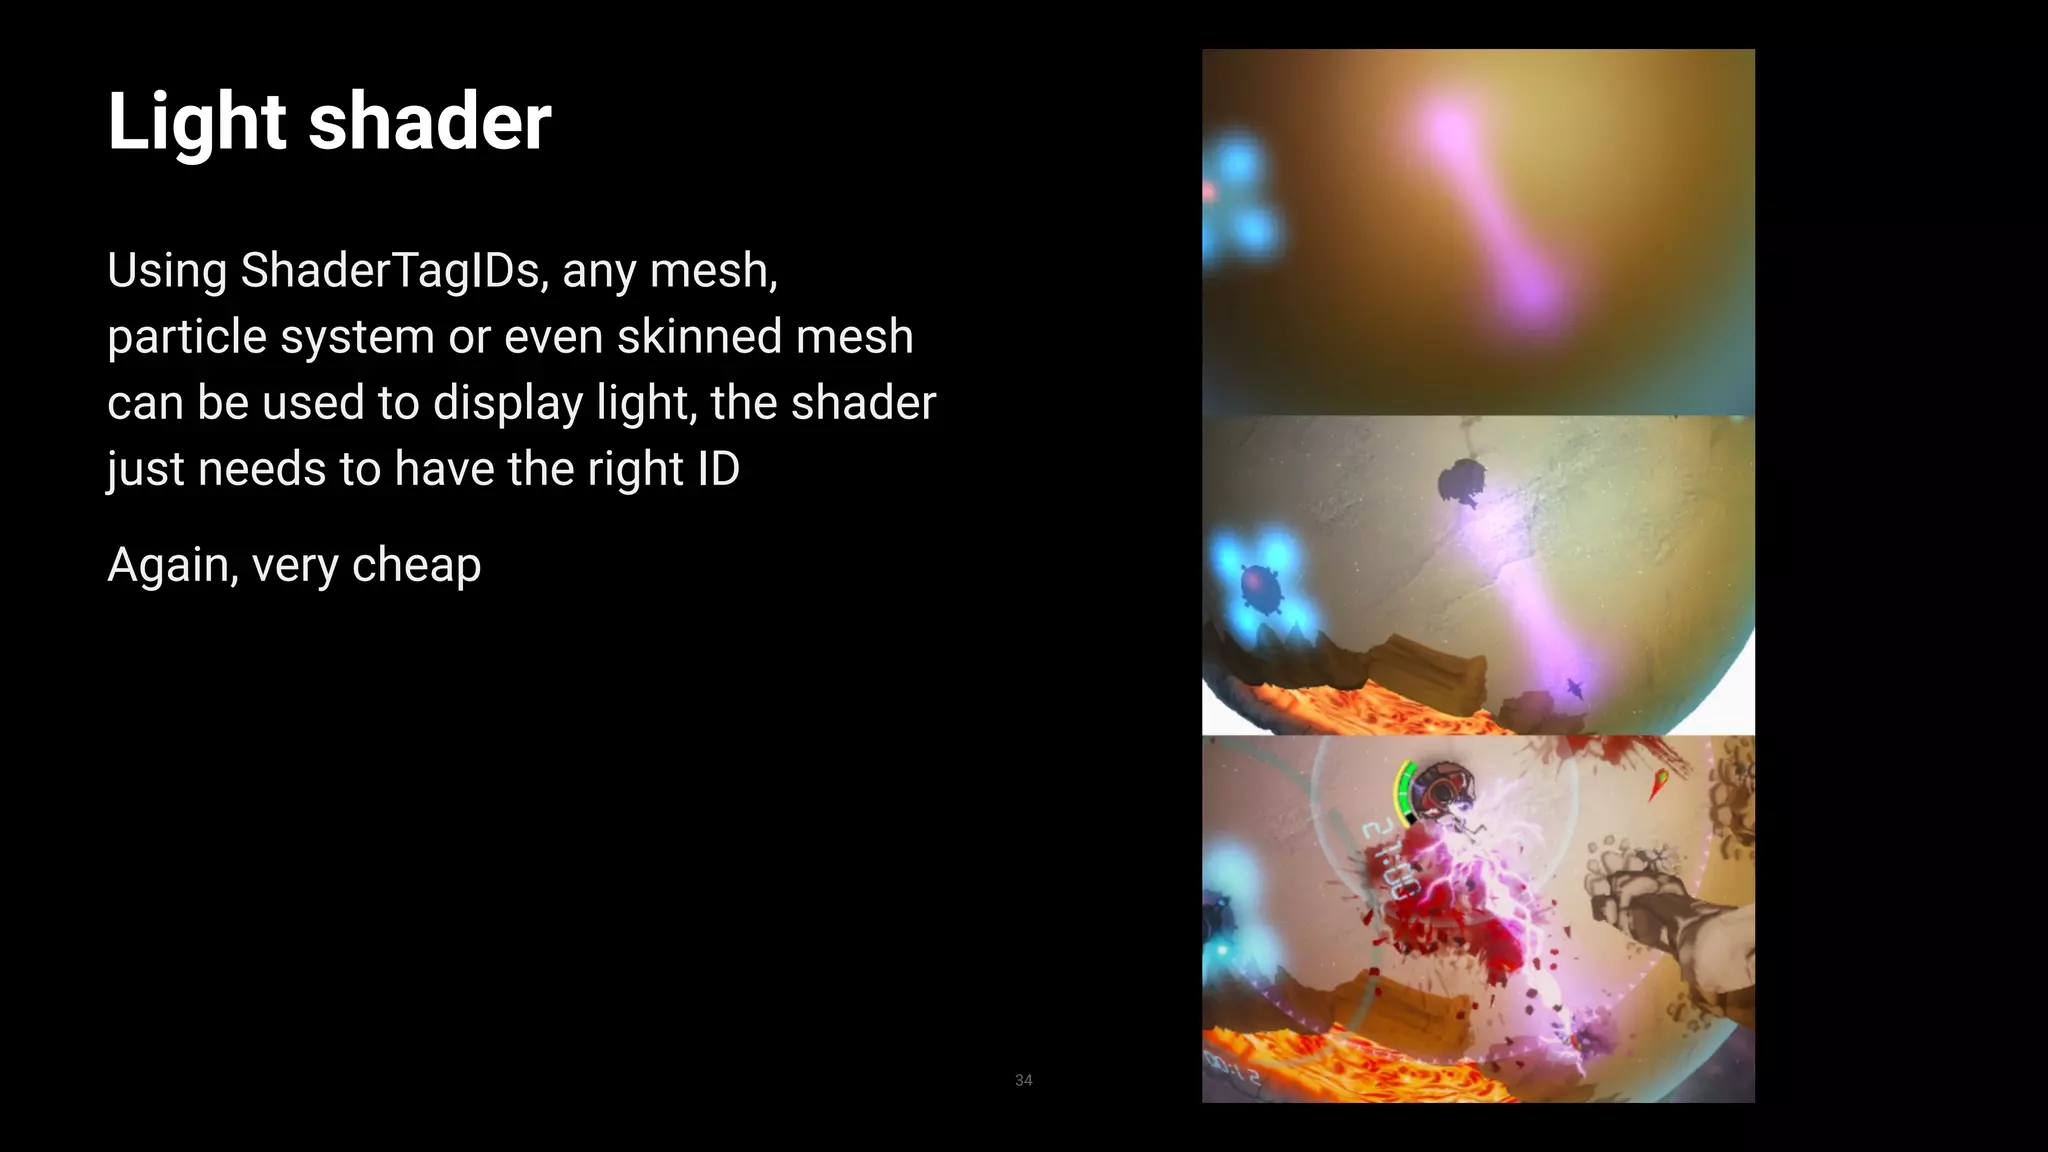
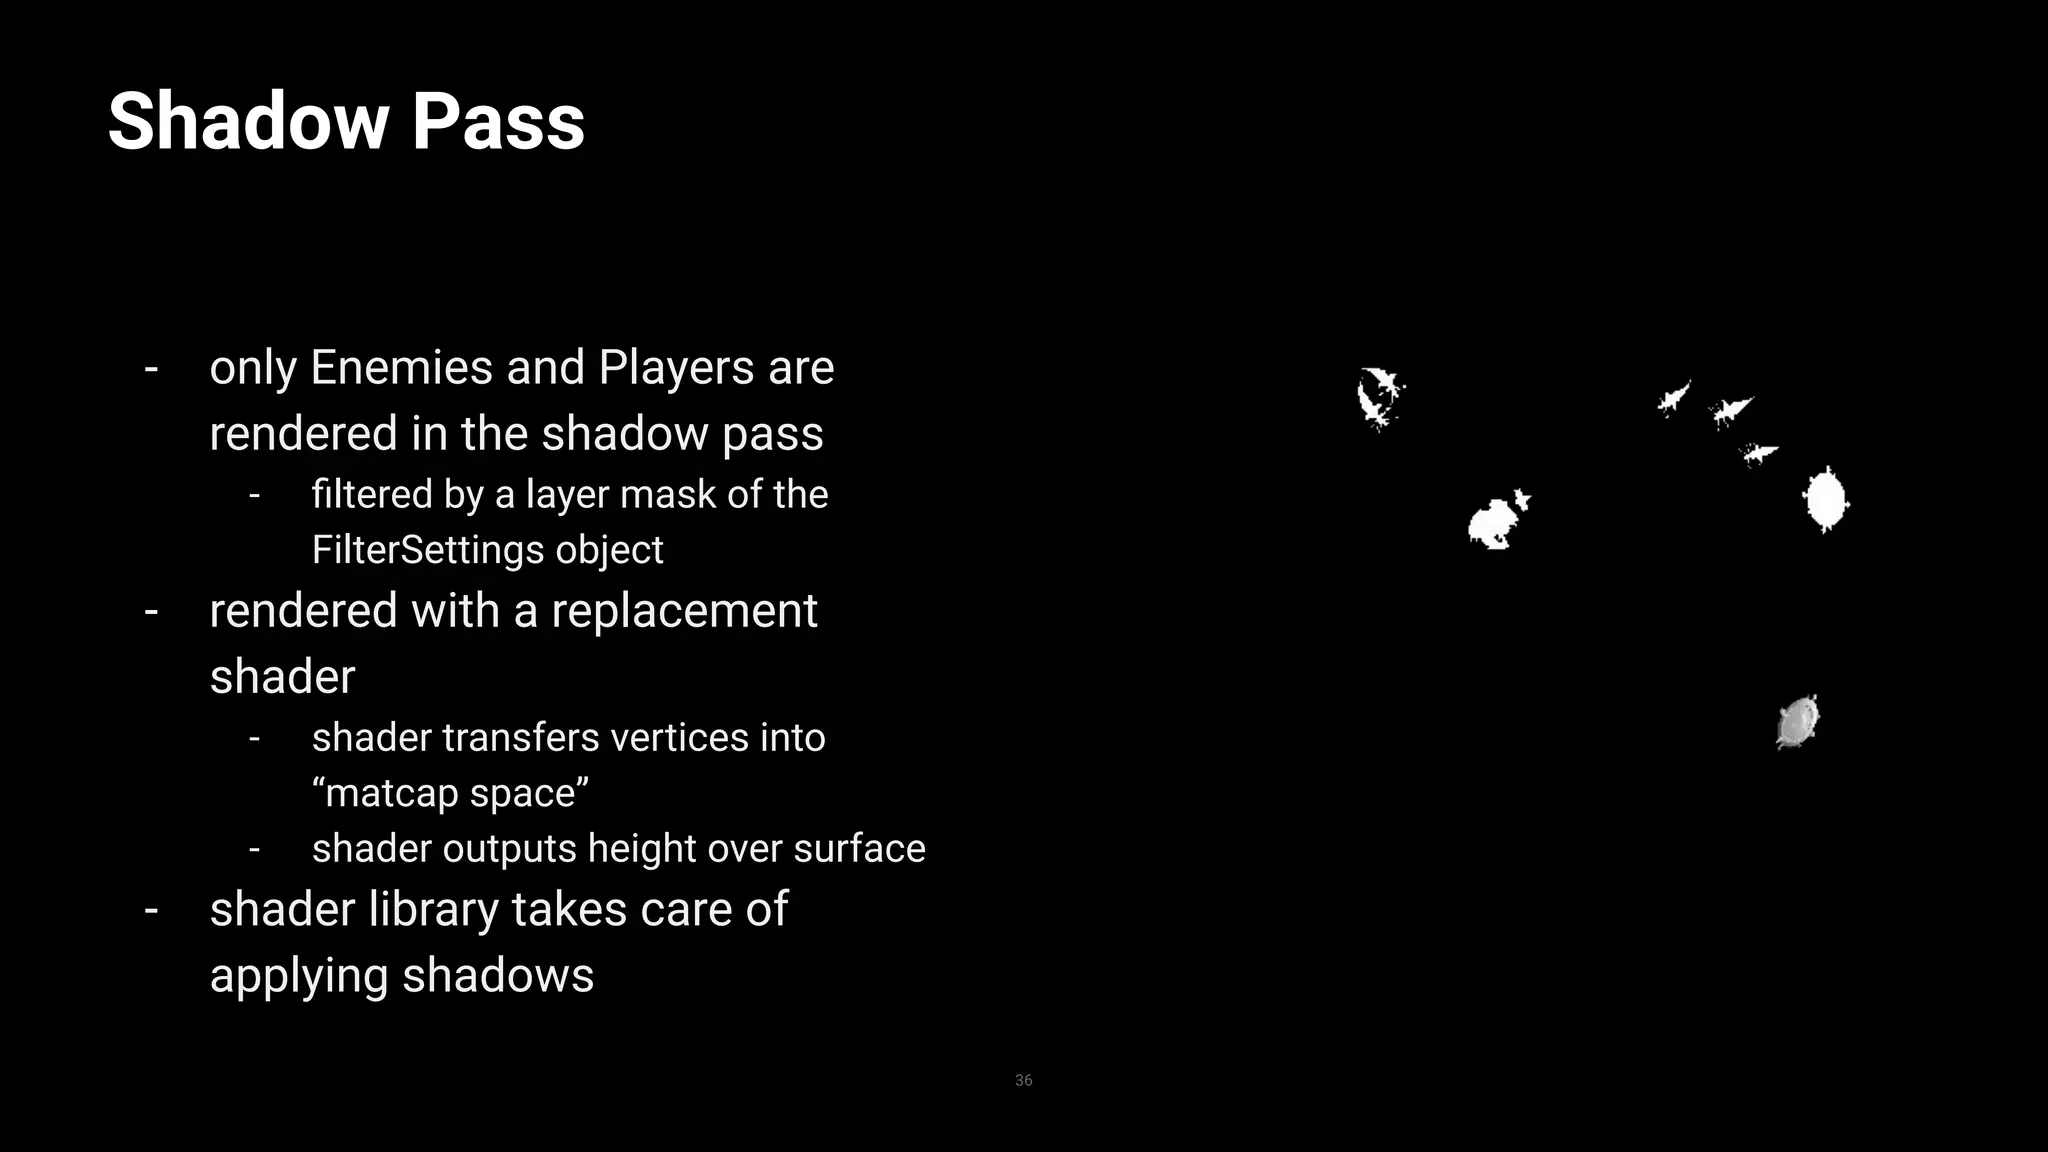
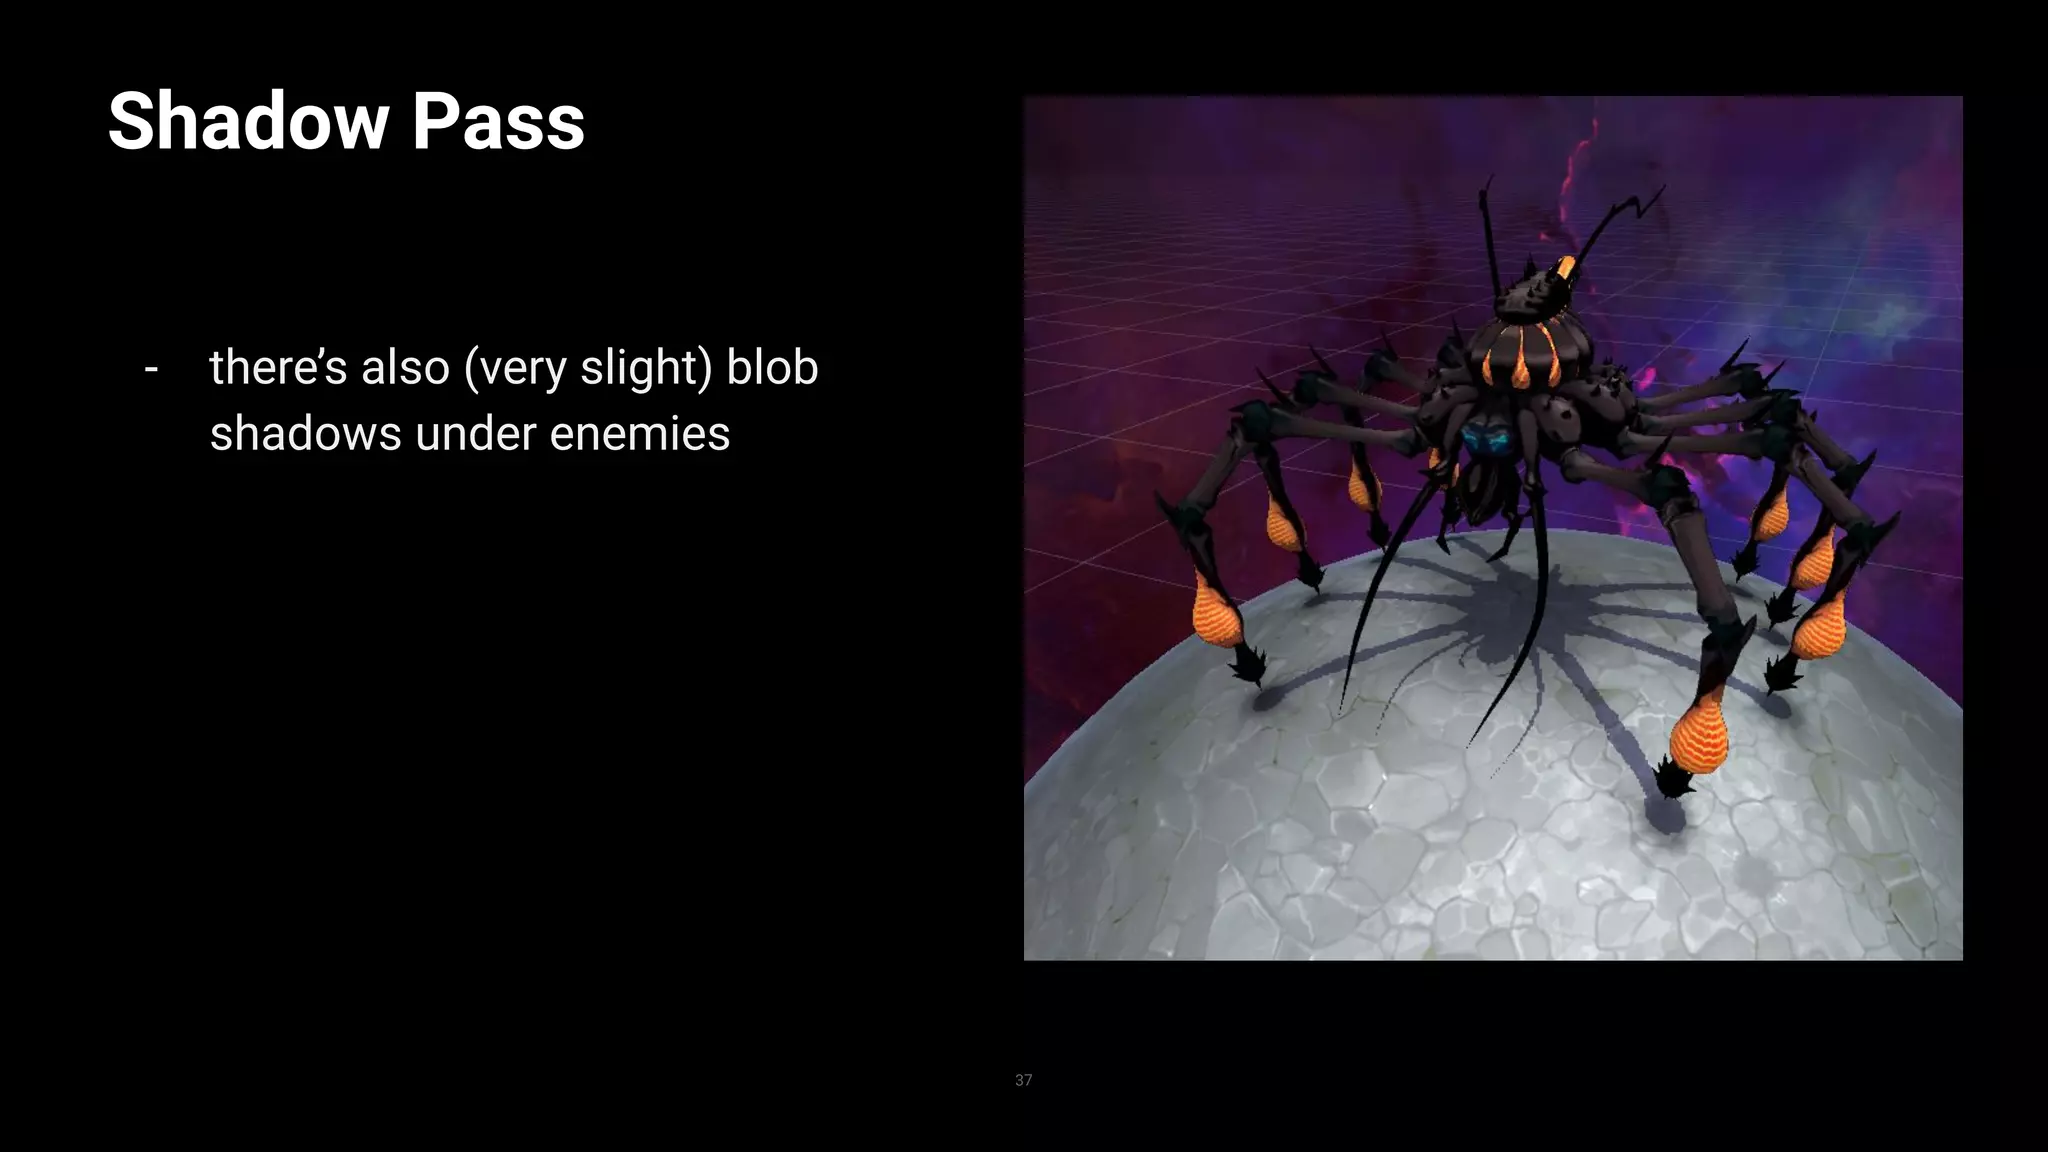
Explanation of rendering passes, including light pre-pass, shadow pass, and the use of ShaderTagIDs.
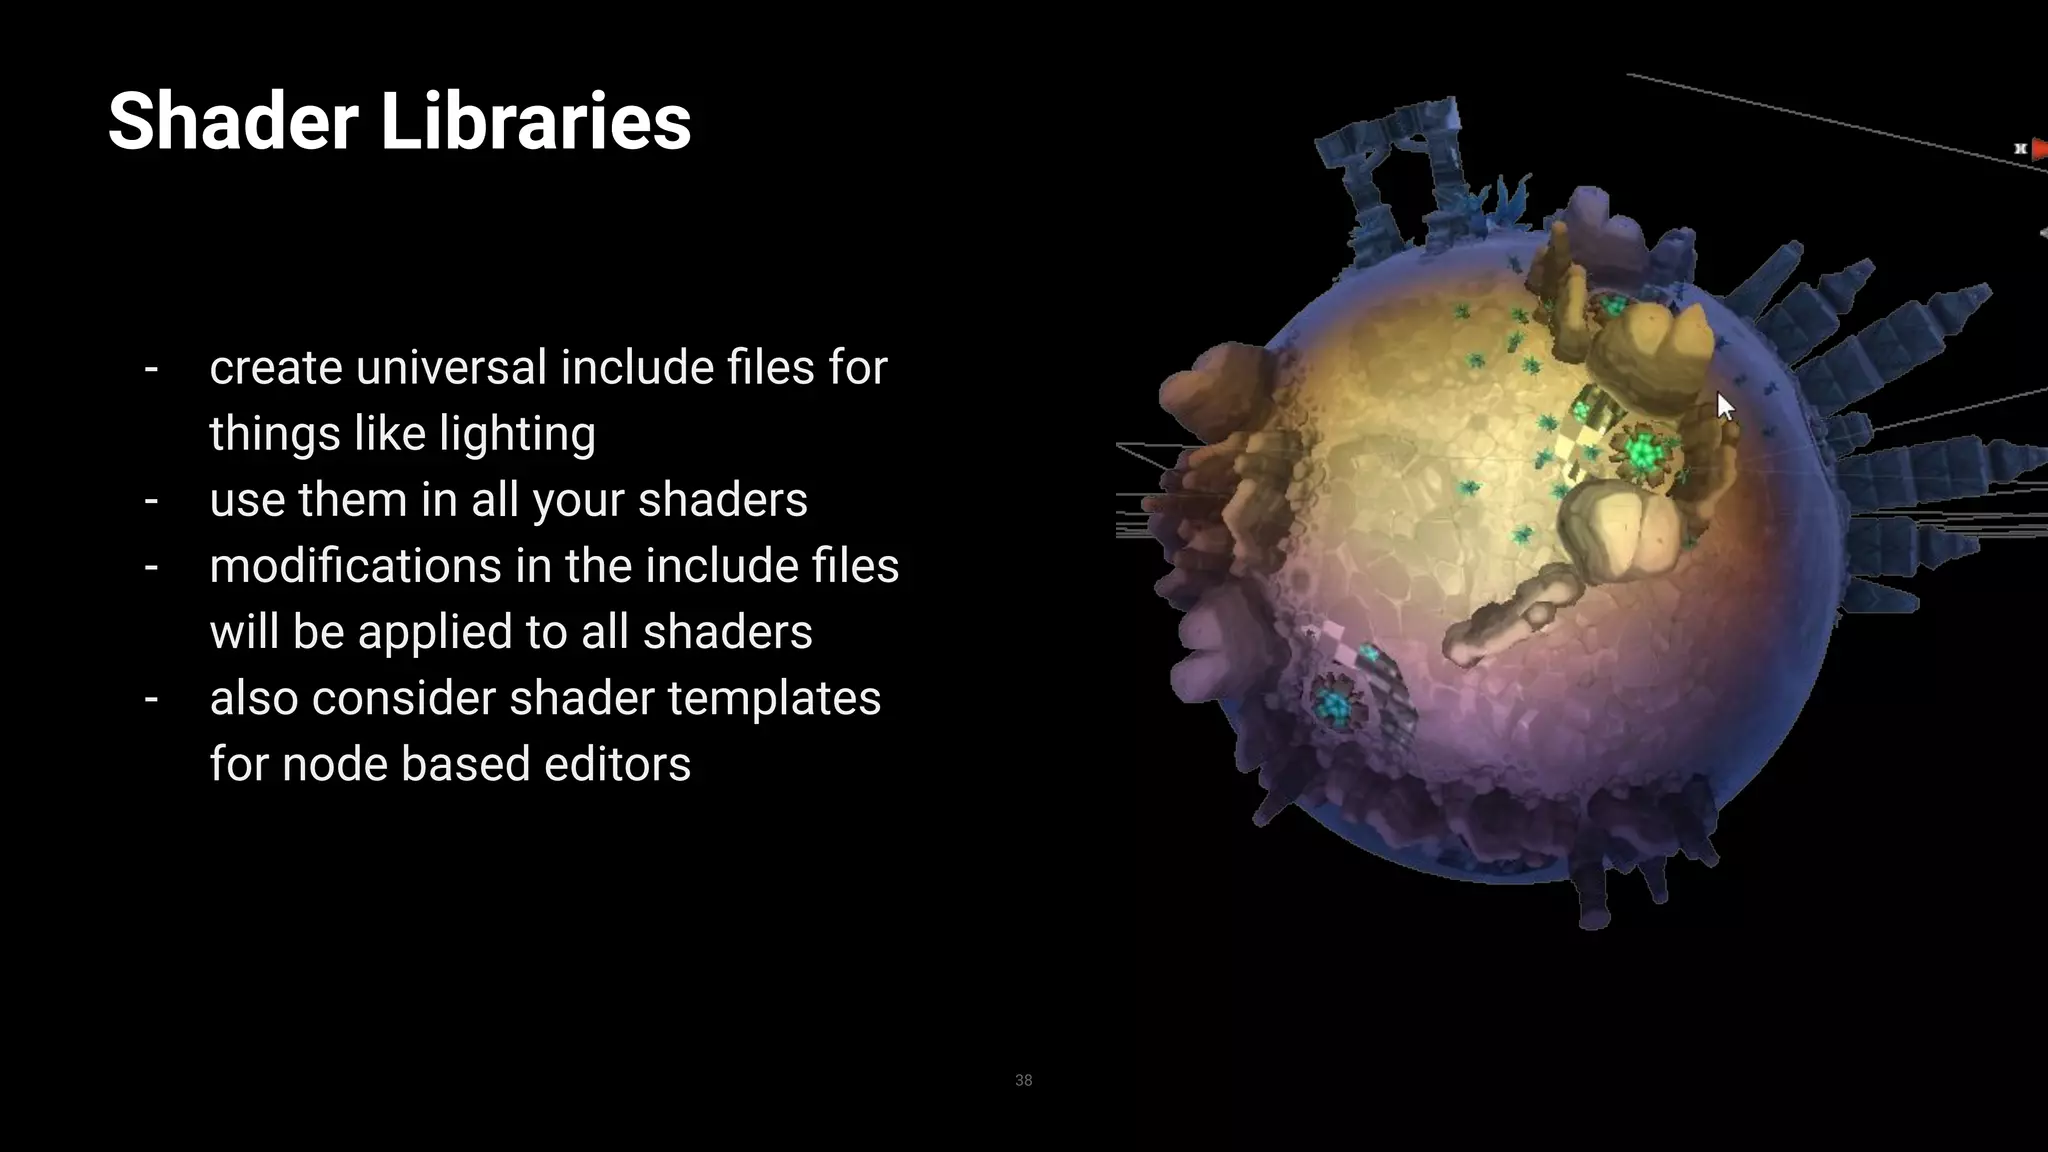
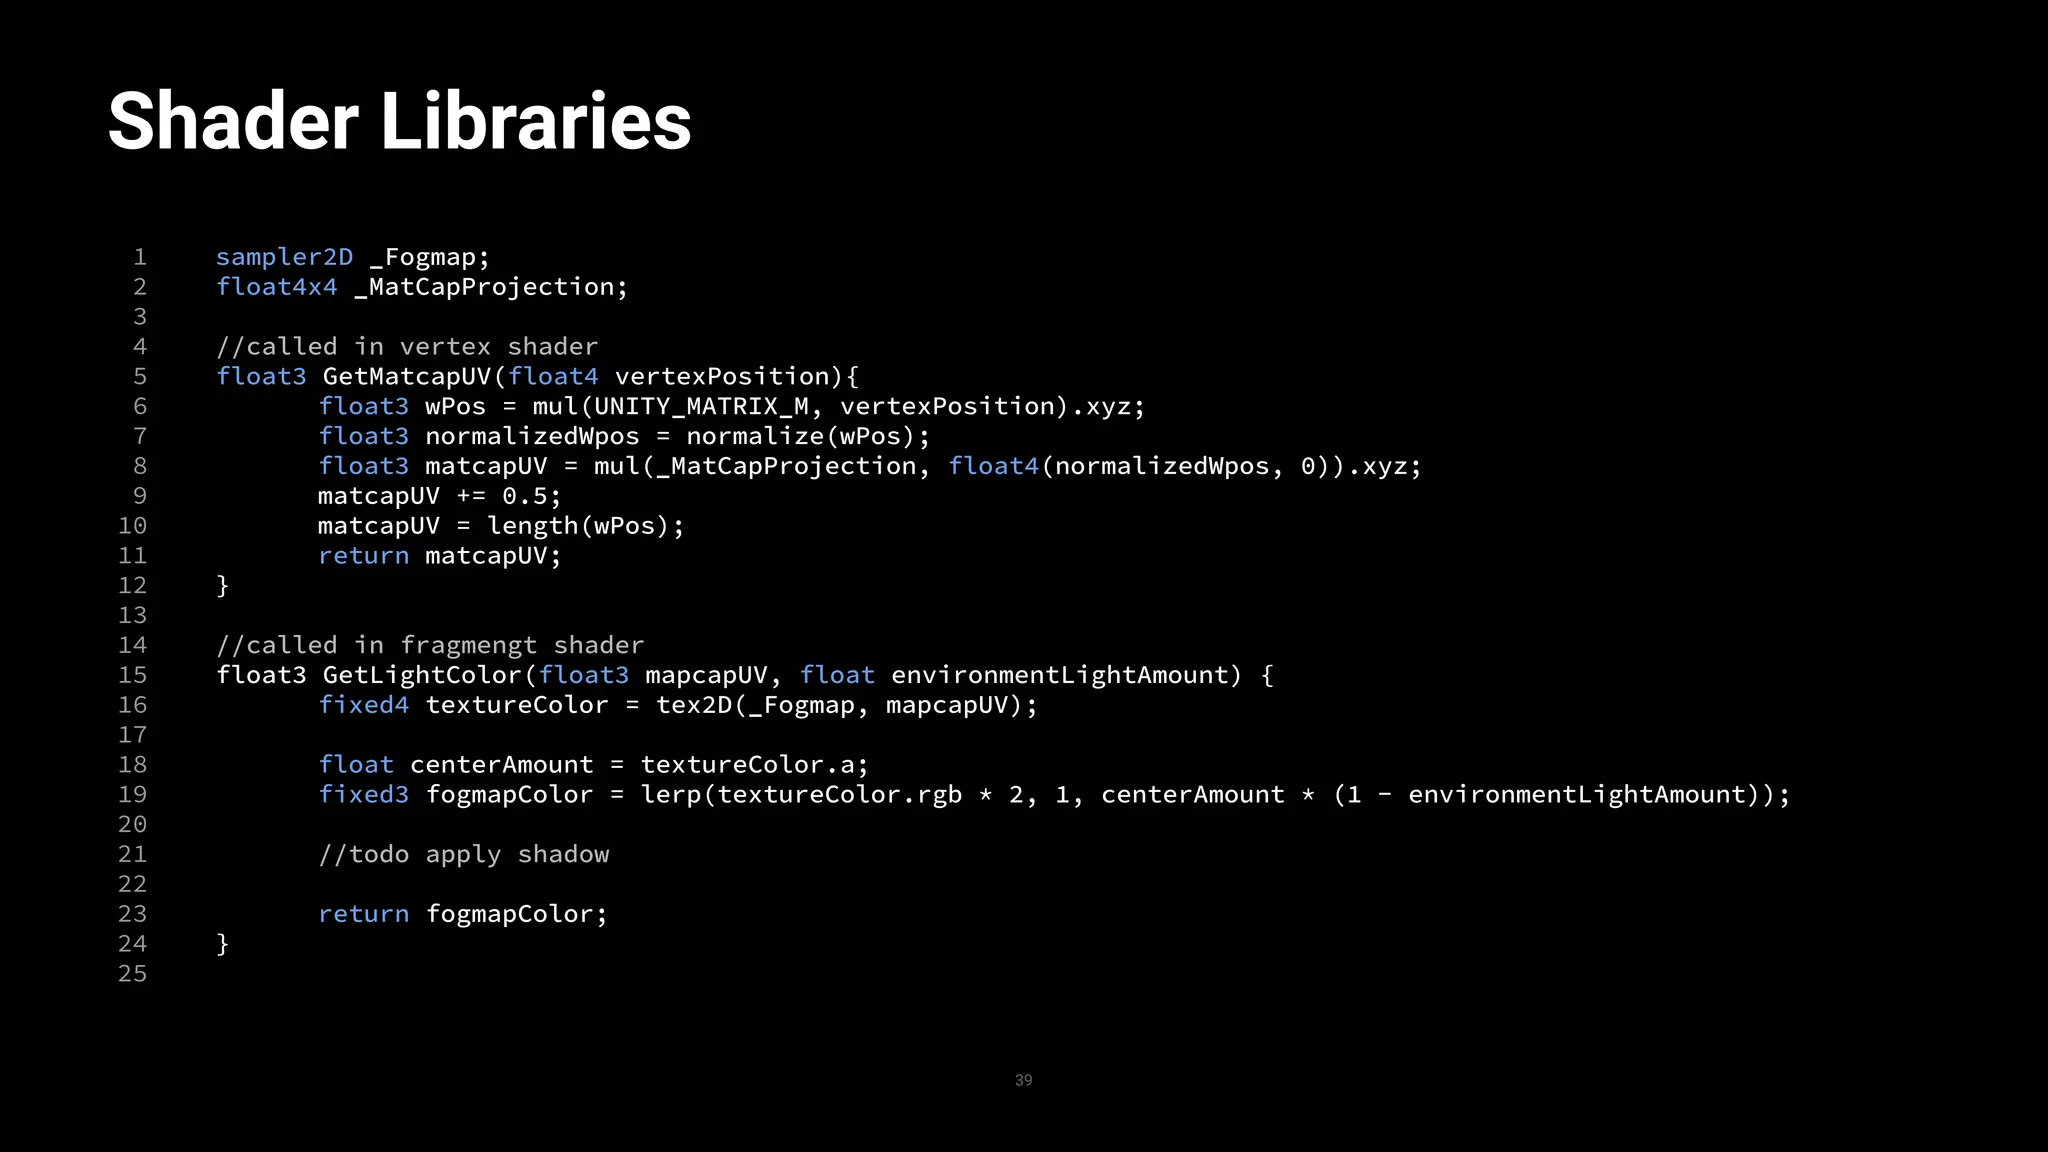
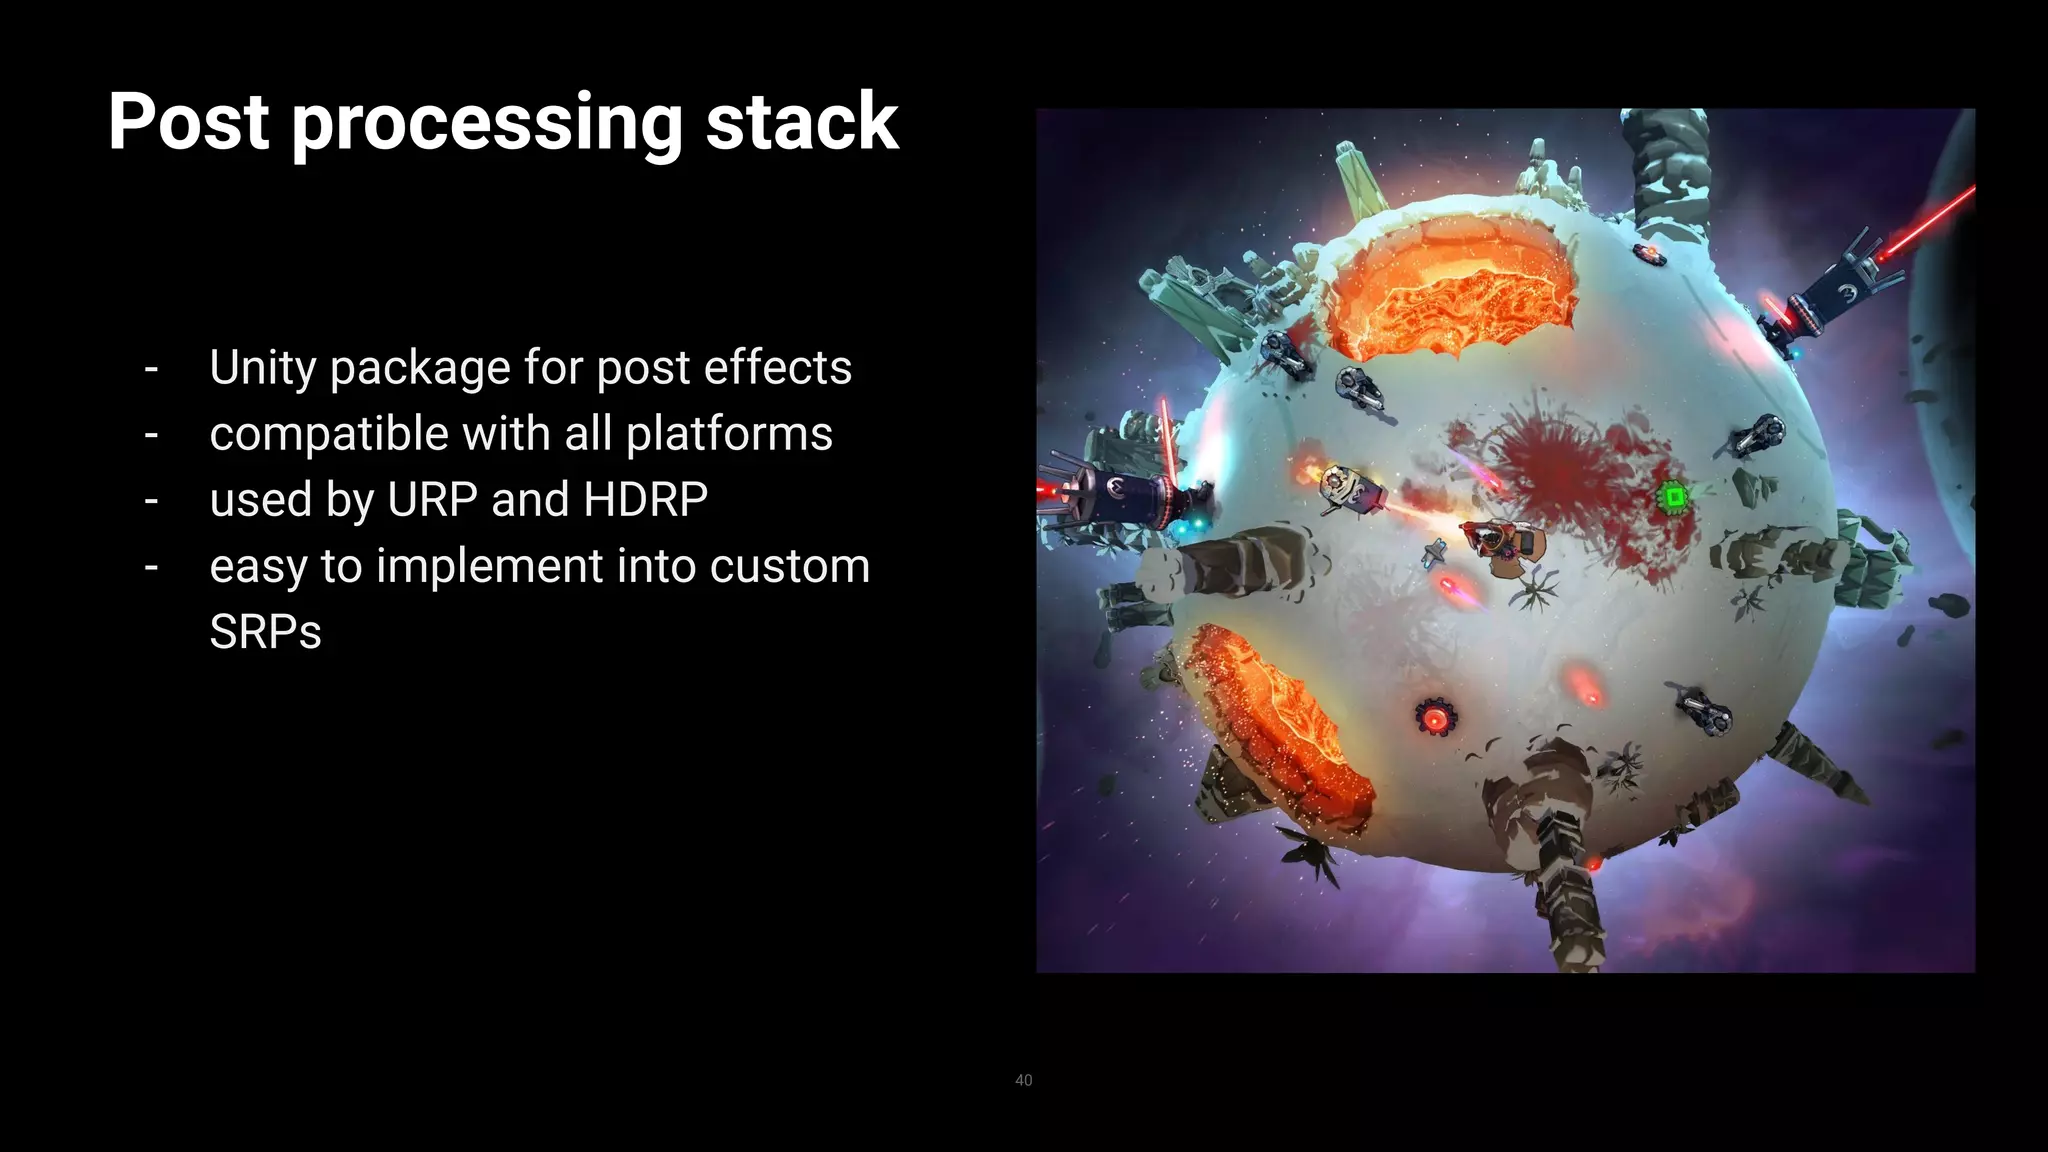
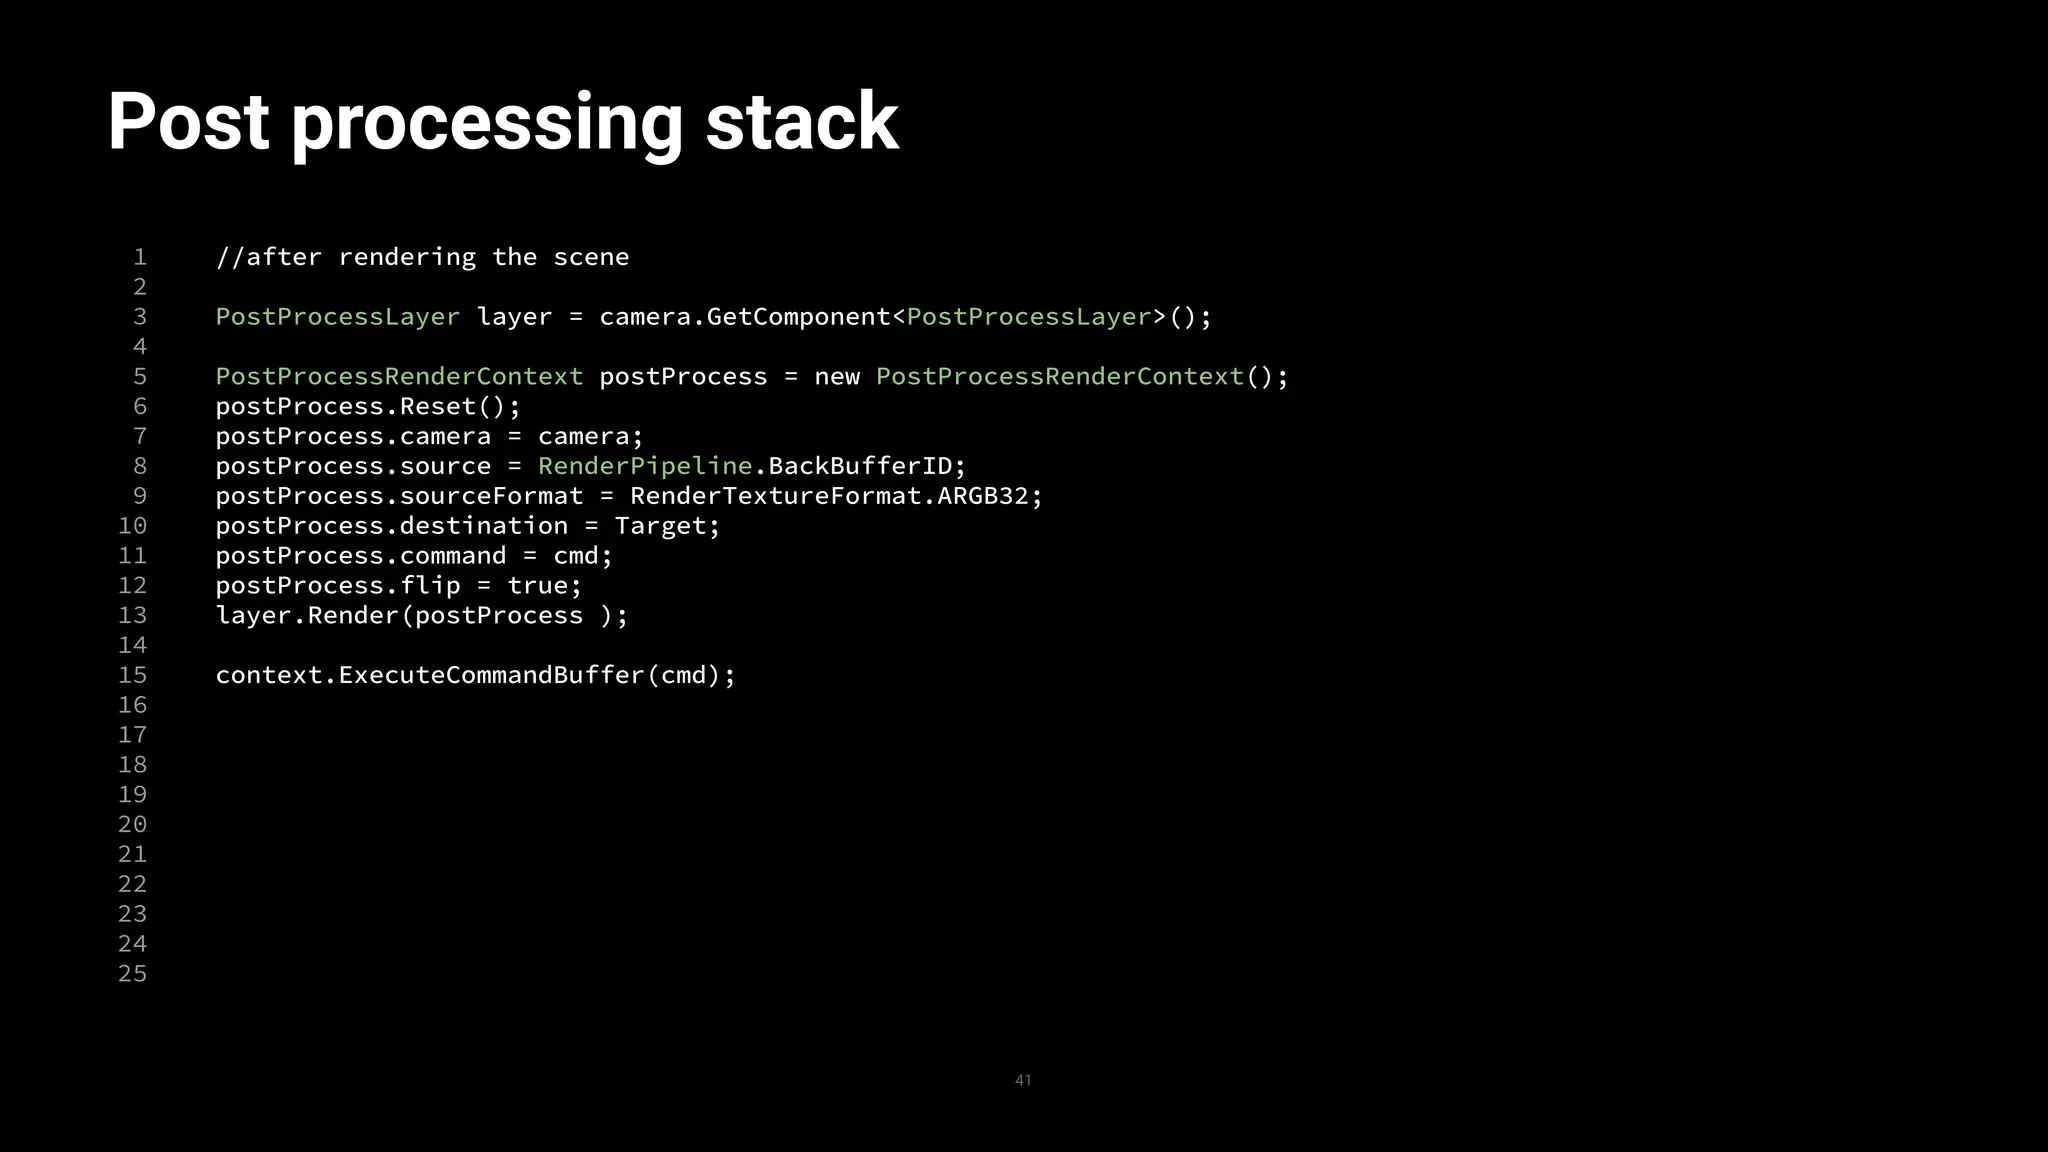
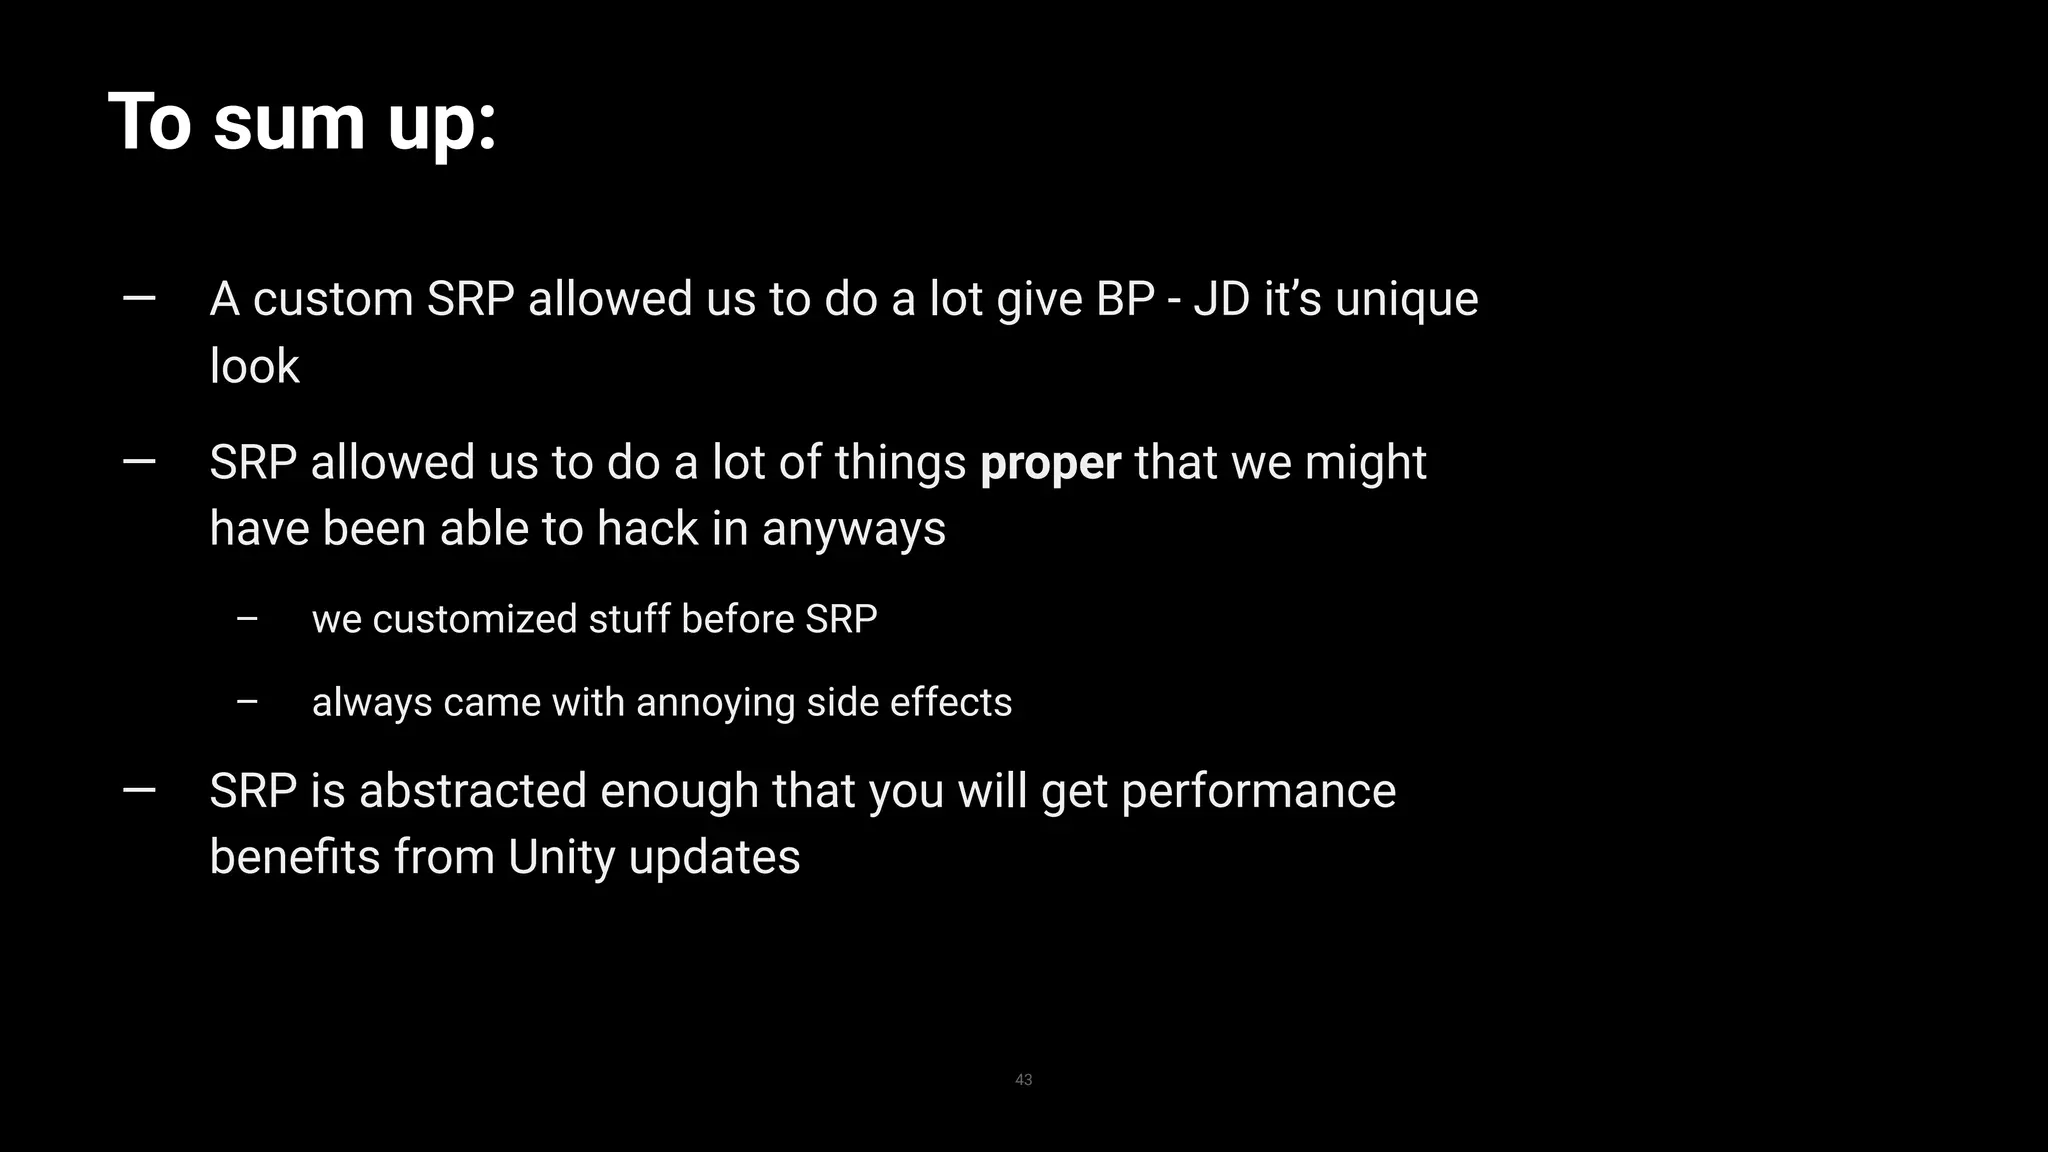
Discussion of shader libraries, post-processing, and the performance benefits of a custom SRP, particularly in managing graphics workload.
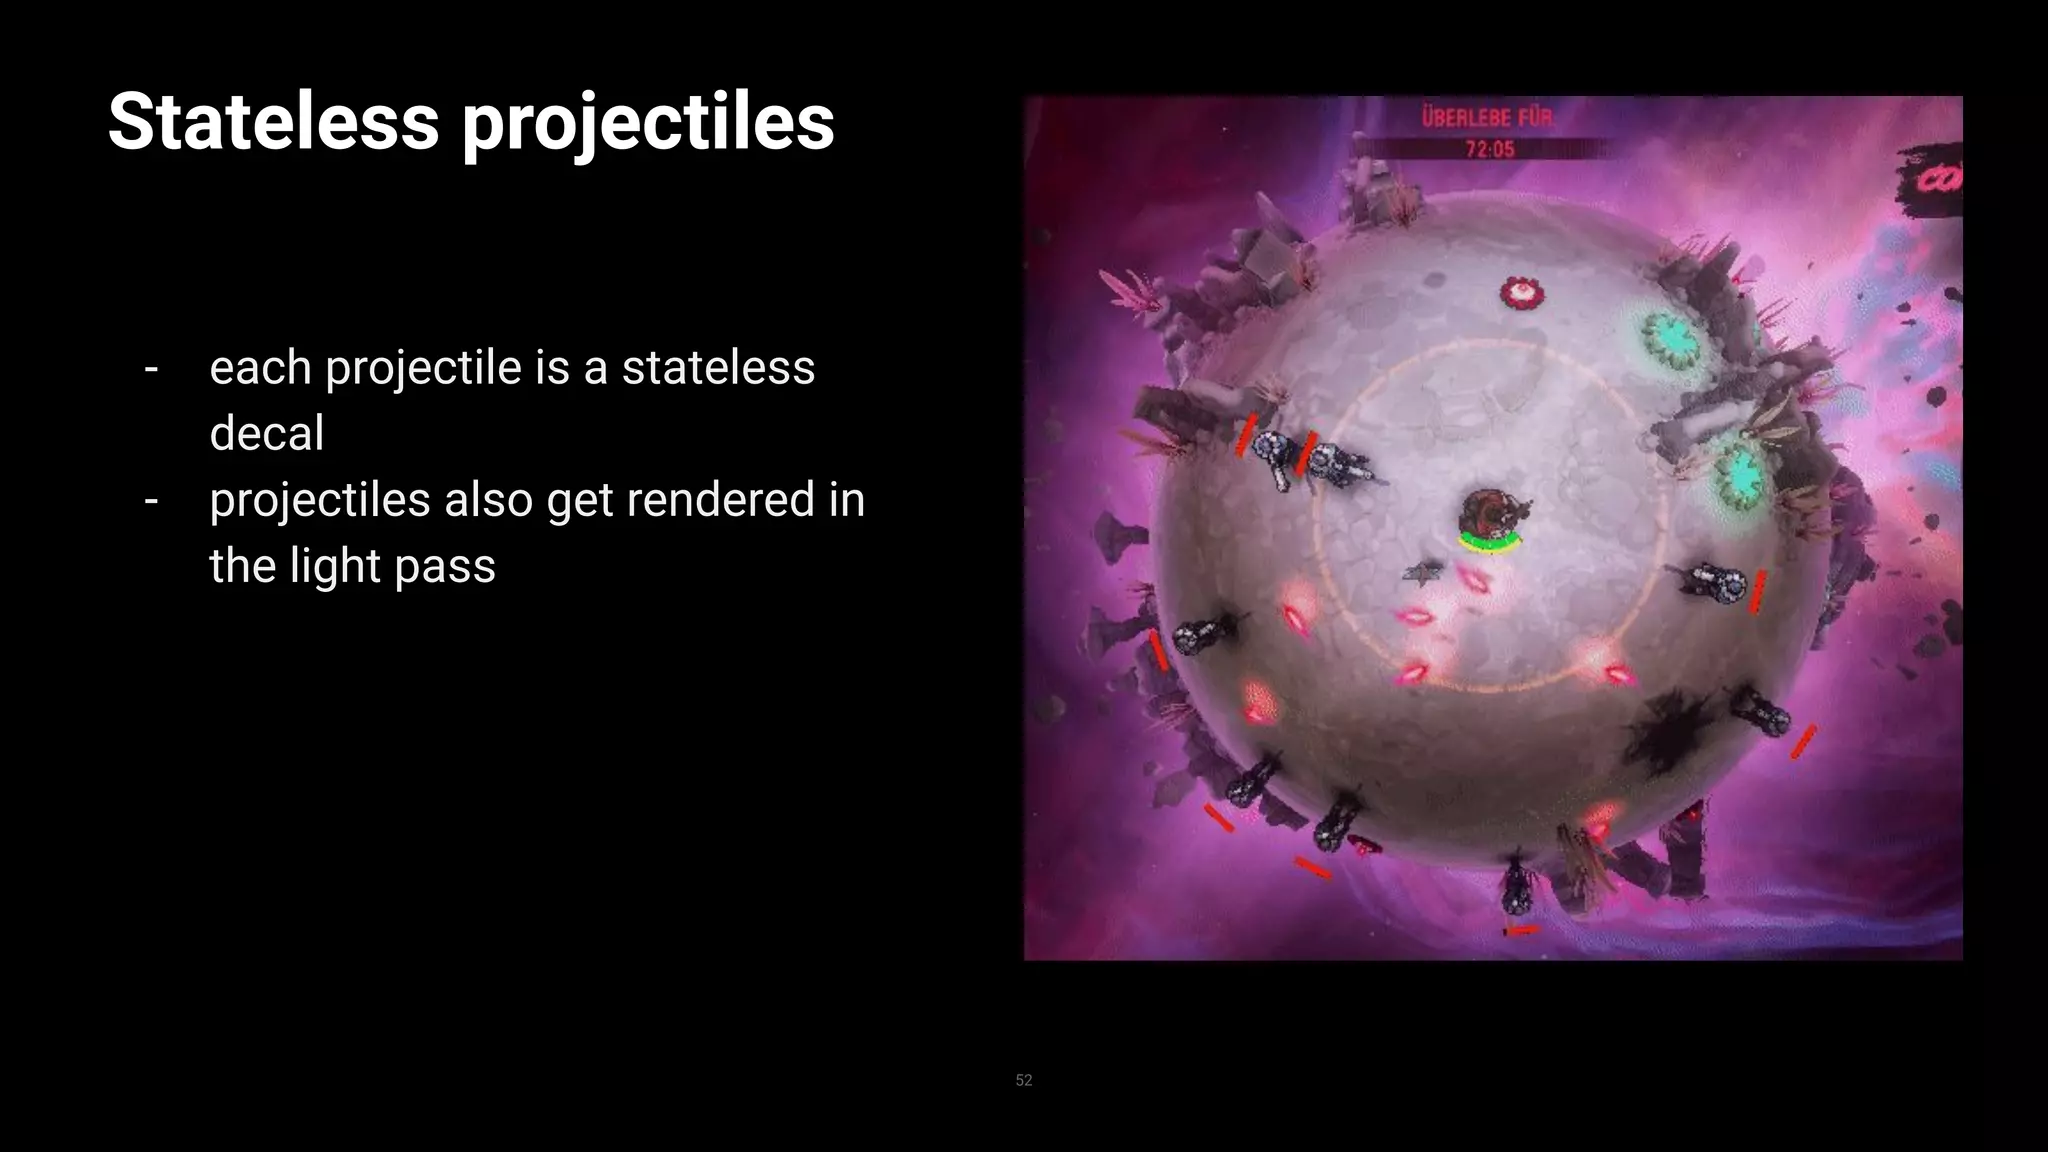
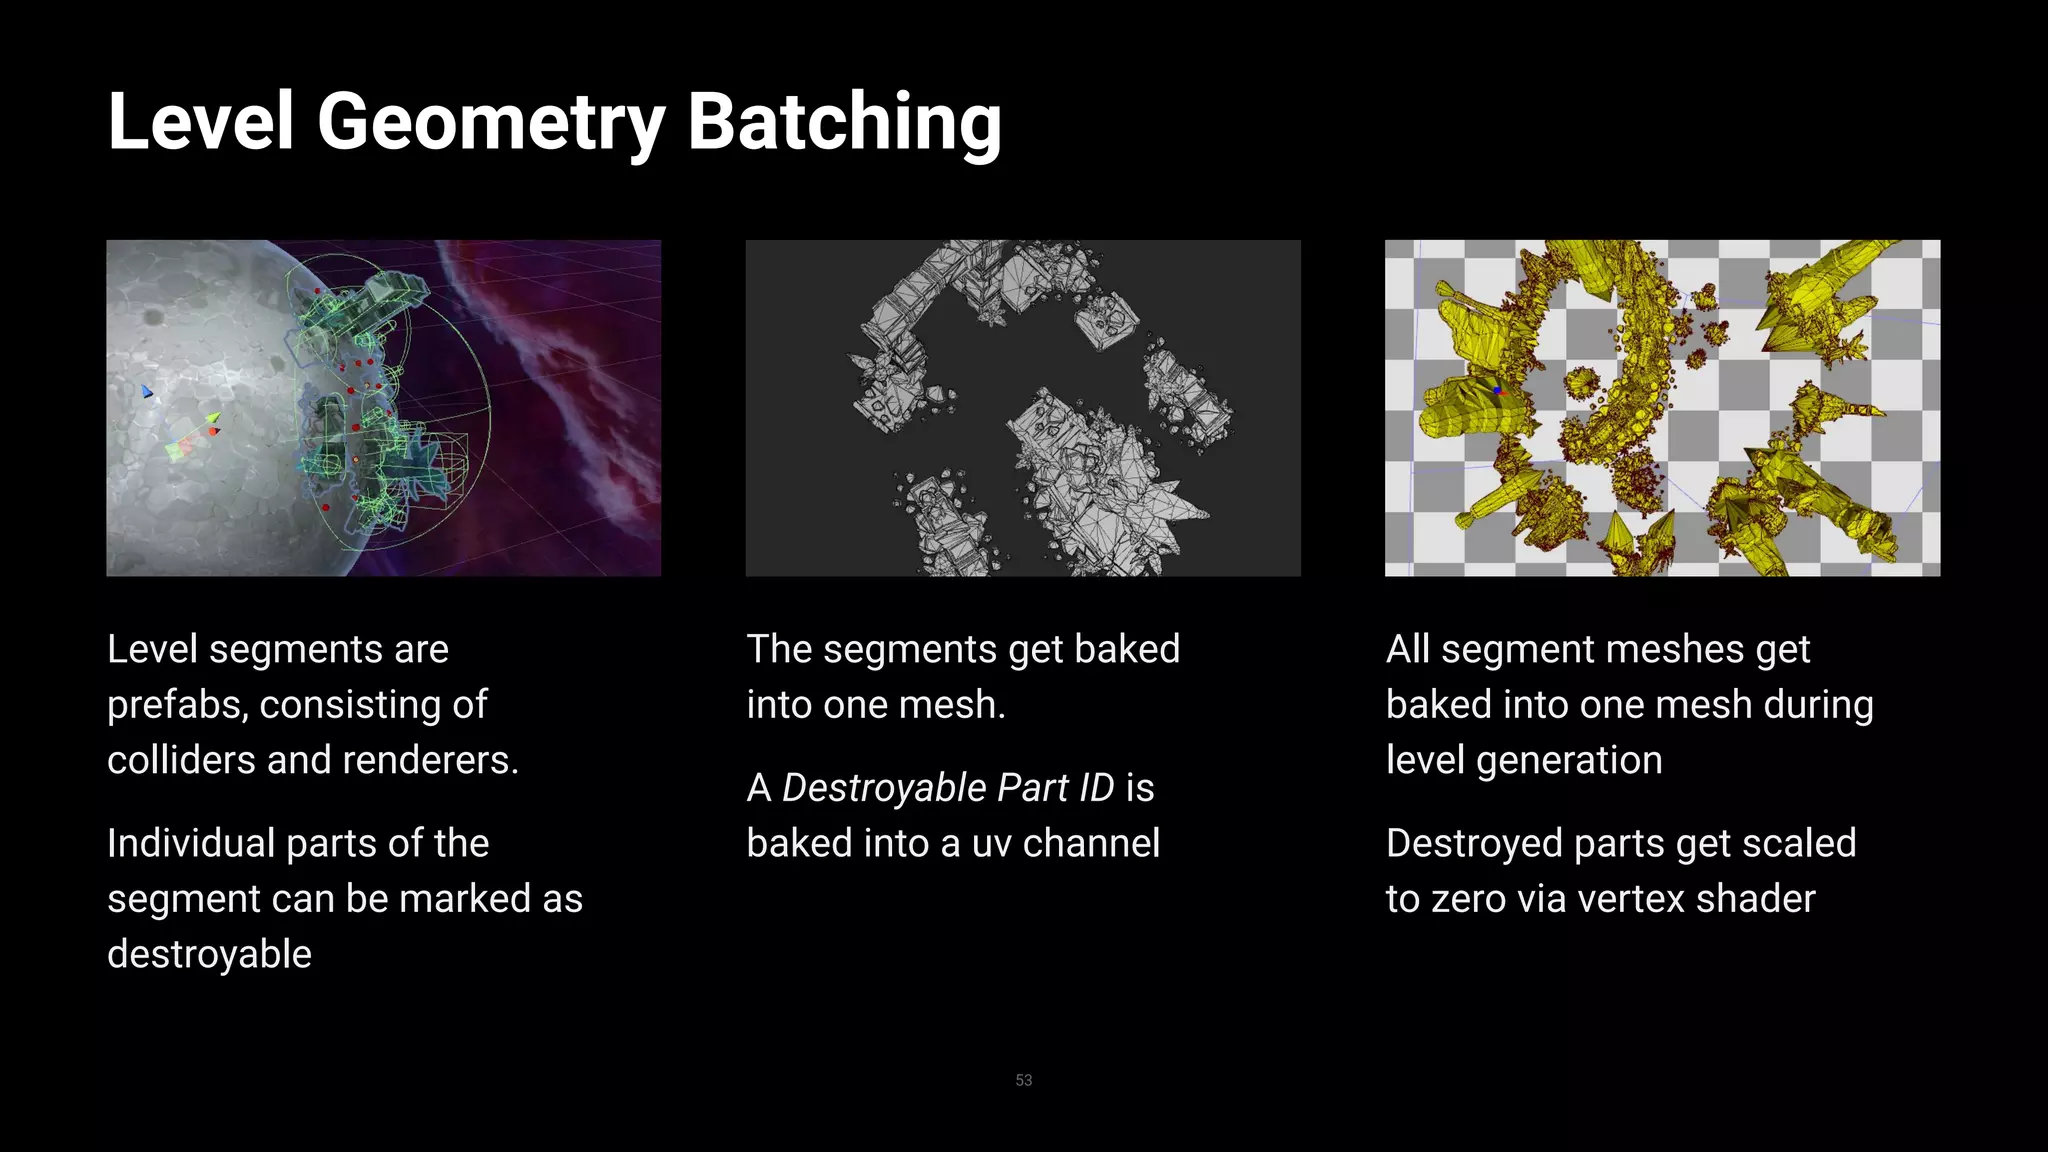
Implementation of stateless systems for decals and projectiles, optimizations for level geometry, and ending with Q&A.


![[UniteKorea2013] The Unity Rendering Pipeline](https://cdn.slidesharecdn.com/ss_thumbnails/theunityrenderingpipelinekuba-130505193137-phpapp02-thumbnail.jpg?width=640&height=640&fit=bounds)


![Vibe Coding vs. Spec-Driven Development [Free Meetup]](https://cdn.slidesharecdn.com/ss_thumbnails/vibecodingvsspecdrivendevelopment-251209105622-43f455e7-thumbnail.jpg?width=640&height=640&fit=bounds)


