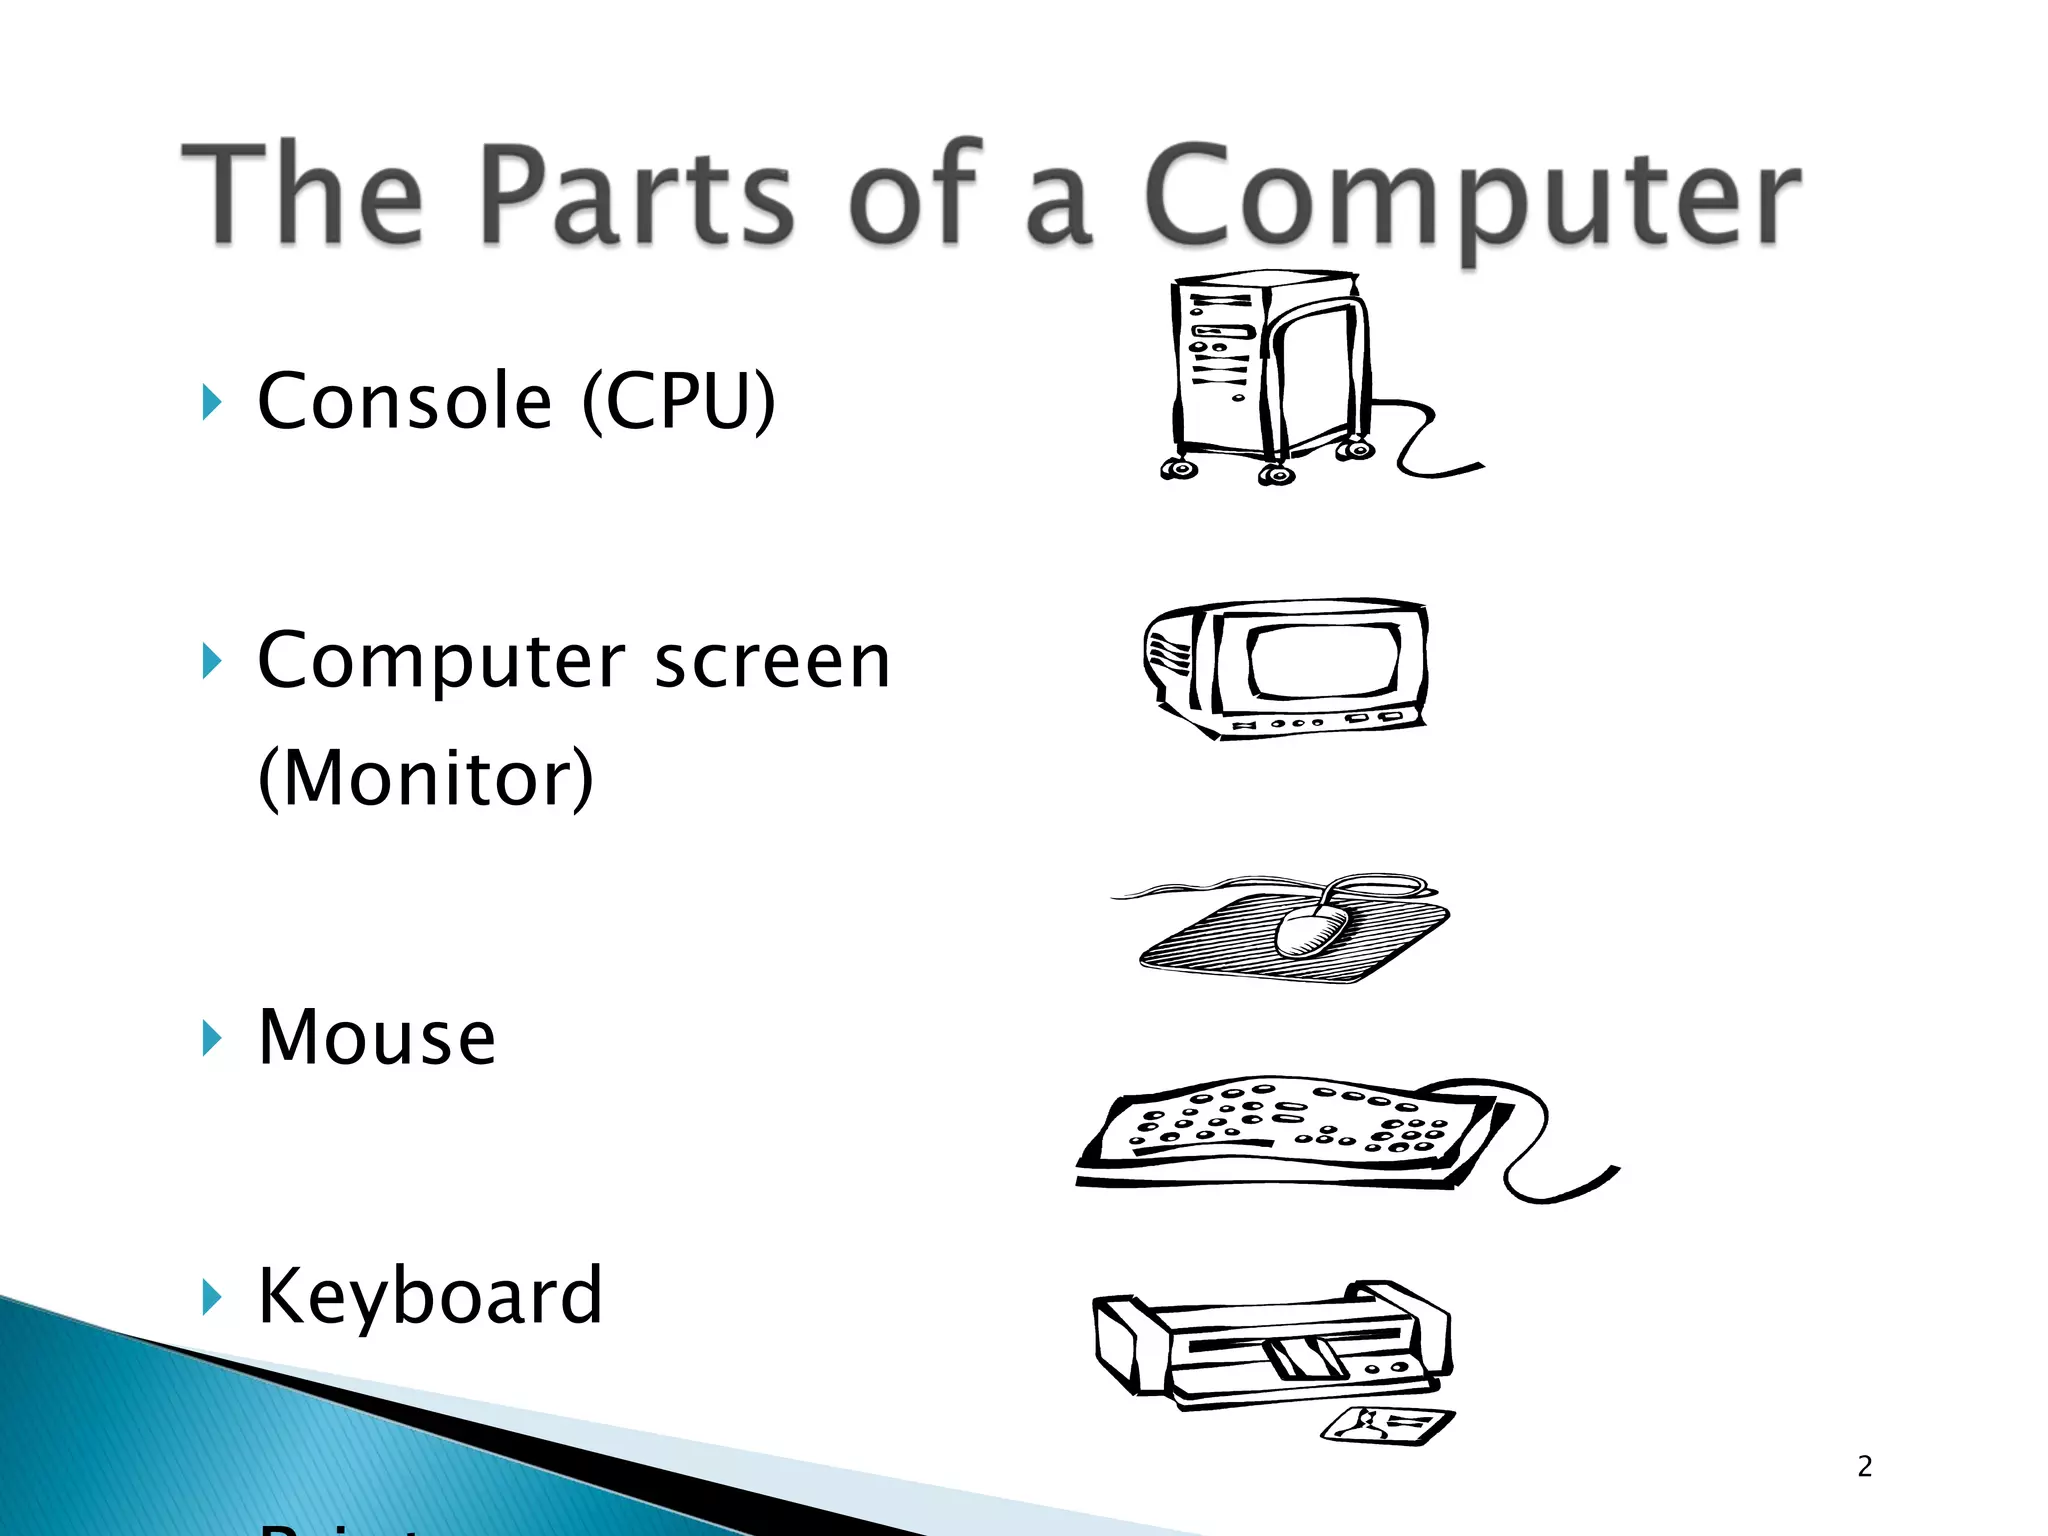
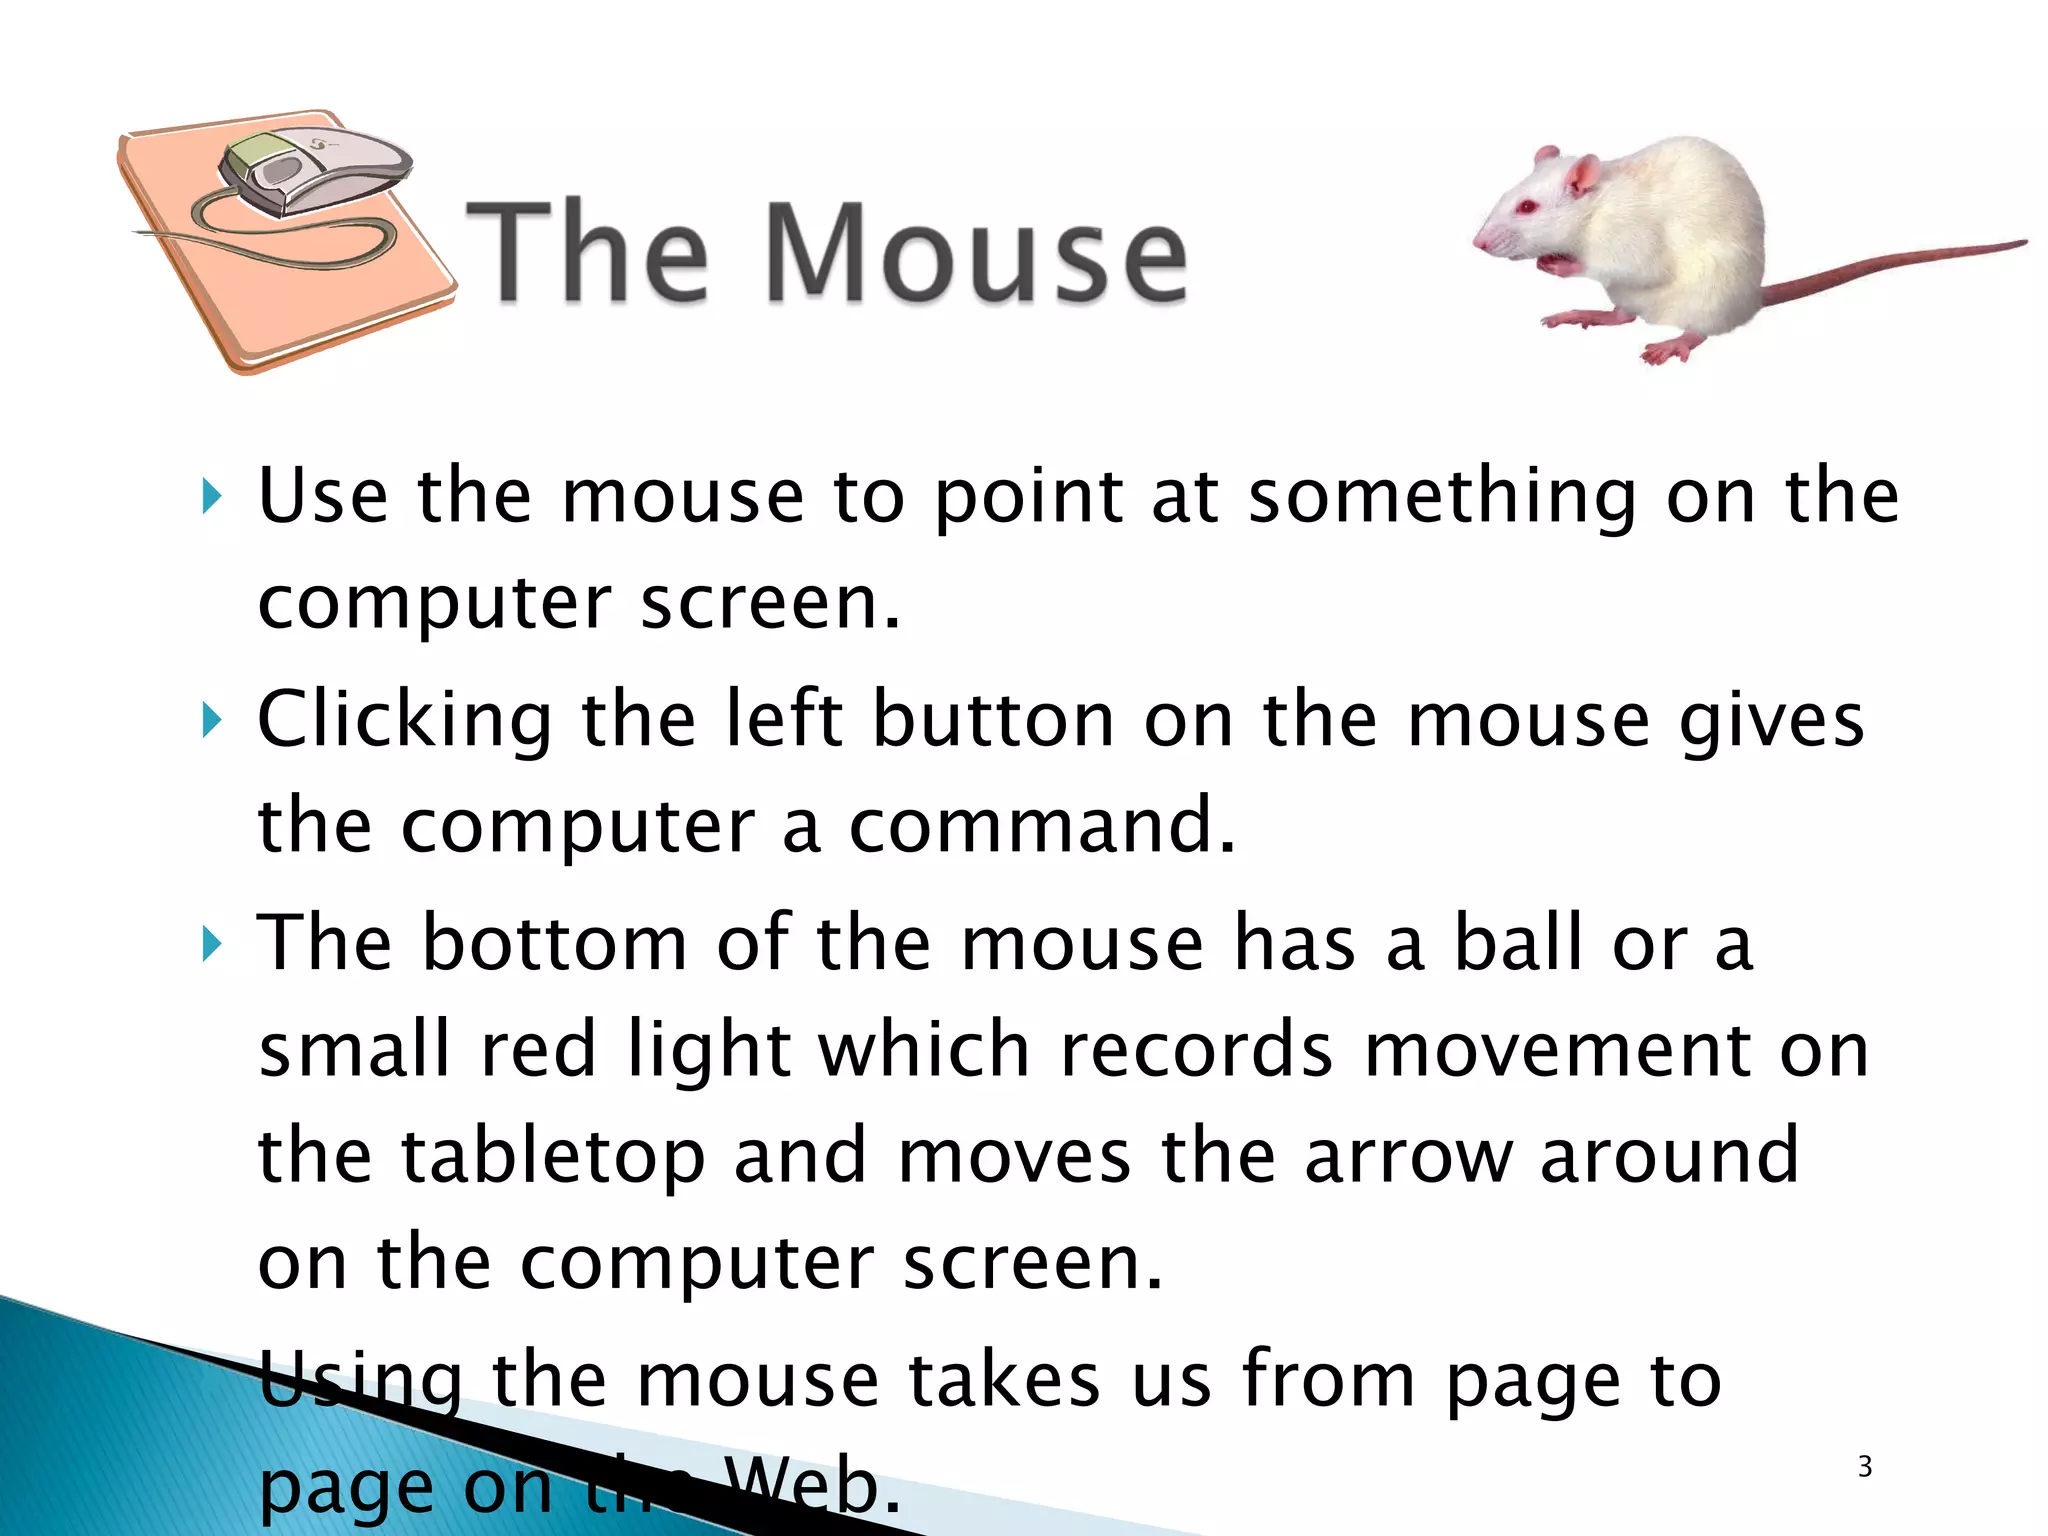
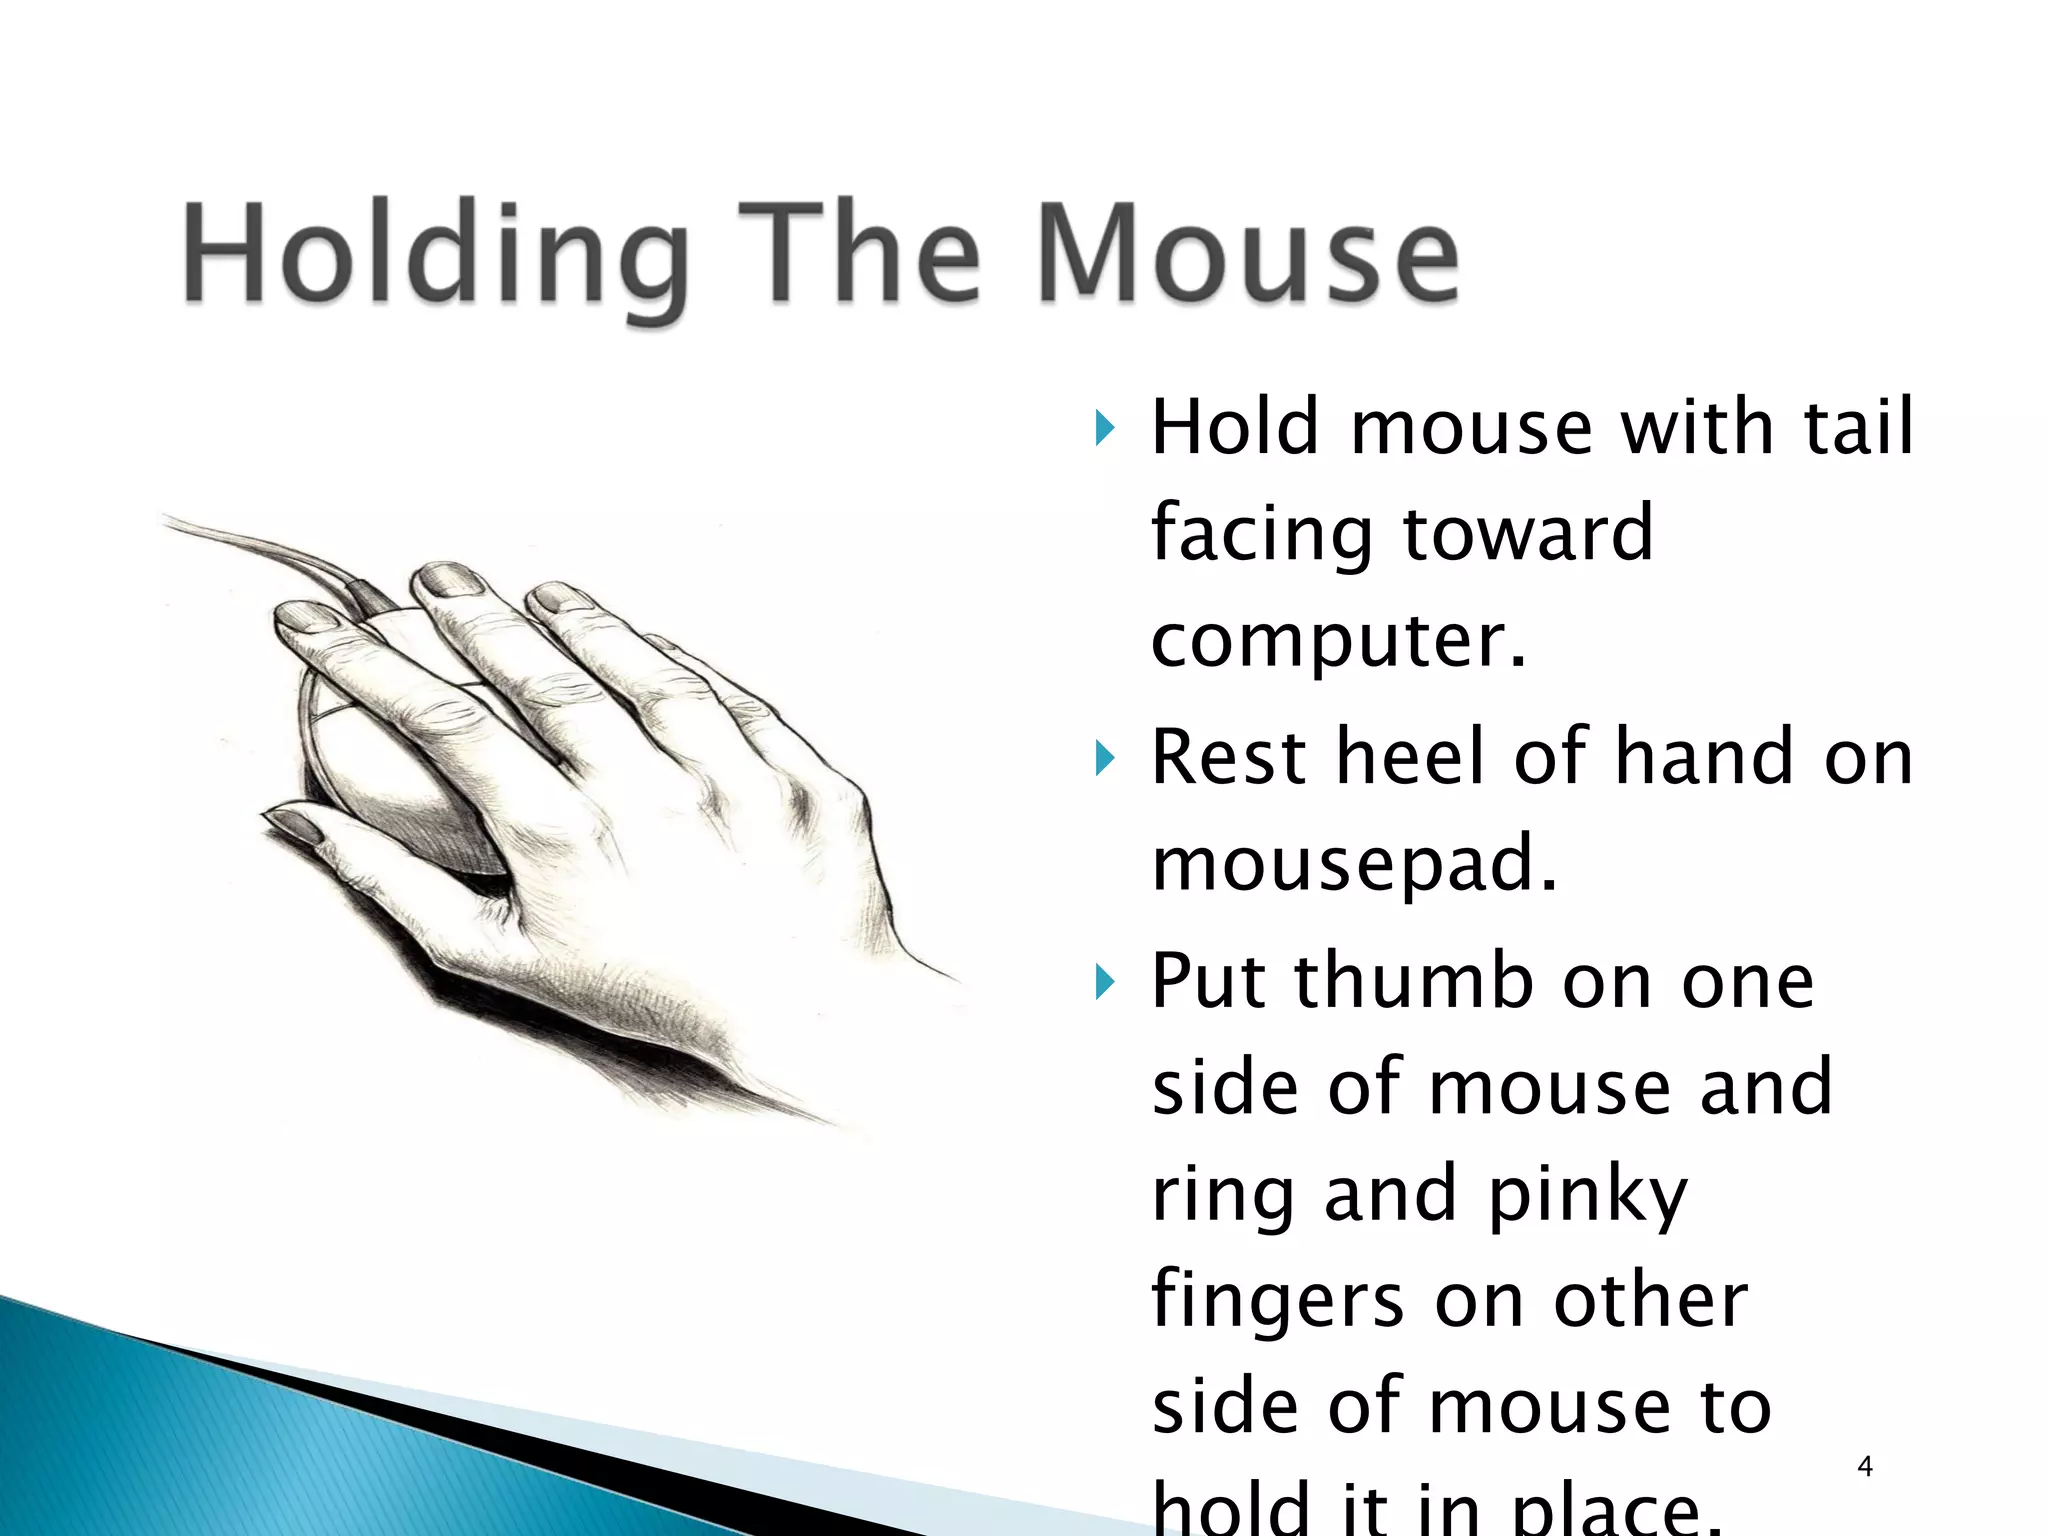
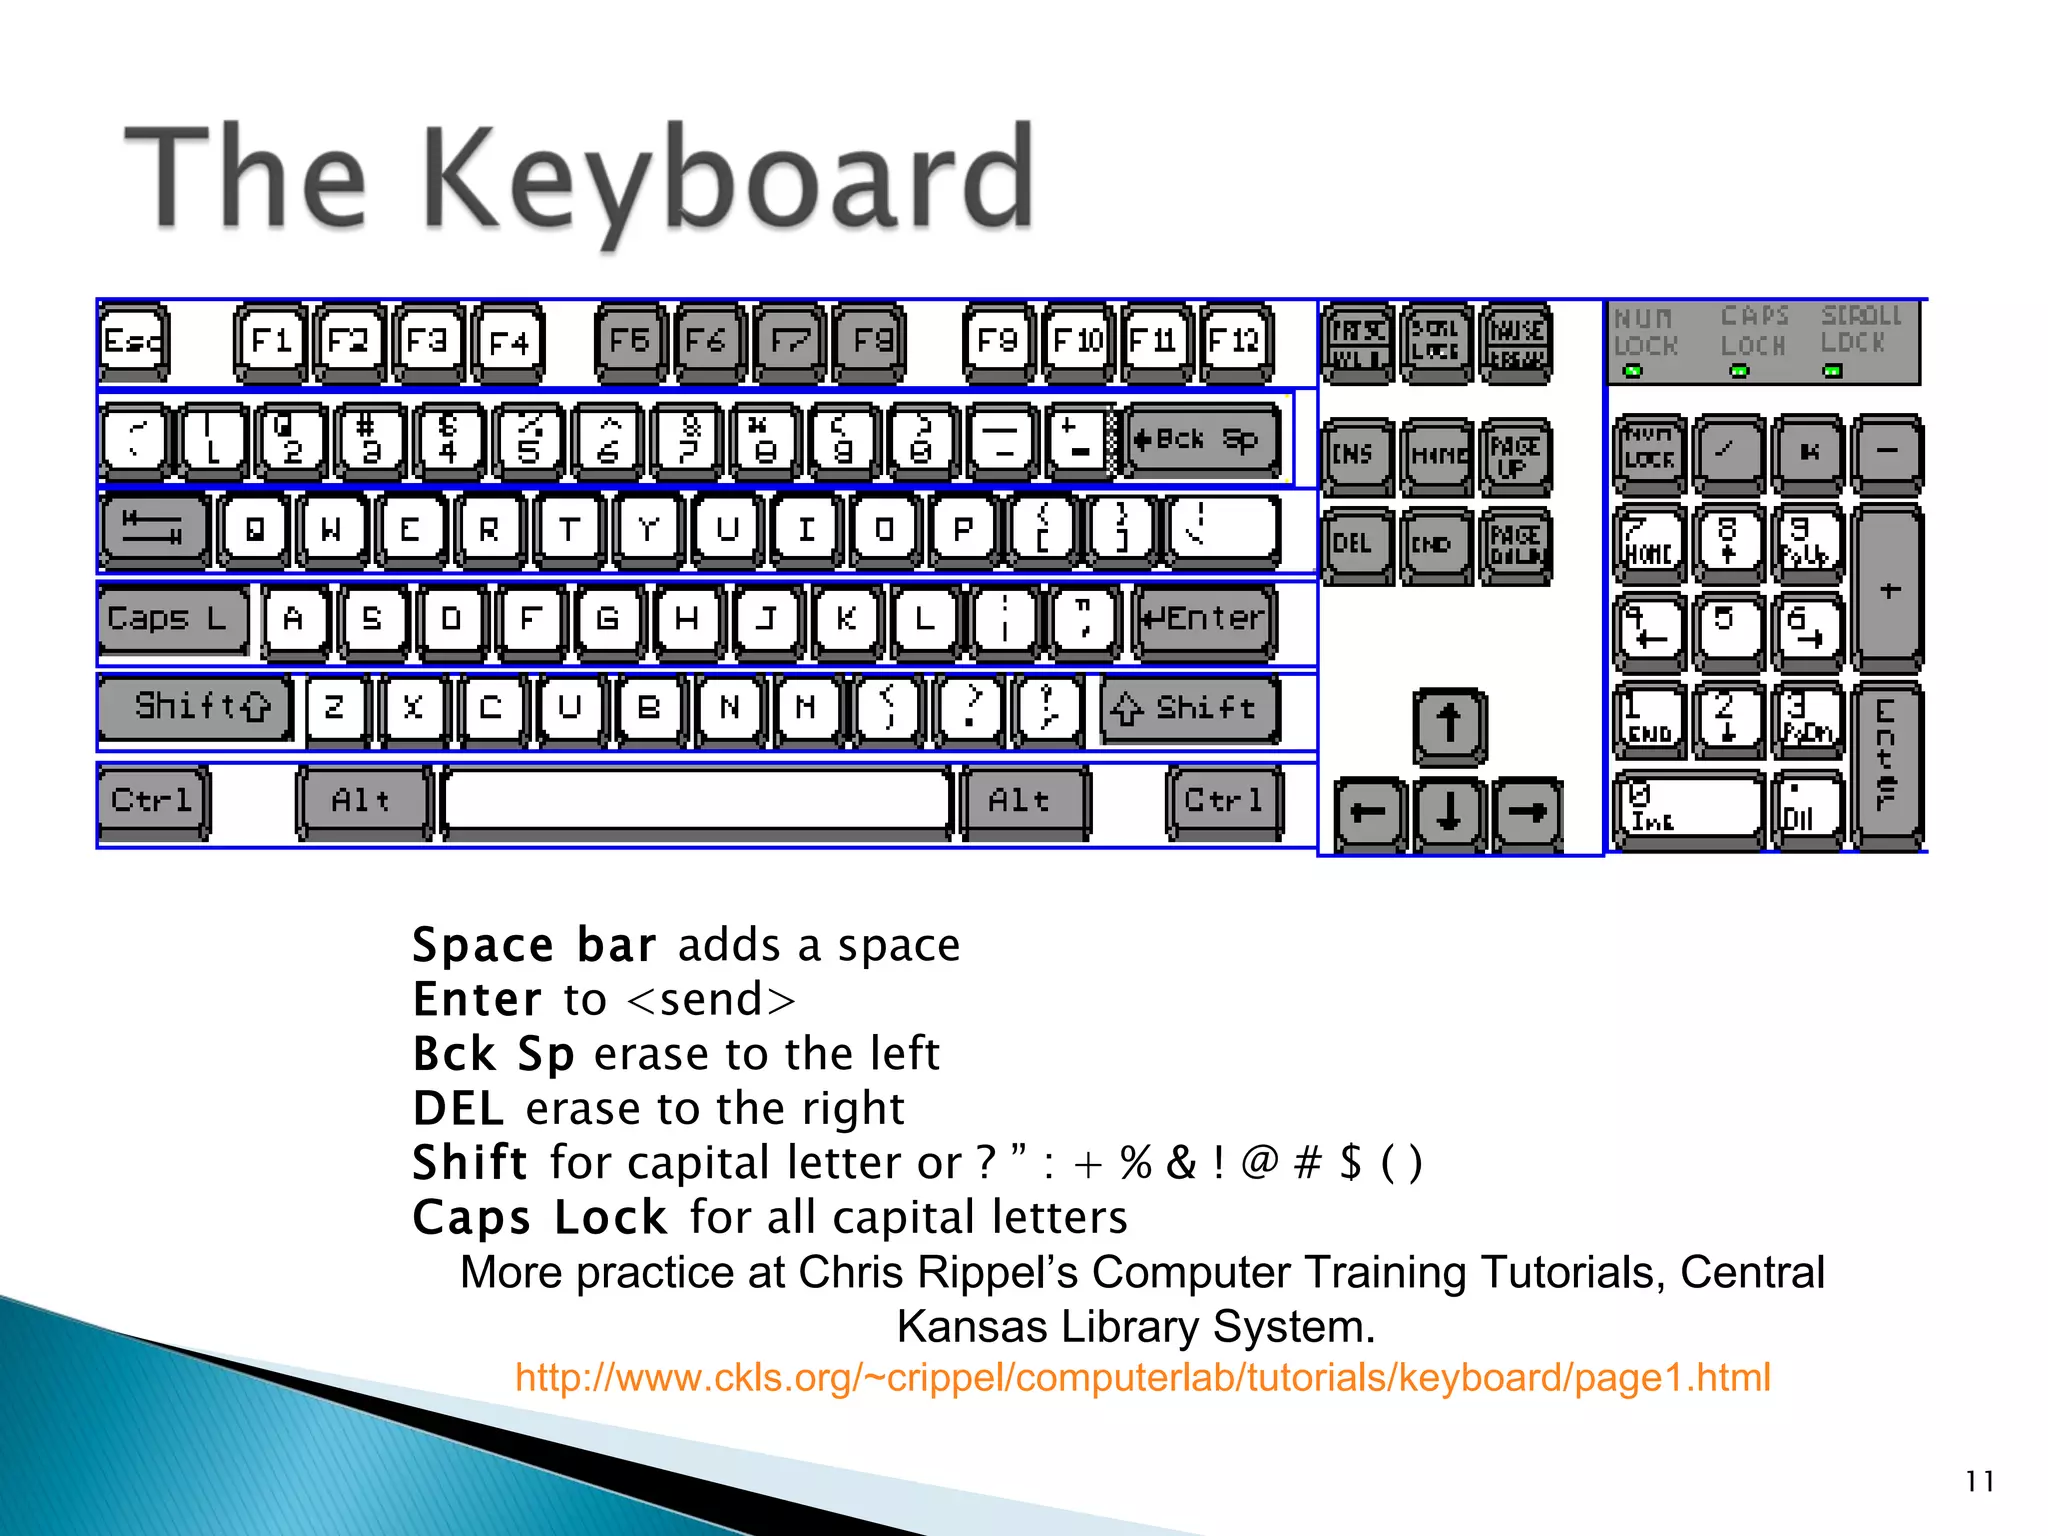
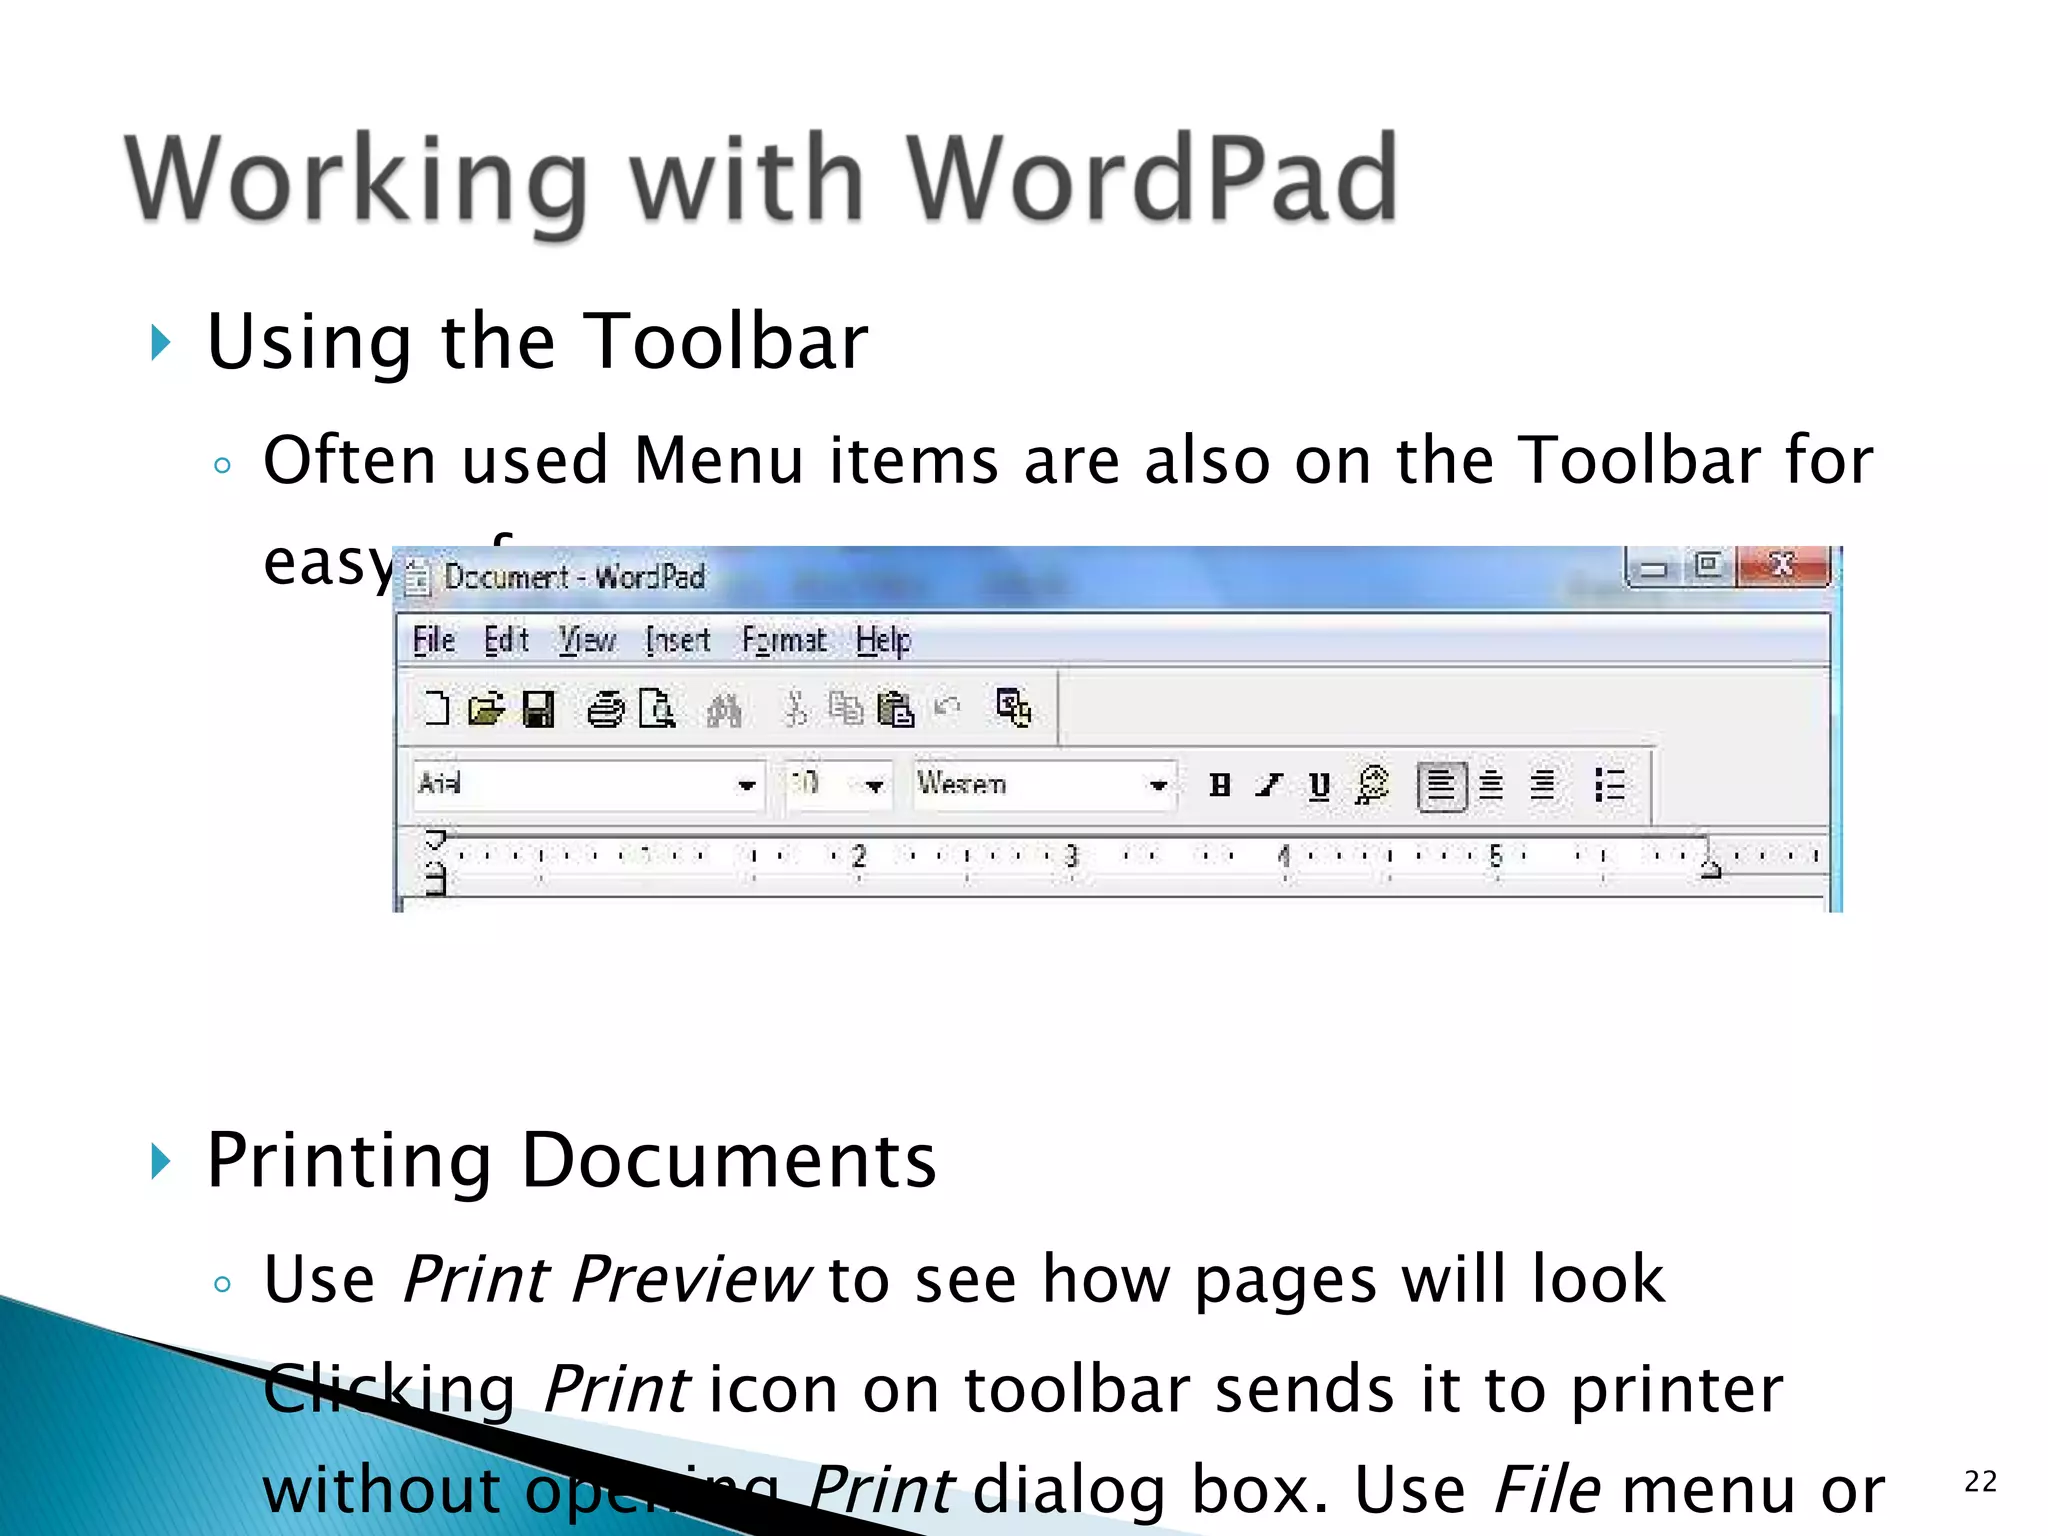
For Beginners Theresa Public Library
Console (CPU)  Computer screen (Monitor) Mouse Keyboard Printer
Use the mouse to point at something on the computer screen.  Clicking the left button on the mouse gives the computer a command.  The bottom of the mouse has a ball or a small red light which records movement on the tabletop and moves the arrow around on the computer screen.  Using the mouse takes us from page to page on the Web.
Hold mouse with tail facing toward computer. Rest heel of hand on mousepad. Put thumb on one side of mouse and ring and pinky fingers on other side of mouse to hold it in place. Put index finger on left button.
Hold the mouse firmly and keep it flat on the table.  Move the mouse around in small circles and watch the arrow move on the computer screen.  Small, steady movements are best.  Be patient and try to watch the screen instead of the mouse itself.
When you press the left button, you will hear a small click.  This is why we say “click” on this or that when referring to commands on the Internet.  Make your click quick, just like you would say “piz-za.”  Hold the mouse steady while you click or the computer will get confused.
Almost every computer mouse has 2 buttons –left and right—and each has special functions.  Some mice have a scroll wheel which is used to scroll through long pages. Left clicks are used for commands. Right clicks are used to bring up specialized menus.
Point  Use thumb & ring and pinky fingers to slide mouse across mousepad until arrow is at right place on the computer screen.  The mouse is in the right place when the arrow changes to a hand or to an “I”. Click   With index finger, lightly press the left button and release.  Hold the mouse still with thumb & pinky while clicking. Double Click With index finger, lightly press the left button and release 2 times quickly. Drag With index finger, lightly press the left button and hold it down.  Move the mouse across the pad, and the object on the screen should move too.
Arrow cursor Navigate around the screen. Busy cursor Wait – computer is “working” Typing cursor Text seen or to be typed here Double arrow cursor Resize a window. Web link cursor Link to another page.
Mousercise www.ckls.org/~ crippel/computerlab/tutorials/mouse/page1.html   Northville, Michigan Public Library Tutorial http://tech.tln.lib.mi.us/tutor/welcome.htm SeniorNet’s Mouse Exercise www.seniornet.org/howto/mouseexercises/mousepractice.html
Space bar  adds a space Enter  to <send> Bck Sp  erase to the left DEL  erase to the right Shift  for capital letter or ? ” : + % & ! @ # $ ( ) Caps Lock  for all capital letters More practice at Chris Rippel’s Computer Training Tutorials, Central Kansas Library System.  http://www.ckls.org/~crippel/computerlab/tutorials/keyboard/page1.html
USB ports may be on the front or back of the computer USB used for flash drives, printers, scanners, cameras, and more Flash Drive Digital Camera Printer
CD/DVD Drive used for playing or recording (burning) CDs/DVDs CD –  Compact disc CD-R –  Recordable CD-RW –  Rewritable   DVD –  Digital video disc  DVD-R -  Recordable DVD +-RW –  Rewritable
Operating Systems Windows XP Vista Applications or Programs Microsoft Office or similar programs Word processing programs Spreadsheets Databases Photo-editing software Games Solitaire and others
The desktop in the sample at right is the blue background on top of which graphic items are placed. An Icon is a picture or graphic that represents a program, process, folder or file. You can double click on an icon to open a program, start a process, or view contents of a folder
Start Button Task Bar Task Buttons Quick Launch Notification Area (System Tray)
Bars 1 2 3 4 5 6 Buttons Minimize  (Send to task bar)  Resize  (full window or not) Close 1  –  Title Bar: name of page or document you’re using 2  – Menu Bar: includes alternate ways to print or go to favorites 3  – Tool Bar: Back button (return to page before), home page (house), favorites 4  – Address Bar: each web page has its own address (URL) 5  – Scroll Bar: Move with bottom for left/right; right for up/down 6  – Status Bar:  Shows if page is loading or done.
Allows you to see what’s on your computer
Use My Computer/Windows Explorer to view files and folders The Task pane easily allows you to work with files Selecting files and folders Use the  Edit  Menu and  Select All  to choose all items in a window Use  Shift + Click  to select items from beginning to end Use  Ctrl + Click  to select non-adjacent items
Copying Files and Folders Cut  – Moves the selected file/folder or text to the Clipboard and removes the original –  Ctrl + X Copy  – Moves the selected file/folder or text to the Clipboard and leaves the original –  Ctrl + C Paste  – Puts the cut or copied file/folder or text from the Clipboard wherever the cursor is located –  Ctrl + V Renaming and Deleting Files and Folders Use the Task Pane,  Edit  Menu or  Right Click  Menu to rename or delete files – Can also use Del on keyboard to delete files
Starting an Application Practicing keyboard and file management skills with WordPad Using the Menu Bar and Toolbar WordPad WordPad can be found by going to the Start Button> All Programs>Accessories>WordPad
Using the Toolbar Often used Menu items are also on the Toolbar for easy reference Printing Documents Use  Print Preview  to see how pages will look Clicking  Print  icon on toolbar sends it to printer without opening  Print  dialog   box. Use  File  menu or  Right Click  Menu   to make print choices
Save vs. Save As Commands Use the  File  menu, Toolbar, or  Right Click  Menu to save your work Save As  dialog box will appear the first time you save a file Save As  command saves a new copy of your document and leaves the original.  You need to provide a new file name and a location where it should be saved. Save  command saves your document again if  you‘ve made changes
Keyboard image is from Chris Rippel’s Computer Training Tutorials, Central Kansas Library System.  http://www.ckls.org/~crippel/computerlab/tutorials/keyboard/page1.html Material developed from Rochester Regional Library Council CLIC-on-Health for Seniors. Training developed by a team of librarians led by: Chris DeGolyer, Outreach Librarian Additional material obtained from Fond du Lac Public Library Our thanks to Mid-Wisconsin Library System and Steve Platteter for the use of the mobile lab. Thanks to the Theresa Public Library for creating this slideshow!

Computer basics for seniors

  • 1.
    For Beginners TheresaPublic Library
  • 2.
    Console (CPU) Computer screen (Monitor) Mouse Keyboard Printer
  • 3.
    Use the mouseto point at something on the computer screen. Clicking the left button on the mouse gives the computer a command. The bottom of the mouse has a ball or a small red light which records movement on the tabletop and moves the arrow around on the computer screen. Using the mouse takes us from page to page on the Web.
  • 4.
    Hold mouse withtail facing toward computer. Rest heel of hand on mousepad. Put thumb on one side of mouse and ring and pinky fingers on other side of mouse to hold it in place. Put index finger on left button.
  • 5.
    Hold the mousefirmly and keep it flat on the table. Move the mouse around in small circles and watch the arrow move on the computer screen. Small, steady movements are best. Be patient and try to watch the screen instead of the mouse itself.
  • 6.
    When you pressthe left button, you will hear a small click. This is why we say “click” on this or that when referring to commands on the Internet. Make your click quick, just like you would say “piz-za.” Hold the mouse steady while you click or the computer will get confused.
  • 7.
    Almost every computermouse has 2 buttons –left and right—and each has special functions. Some mice have a scroll wheel which is used to scroll through long pages. Left clicks are used for commands. Right clicks are used to bring up specialized menus.
  • 8.
    Point Usethumb & ring and pinky fingers to slide mouse across mousepad until arrow is at right place on the computer screen. The mouse is in the right place when the arrow changes to a hand or to an “I”. Click With index finger, lightly press the left button and release. Hold the mouse still with thumb & pinky while clicking. Double Click With index finger, lightly press the left button and release 2 times quickly. Drag With index finger, lightly press the left button and hold it down. Move the mouse across the pad, and the object on the screen should move too.
  • 9.
    Arrow cursor Navigatearound the screen. Busy cursor Wait – computer is “working” Typing cursor Text seen or to be typed here Double arrow cursor Resize a window. Web link cursor Link to another page.
  • 10.
    Mousercise www.ckls.org/~ crippel/computerlab/tutorials/mouse/page1.html Northville, Michigan Public Library Tutorial http://tech.tln.lib.mi.us/tutor/welcome.htm SeniorNet’s Mouse Exercise www.seniornet.org/howto/mouseexercises/mousepractice.html
  • 11.
    Space bar adds a space Enter to <send> Bck Sp erase to the left DEL erase to the right Shift for capital letter or ? ” : + % & ! @ # $ ( ) Caps Lock for all capital letters More practice at Chris Rippel’s Computer Training Tutorials, Central Kansas Library System. http://www.ckls.org/~crippel/computerlab/tutorials/keyboard/page1.html
  • 12.
    USB ports maybe on the front or back of the computer USB used for flash drives, printers, scanners, cameras, and more Flash Drive Digital Camera Printer
  • 13.
    CD/DVD Drive usedfor playing or recording (burning) CDs/DVDs CD – Compact disc CD-R – Recordable CD-RW – Rewritable DVD – Digital video disc DVD-R - Recordable DVD +-RW – Rewritable
  • 14.
    Operating Systems WindowsXP Vista Applications or Programs Microsoft Office or similar programs Word processing programs Spreadsheets Databases Photo-editing software Games Solitaire and others
  • 15.
    The desktop inthe sample at right is the blue background on top of which graphic items are placed. An Icon is a picture or graphic that represents a program, process, folder or file. You can double click on an icon to open a program, start a process, or view contents of a folder
  • 16.
    Start Button TaskBar Task Buttons Quick Launch Notification Area (System Tray)
  • 17.
    Bars 1 23 4 5 6 Buttons Minimize (Send to task bar) Resize (full window or not) Close 1 – Title Bar: name of page or document you’re using 2 – Menu Bar: includes alternate ways to print or go to favorites 3 – Tool Bar: Back button (return to page before), home page (house), favorites 4 – Address Bar: each web page has its own address (URL) 5 – Scroll Bar: Move with bottom for left/right; right for up/down 6 – Status Bar: Shows if page is loading or done.
  • 18.
    Allows you tosee what’s on your computer
  • 19.
    Use My Computer/WindowsExplorer to view files and folders The Task pane easily allows you to work with files Selecting files and folders Use the Edit Menu and Select All to choose all items in a window Use Shift + Click to select items from beginning to end Use Ctrl + Click to select non-adjacent items
  • 20.
    Copying Files andFolders Cut – Moves the selected file/folder or text to the Clipboard and removes the original – Ctrl + X Copy – Moves the selected file/folder or text to the Clipboard and leaves the original – Ctrl + C Paste – Puts the cut or copied file/folder or text from the Clipboard wherever the cursor is located – Ctrl + V Renaming and Deleting Files and Folders Use the Task Pane, Edit Menu or Right Click Menu to rename or delete files – Can also use Del on keyboard to delete files
  • 21.
    Starting an ApplicationPracticing keyboard and file management skills with WordPad Using the Menu Bar and Toolbar WordPad WordPad can be found by going to the Start Button> All Programs>Accessories>WordPad
  • 22.
    Using the ToolbarOften used Menu items are also on the Toolbar for easy reference Printing Documents Use Print Preview to see how pages will look Clicking Print icon on toolbar sends it to printer without opening Print dialog box. Use File menu or Right Click Menu to make print choices
  • 23.
    Save vs. SaveAs Commands Use the File menu, Toolbar, or Right Click Menu to save your work Save As dialog box will appear the first time you save a file Save As command saves a new copy of your document and leaves the original. You need to provide a new file name and a location where it should be saved. Save command saves your document again if you‘ve made changes
  • 24.
    Keyboard image isfrom Chris Rippel’s Computer Training Tutorials, Central Kansas Library System. http://www.ckls.org/~crippel/computerlab/tutorials/keyboard/page1.html Material developed from Rochester Regional Library Council CLIC-on-Health for Seniors. Training developed by a team of librarians led by: Chris DeGolyer, Outreach Librarian Additional material obtained from Fond du Lac Public Library Our thanks to Mid-Wisconsin Library System and Steve Platteter for the use of the mobile lab. Thanks to the Theresa Public Library for creating this slideshow!

Editor's Notes

  • #3 Hardware--ask parts. Ask them to name parts in laptop. 1. Hard drive--brains of computer. Not really brains--just a bunch of electronic circuits. Hard drive--a circular magnetic disk--looks like a record, only flimsier. central processing unit of the computer--all the rest are peripherals and have to be plugged into the hard drive. Has the on switch. Has to be plugged in of course. Drives: C drive--main drive. Other drives--you can insert things: drive A: floppy disks--show--little magnetic disk inside this--holds less than hard disk. CD-ROM drive, Zip drive ports--to plug in peripherals--little pictures--icons show what plugs into what. Don’t force anything--little pins--don’t want to bend. 2. Monitor--display--(output device) so we can see what’s in the hard drive.Has an on switch, but if hard drive not on, won’t display anything. 3. Keyboard--Input device--how we enter info into the hard drive, give commands--how we talk to computer. 4. Mouse--commands w/o needing to type. Moves the cursor (little arrow) around on the screen 5. Modem--necessary to connect to the Internet--connect to other computers. 6.Printer --output device--make a hard copy 7. Laptop--identify these--most built in.