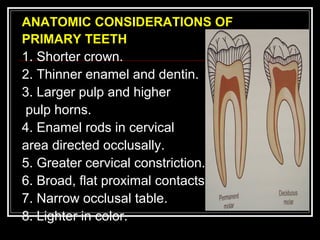
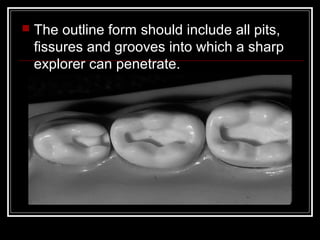
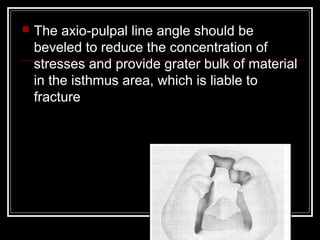
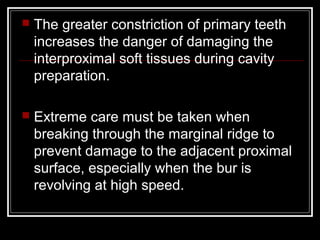
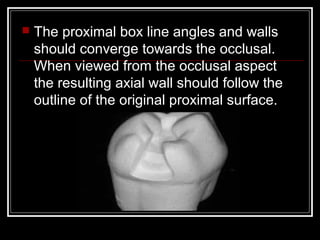
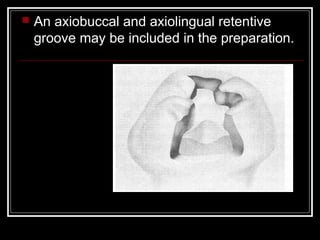
Downloaded 5,116 times

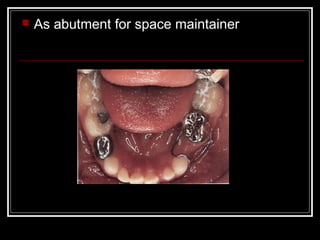
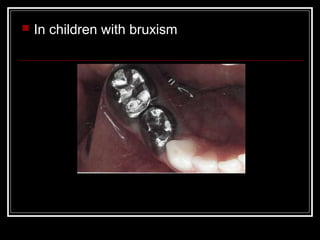
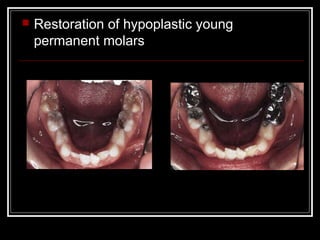
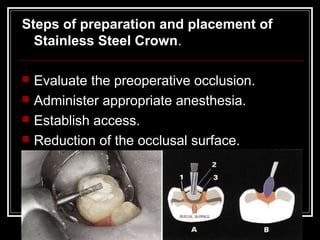
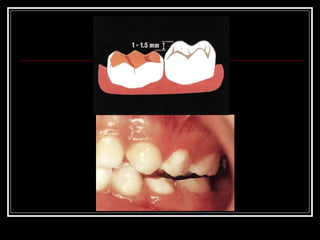
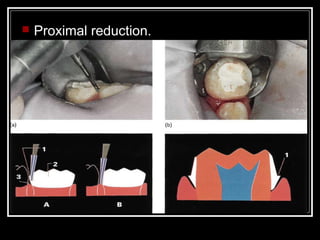
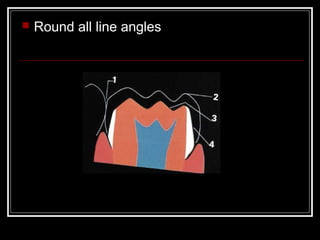
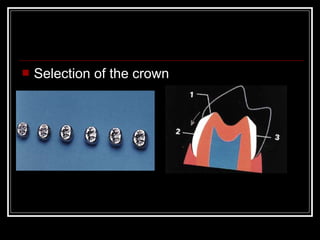
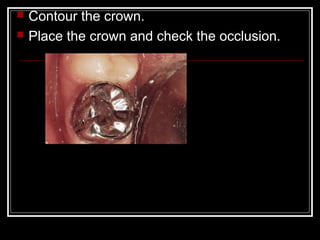
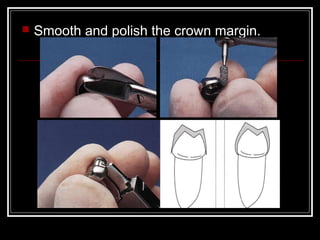
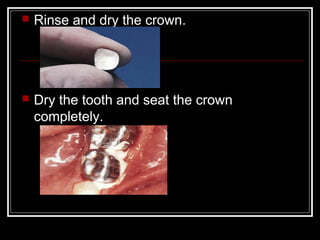
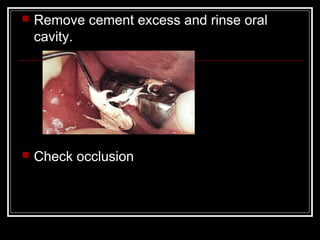


This document discusses cavity preparation in primary teeth. It covers the basic principles, which involve opening the cavity with a high-speed bur and then eliminating caries from all walls. It describes cavity preparations for different tooth surfaces and classes of cavities. For class I cavities, it recommends rounding internal line angles and converging side walls. For class II cavities, it suggests dovetail-shaped occlusal steps and convergence of proximal walls. Stainless steel crowns are indicated for restoring heavily decayed primary molars.

![[Pedo] restorative dentistry](https://cdn.slidesharecdn.com/ss_thumbnails/pedorestorativedentistry-210903140140-thumbnail.jpg?width=640&height=640&fit=bounds)


