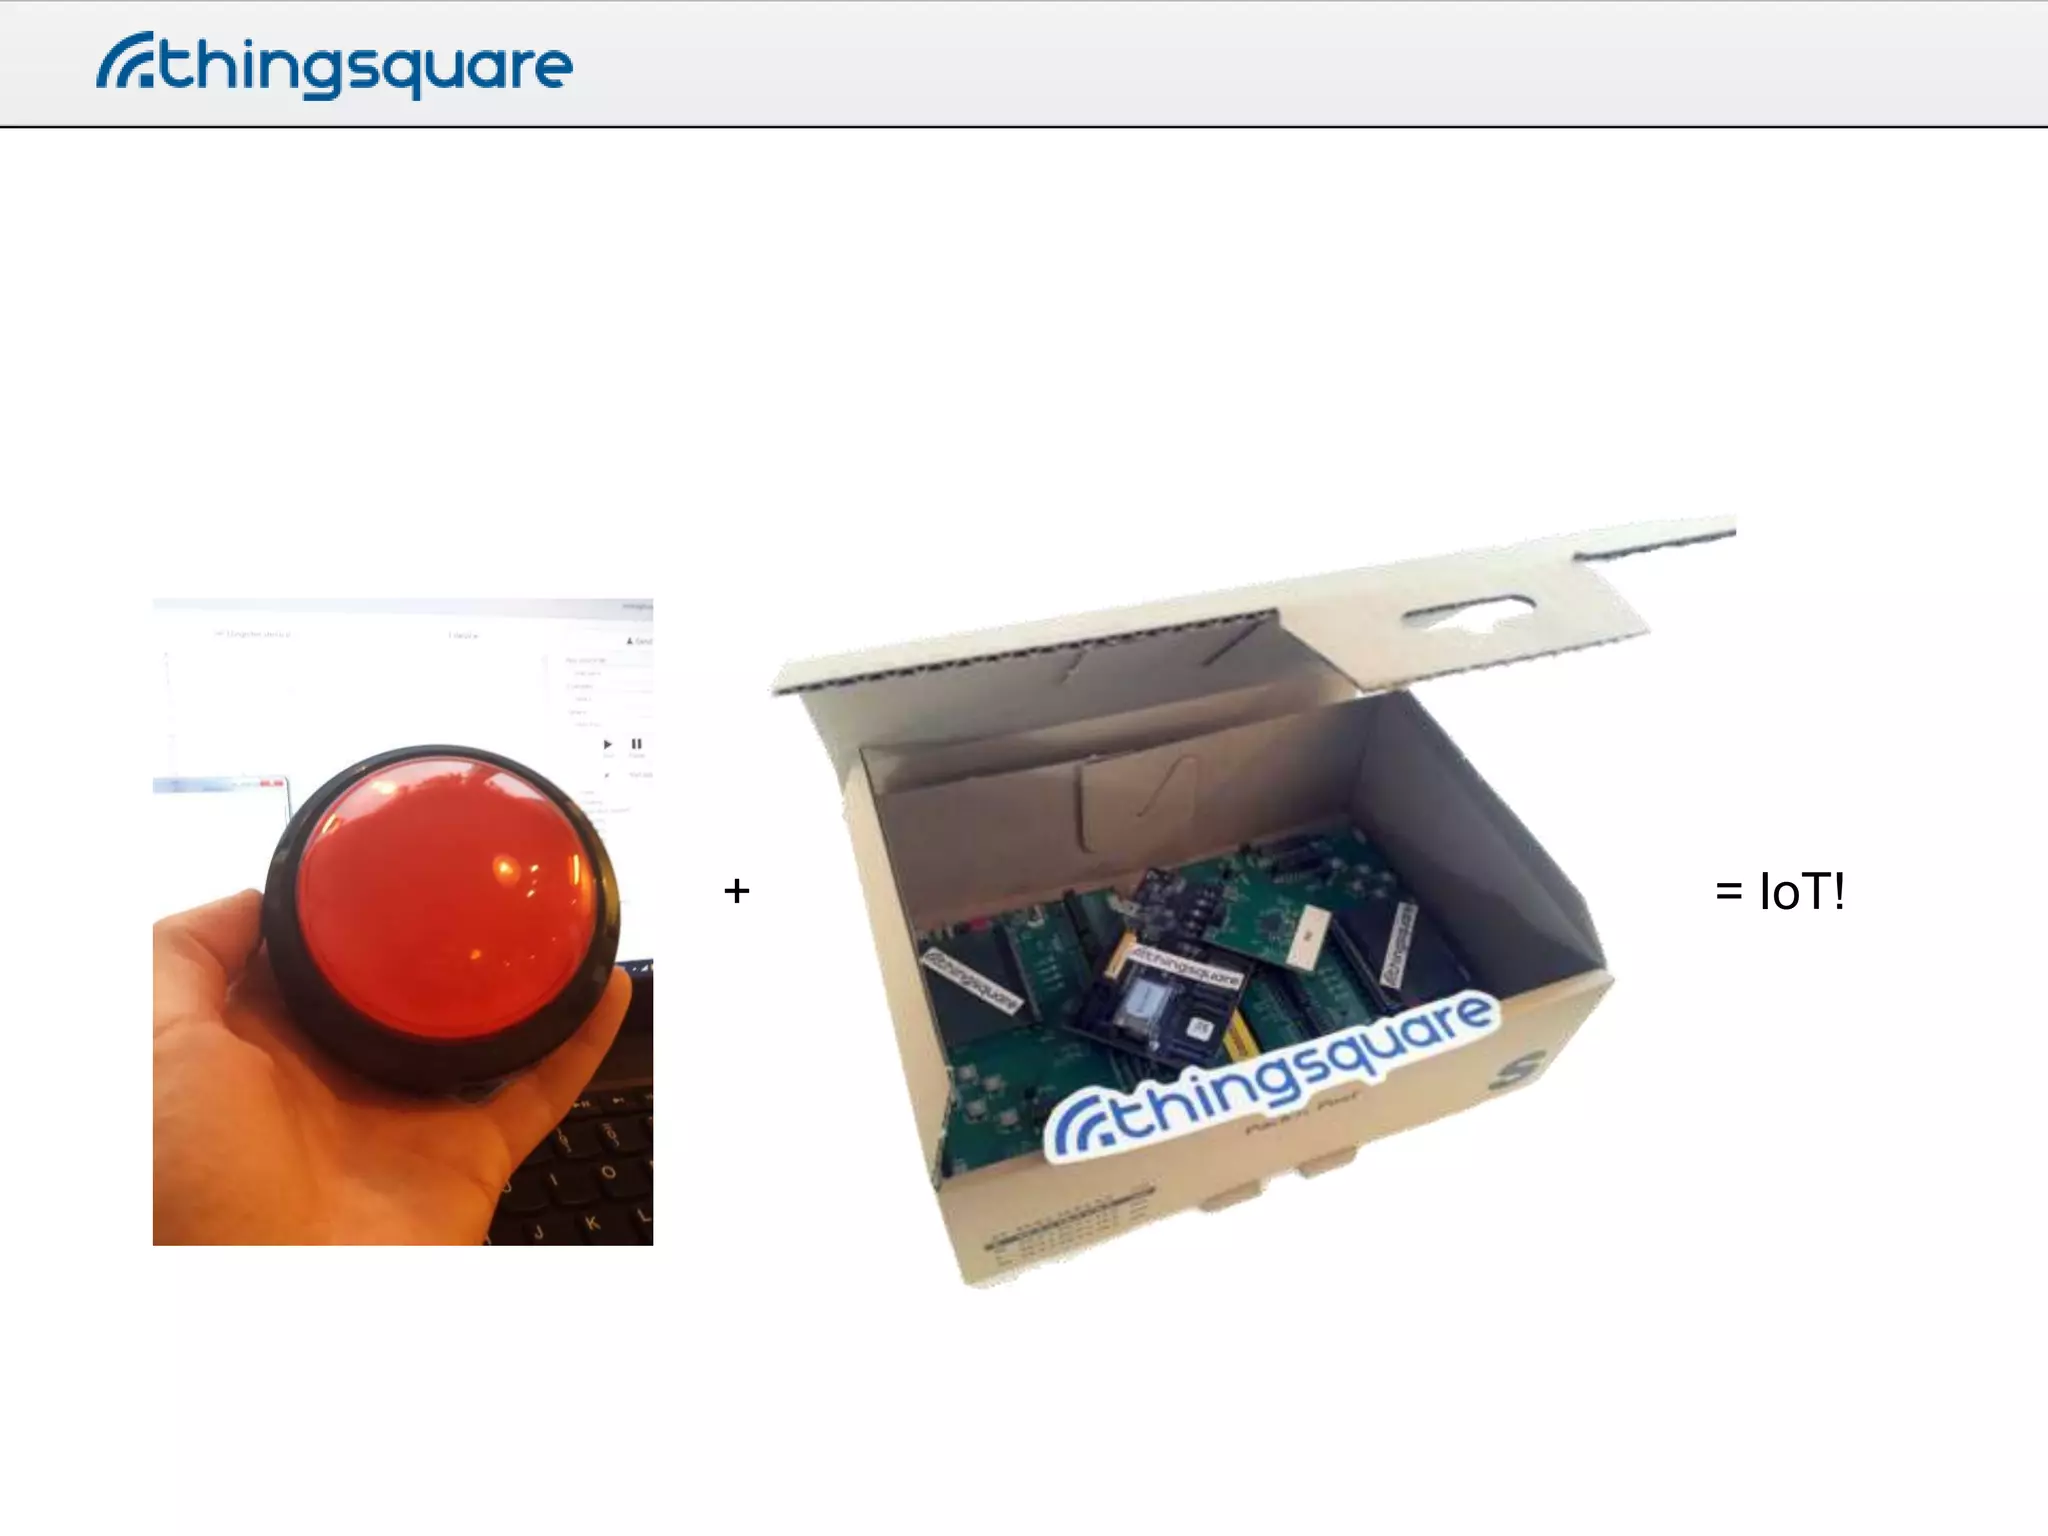
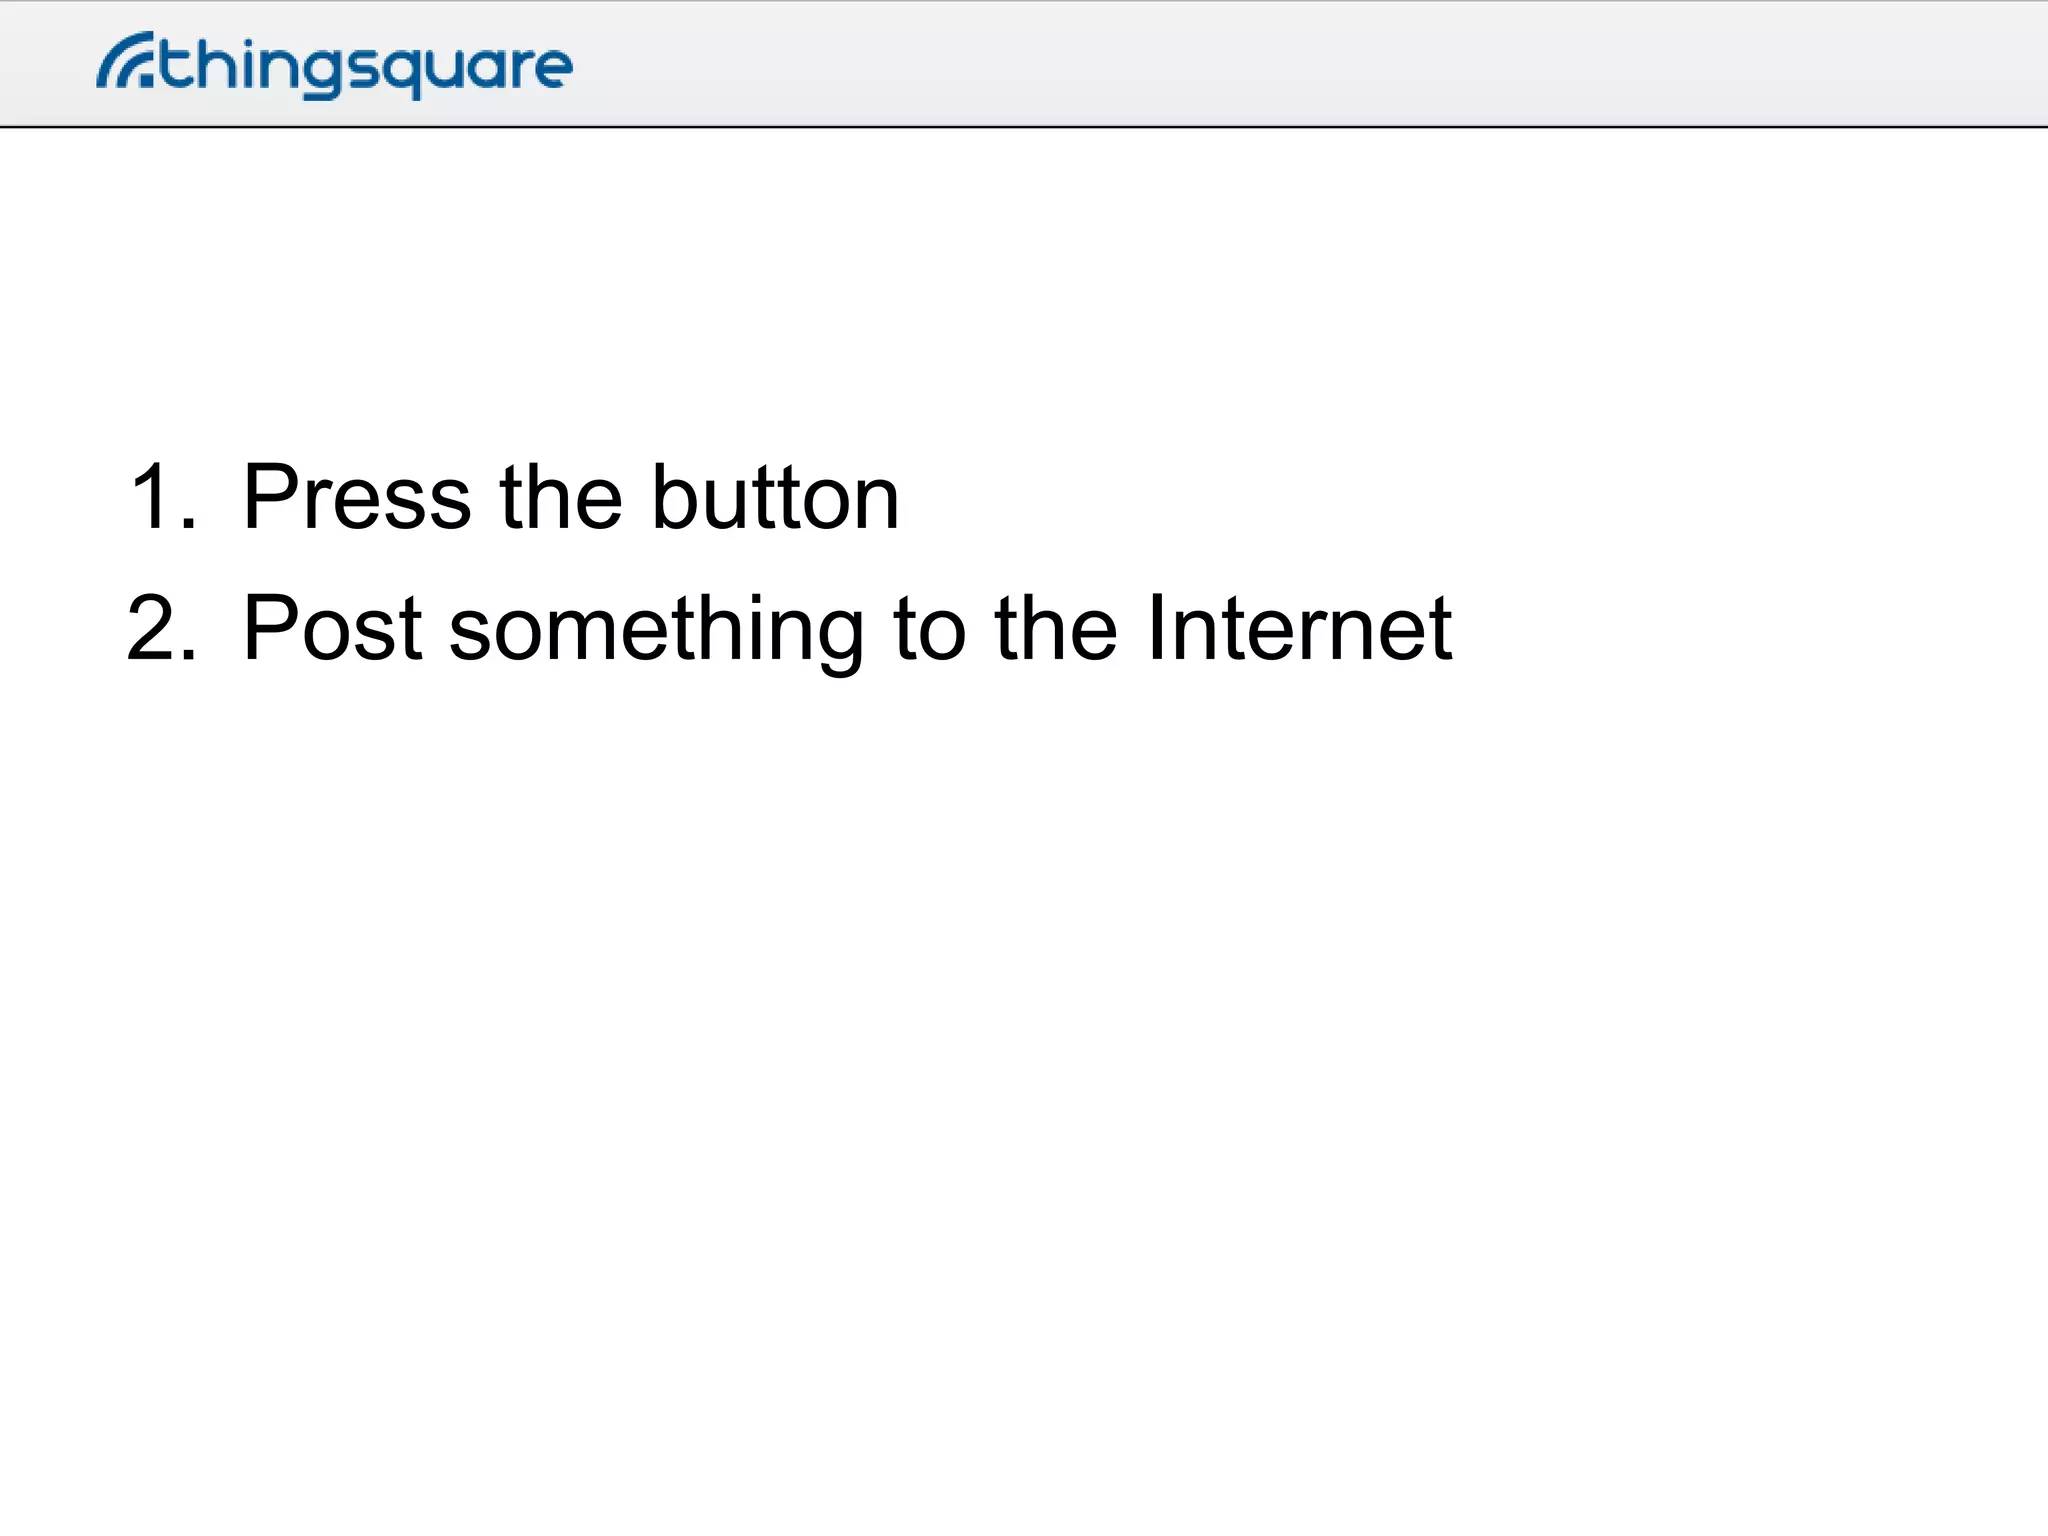
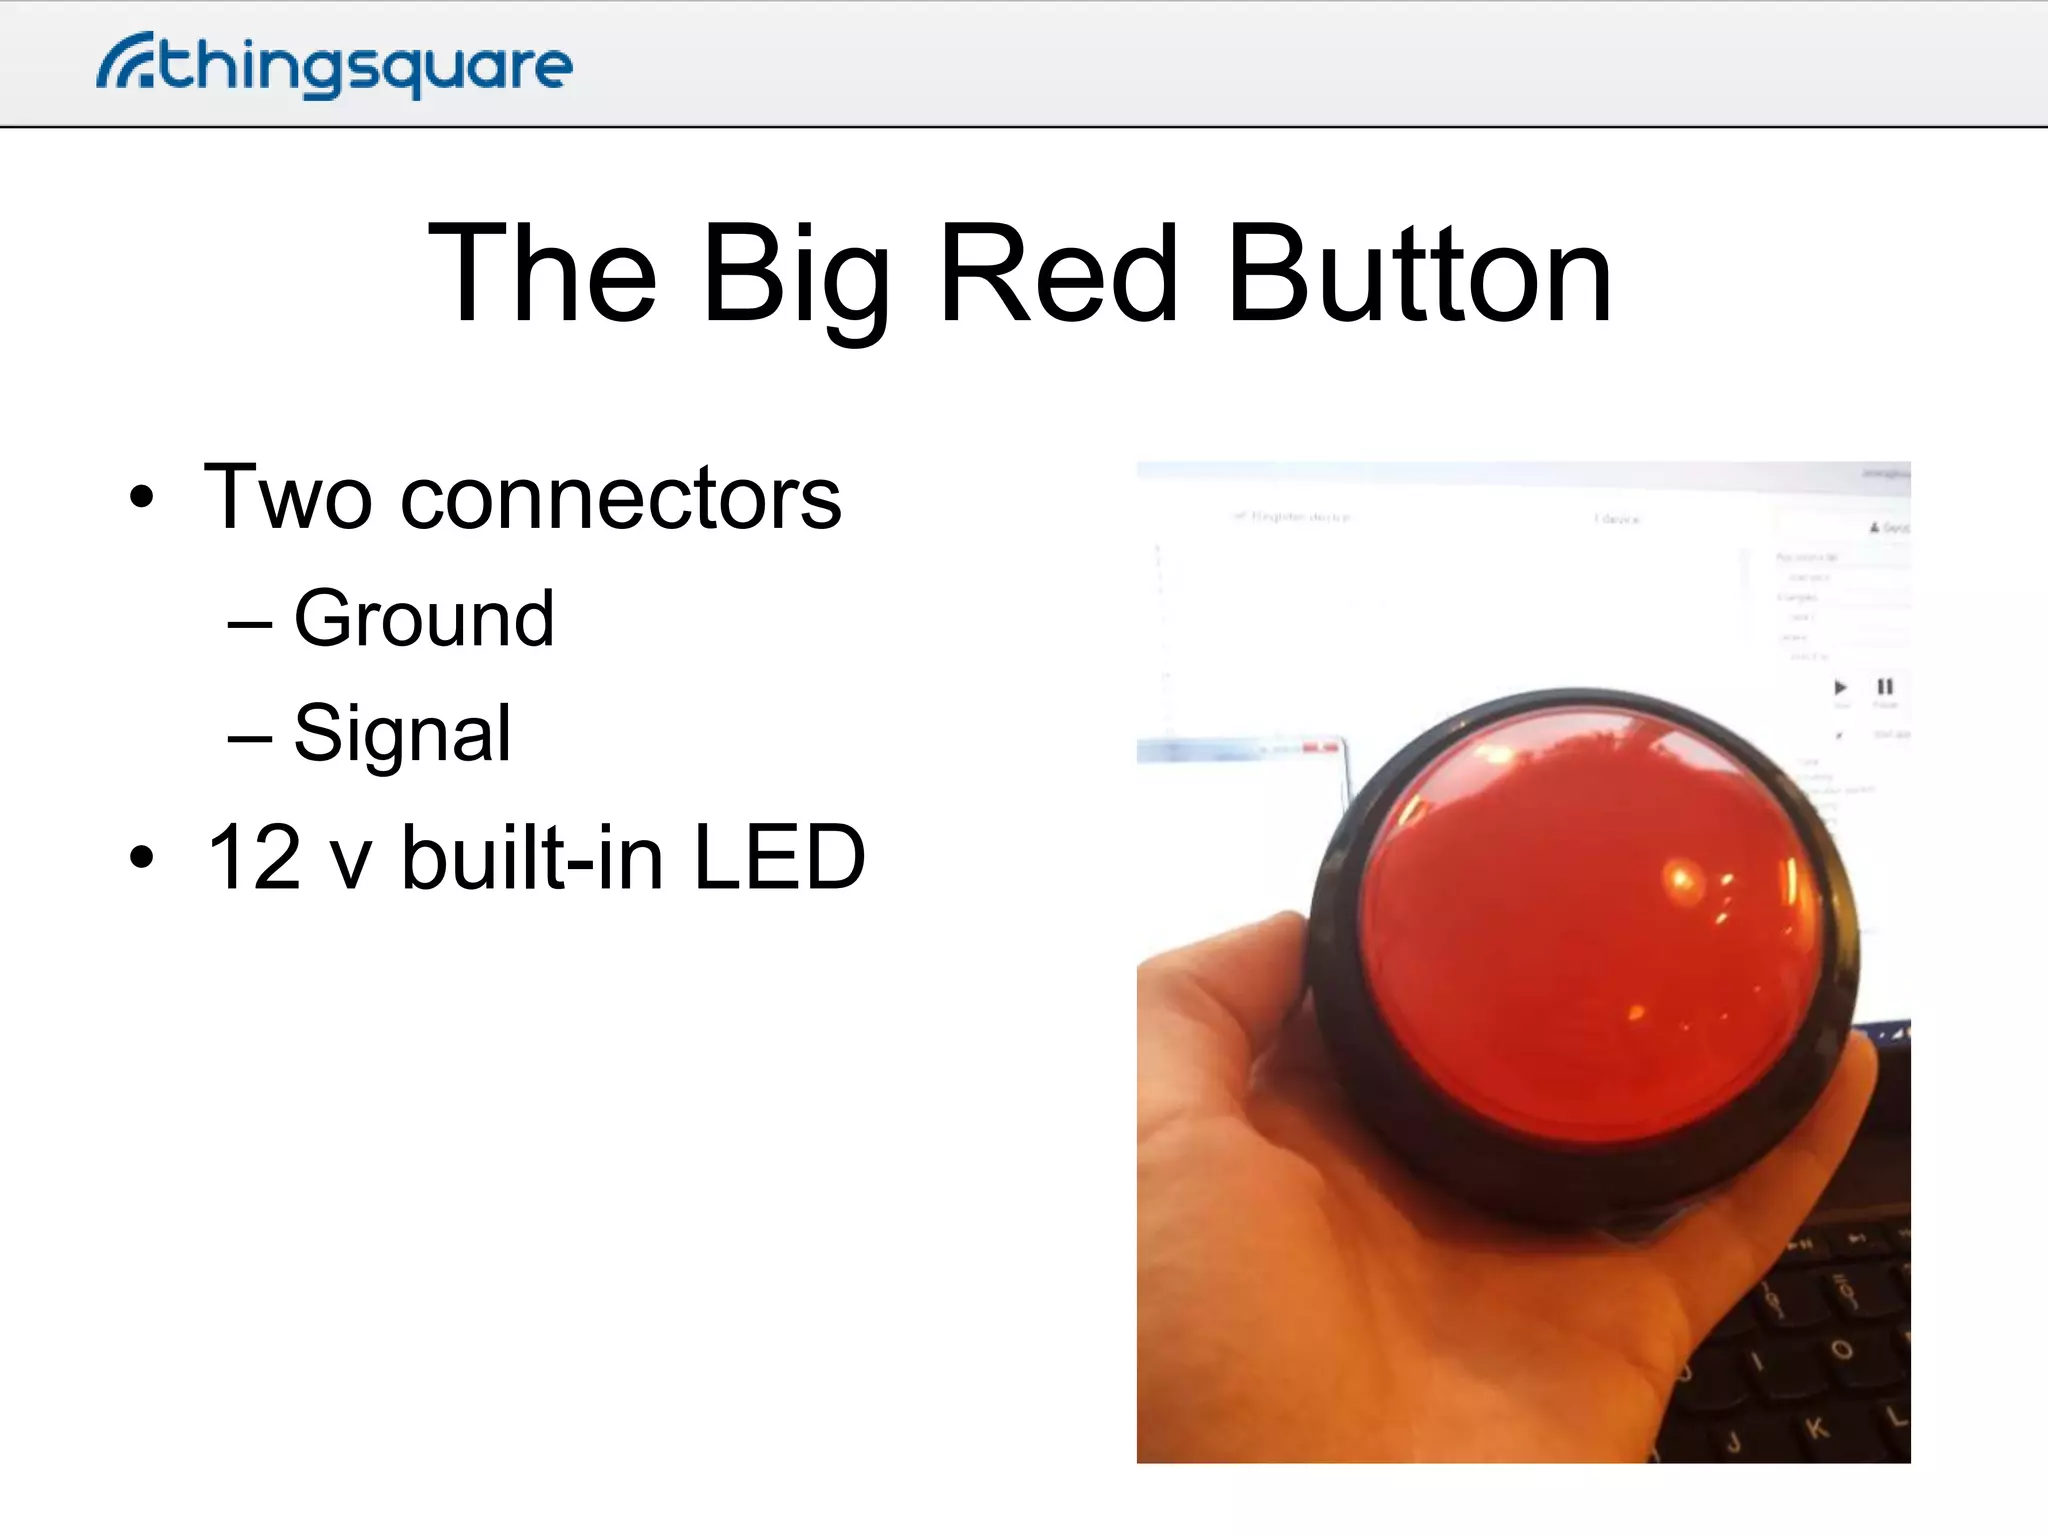
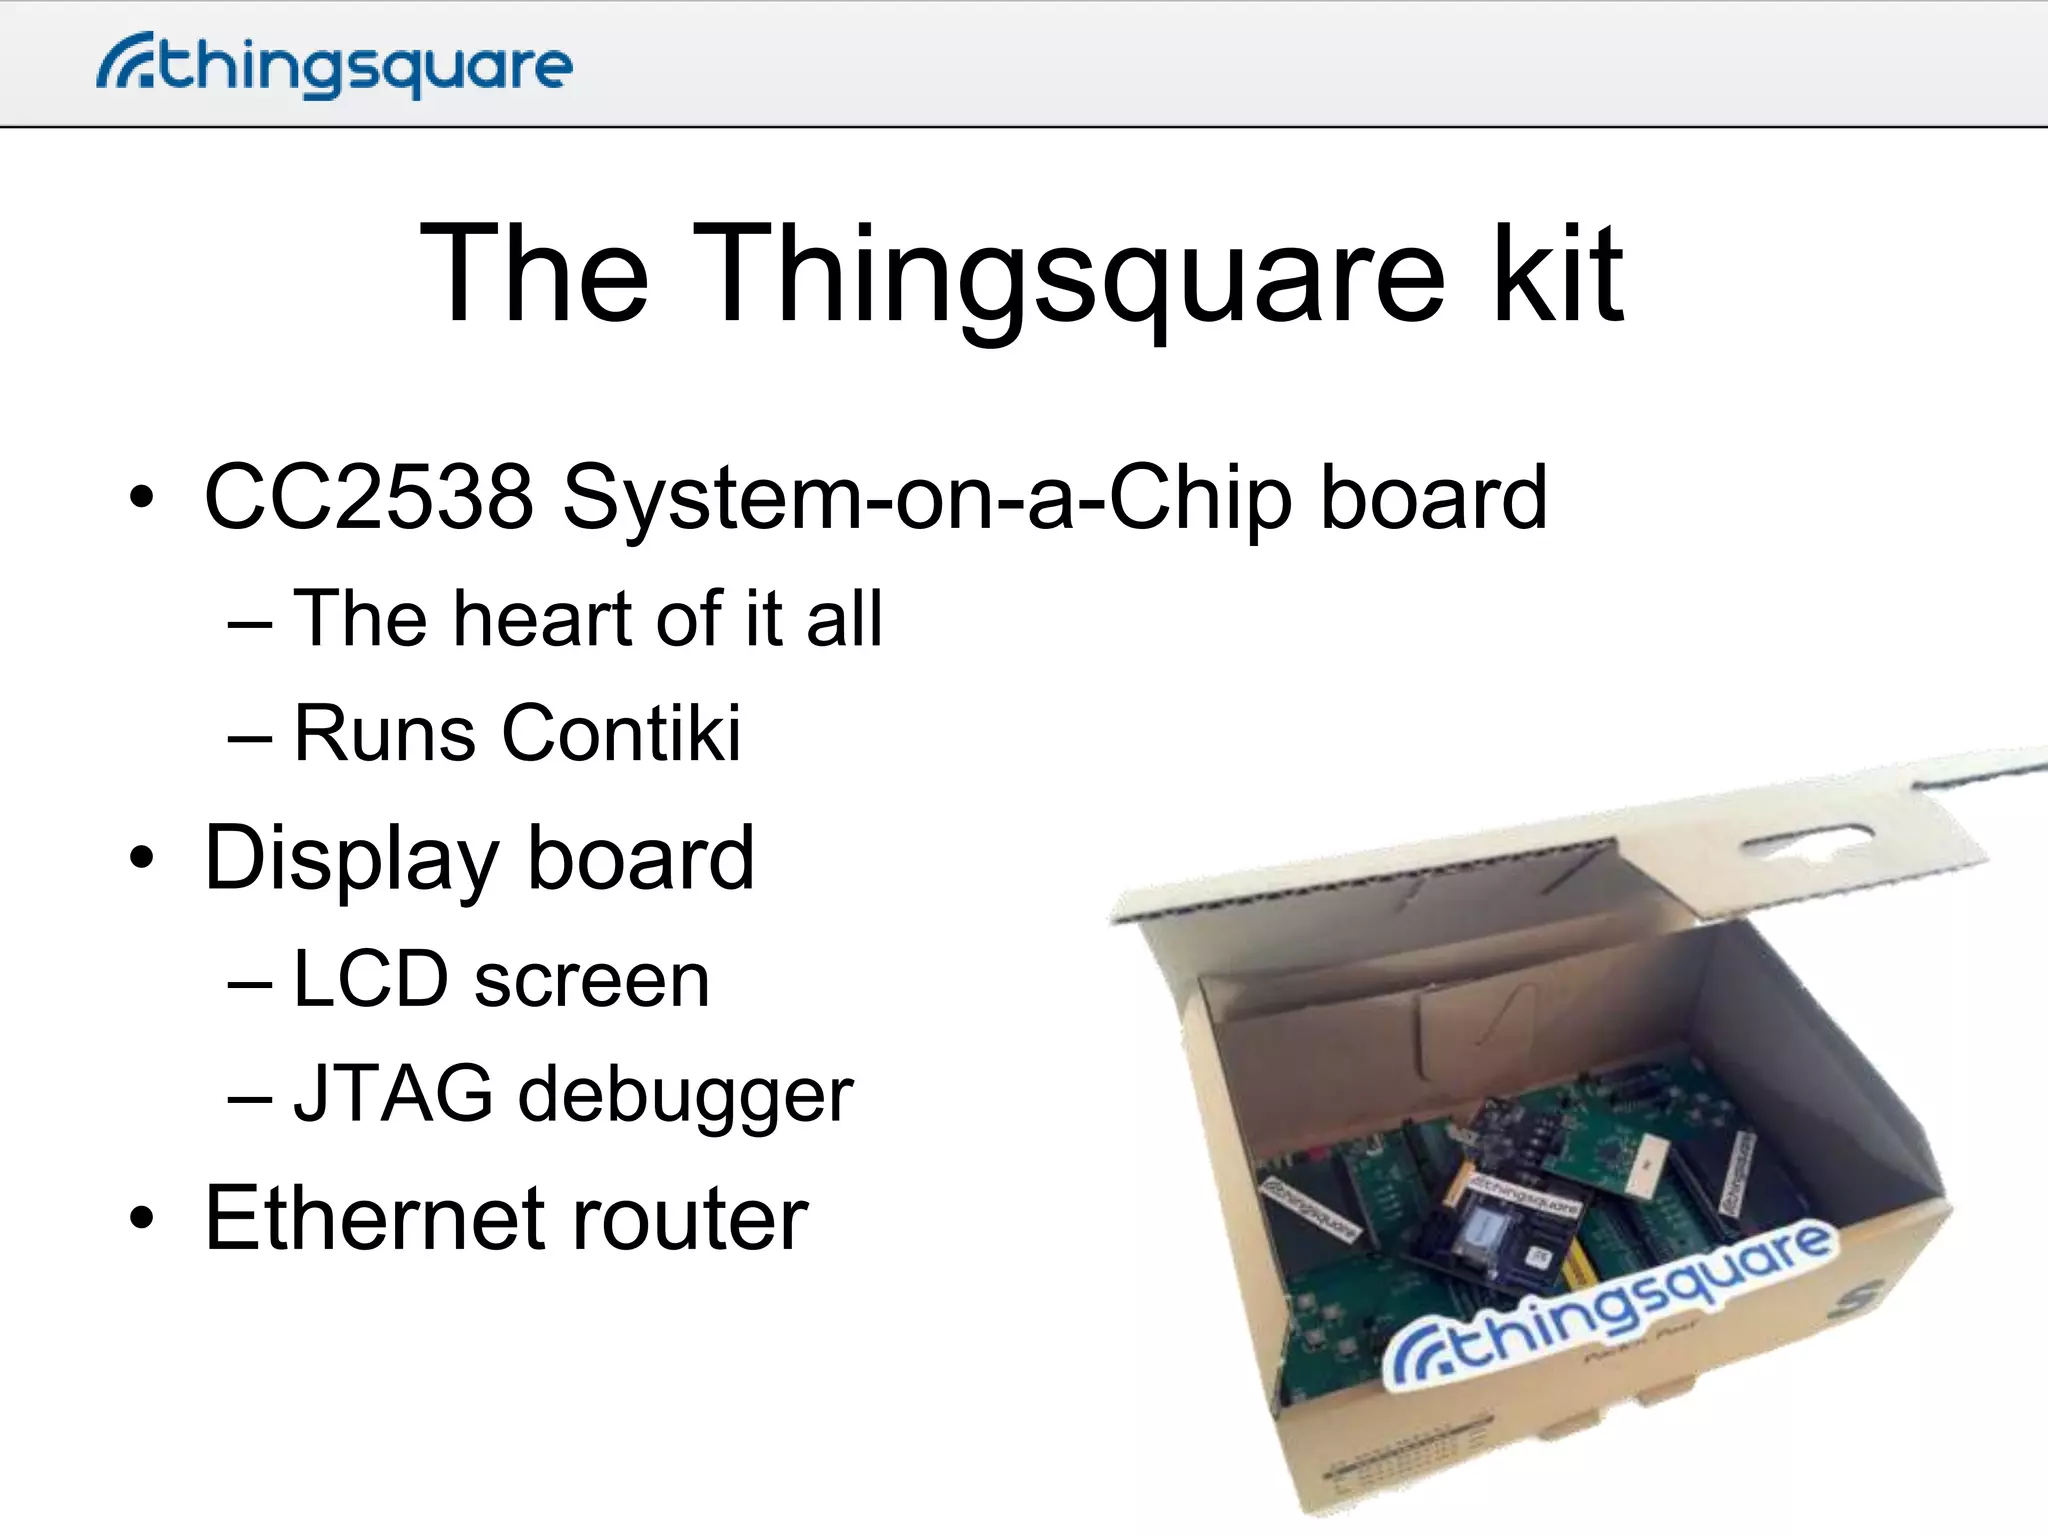
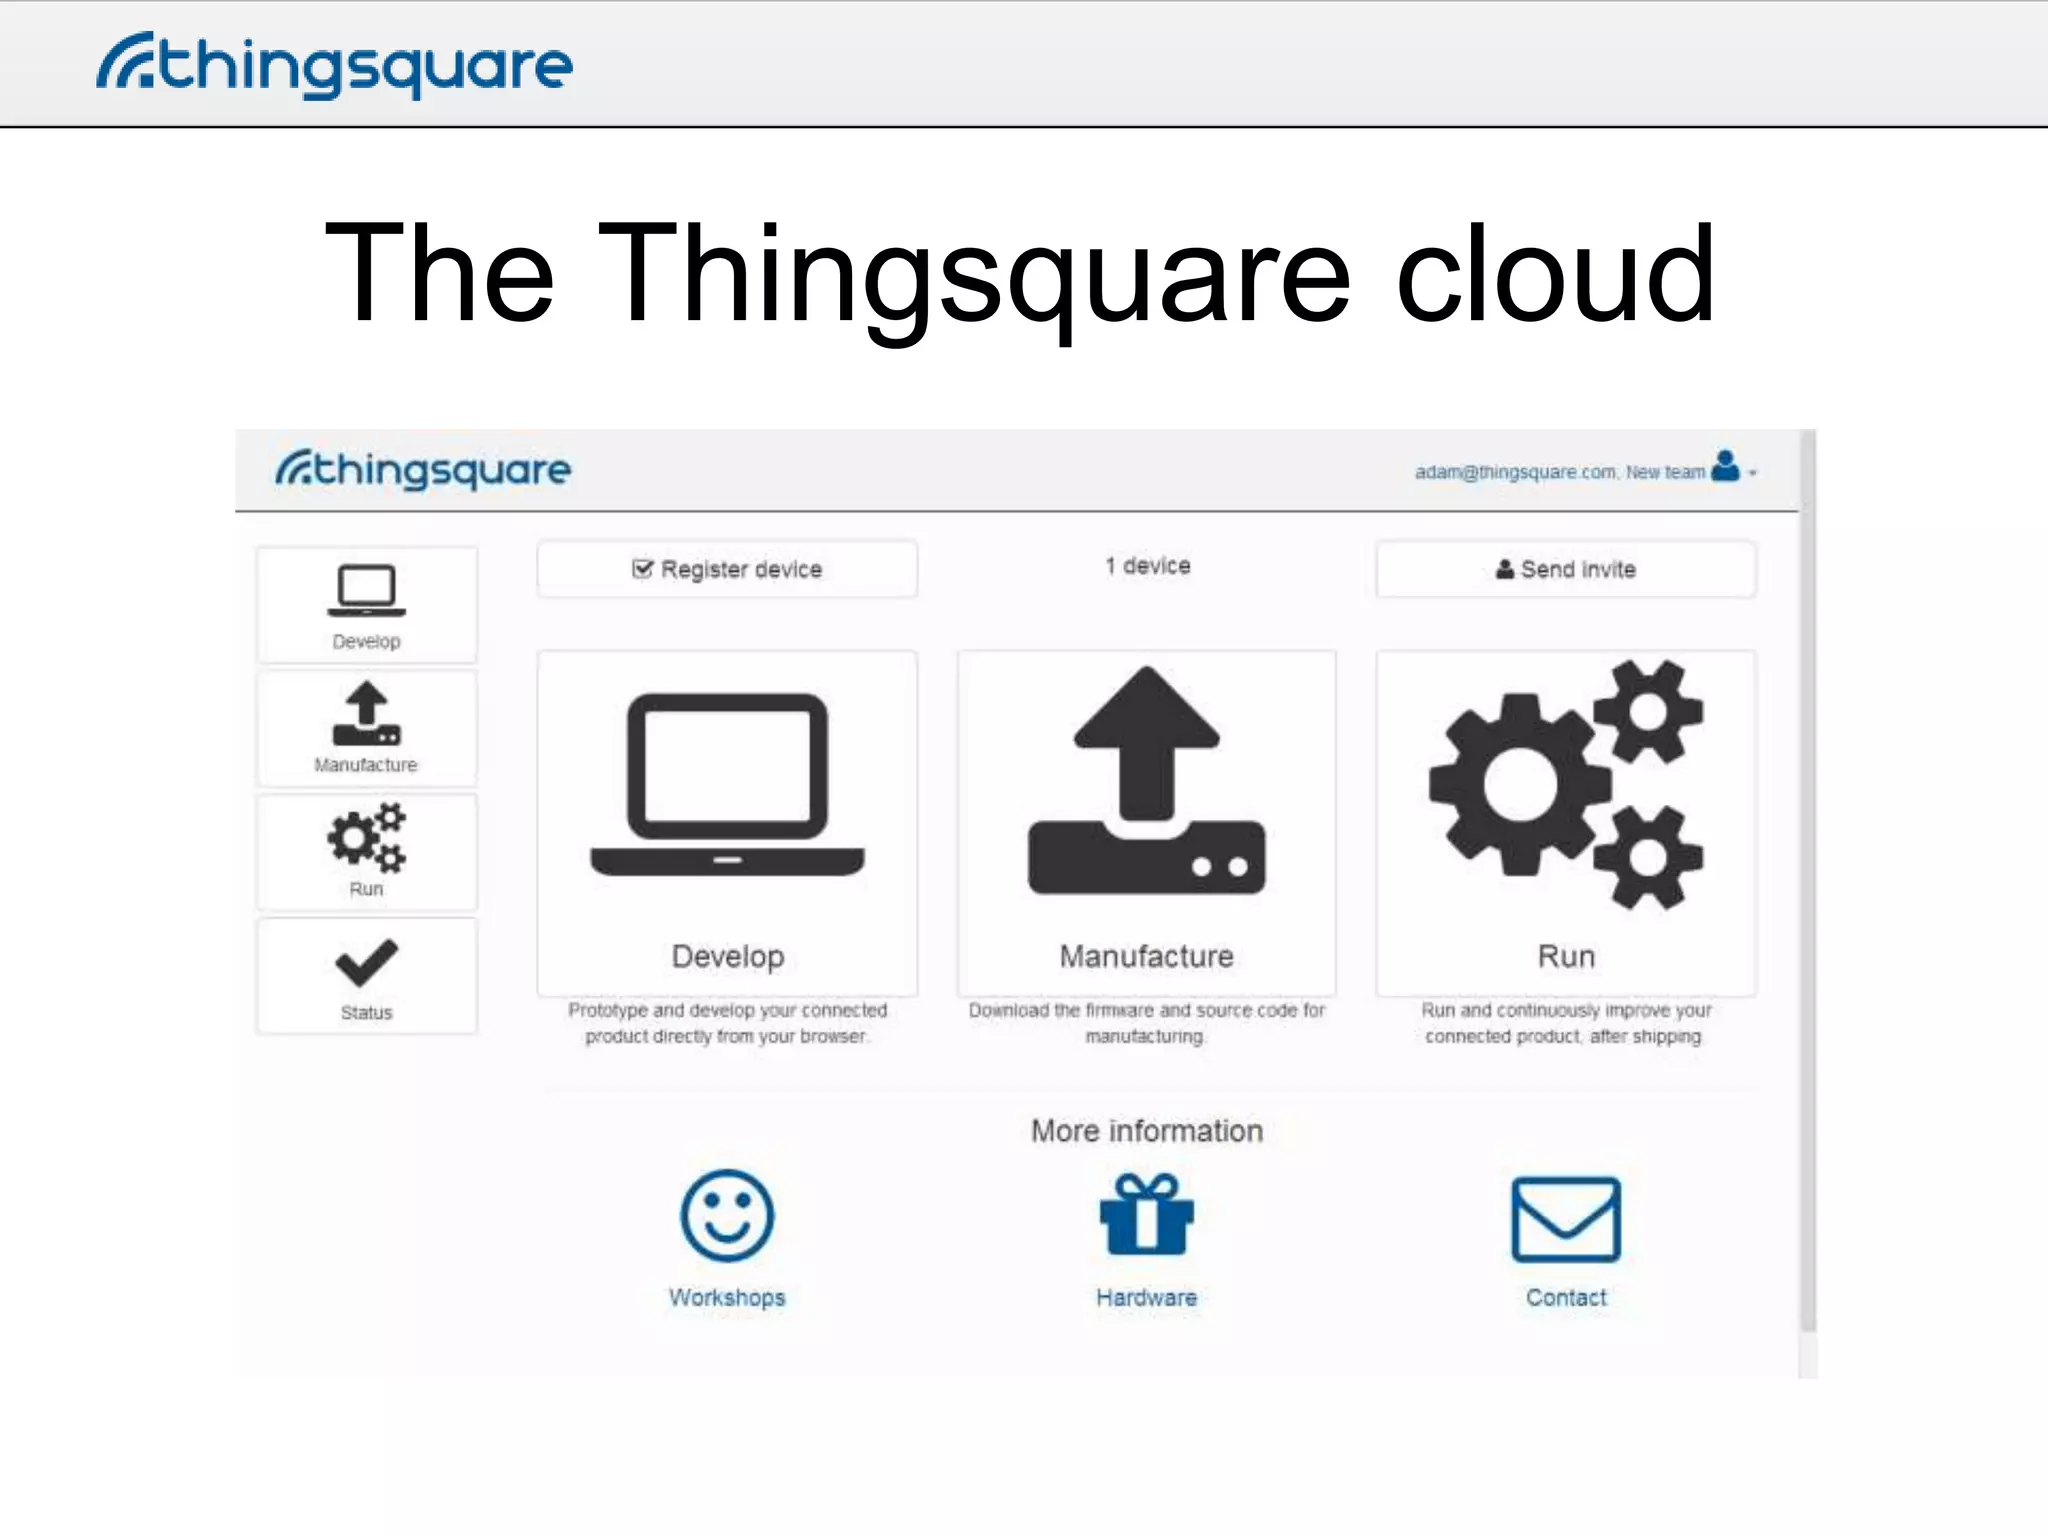
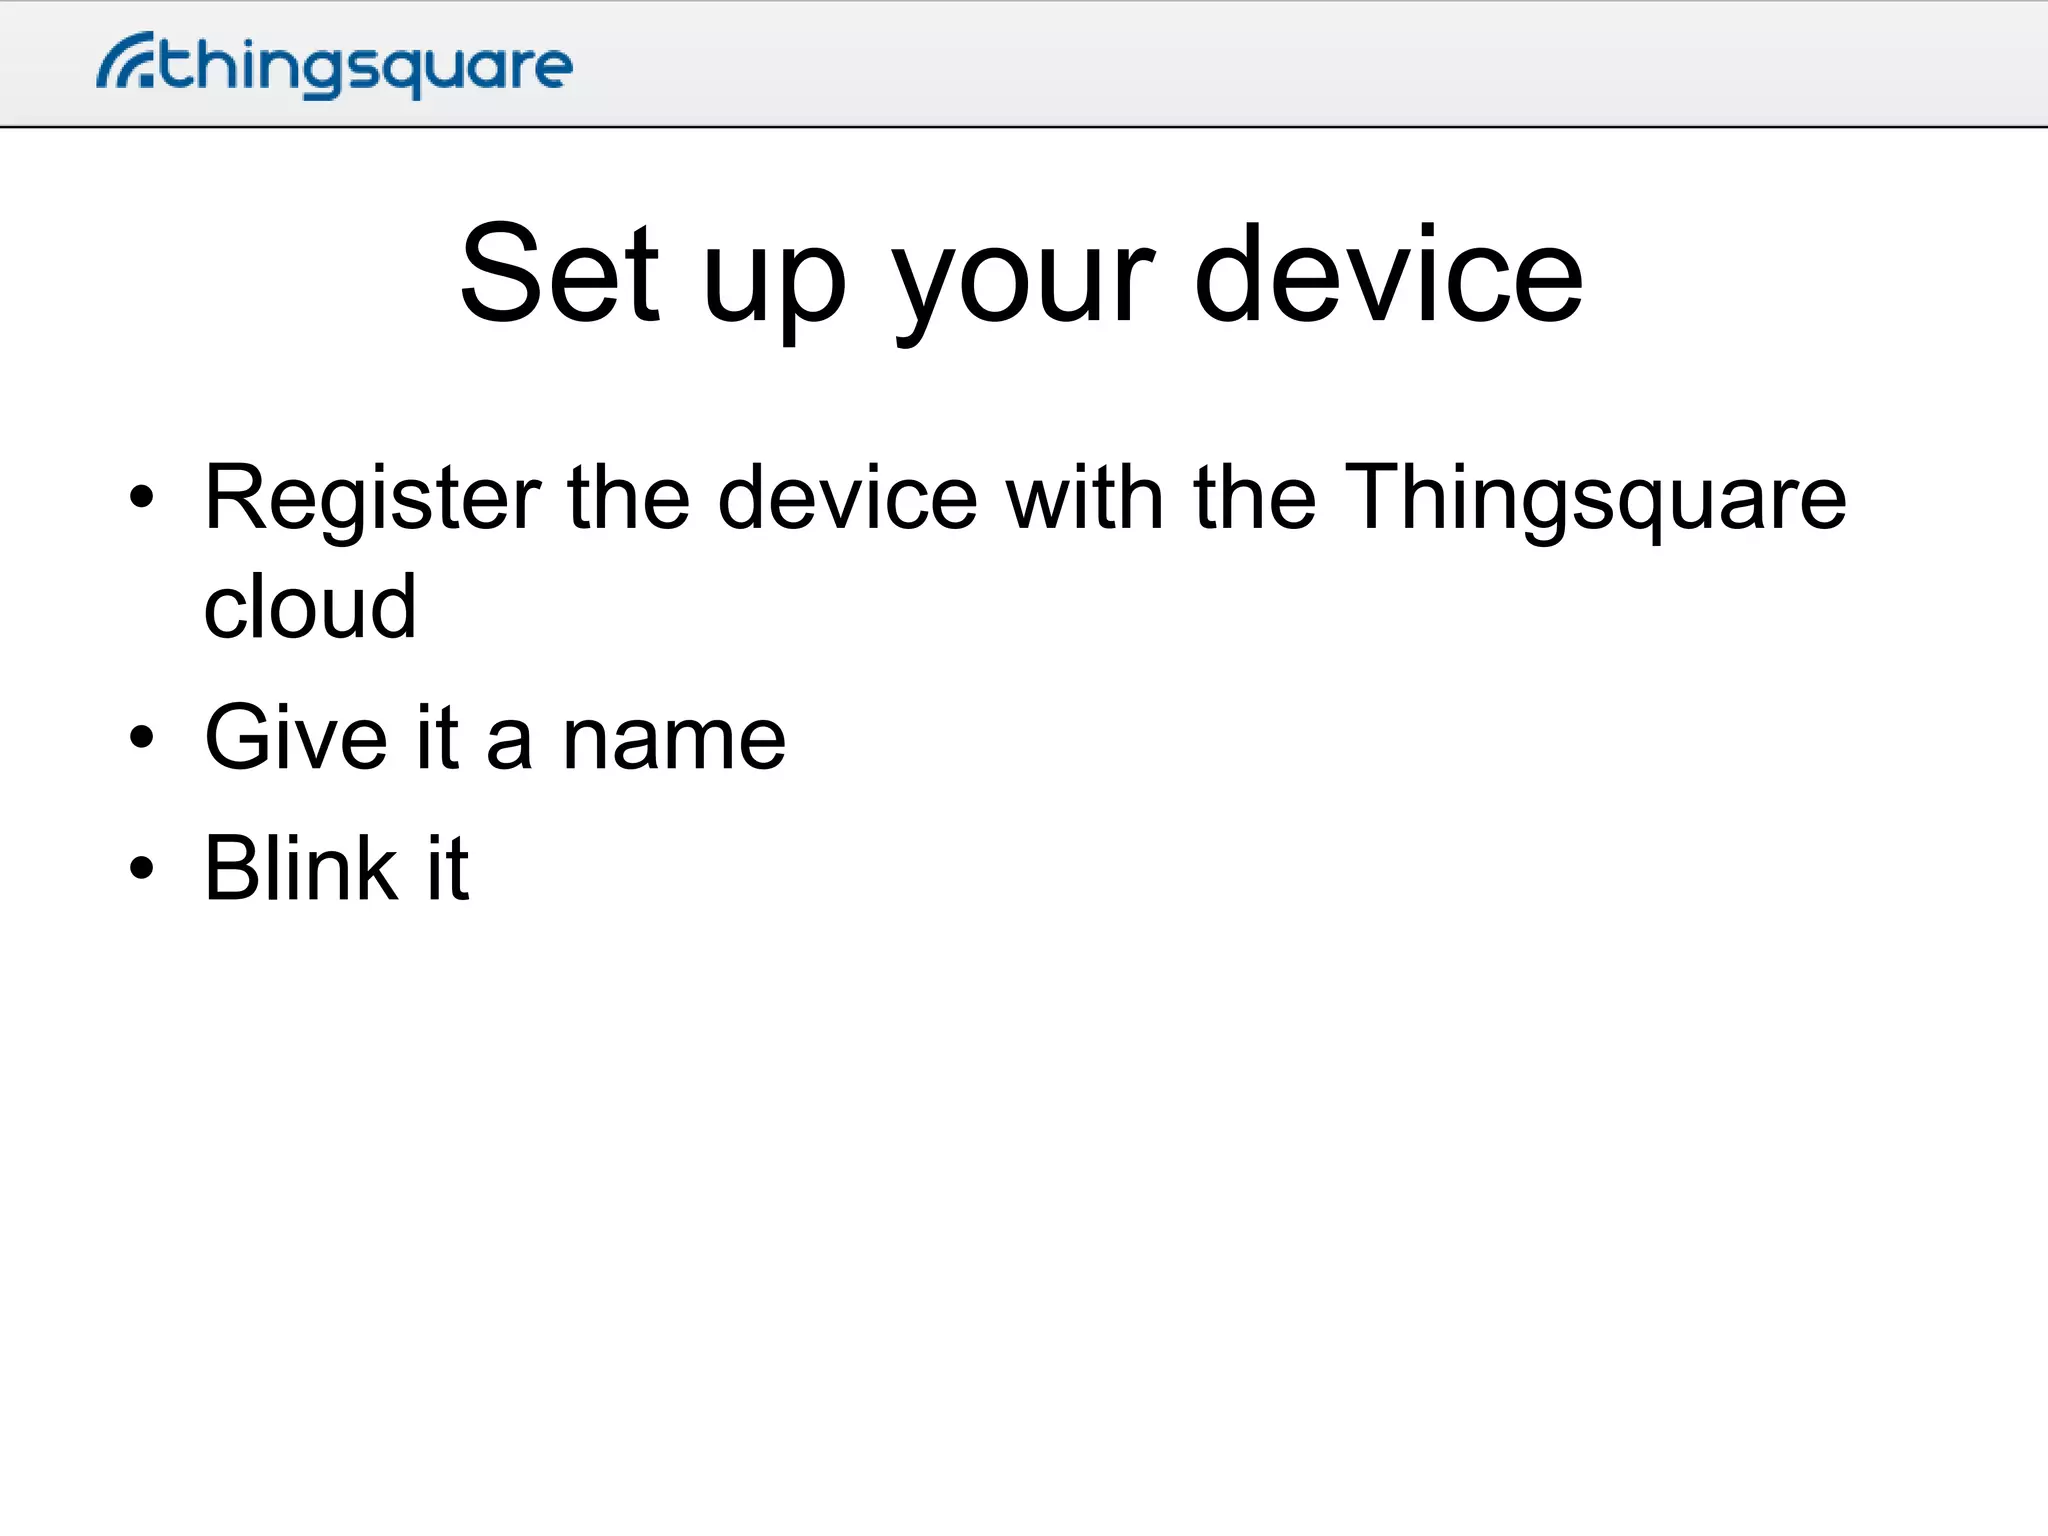
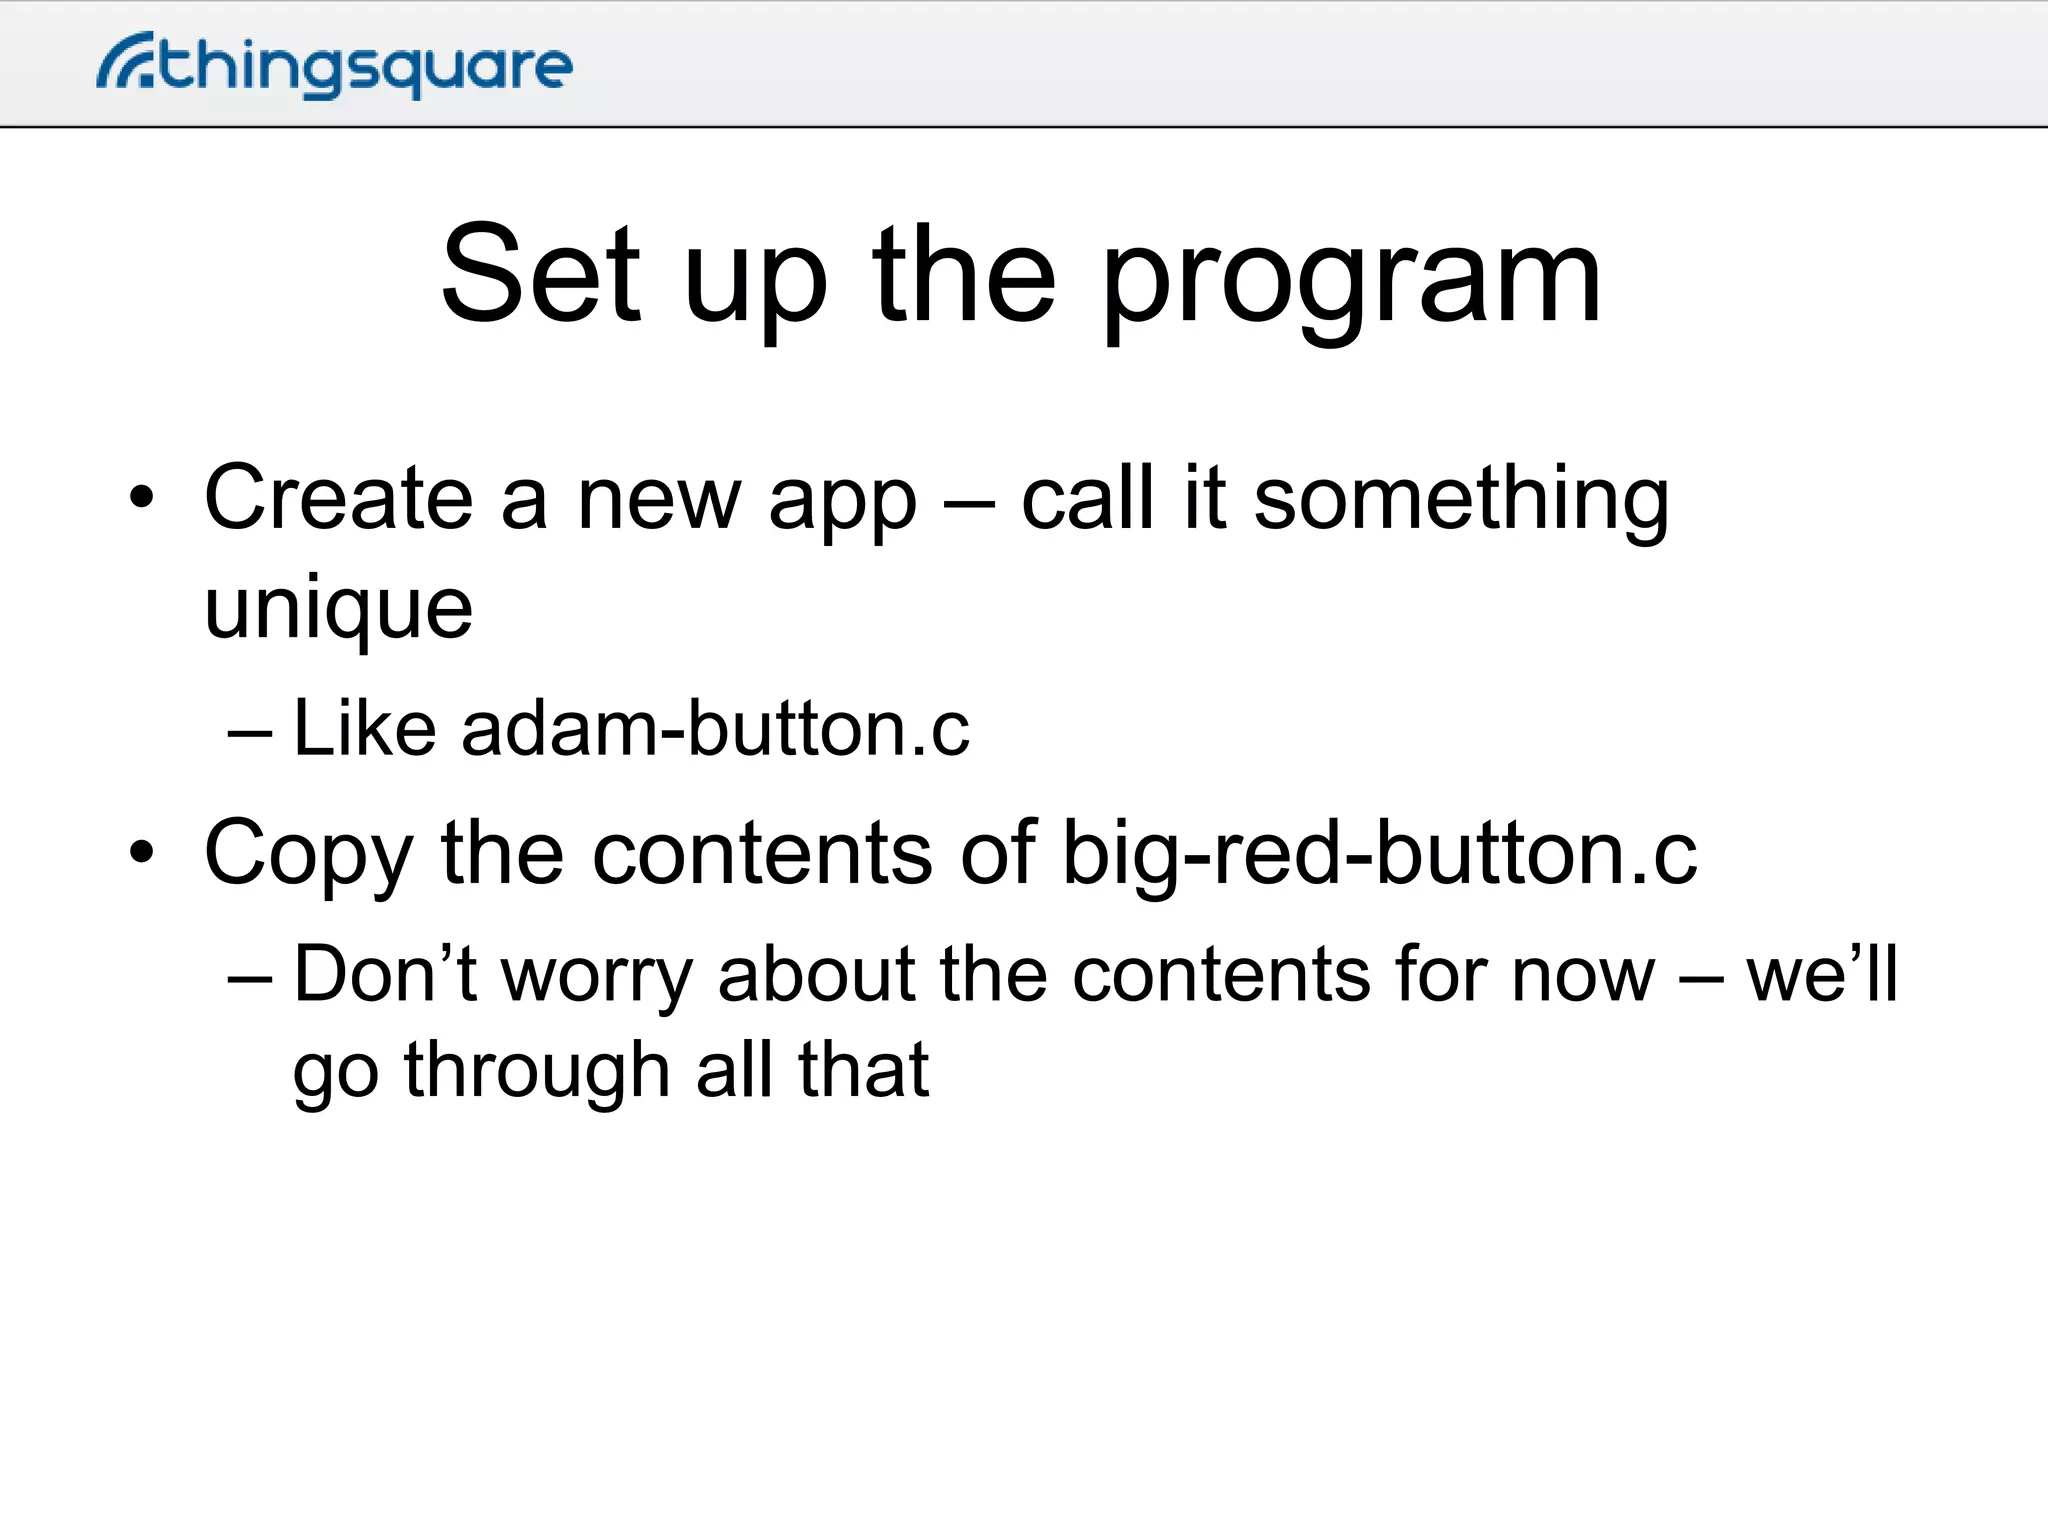
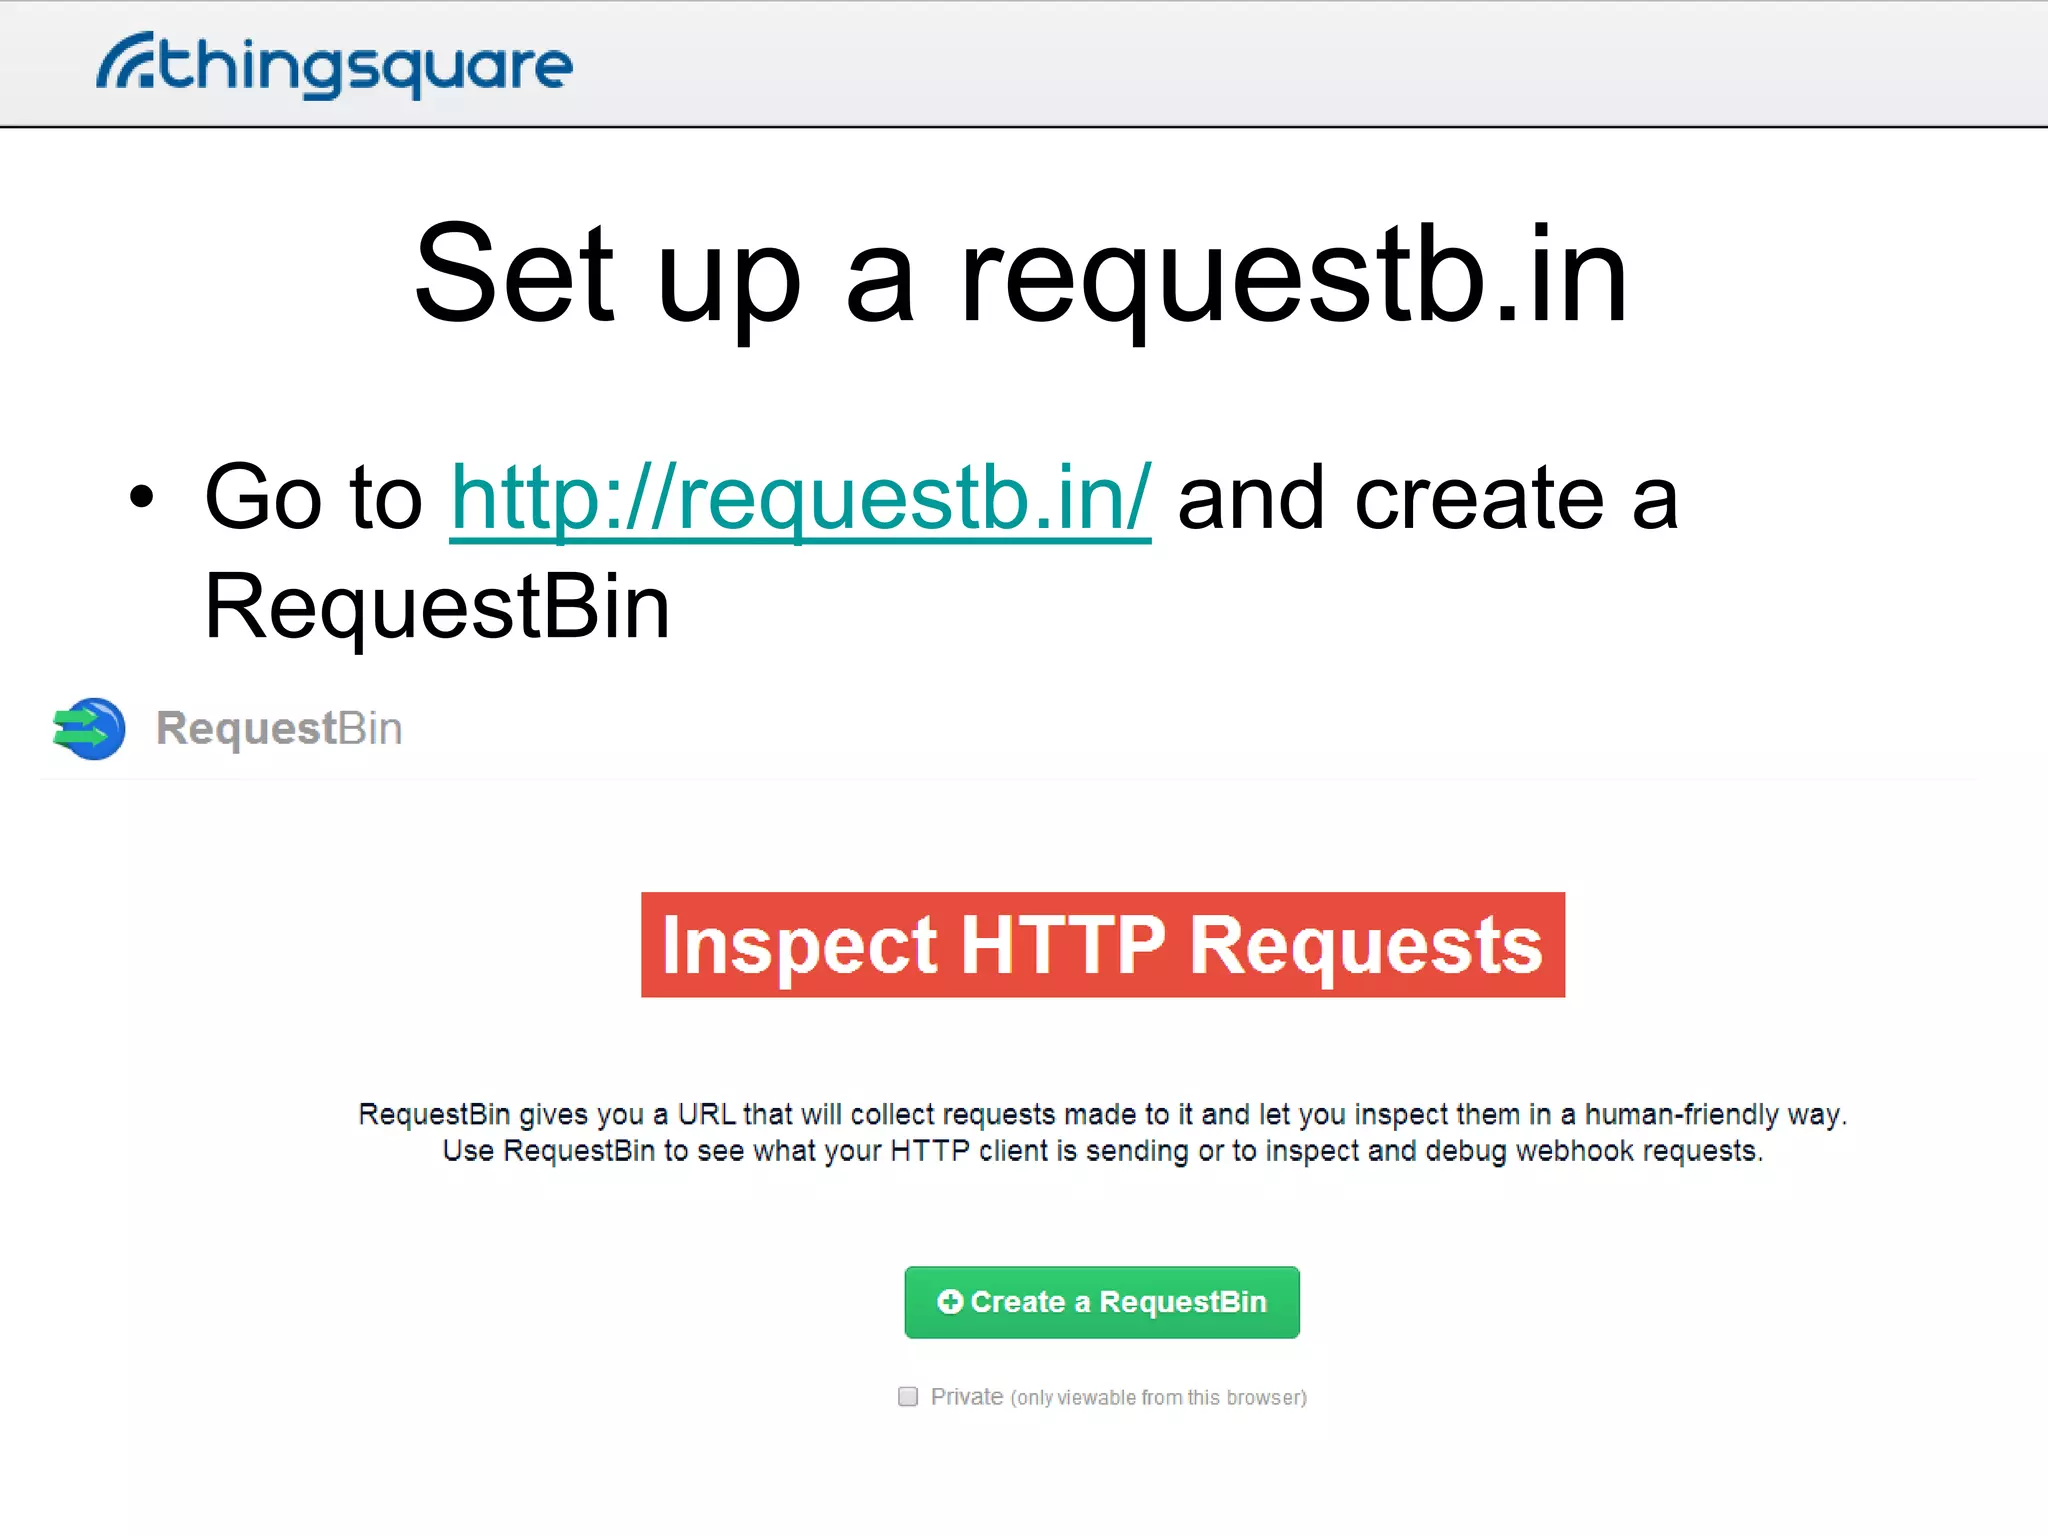
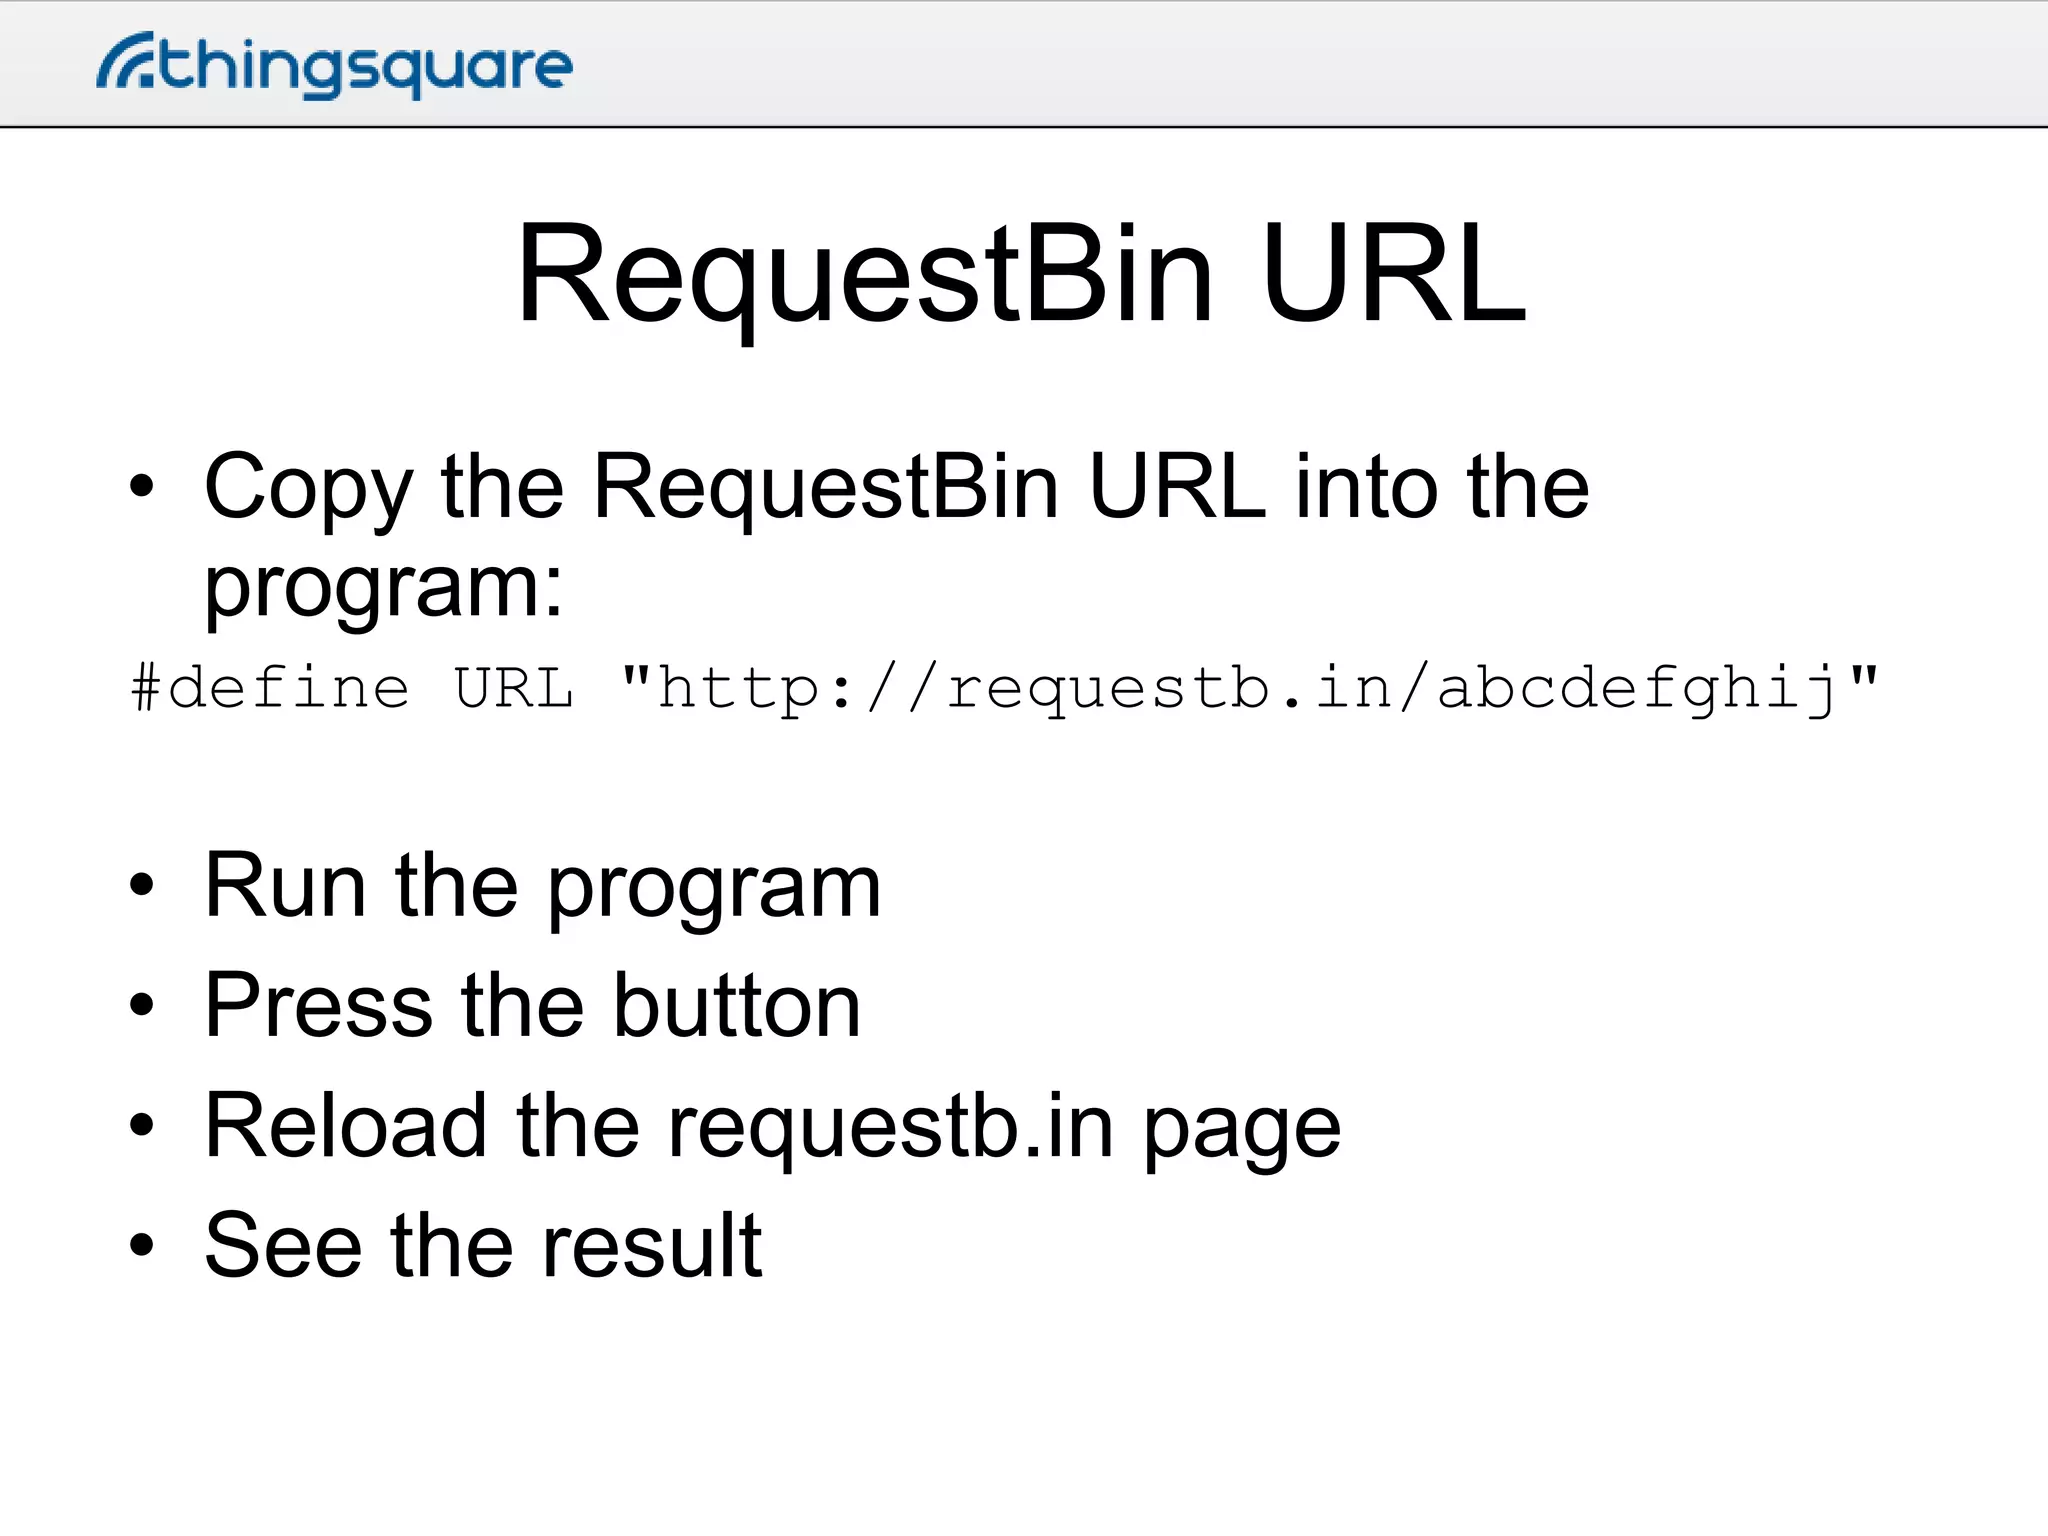
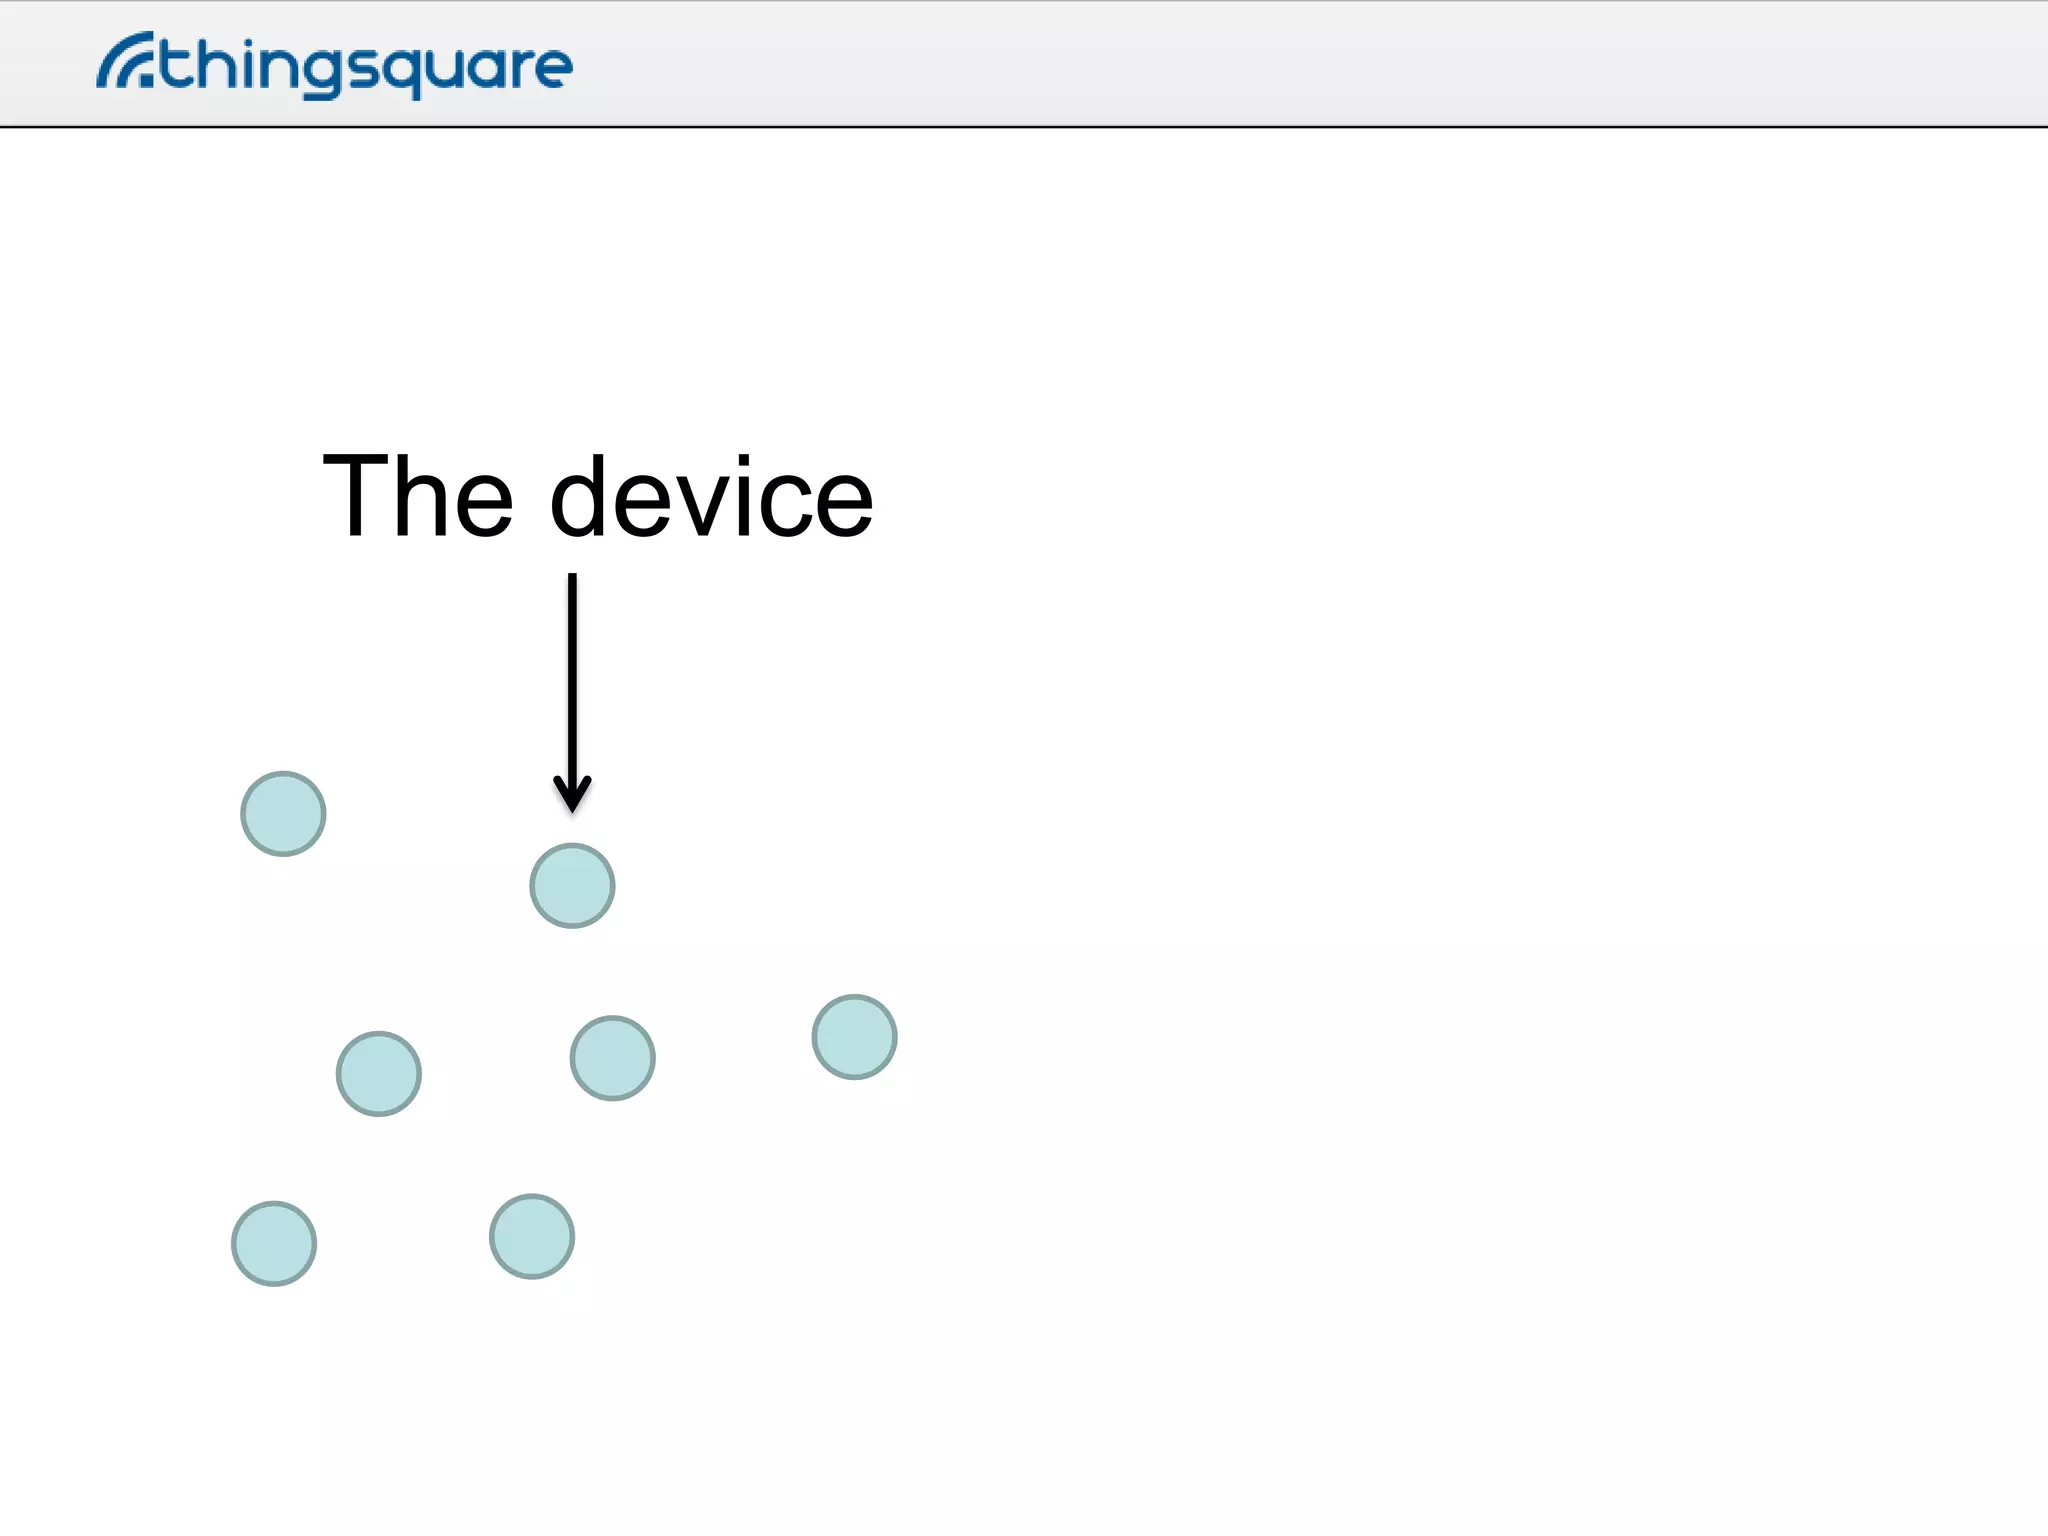
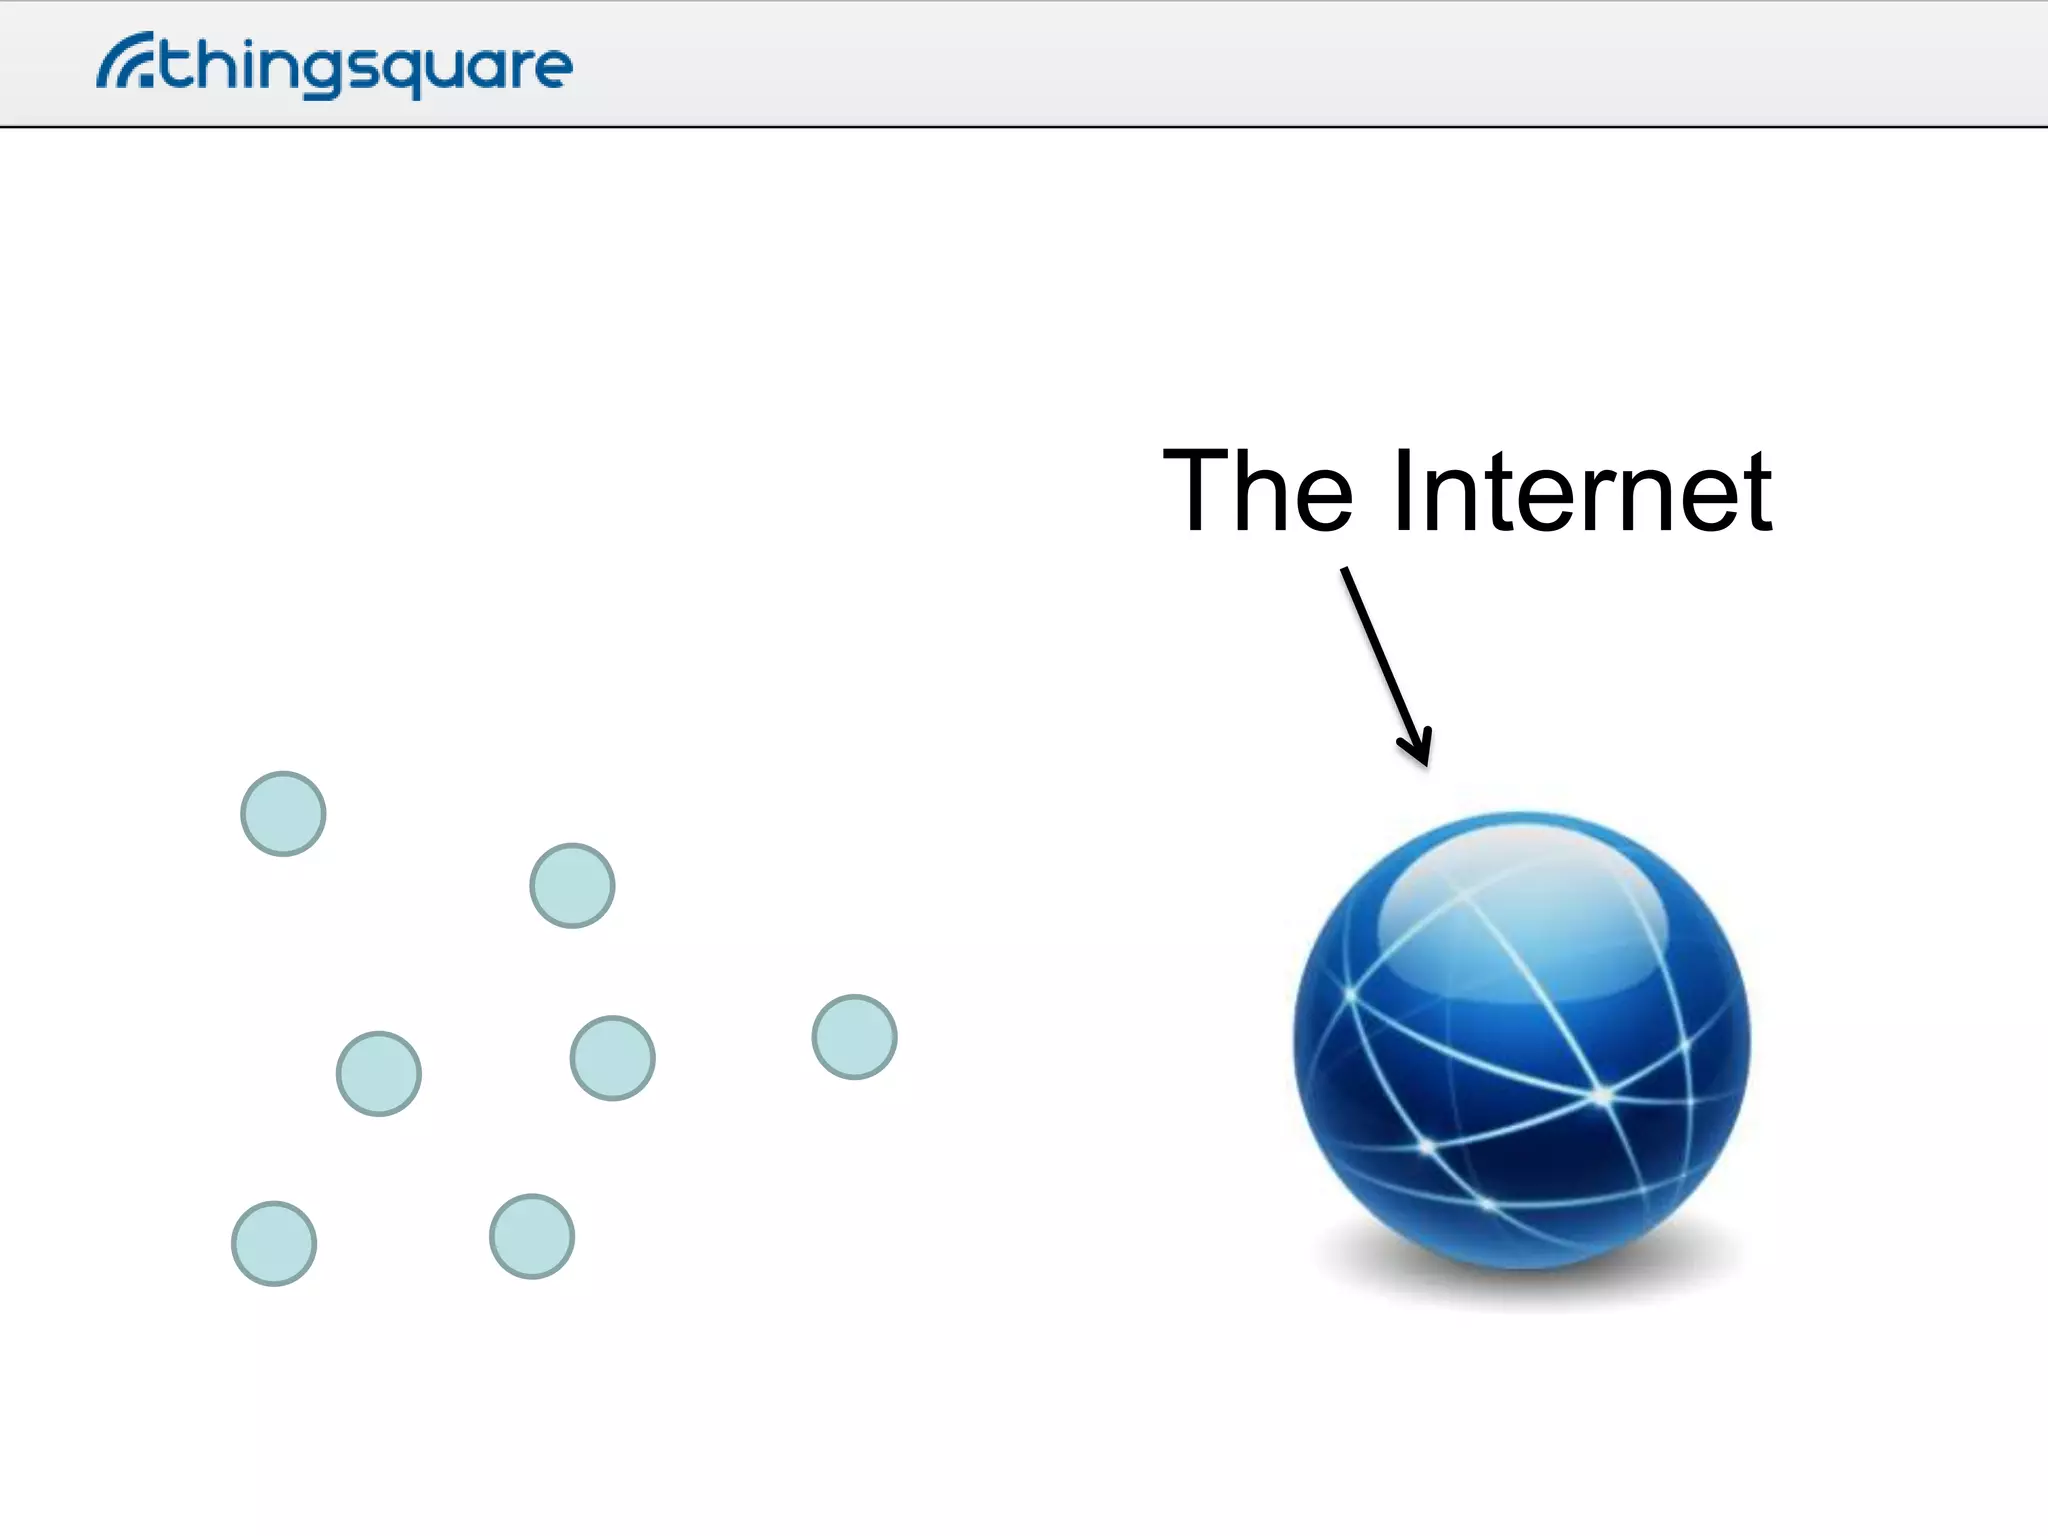
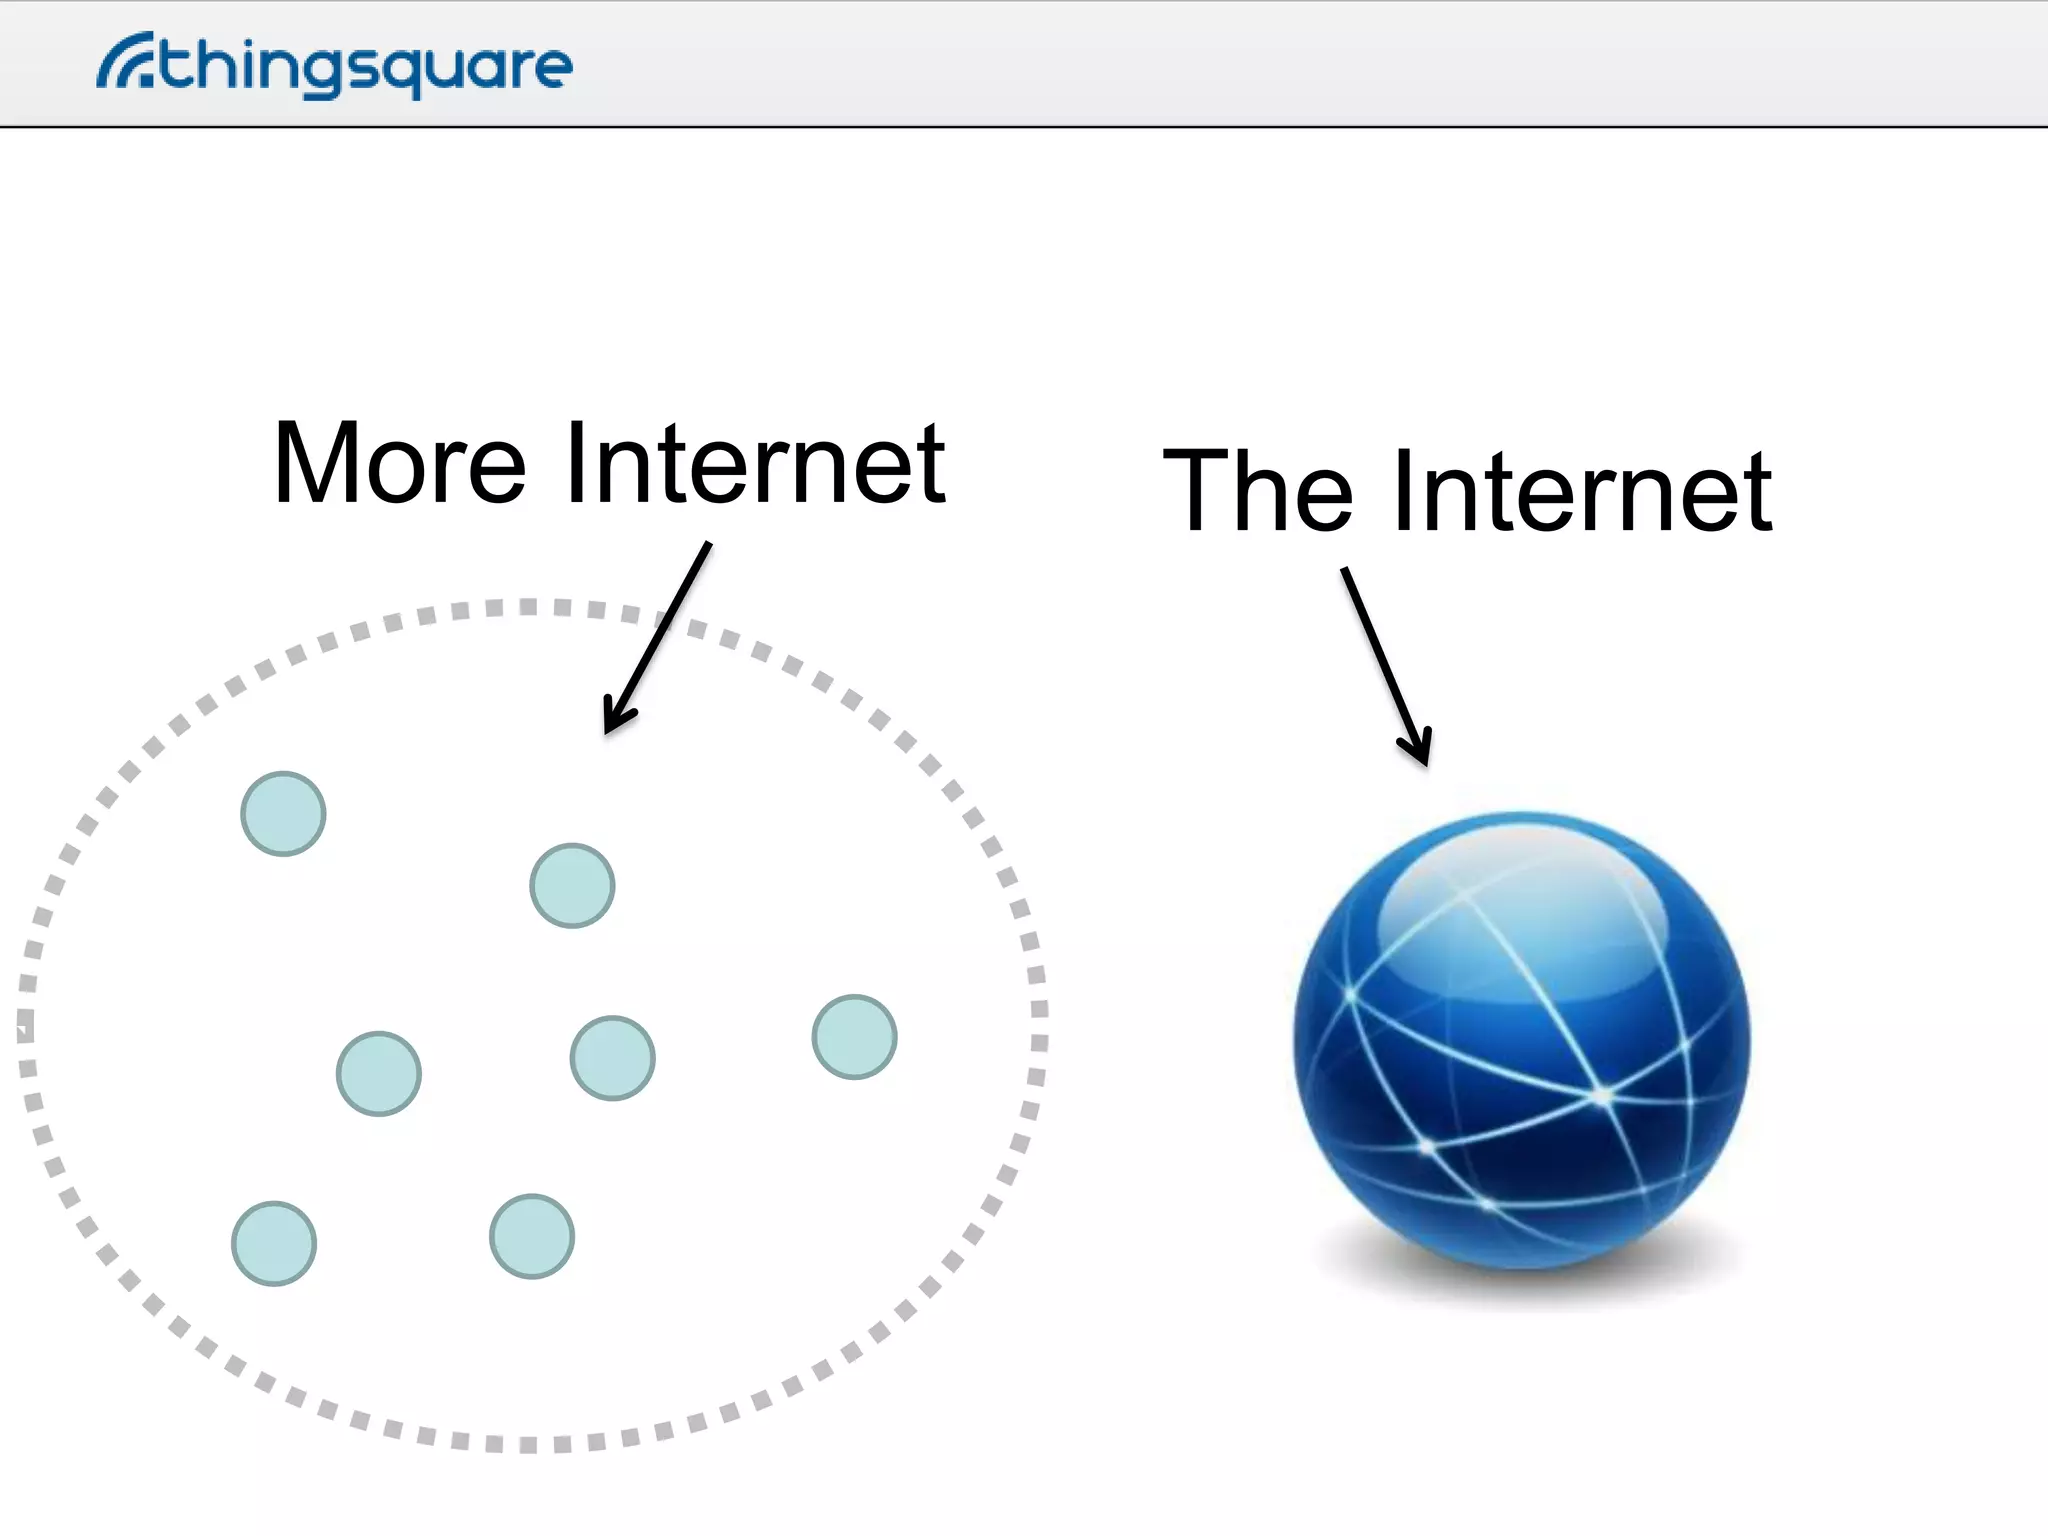
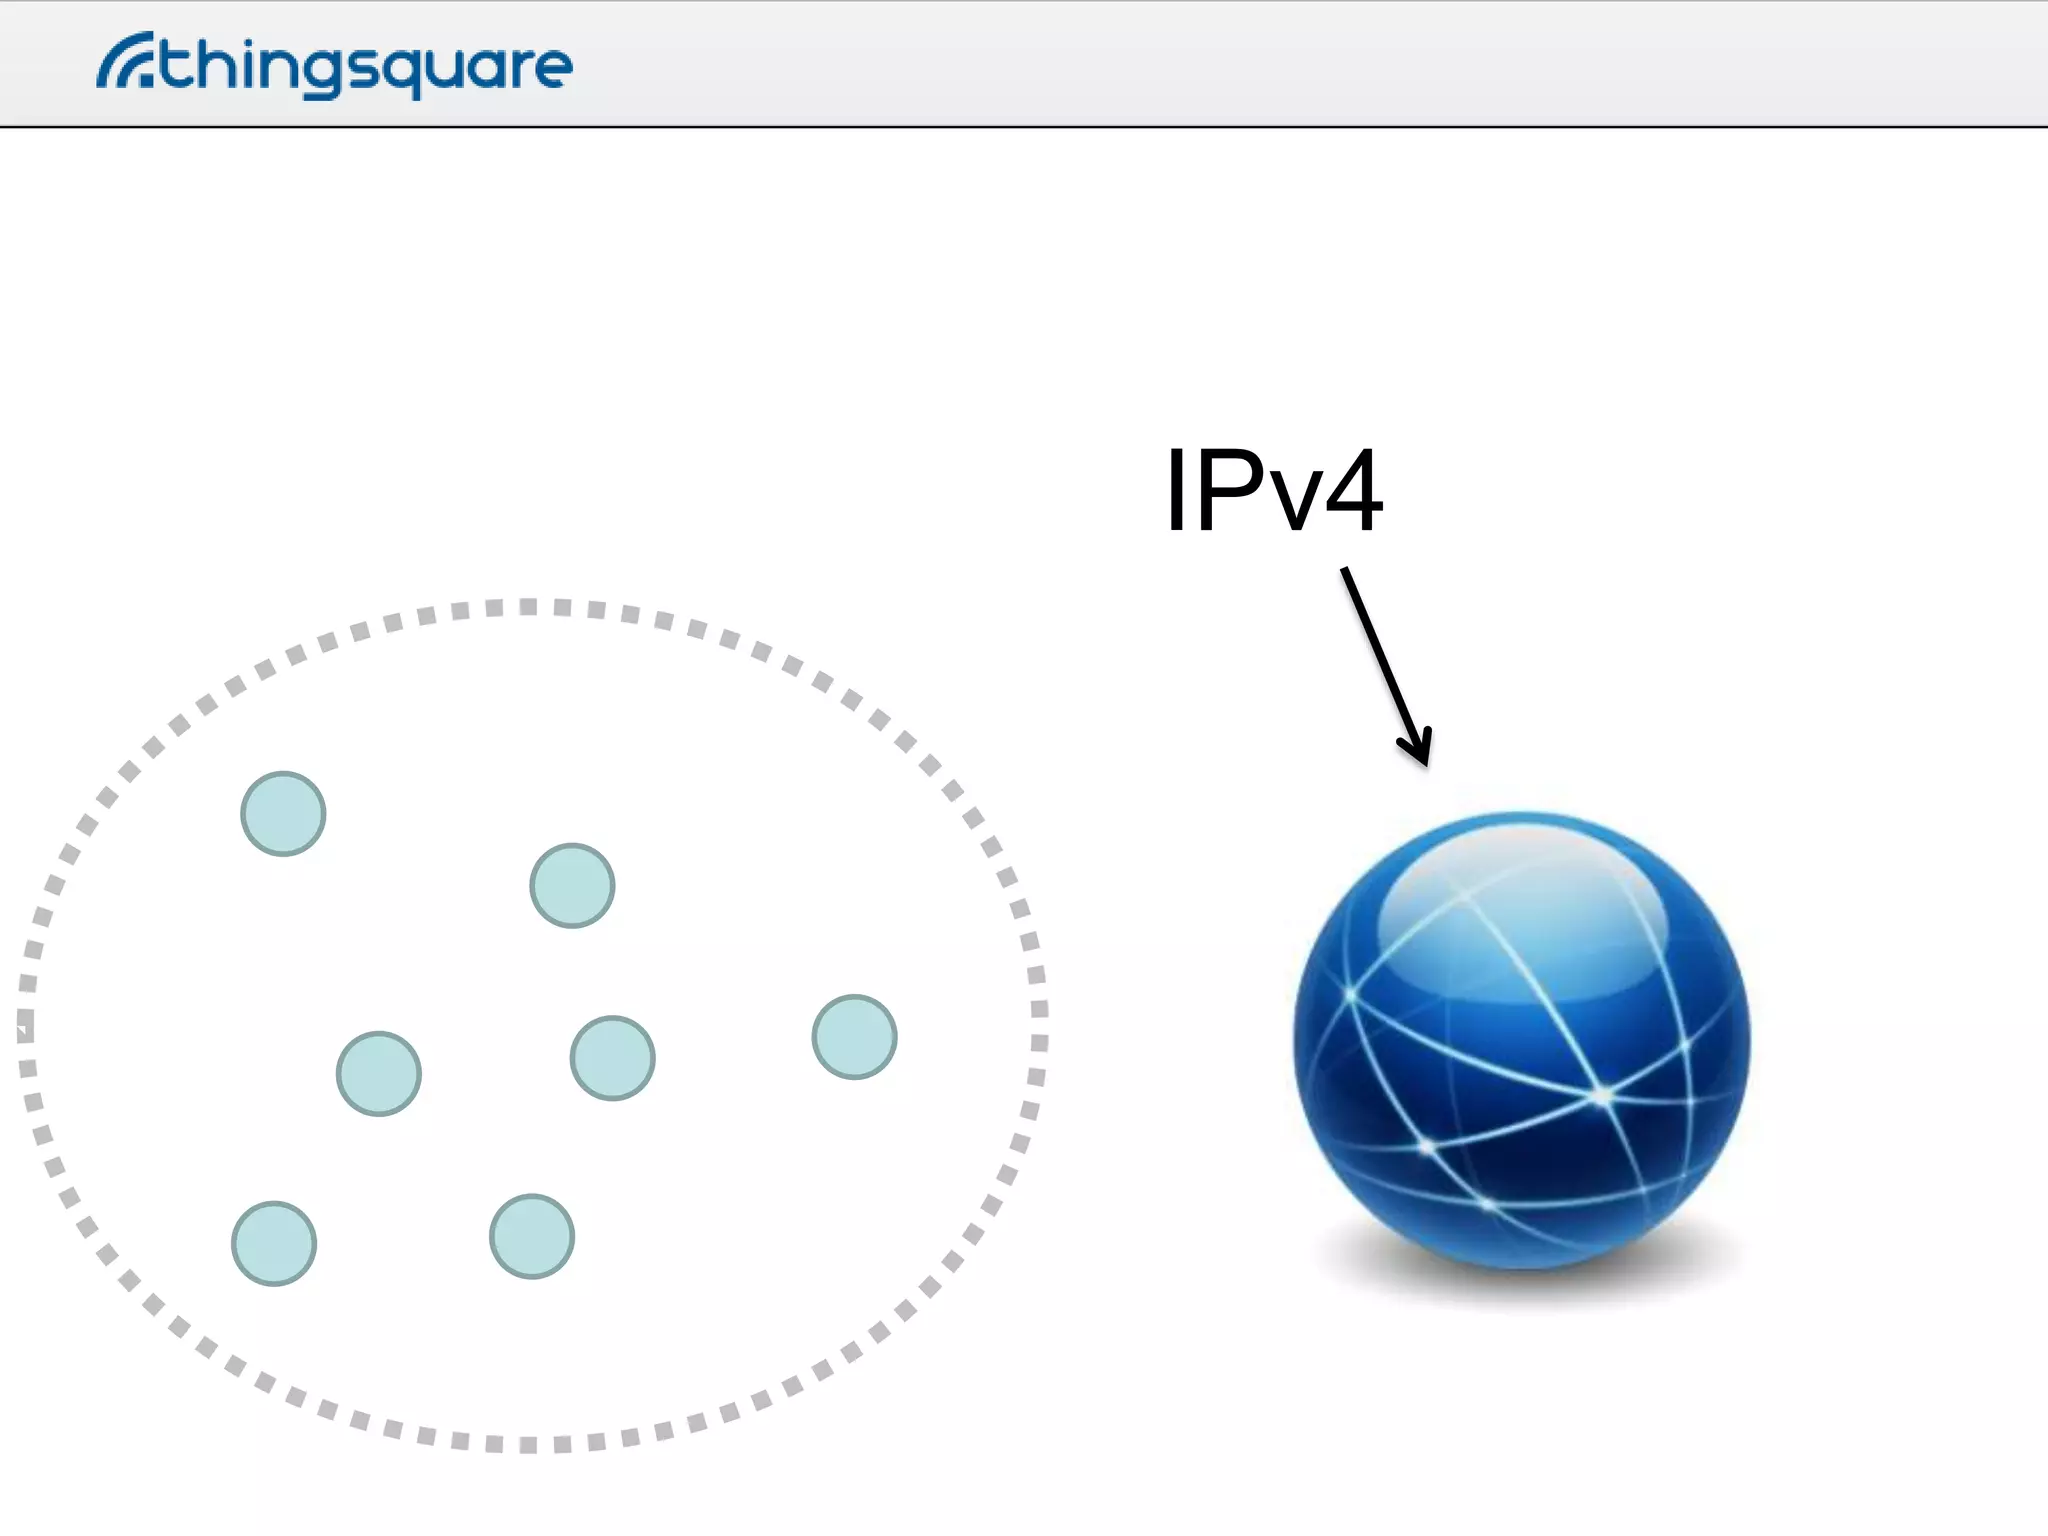
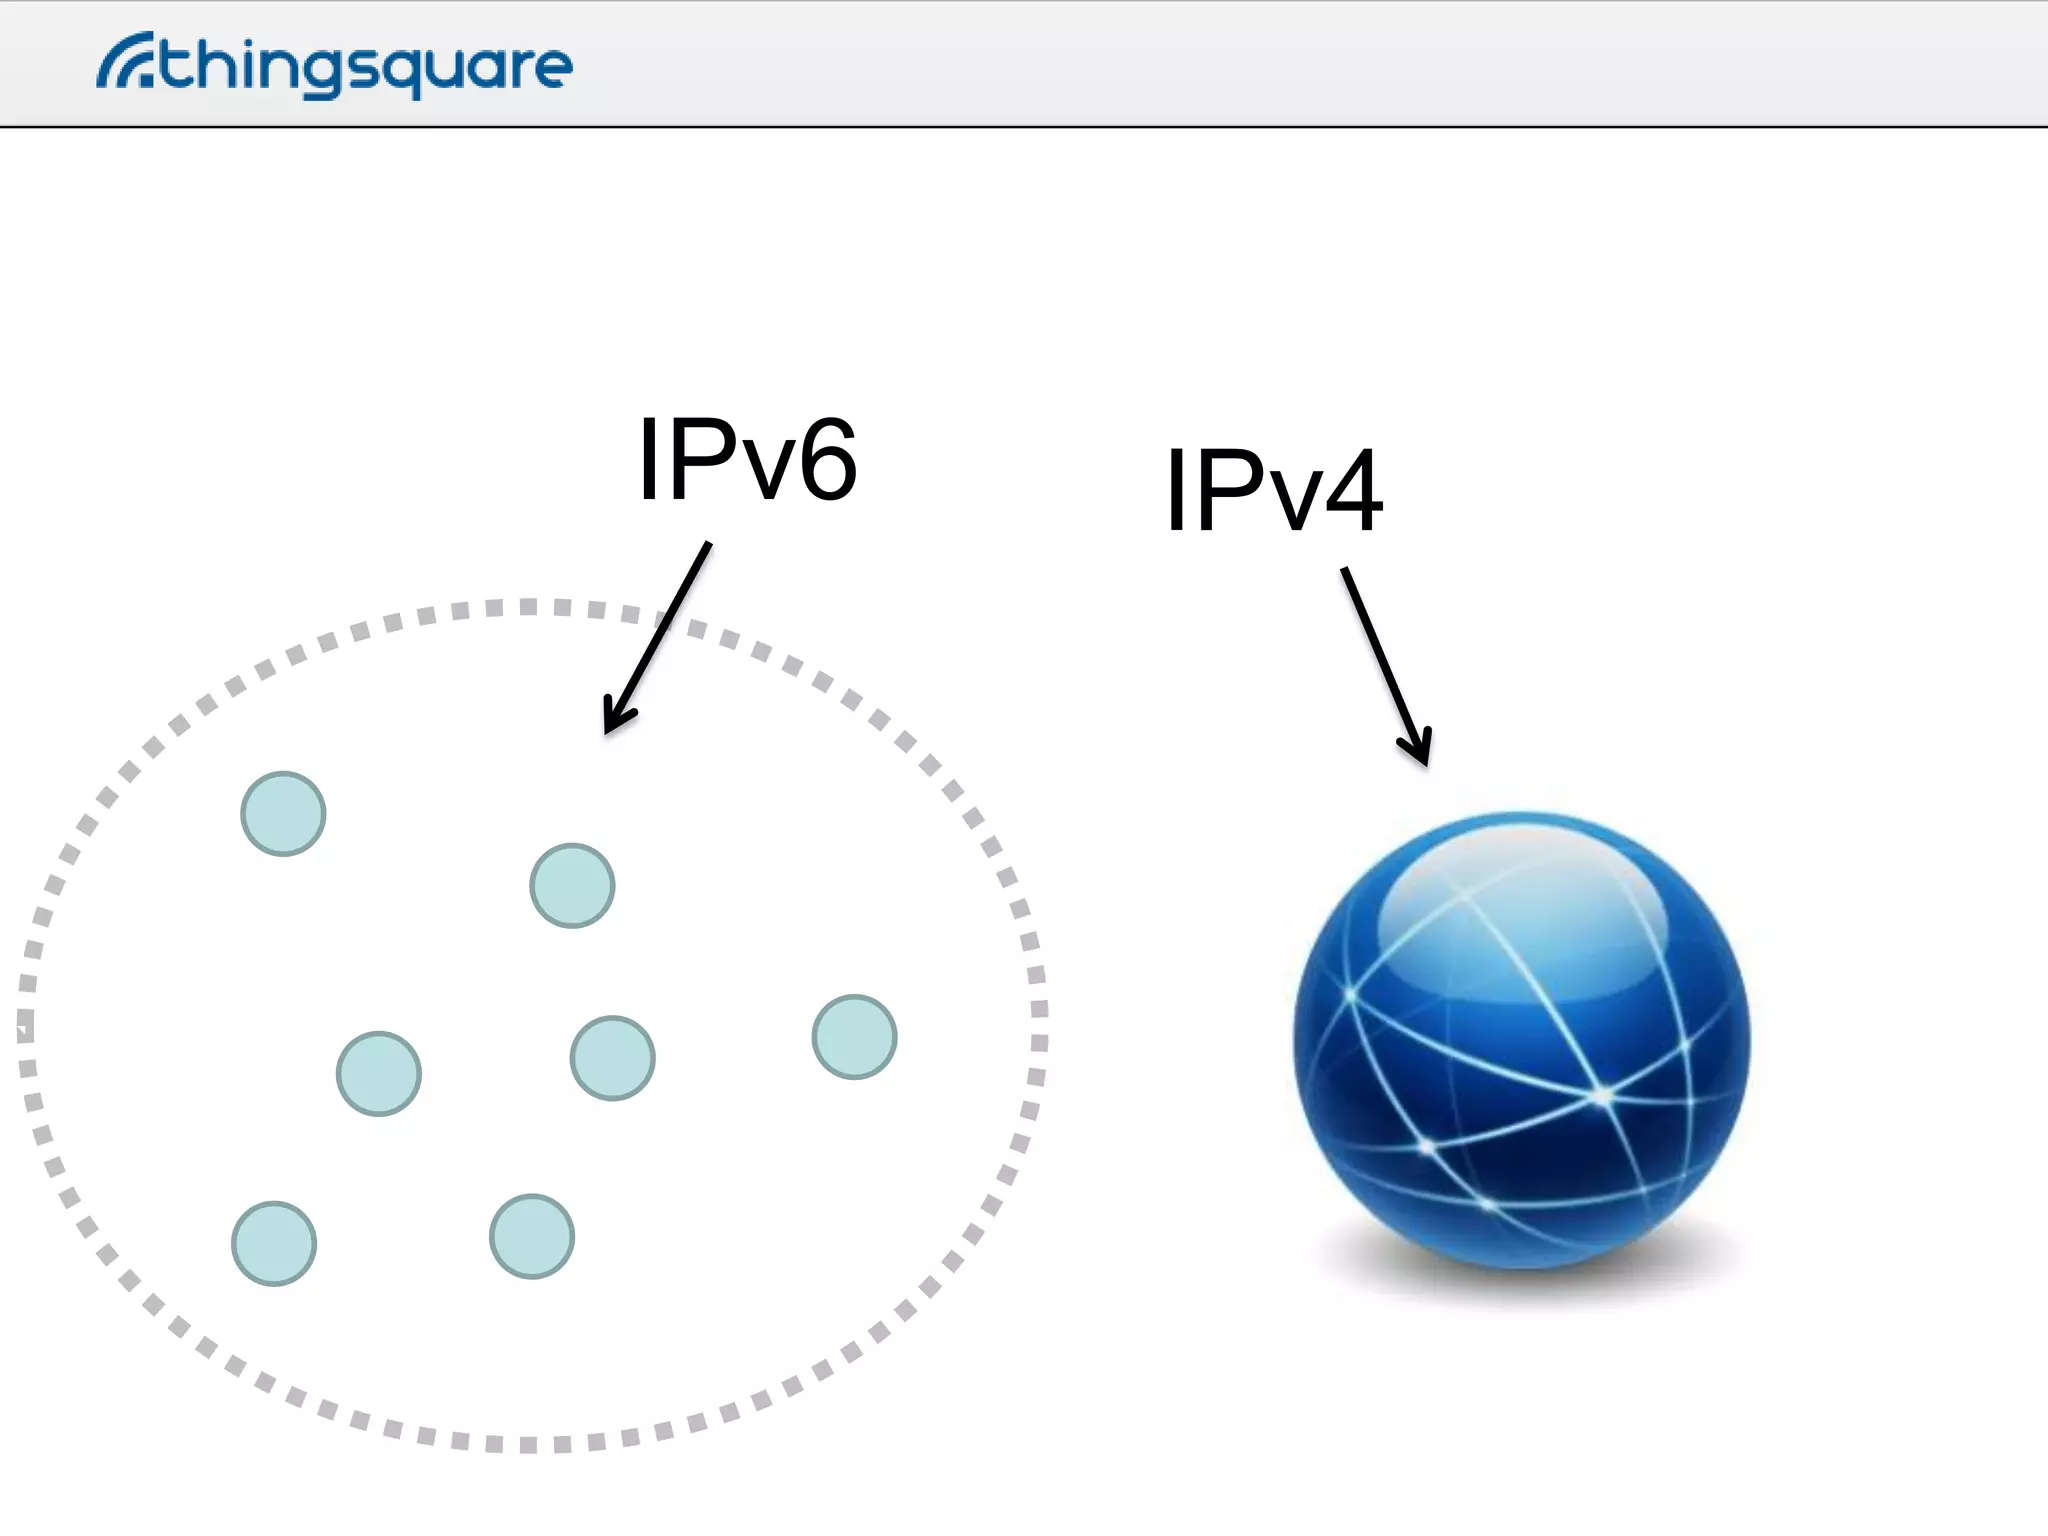
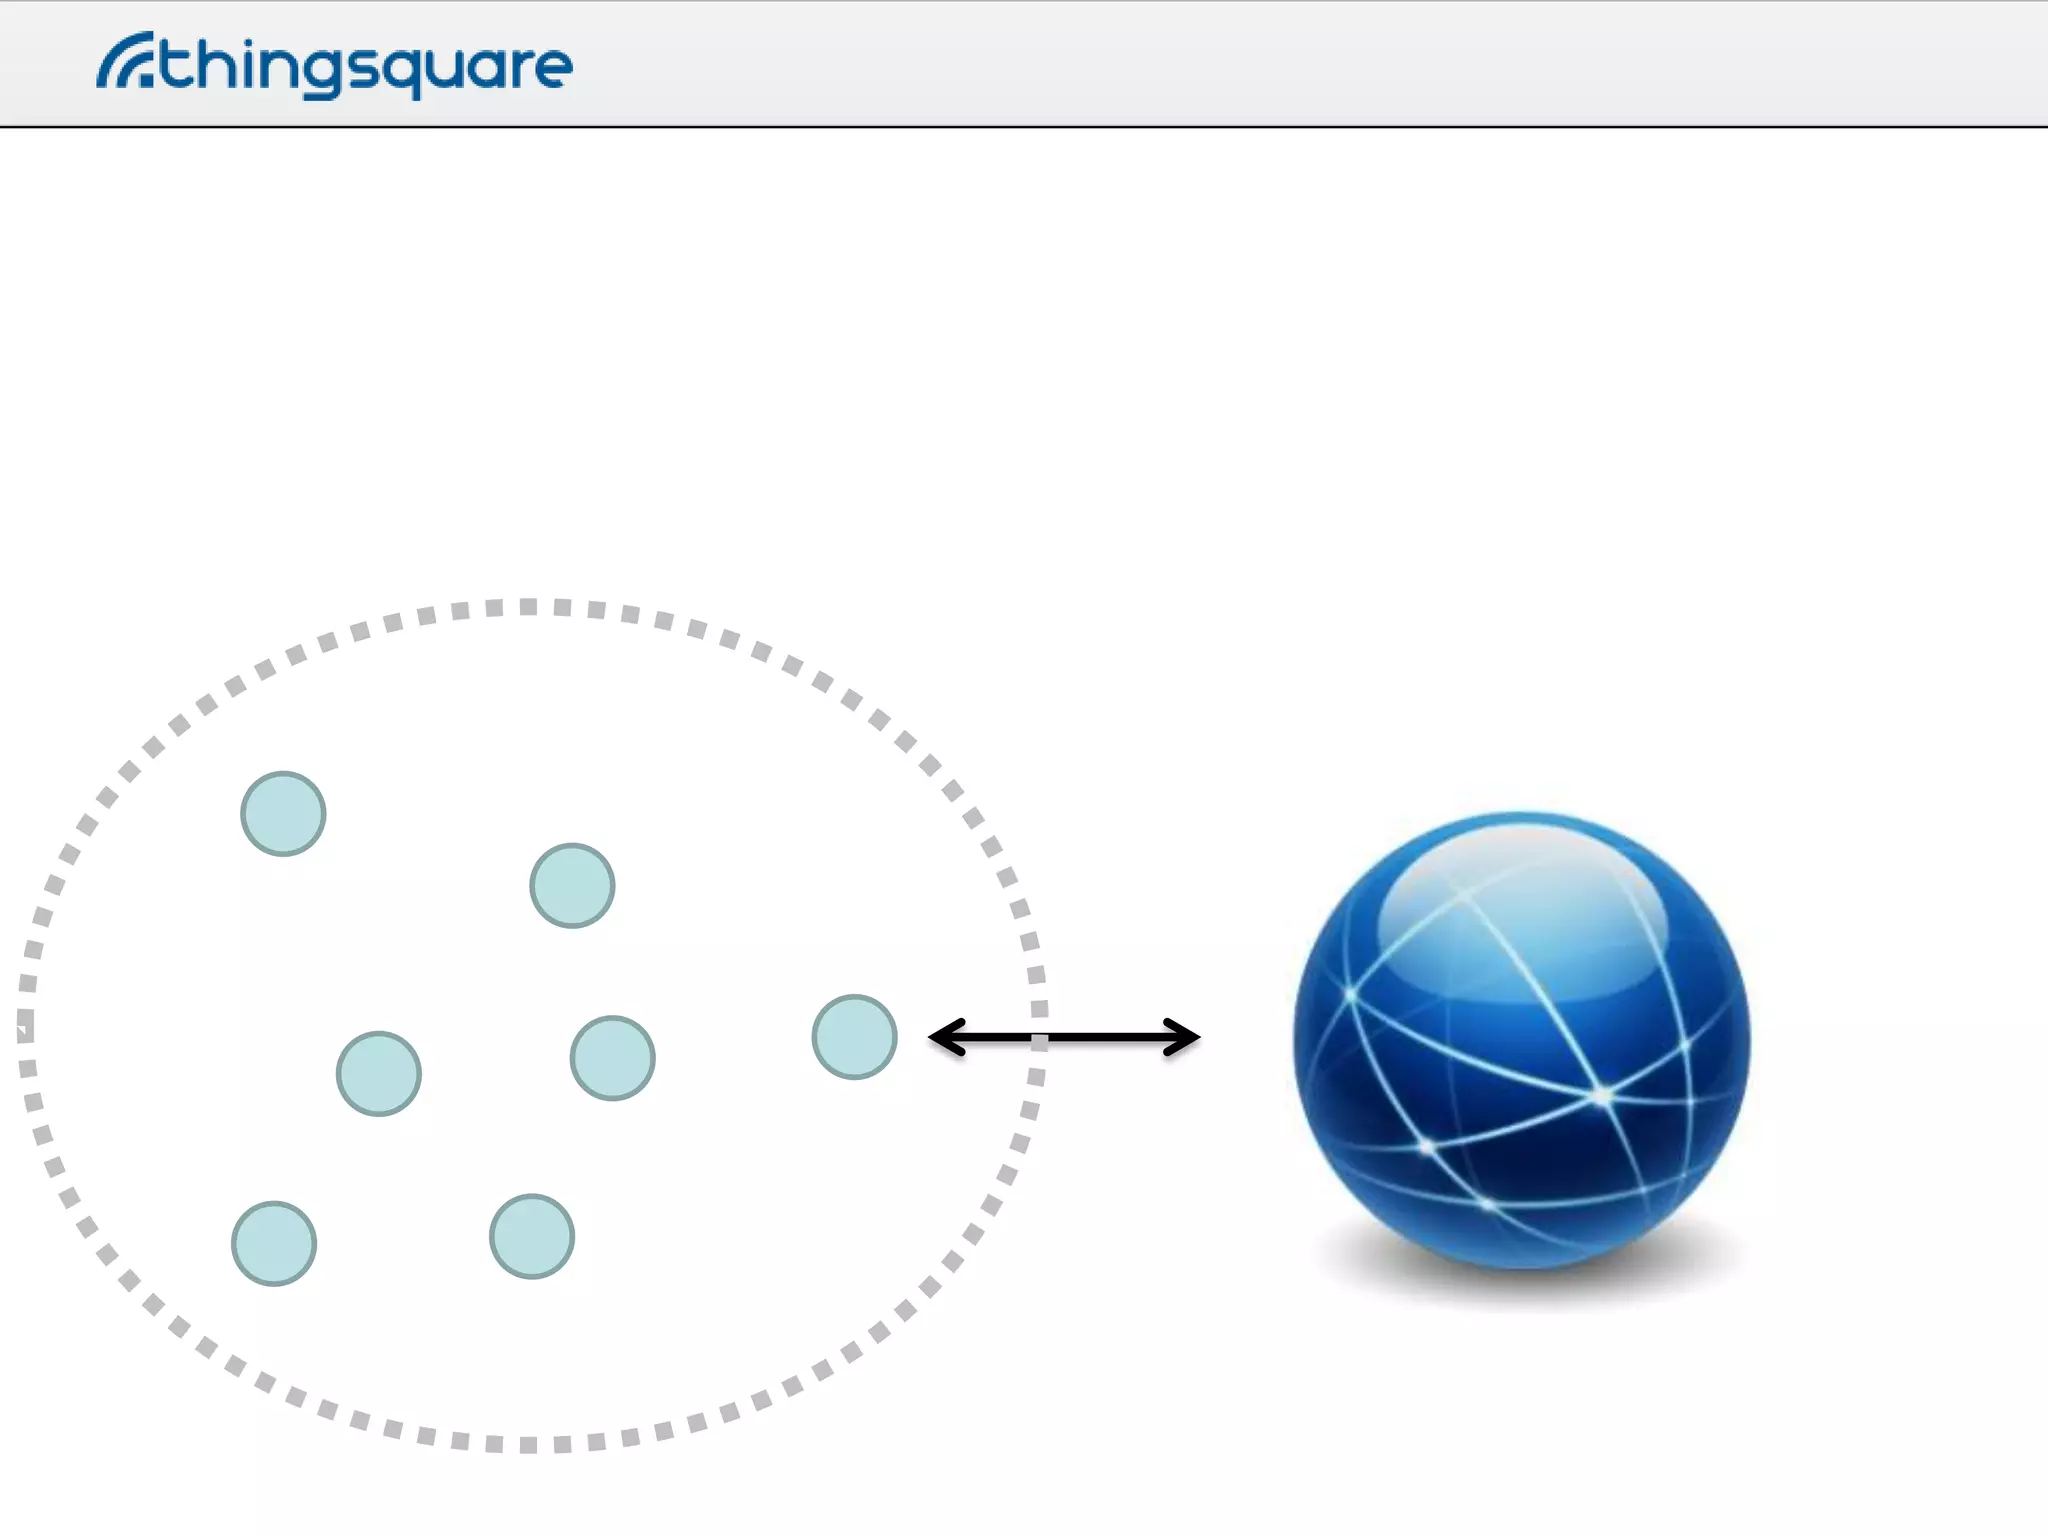
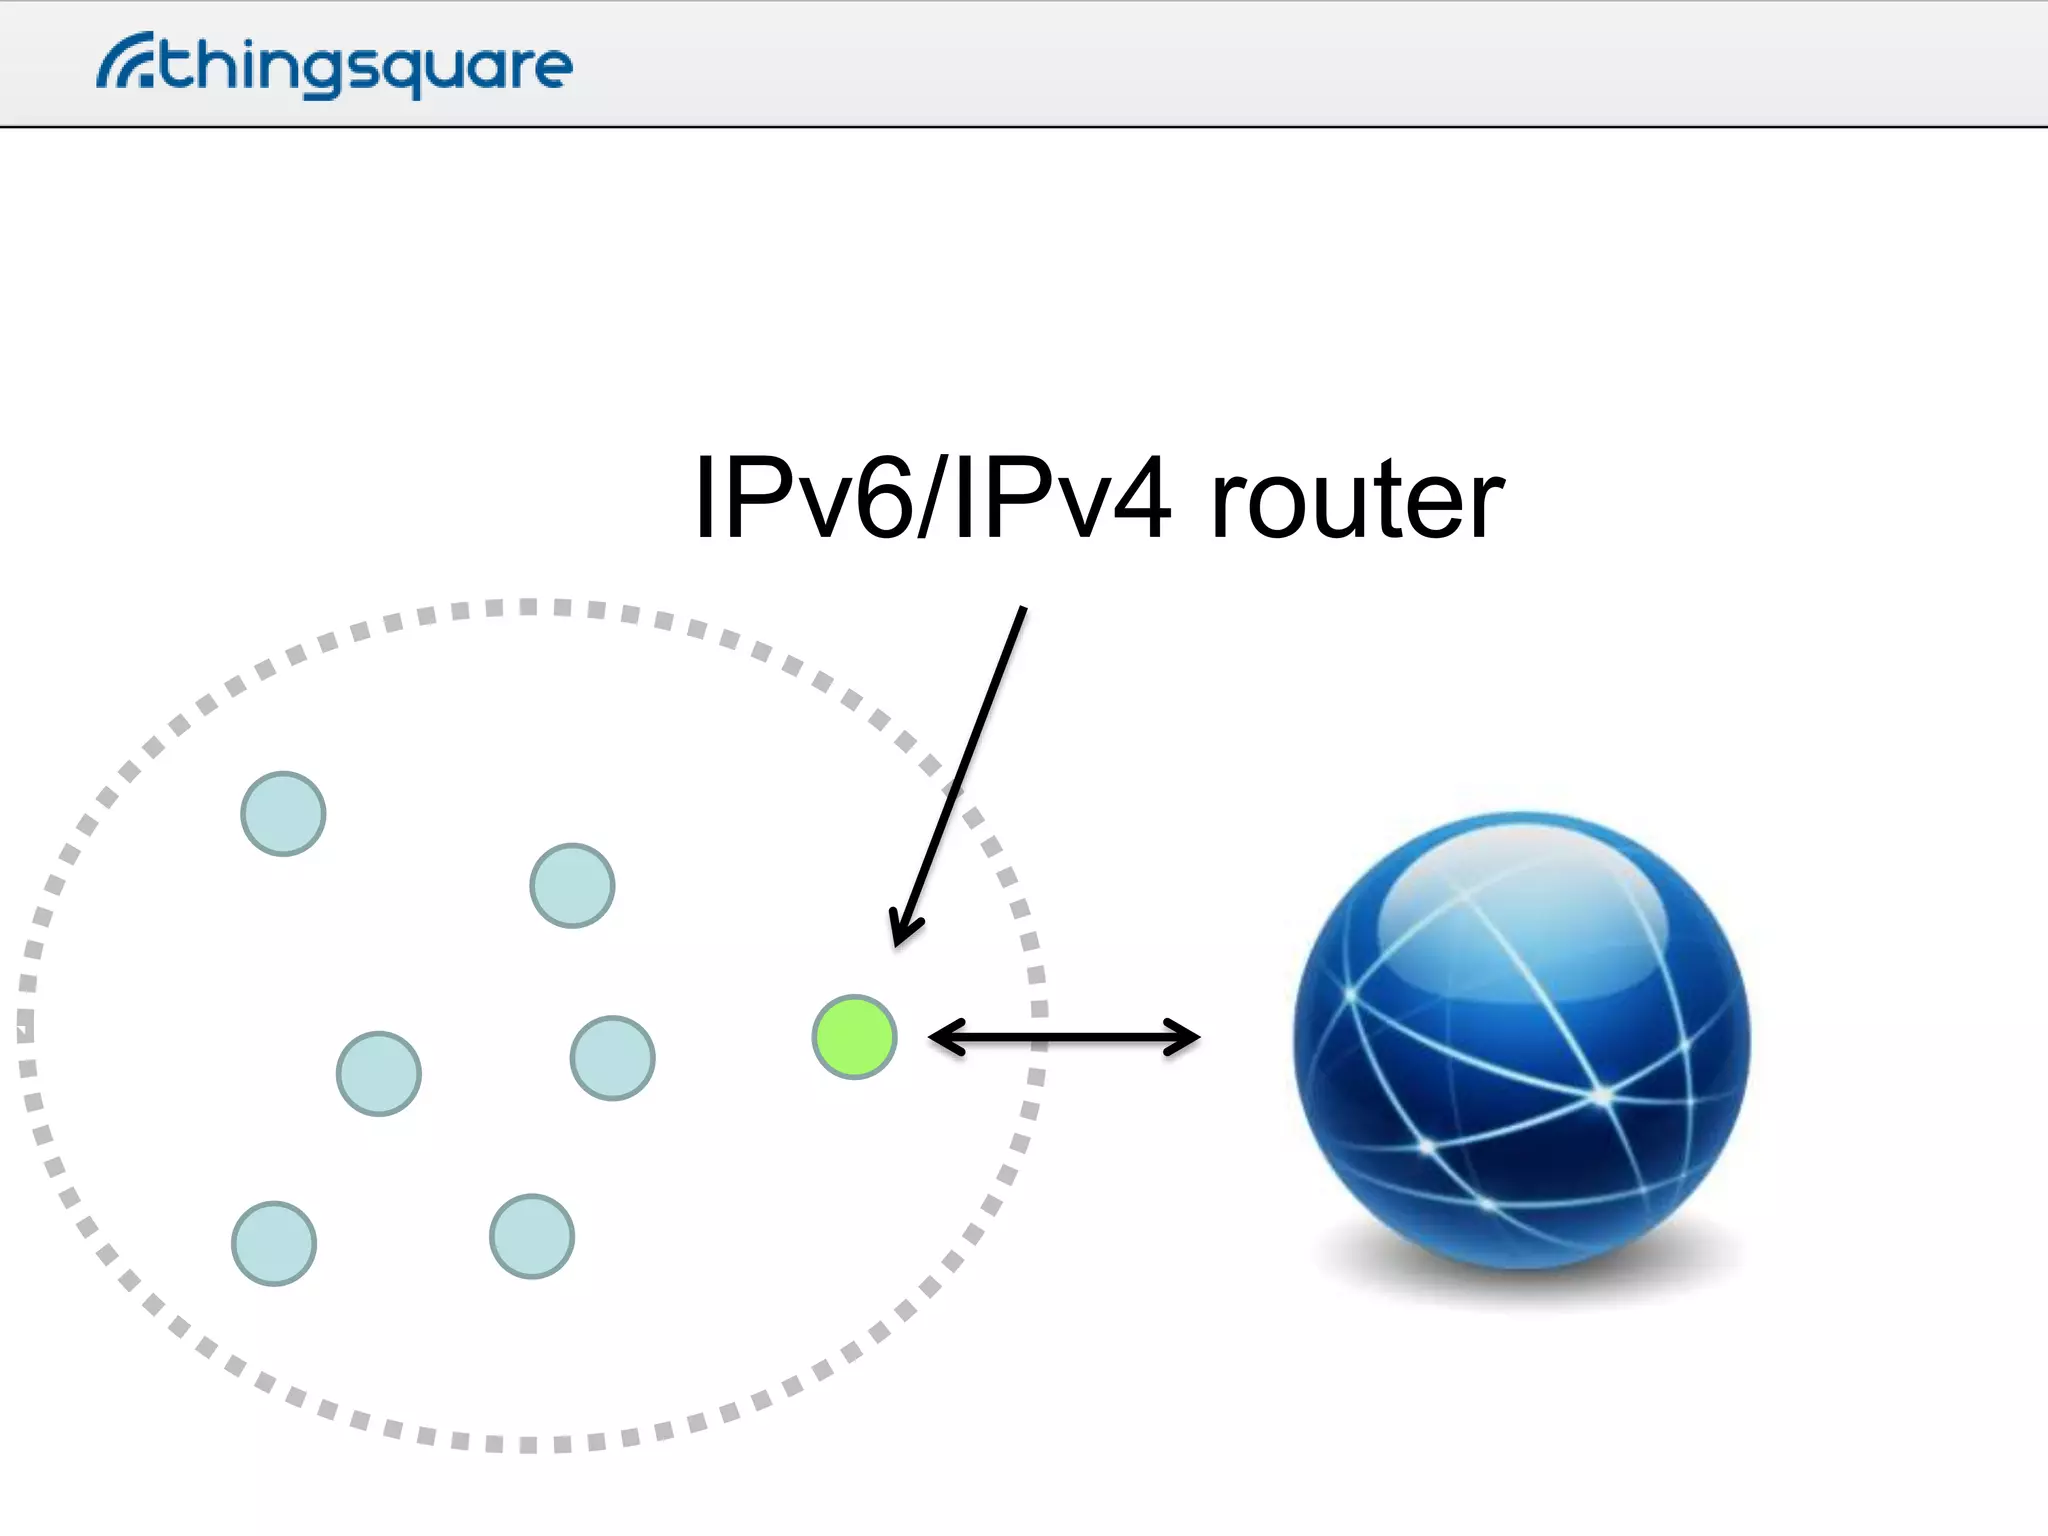
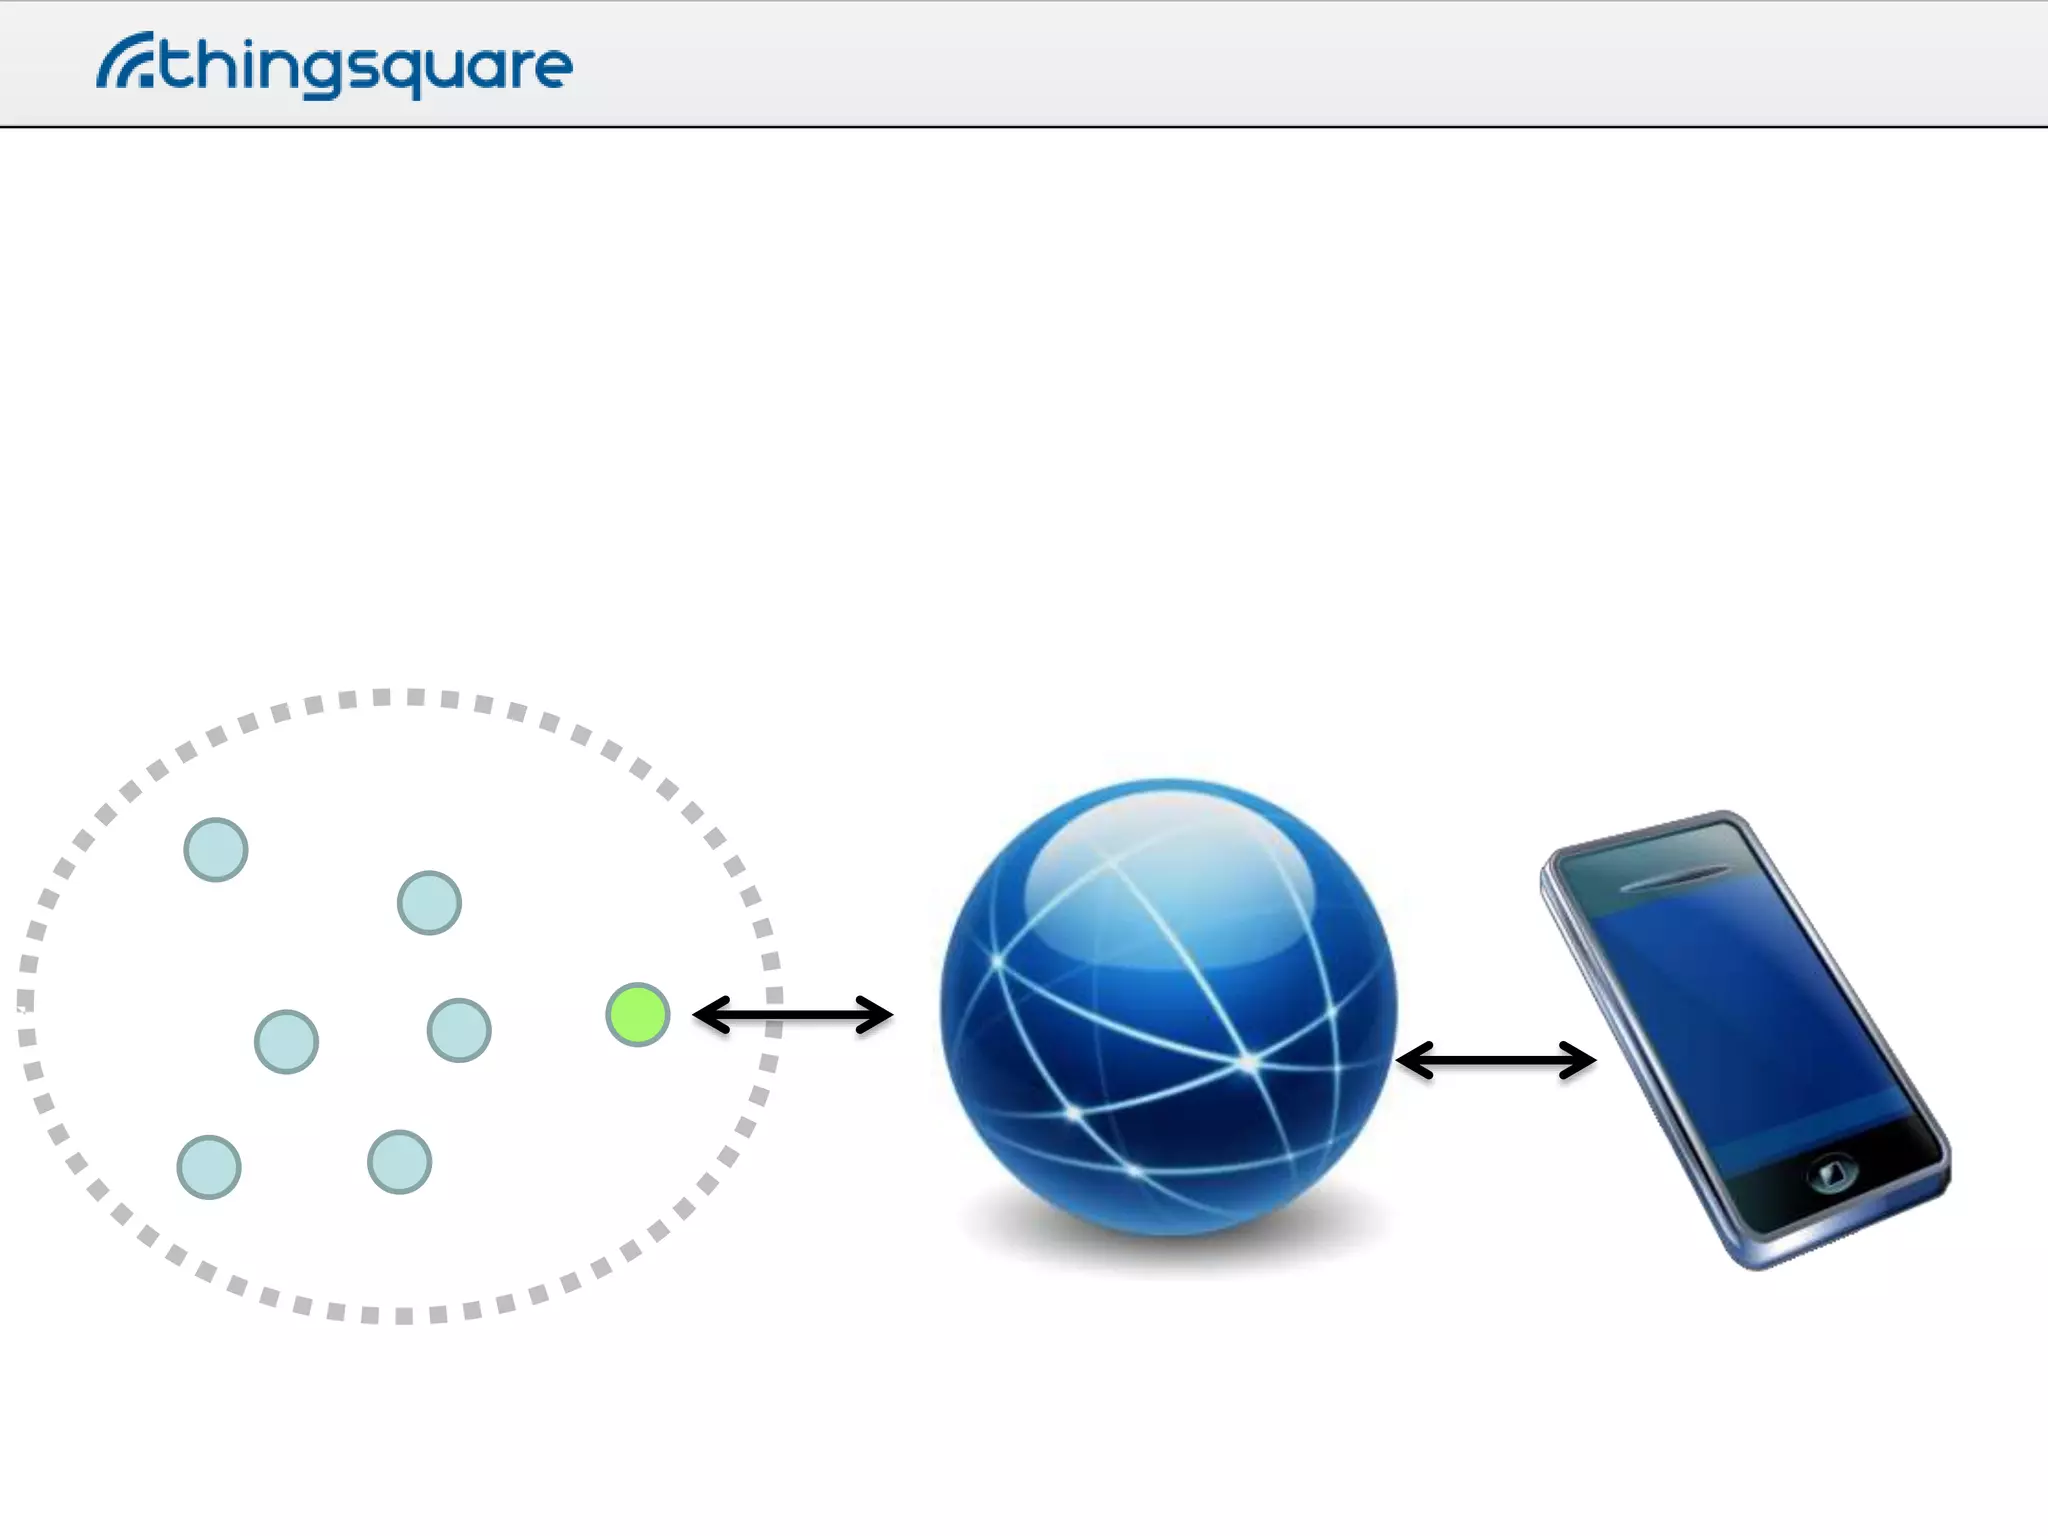
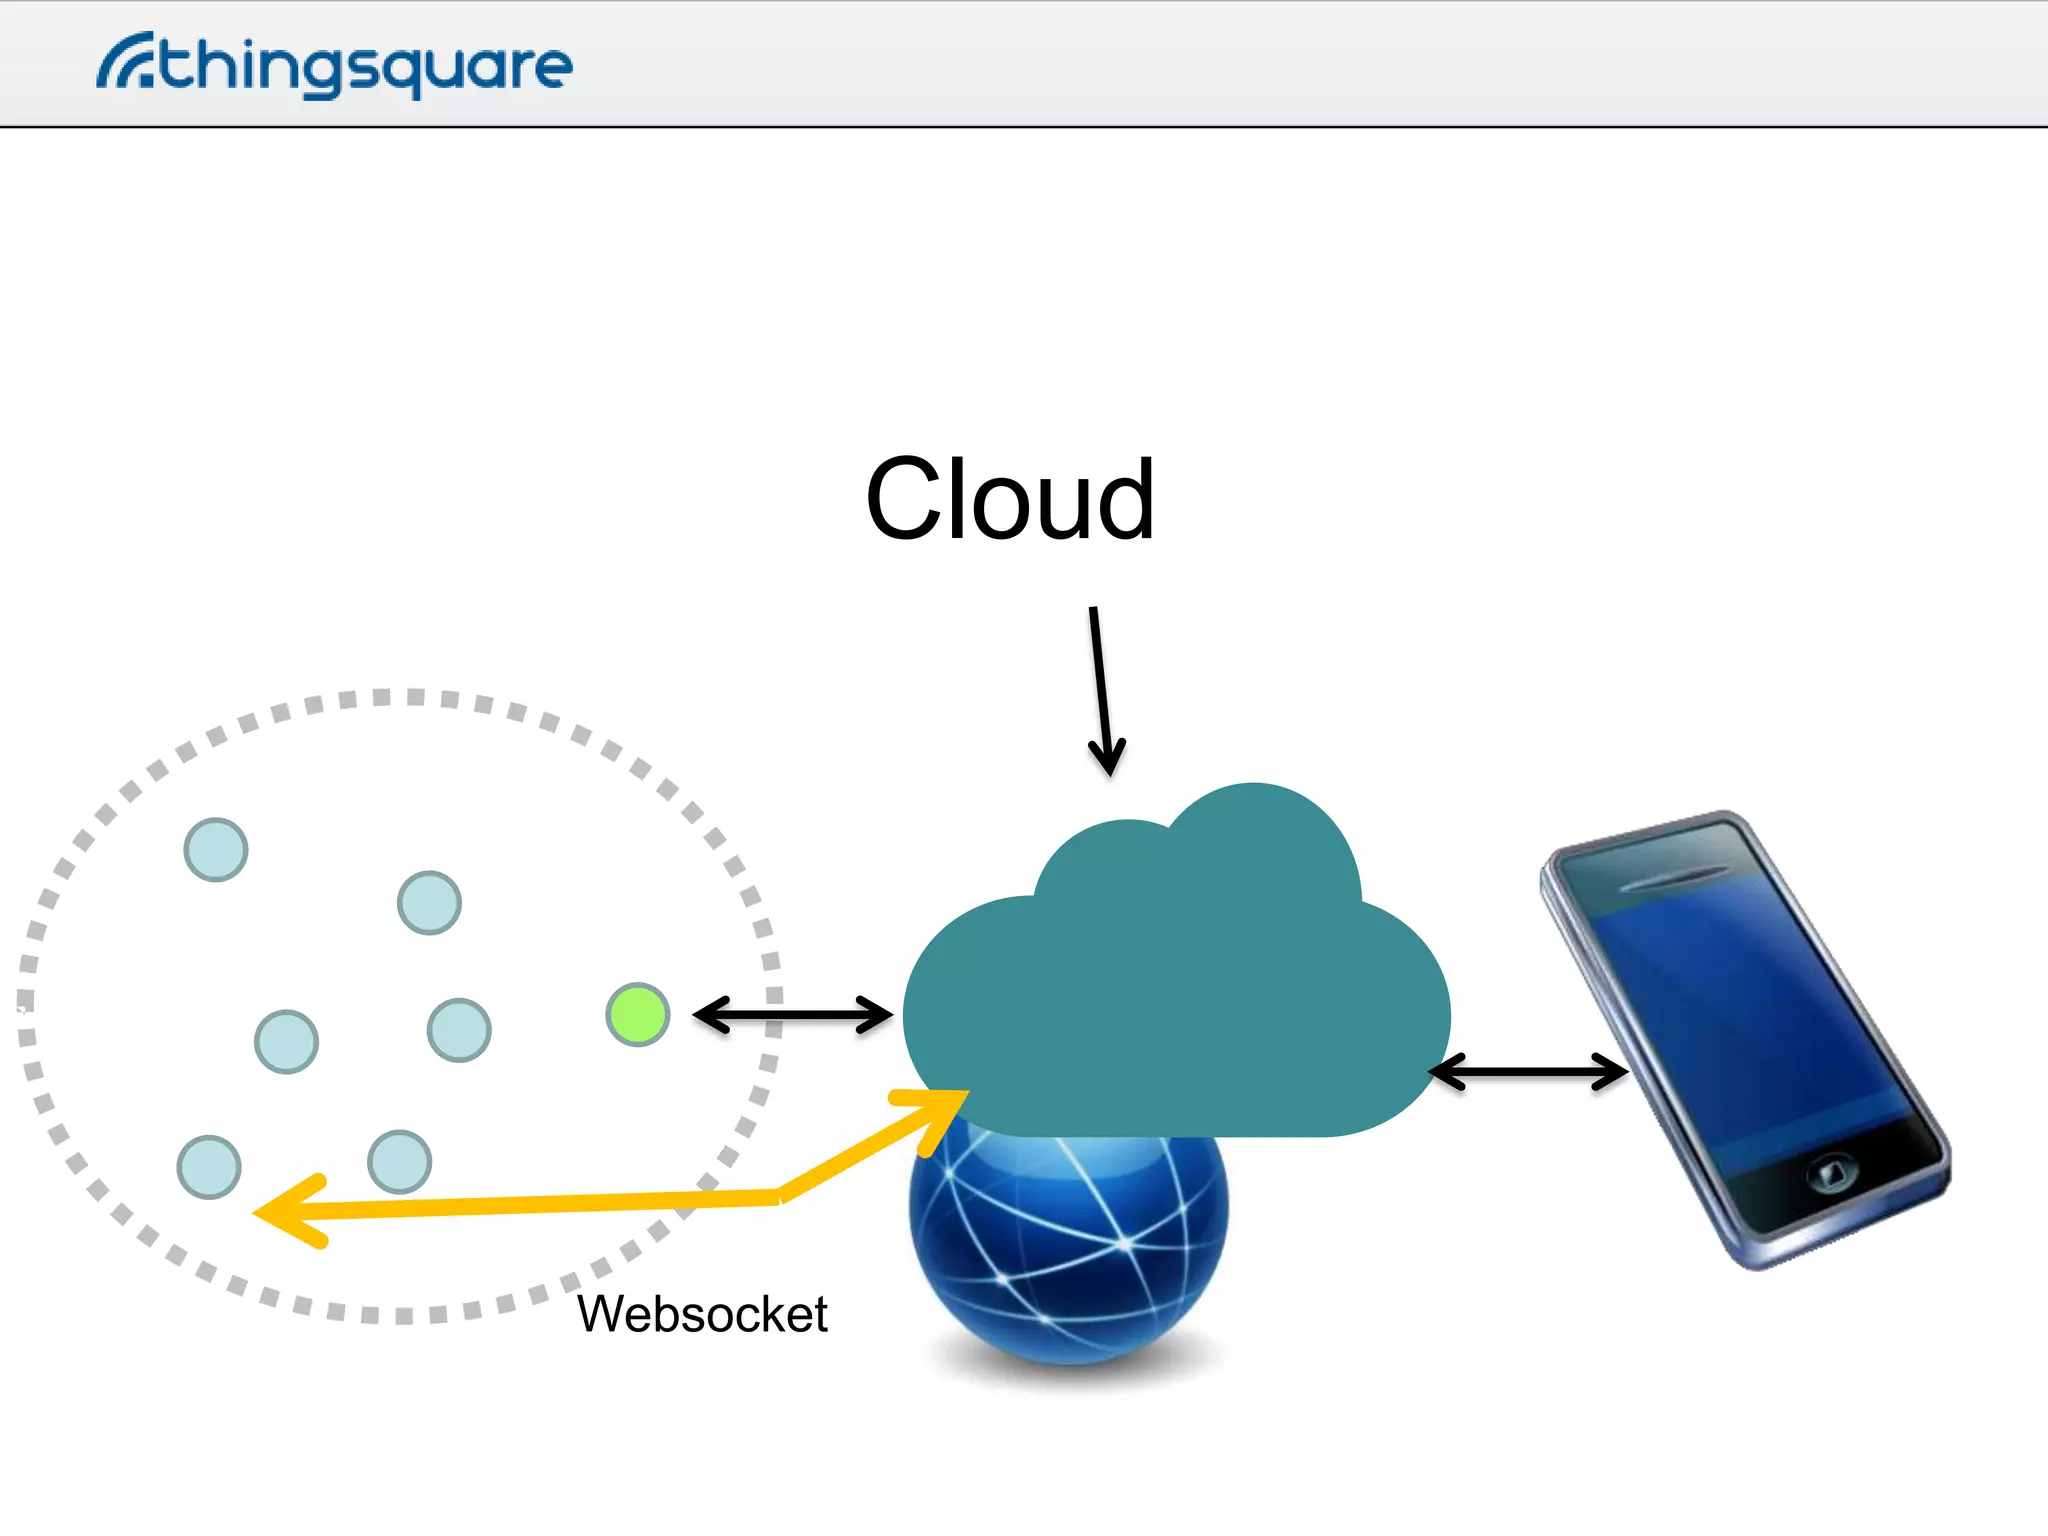
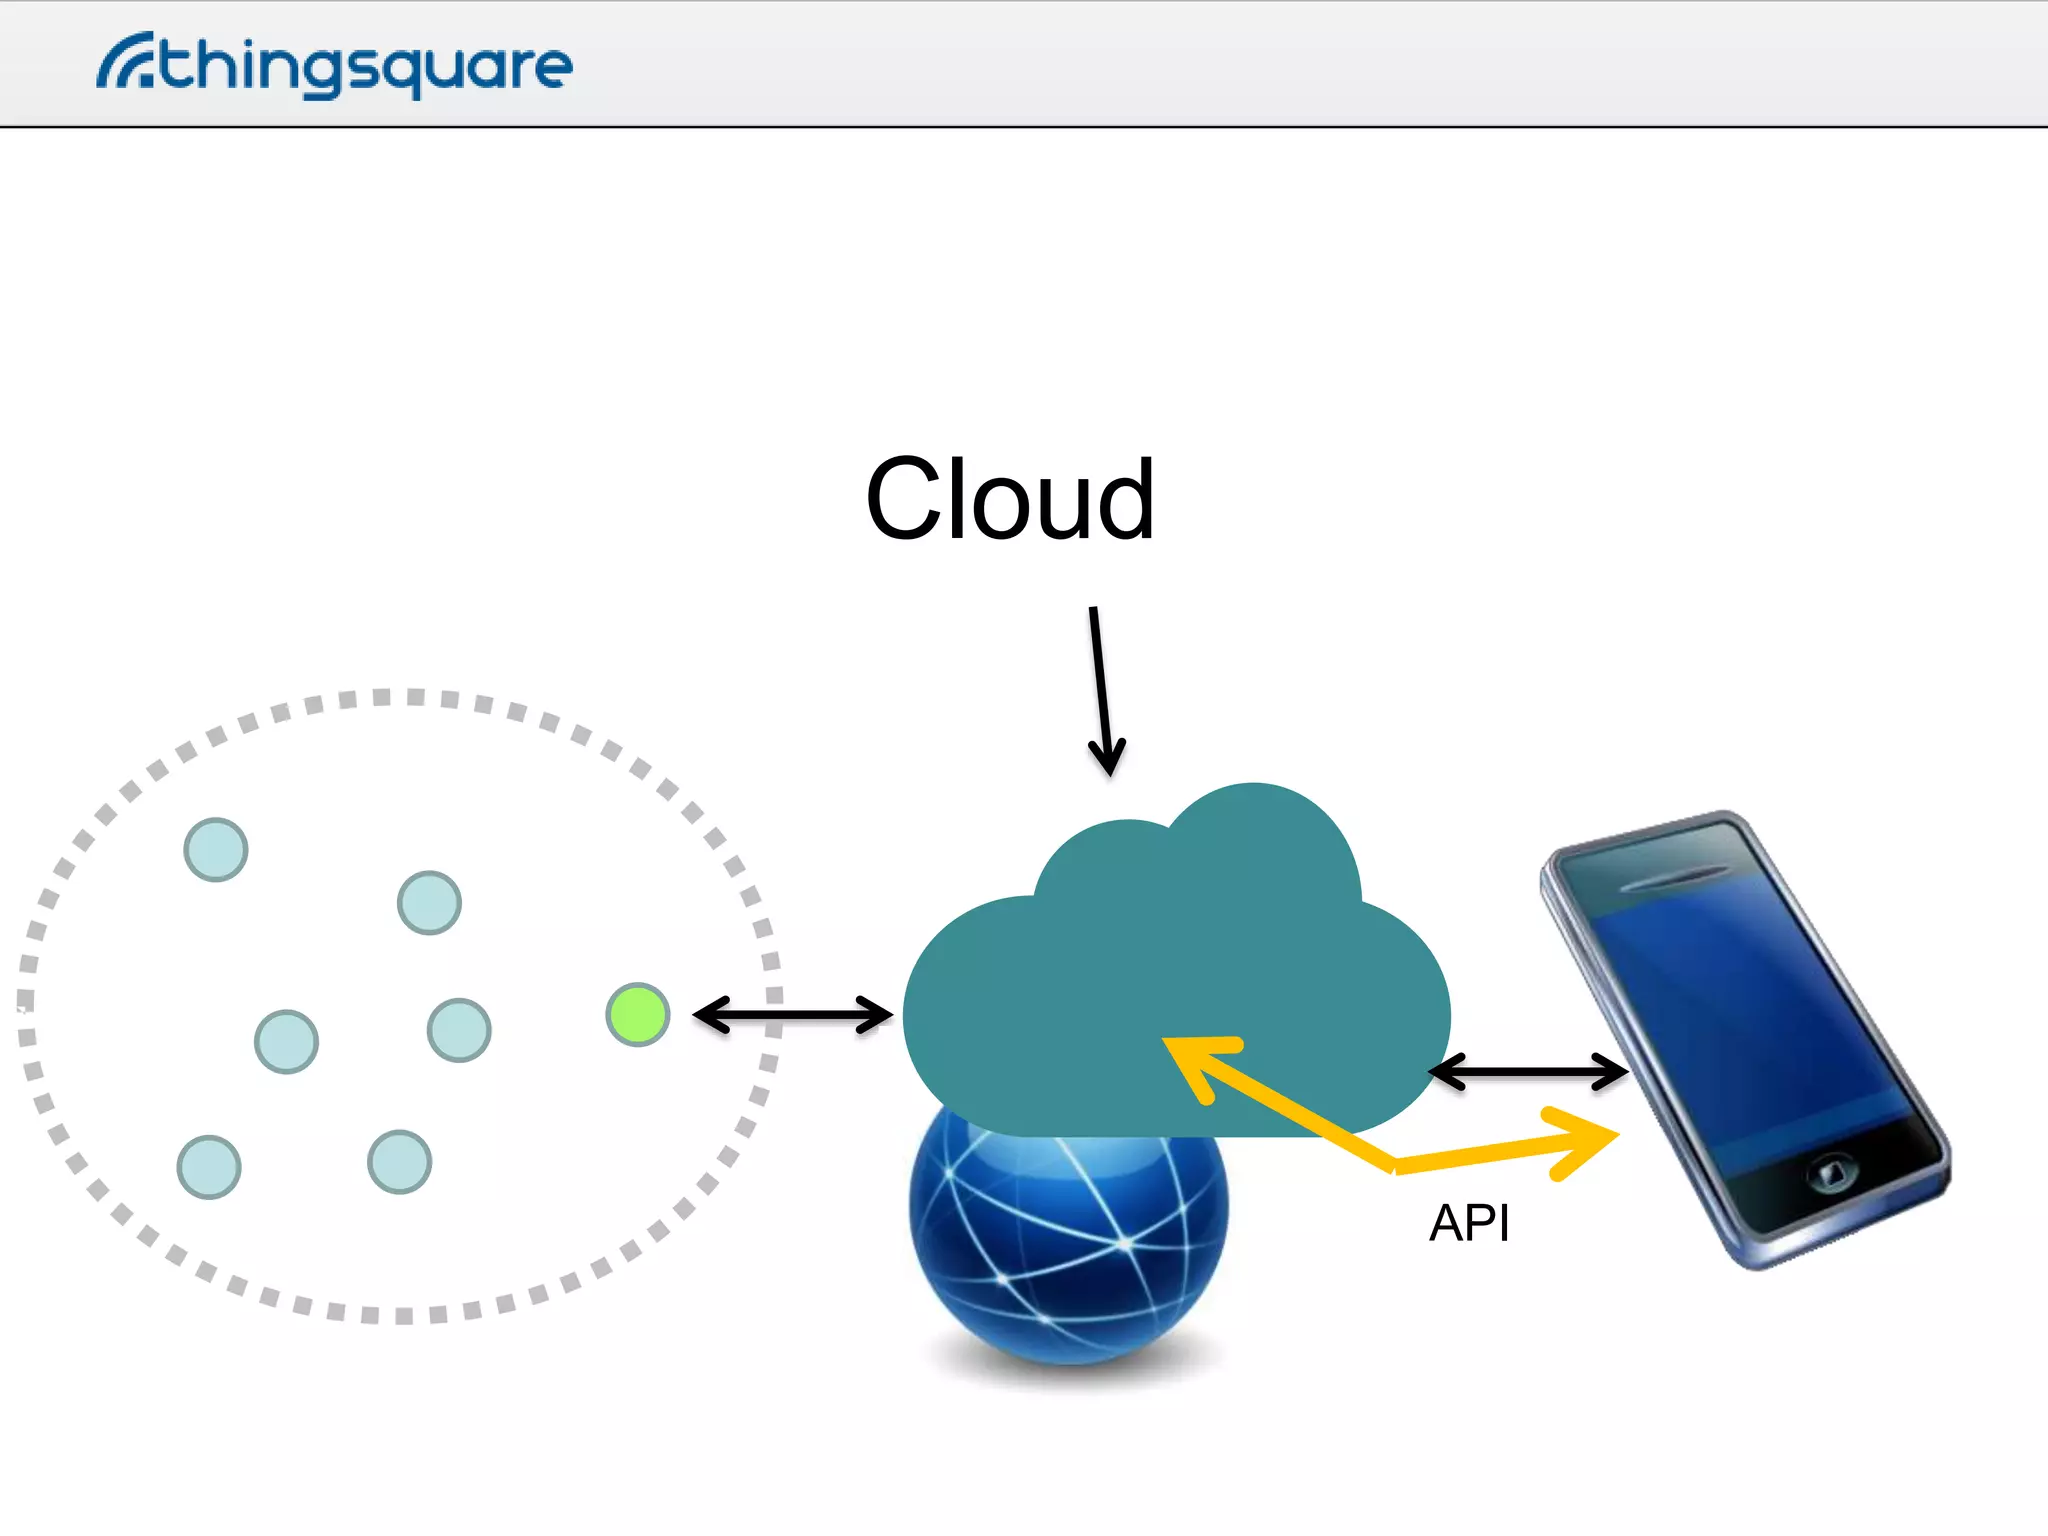
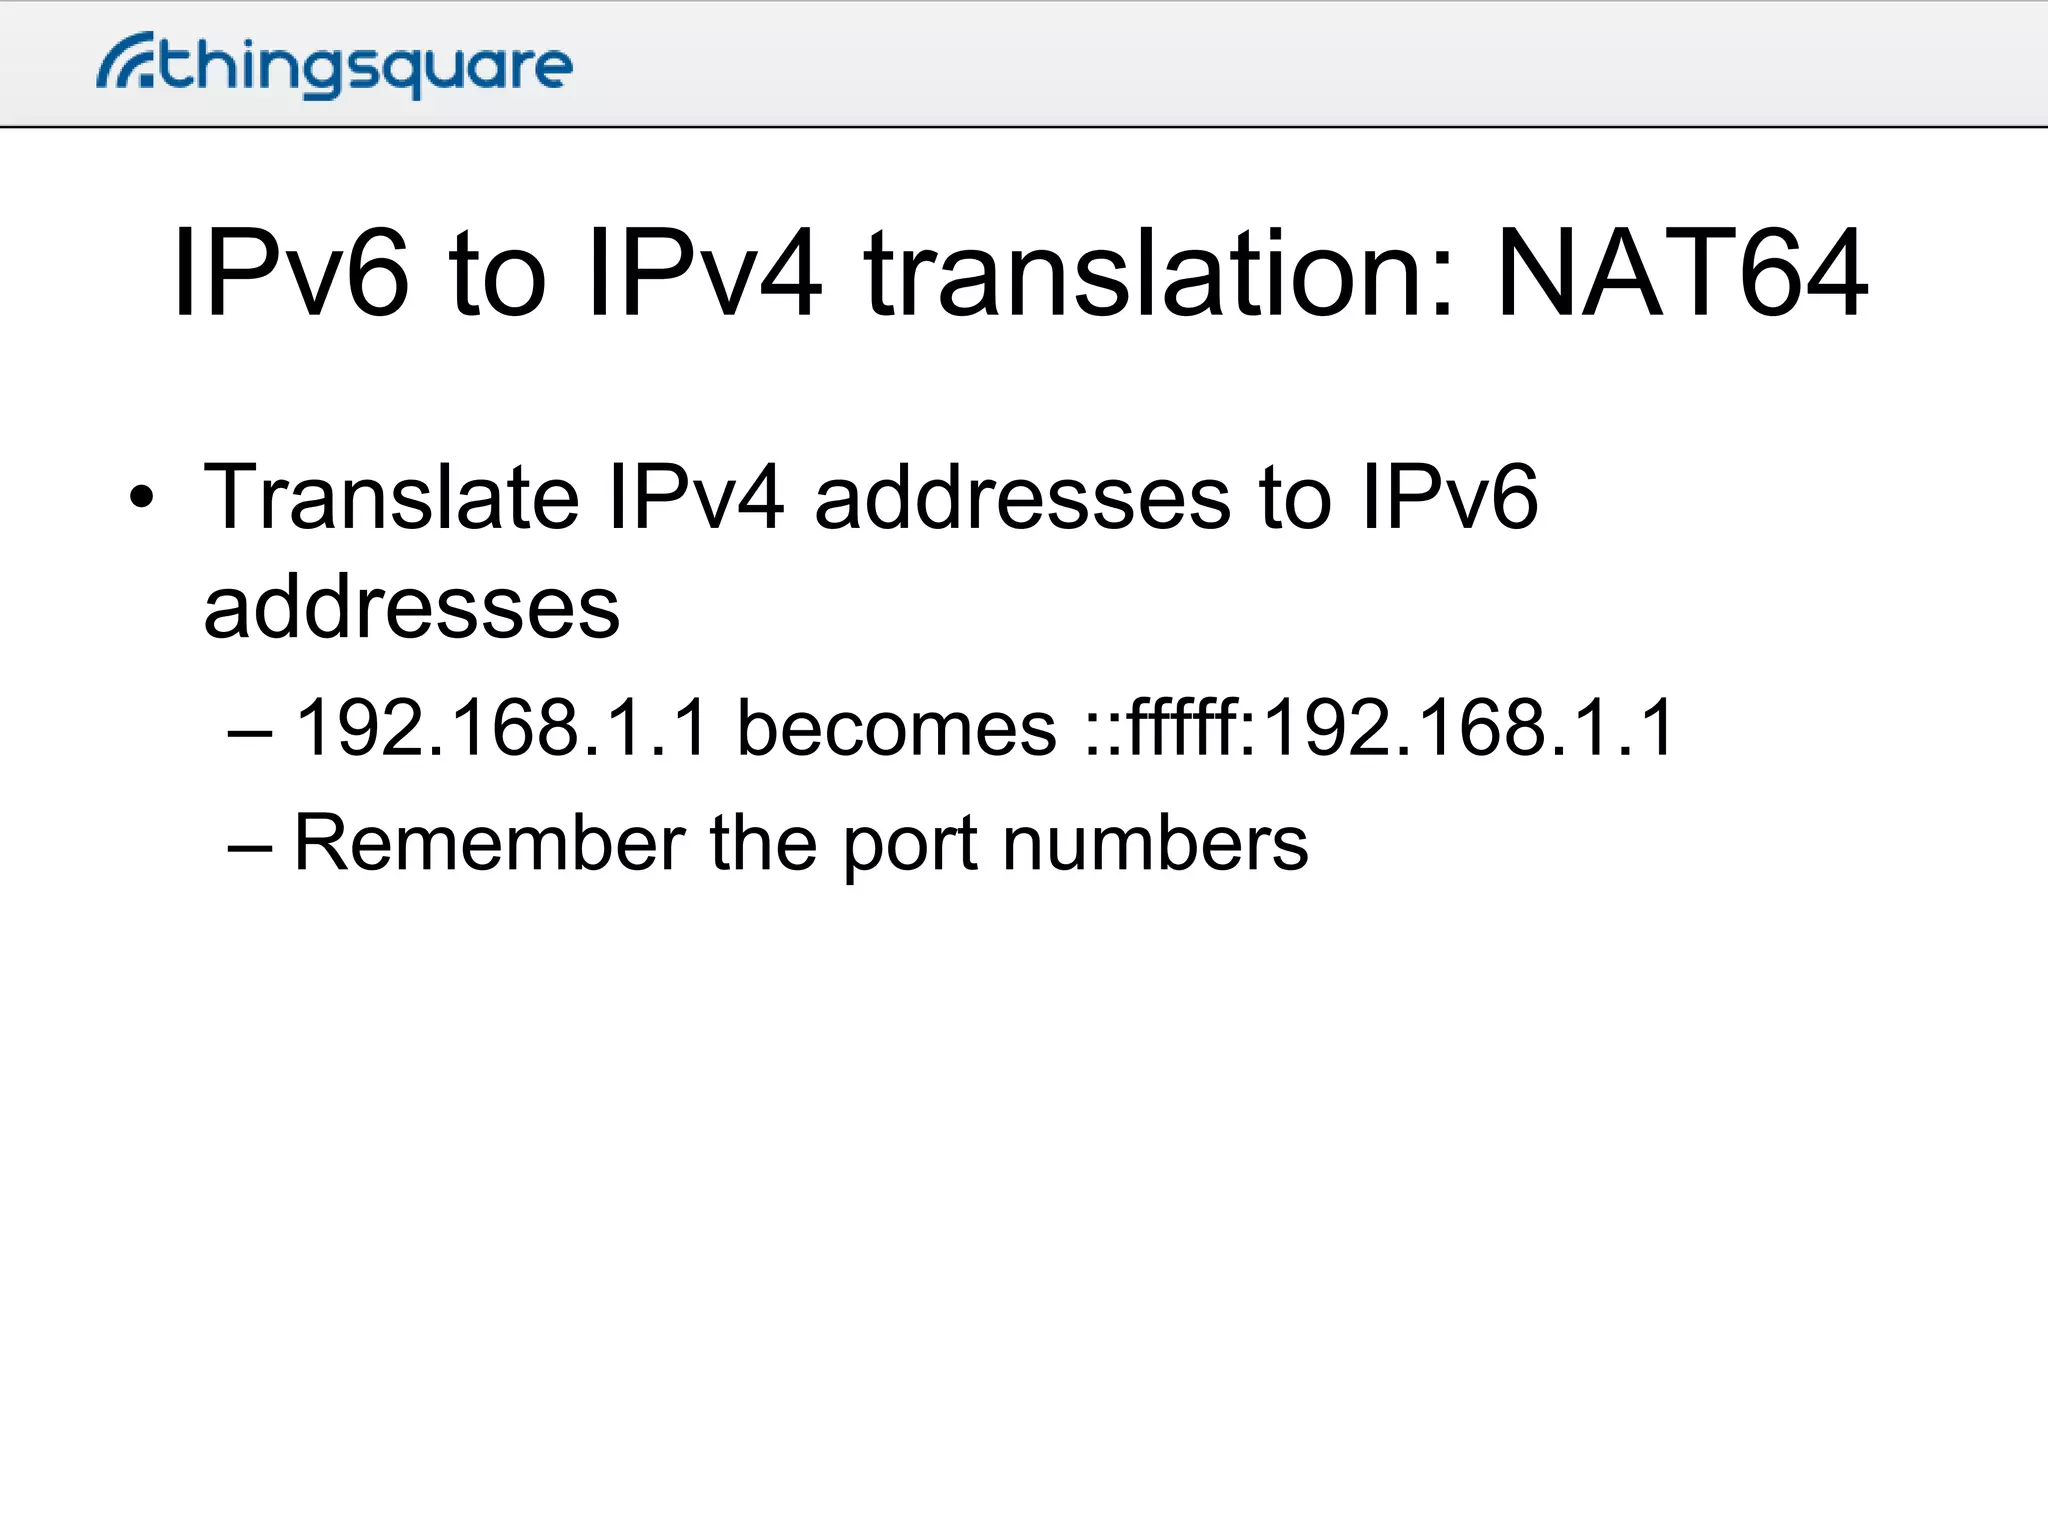
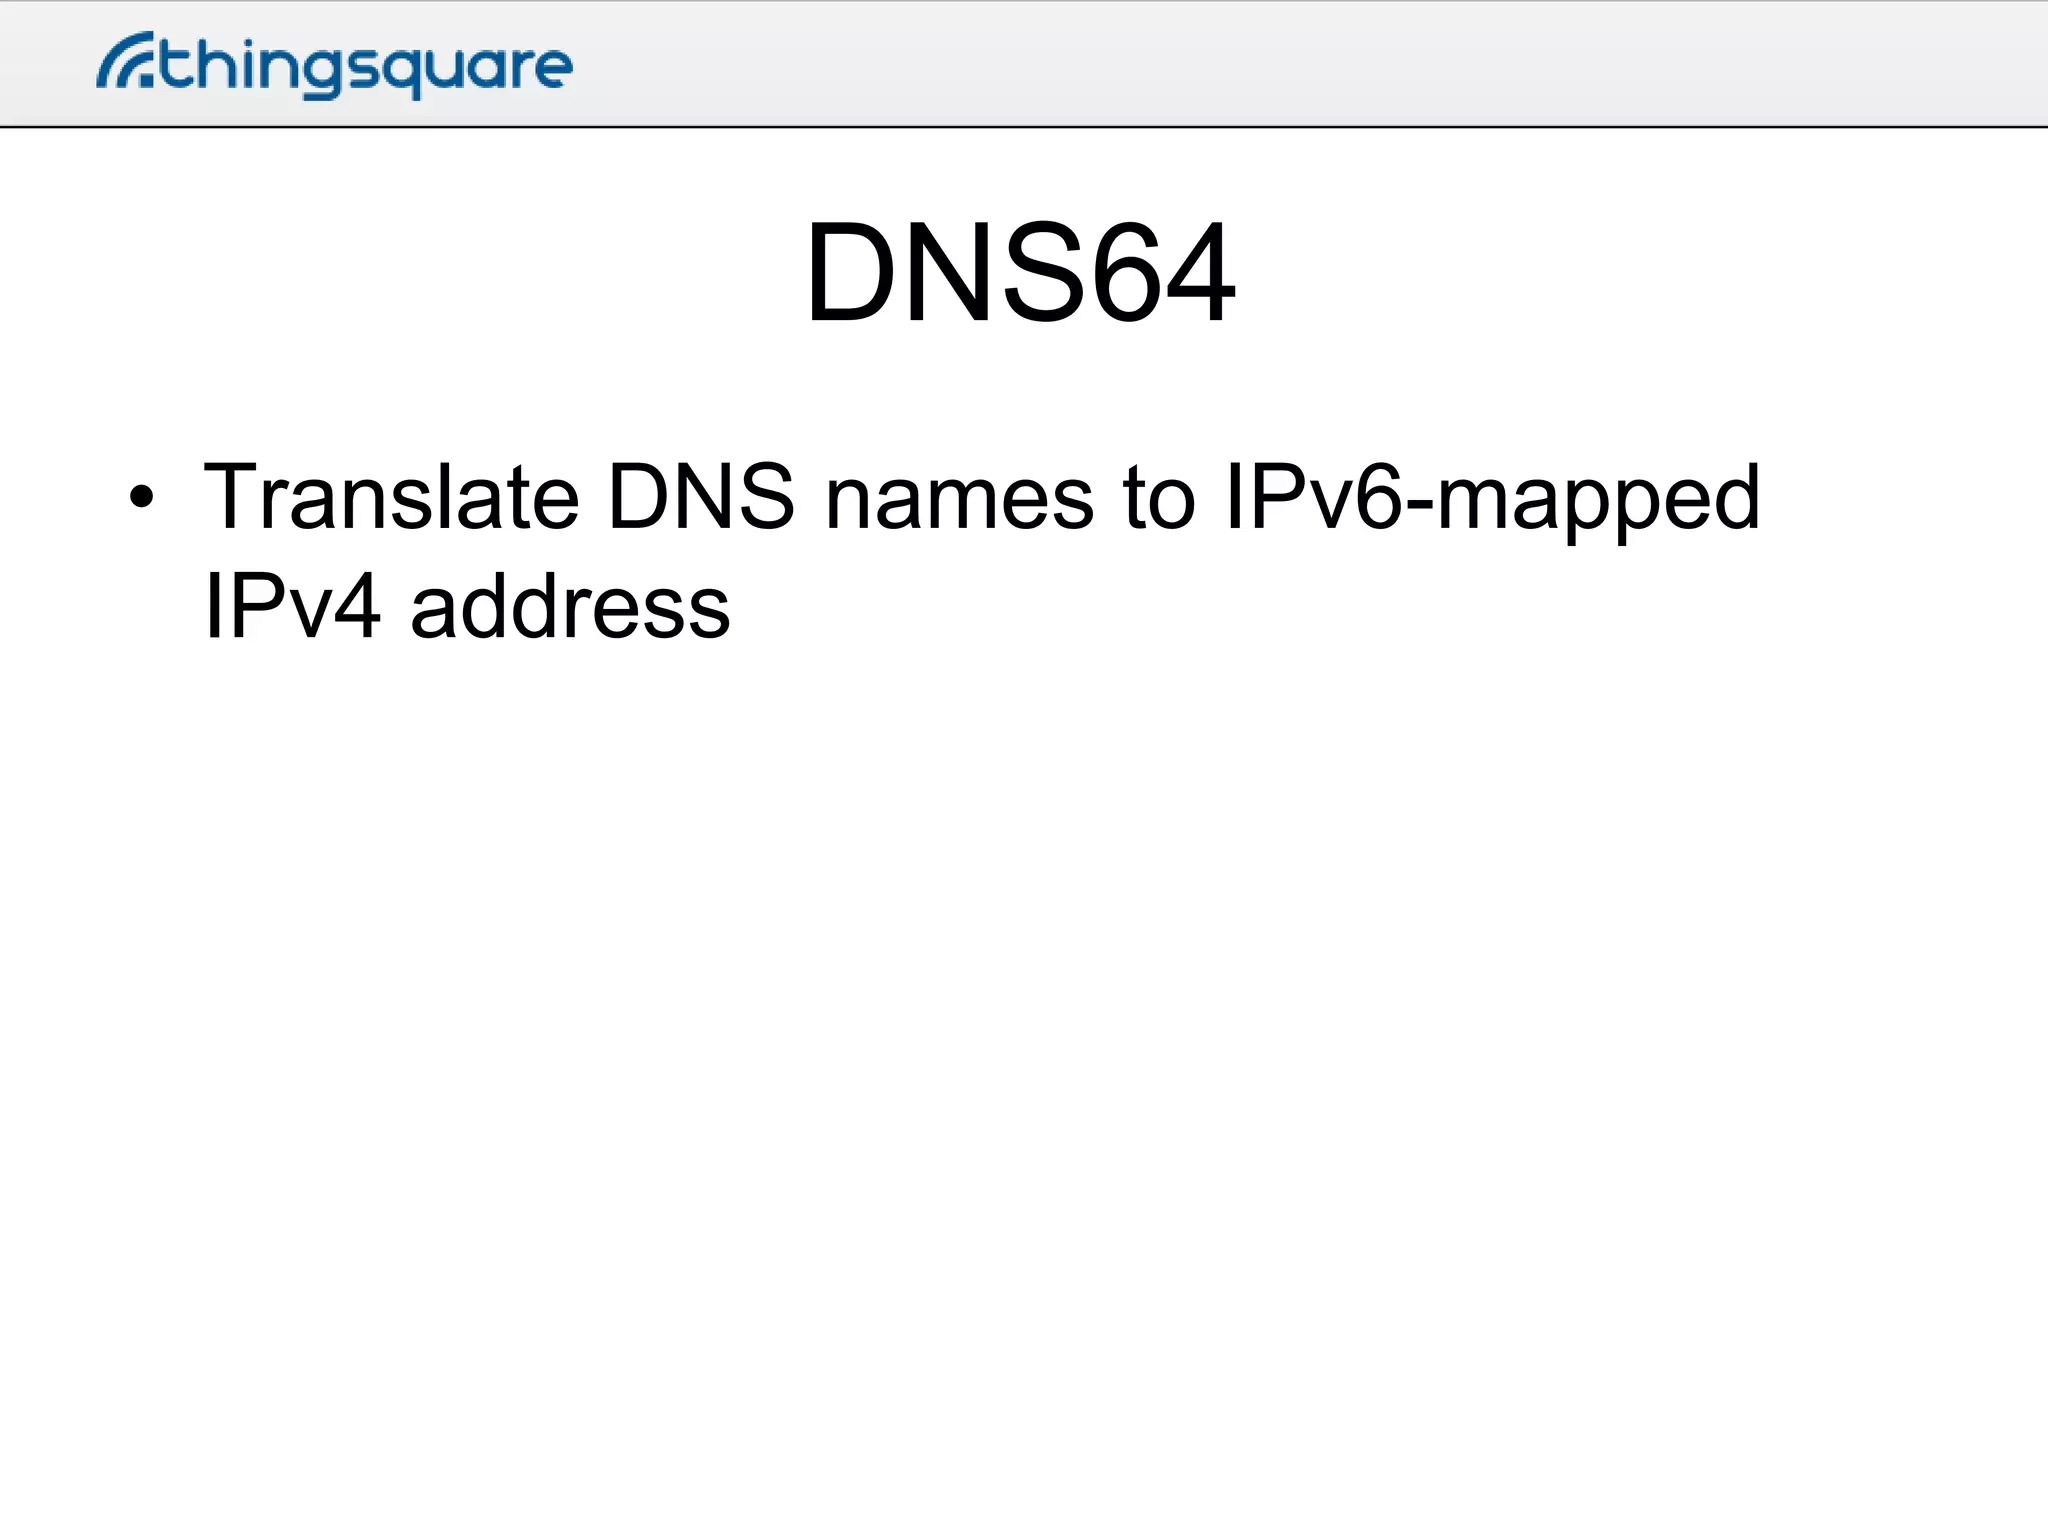
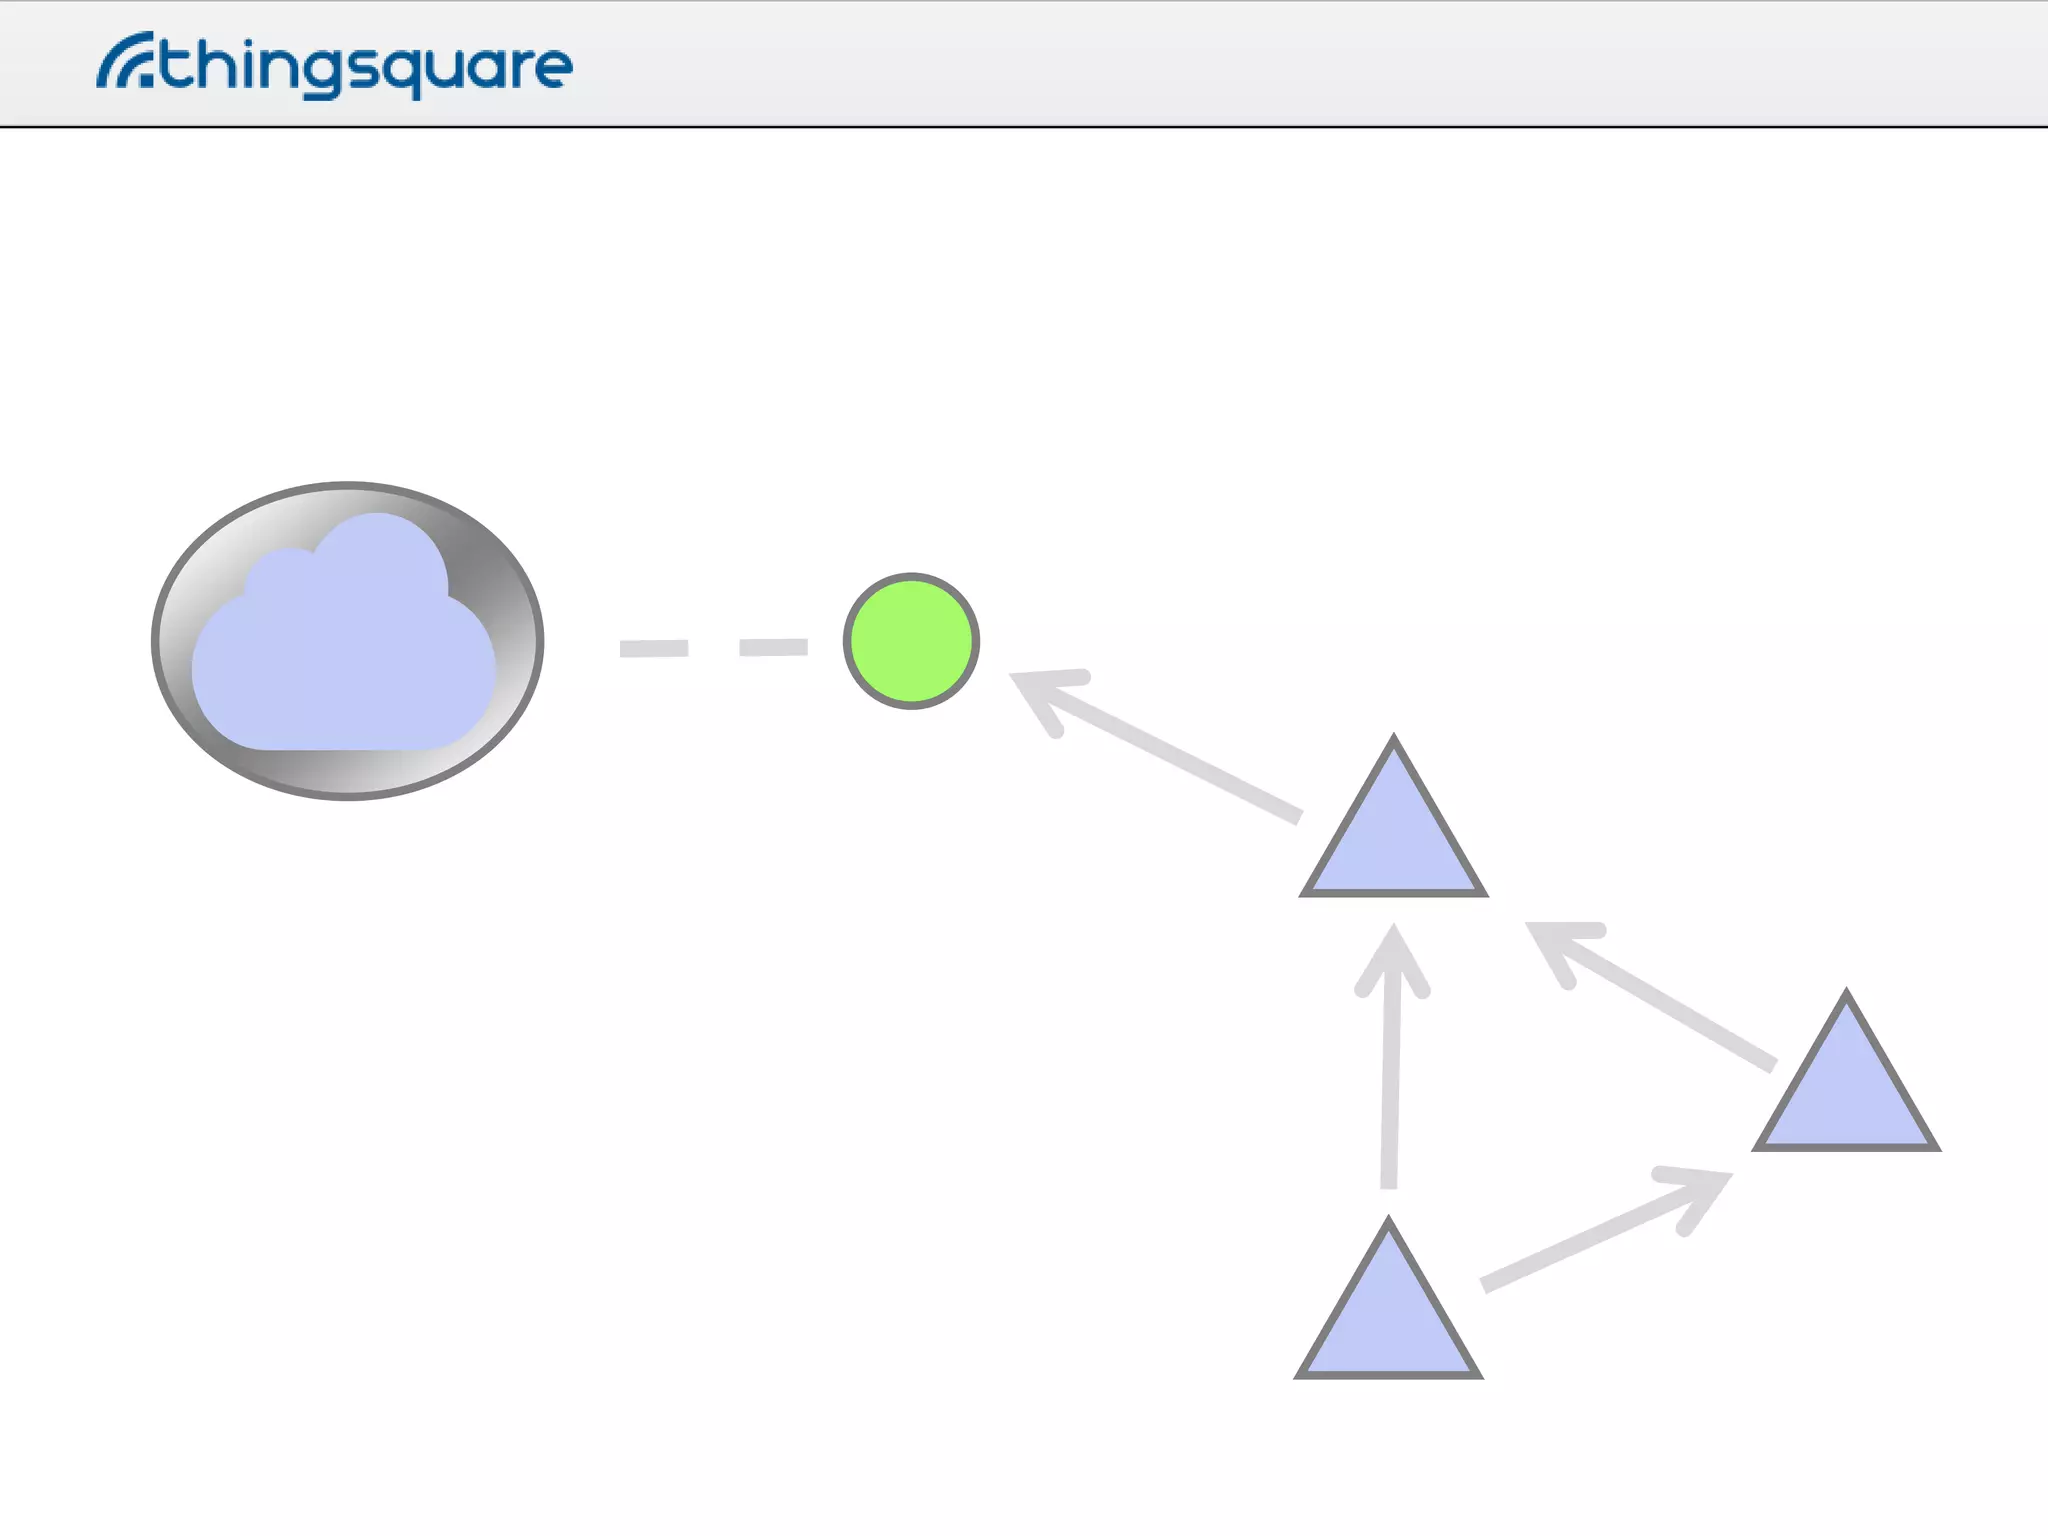
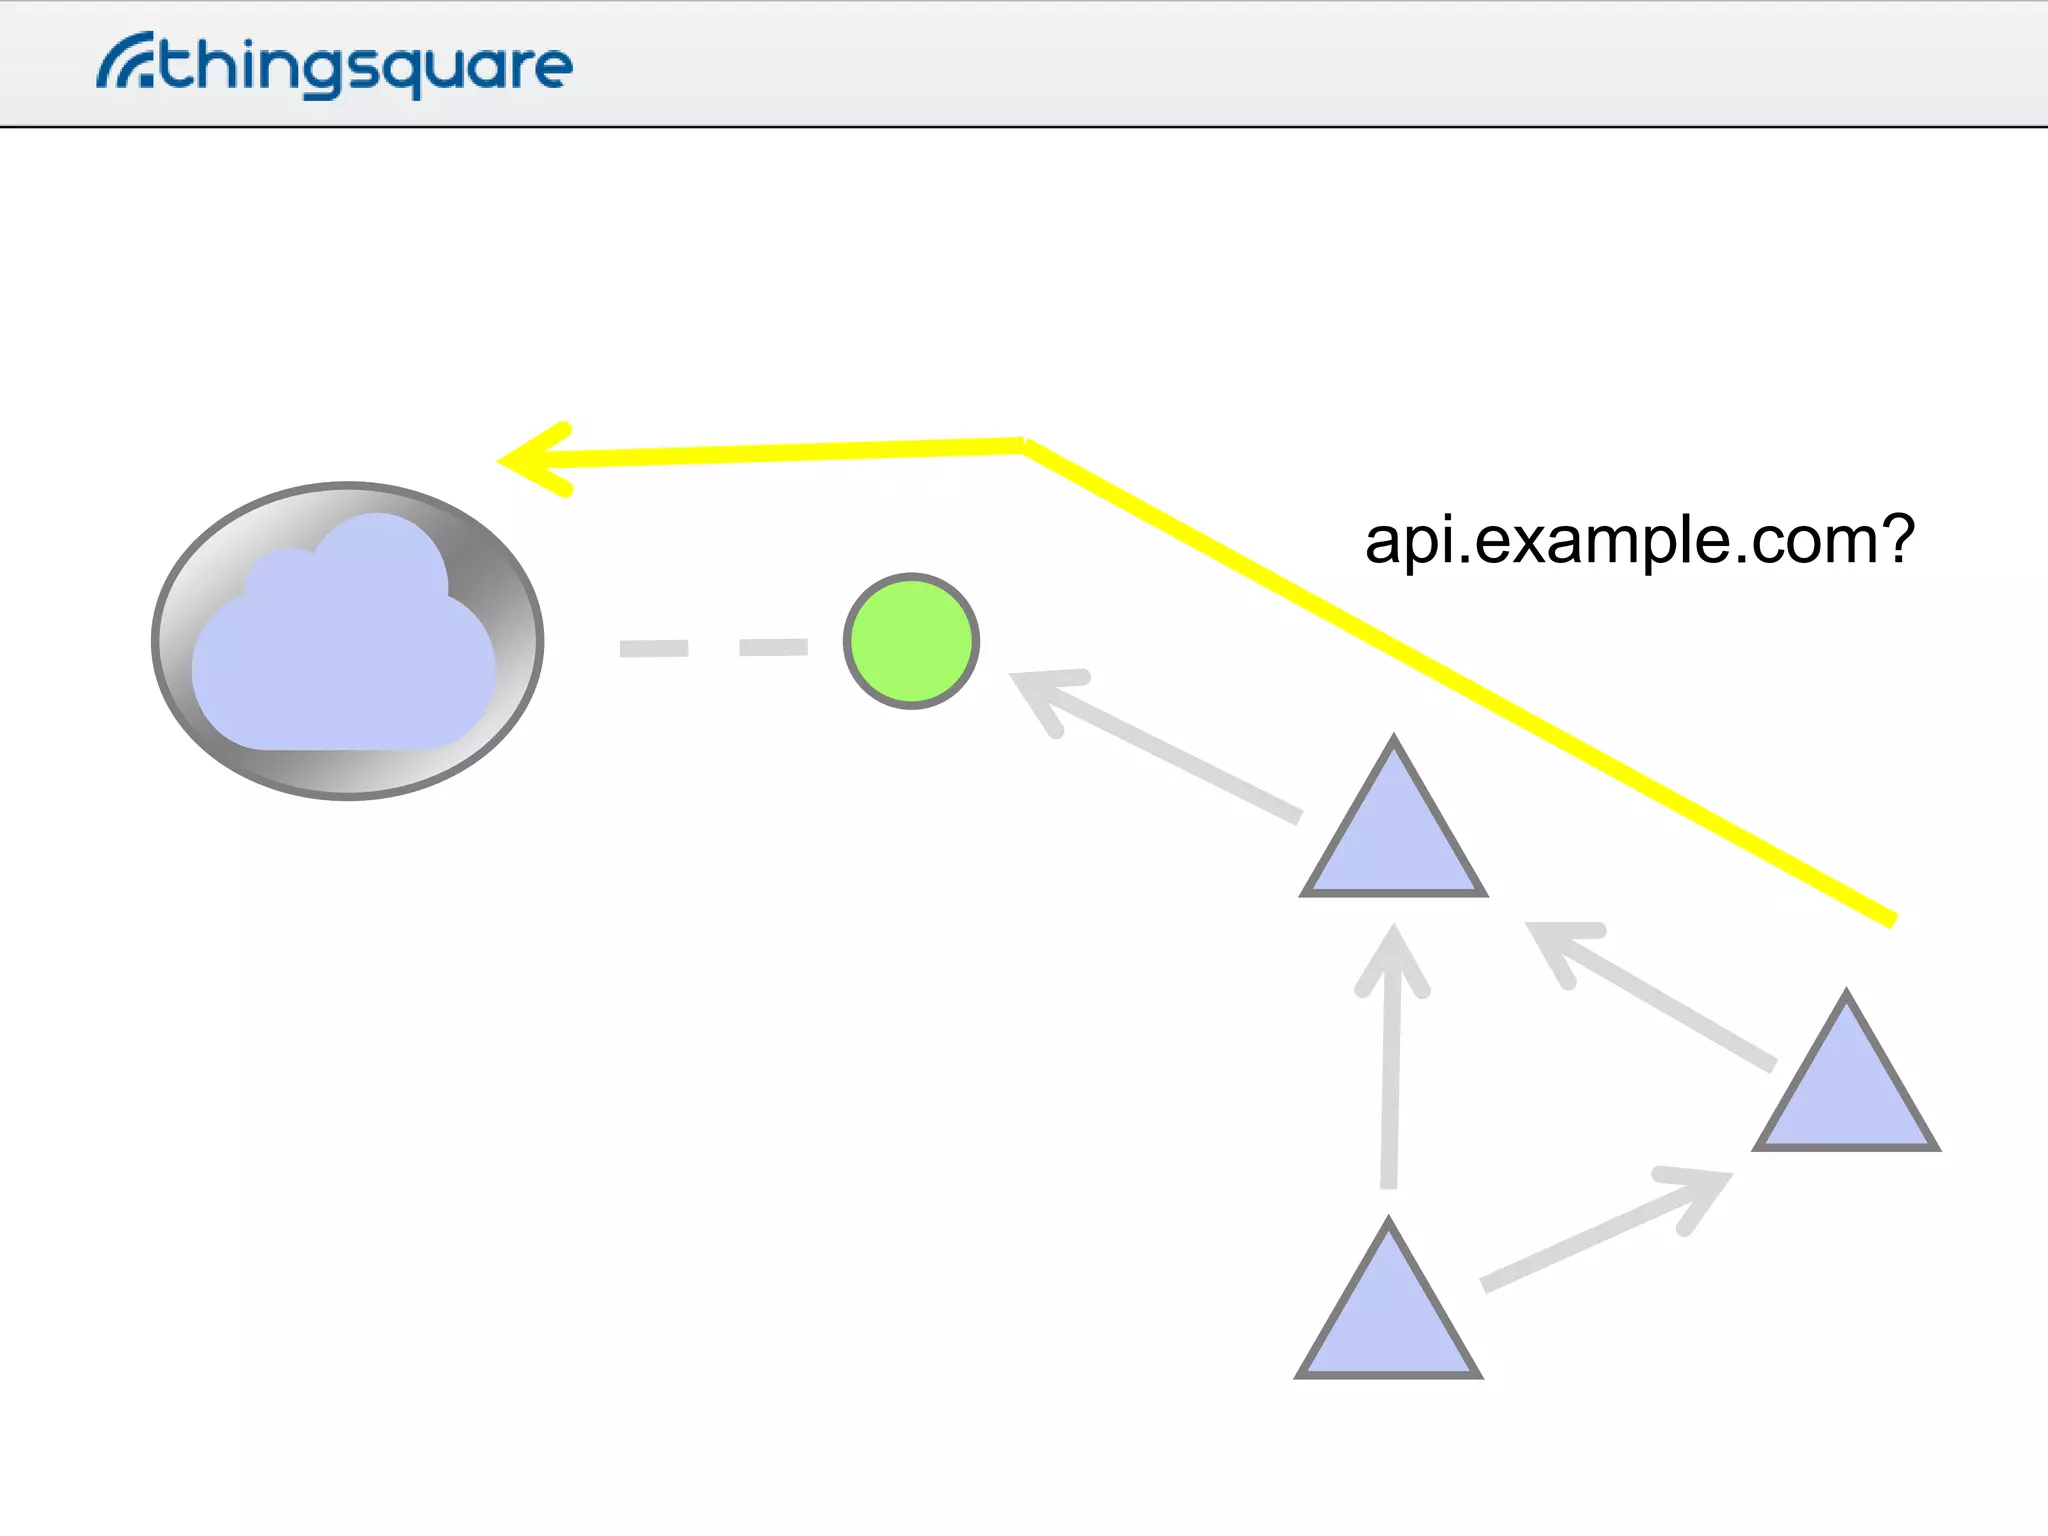
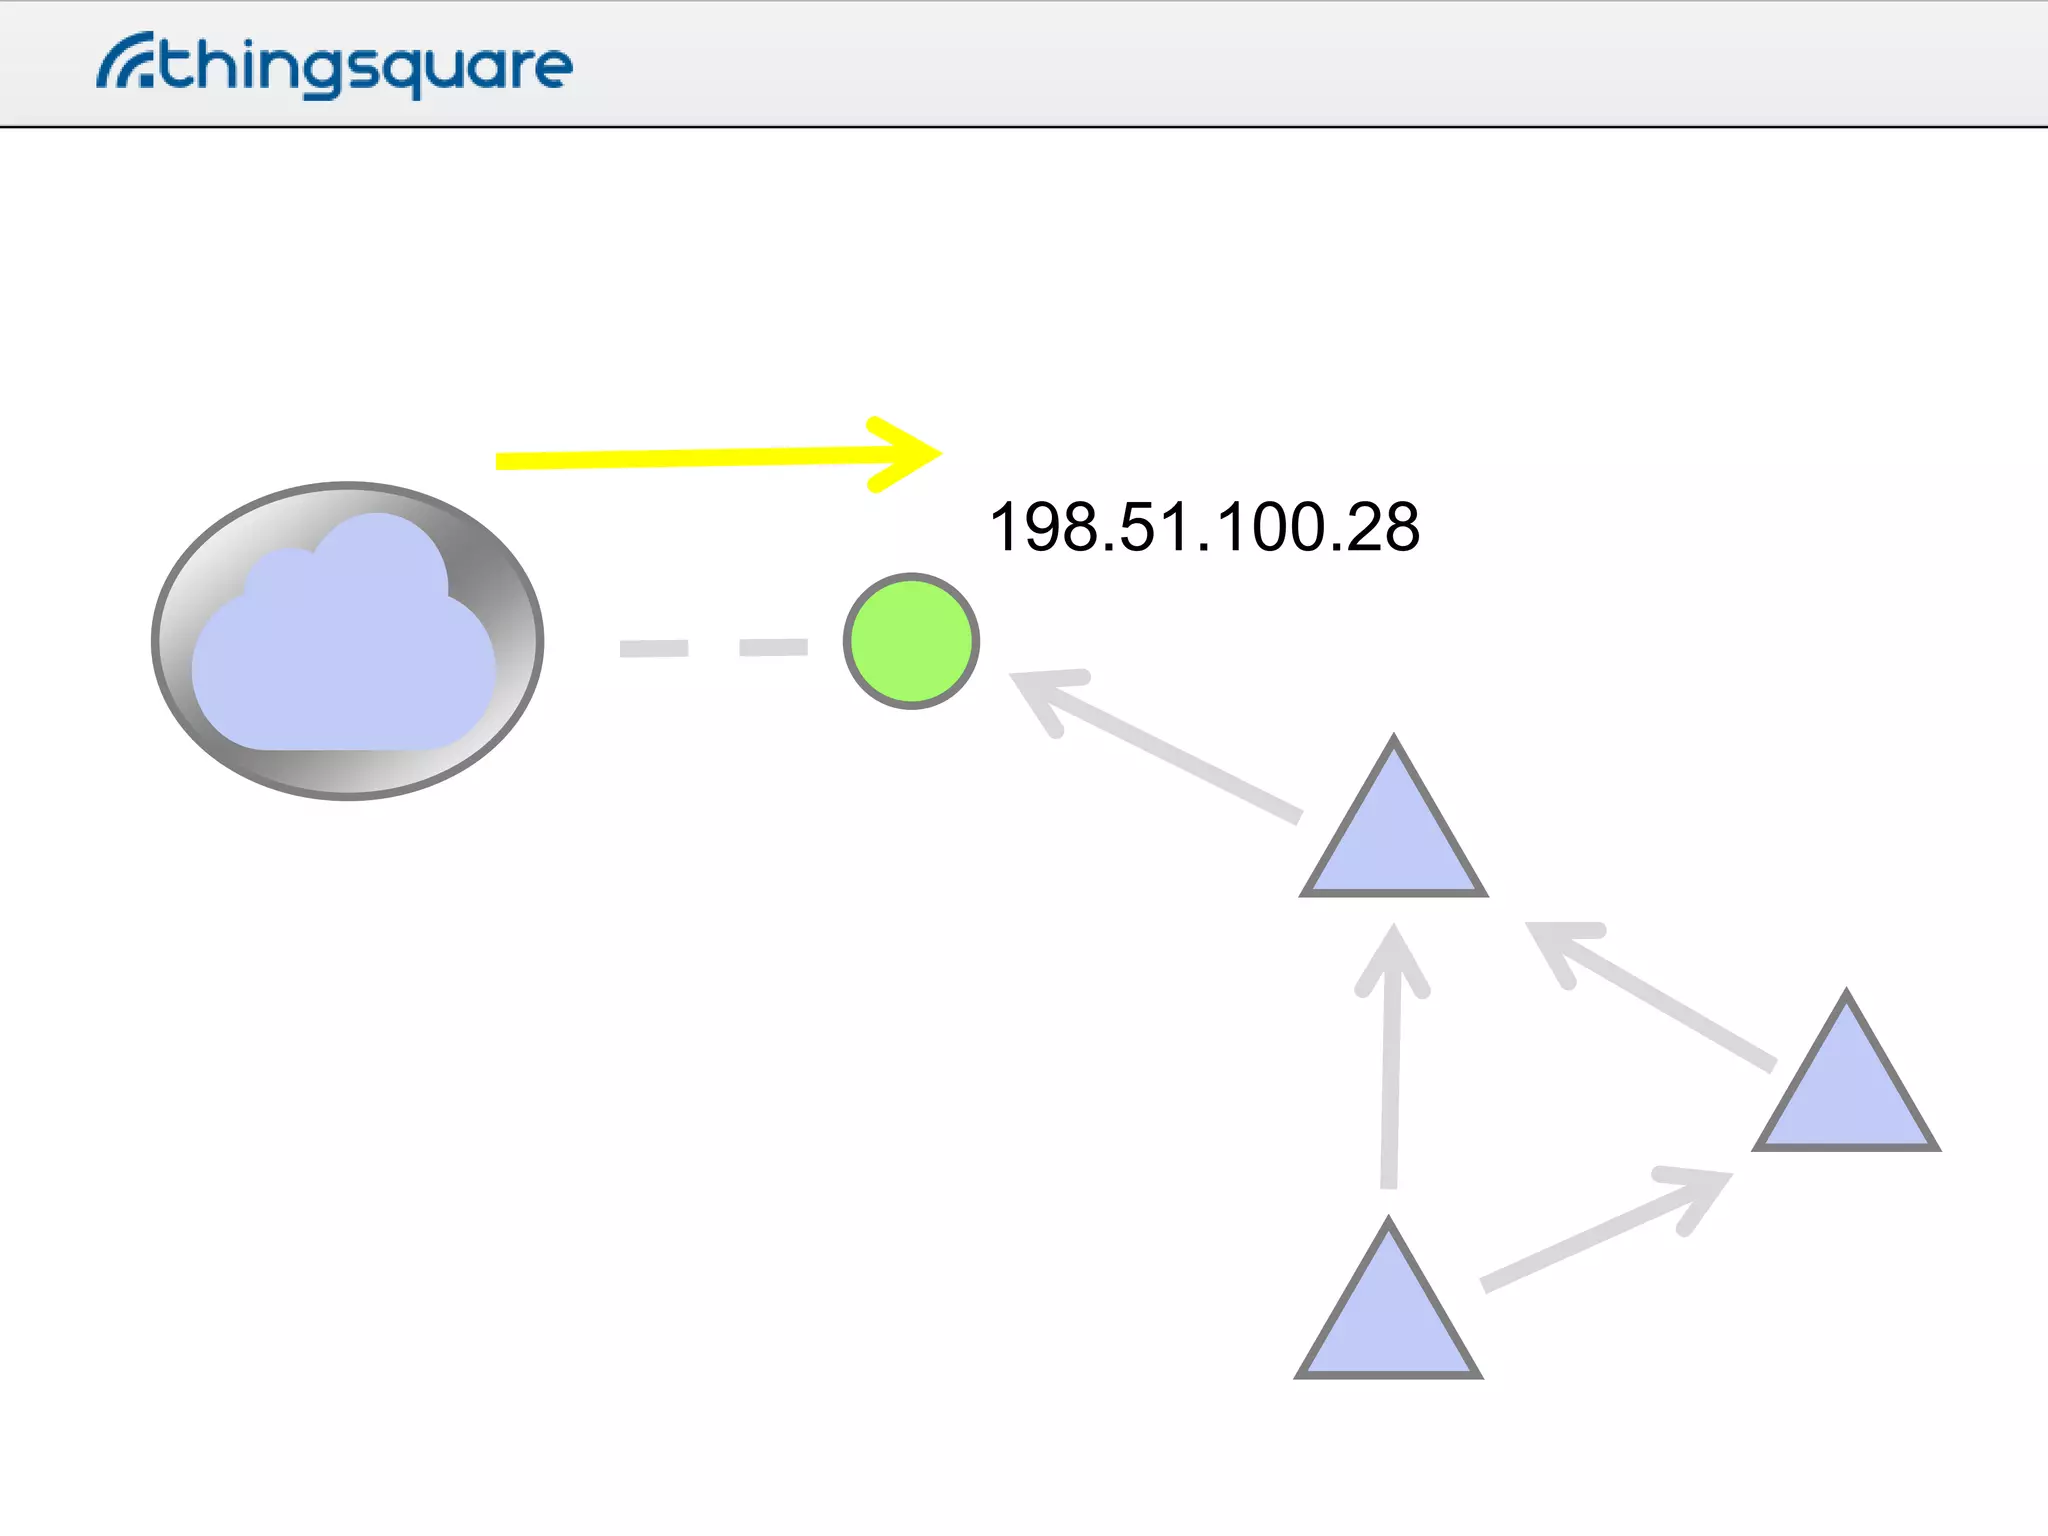
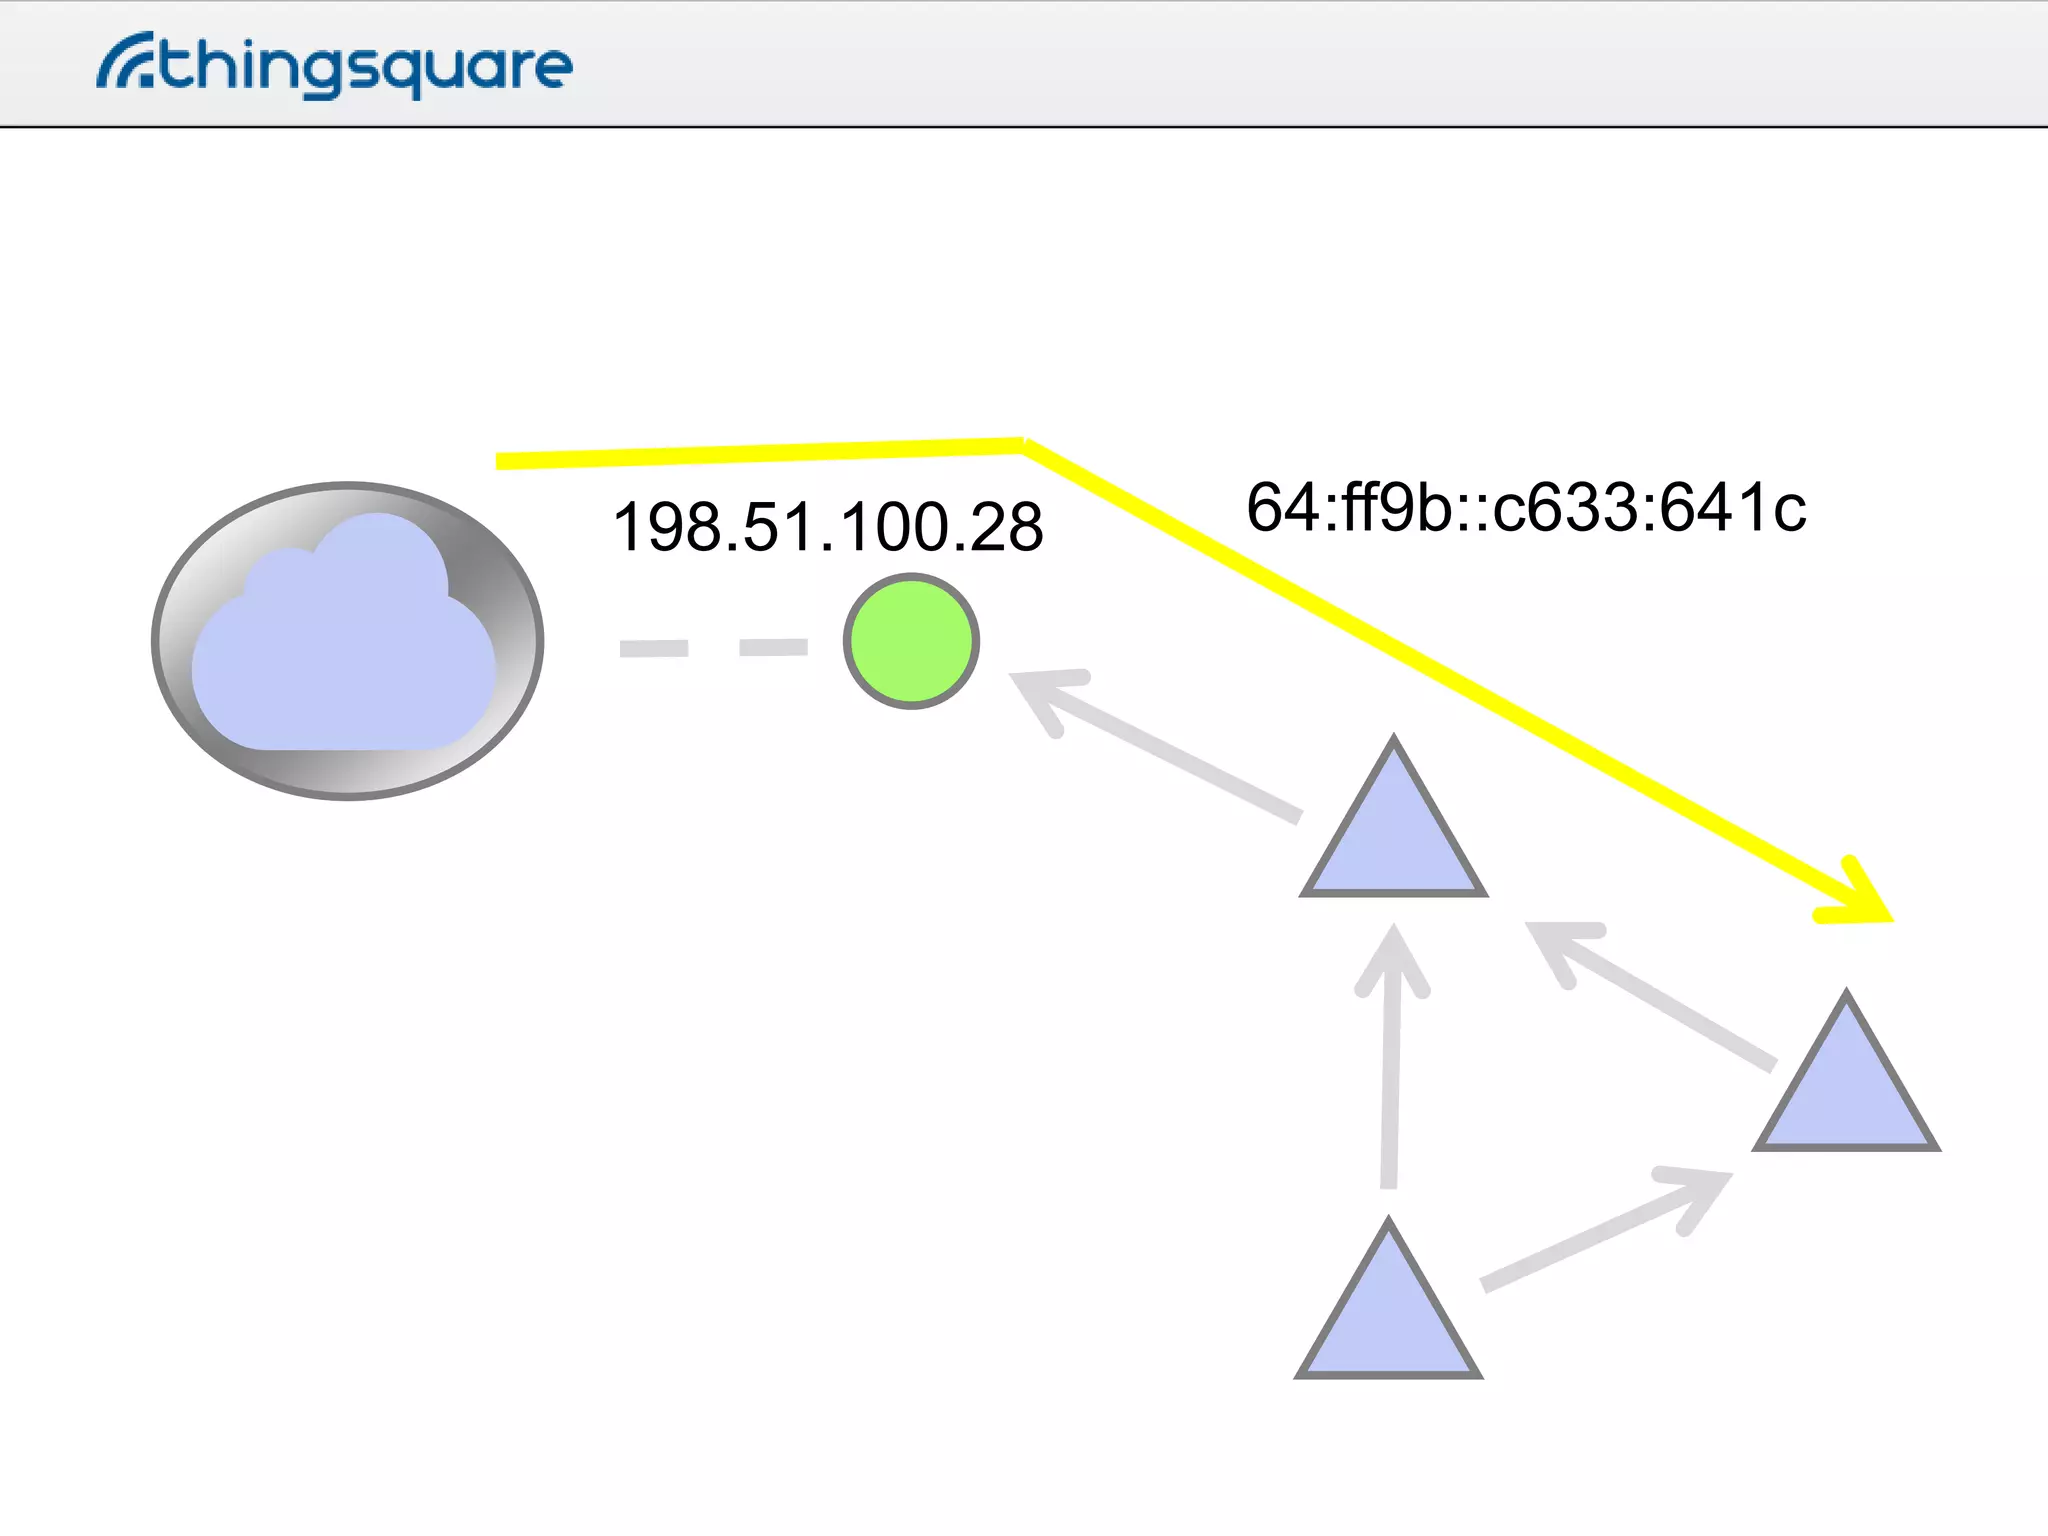
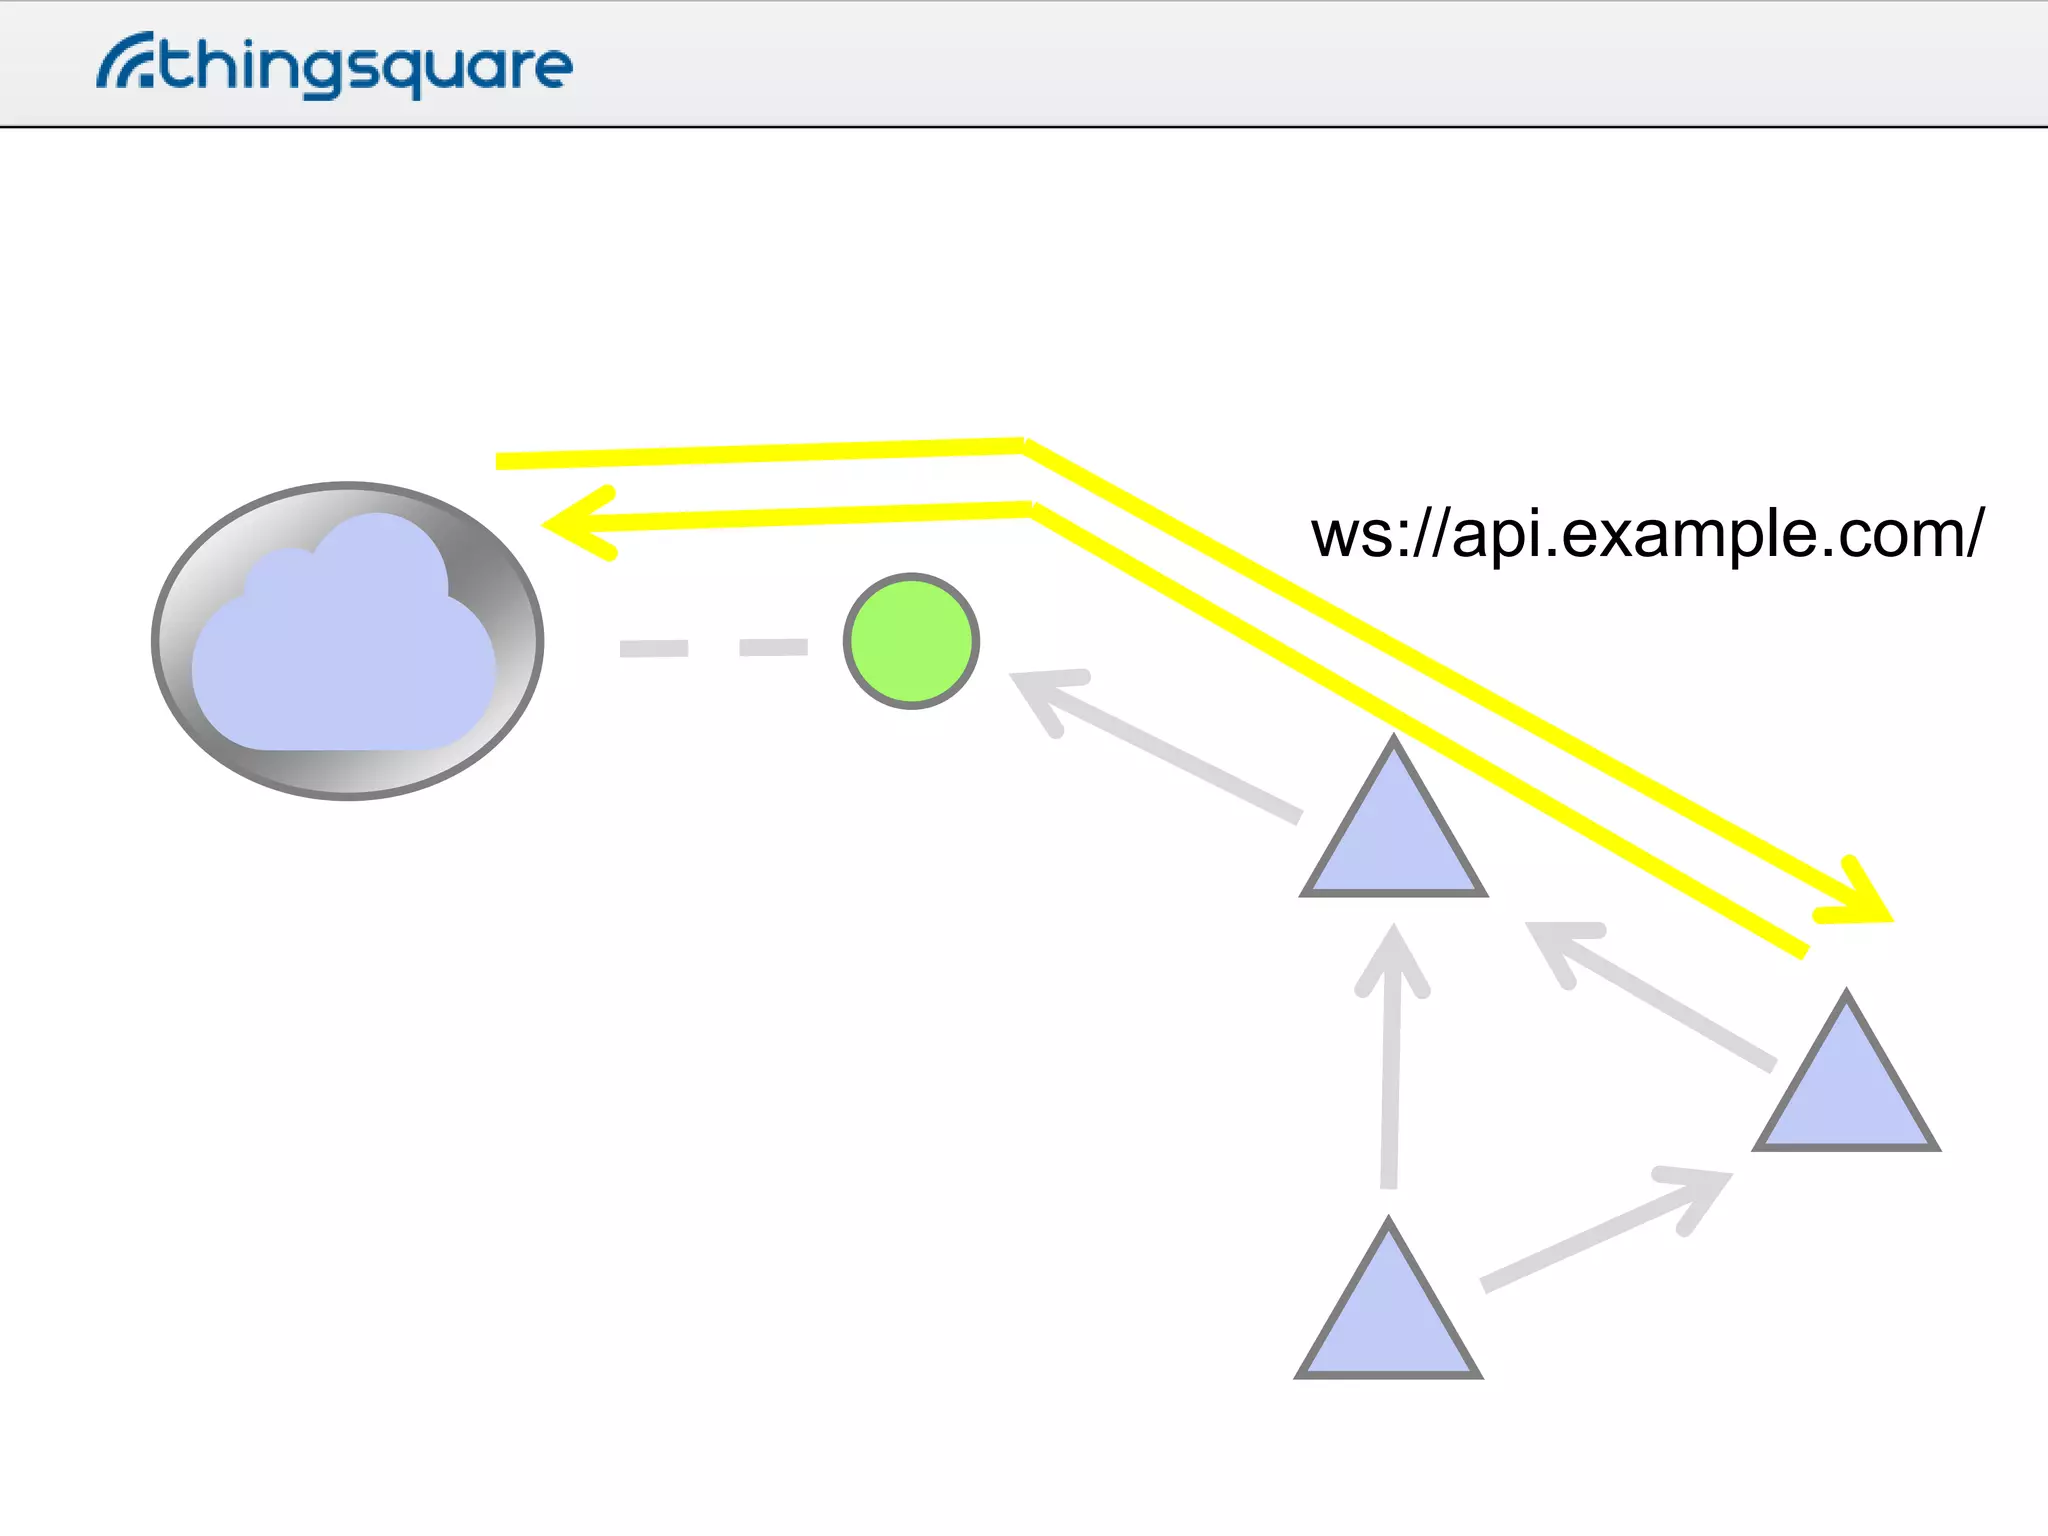
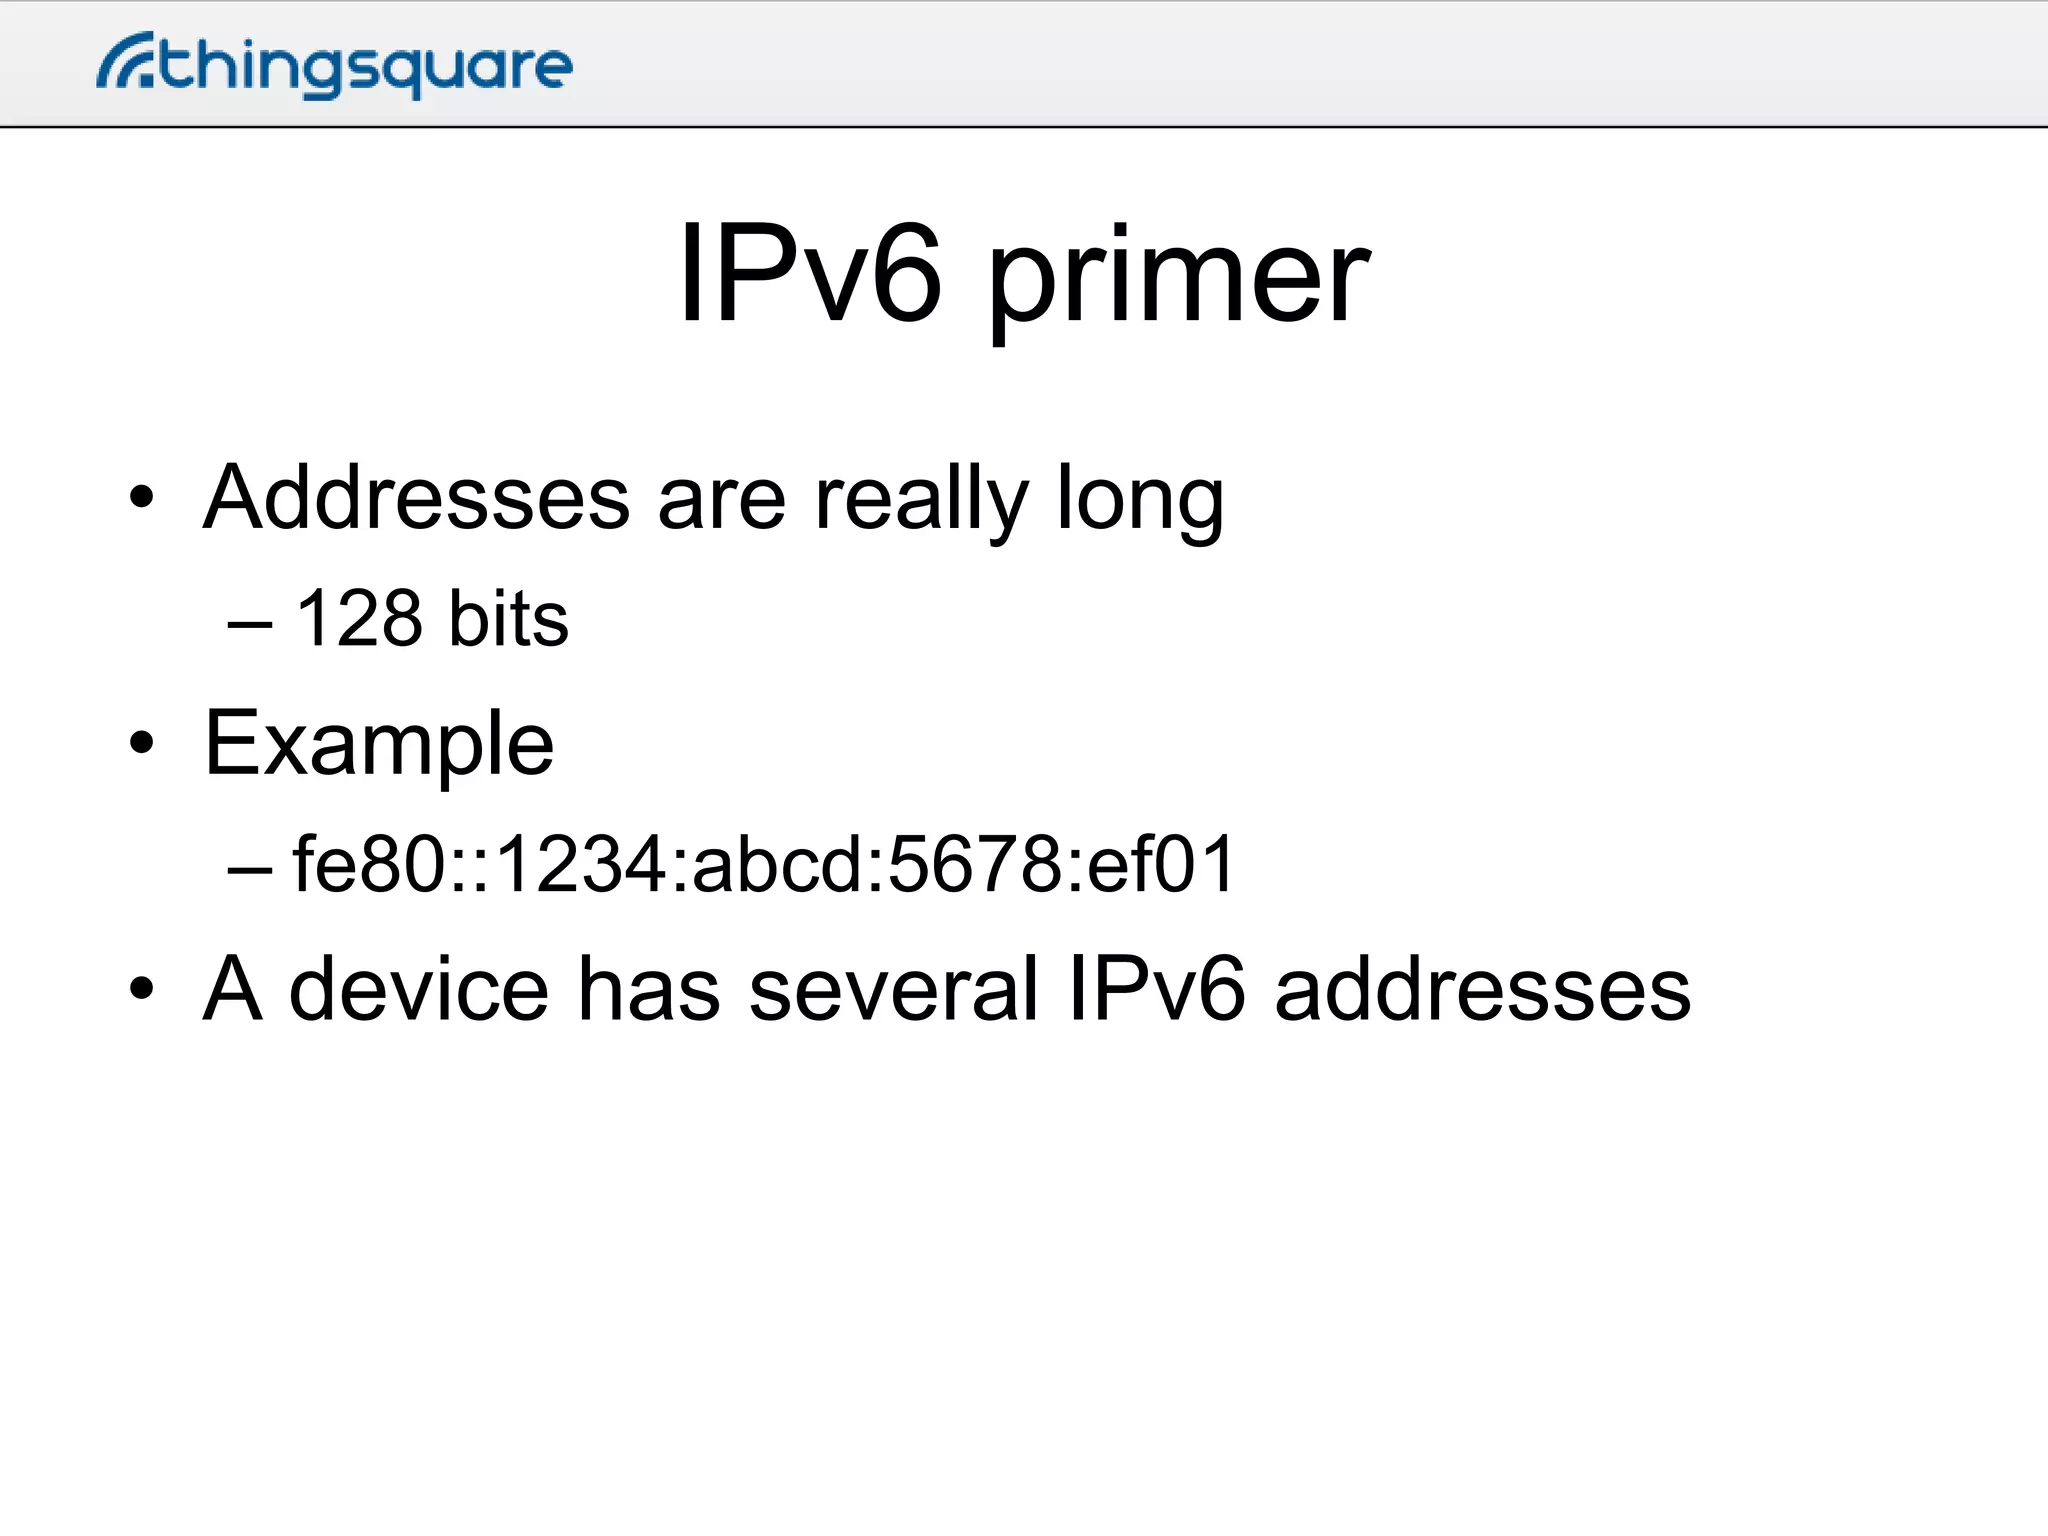
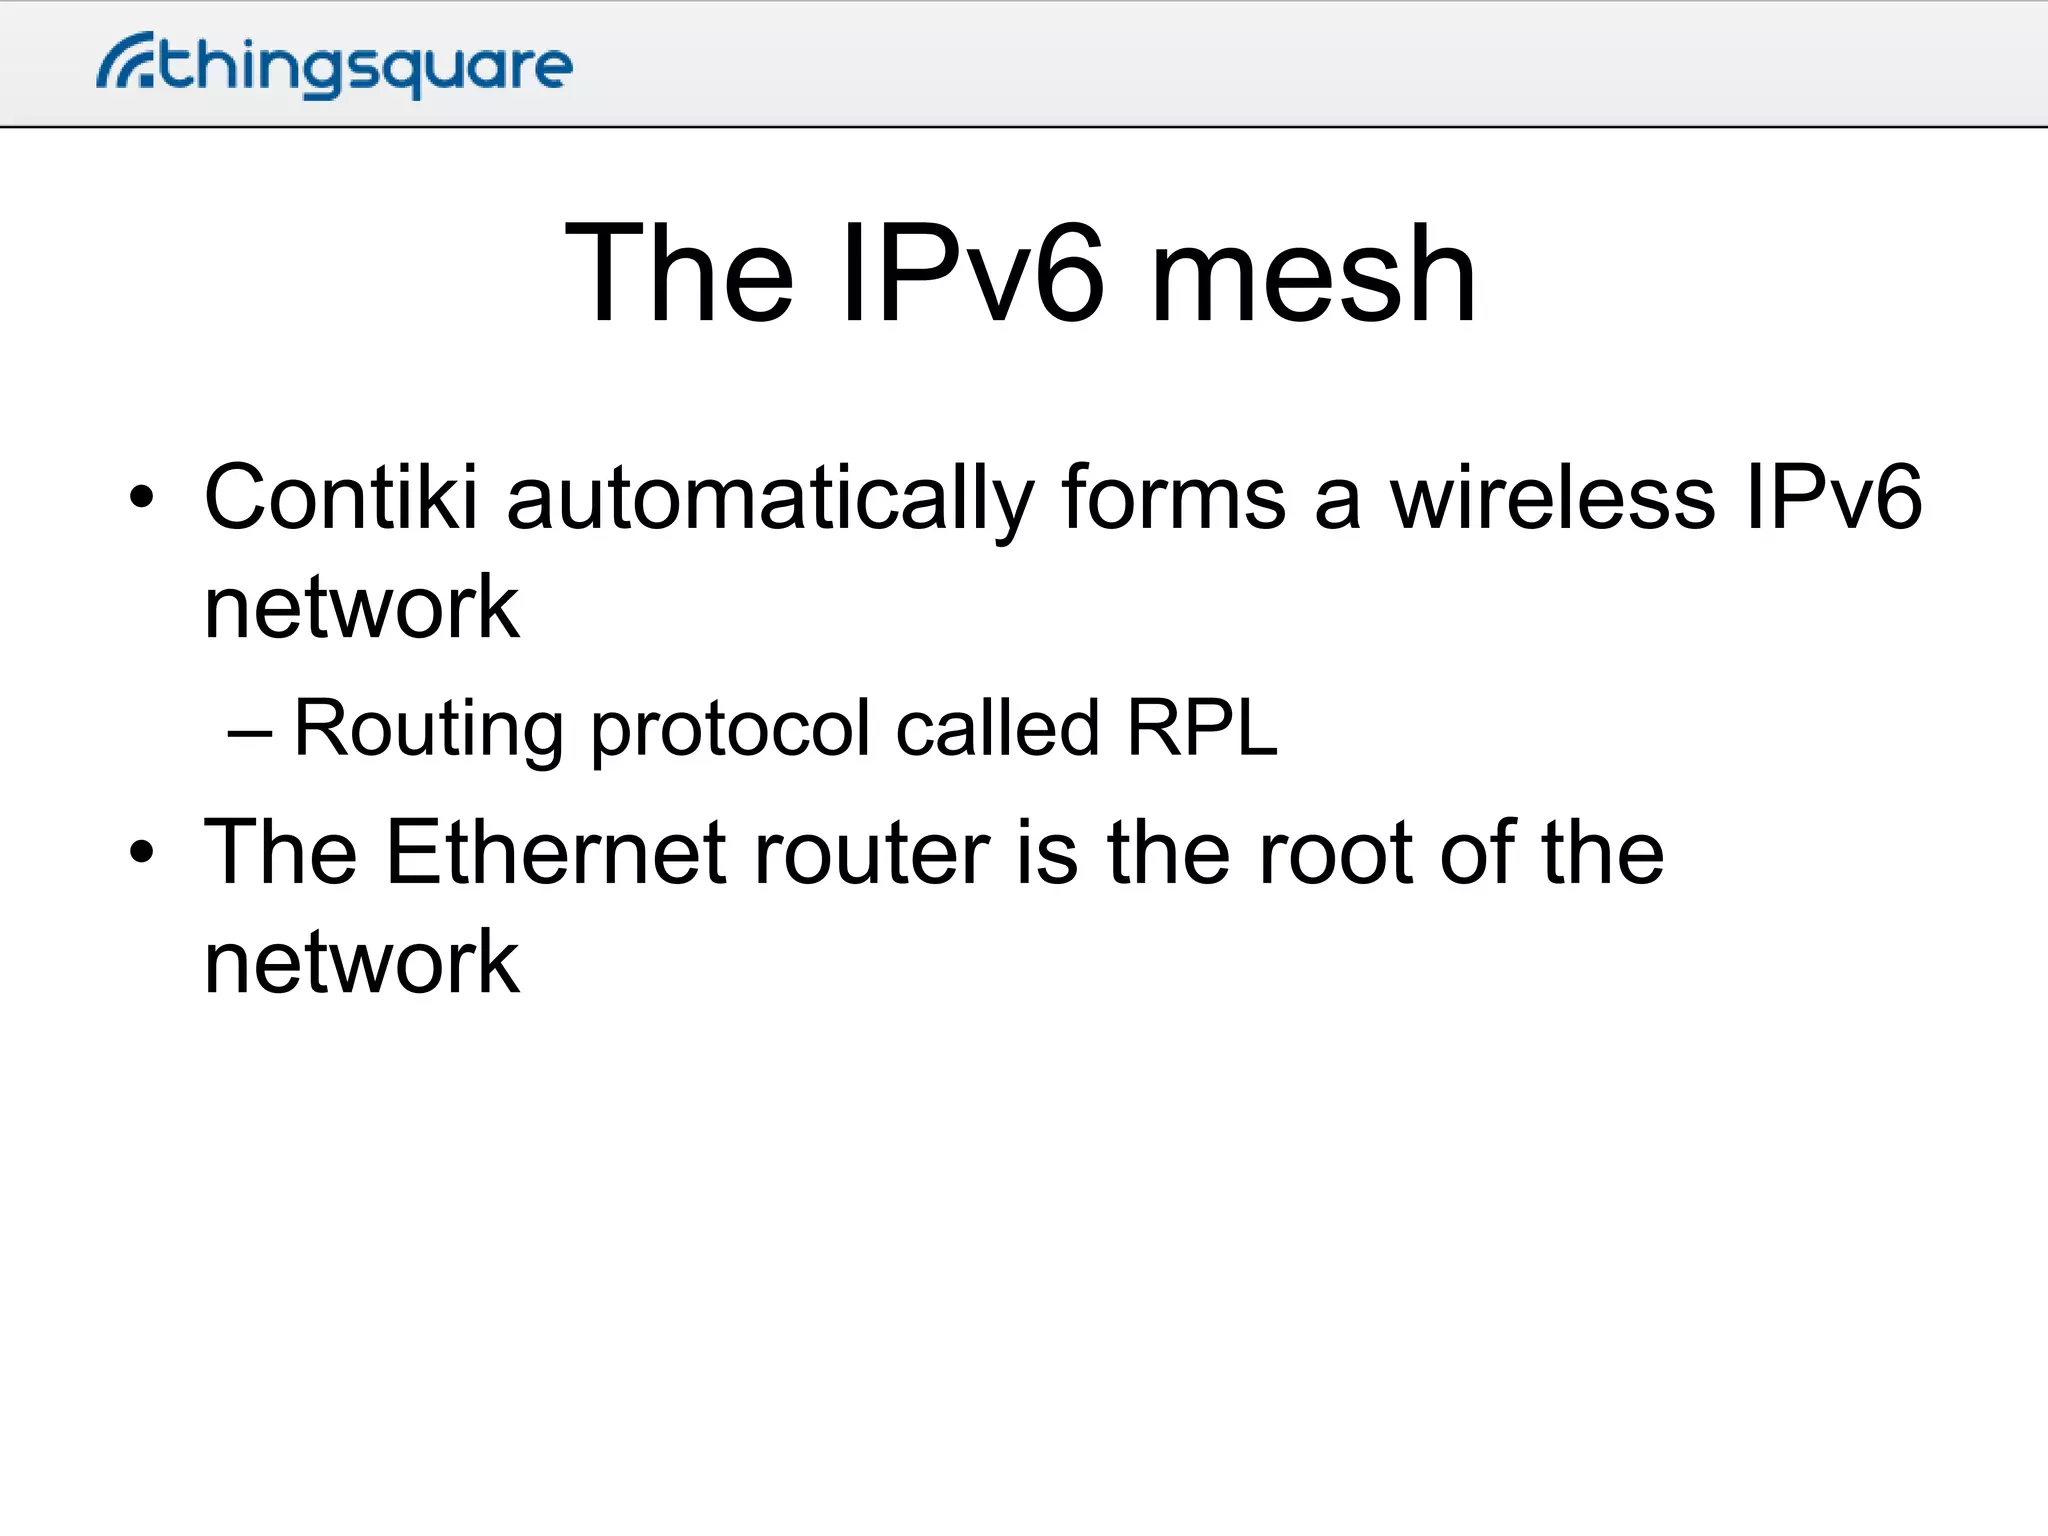
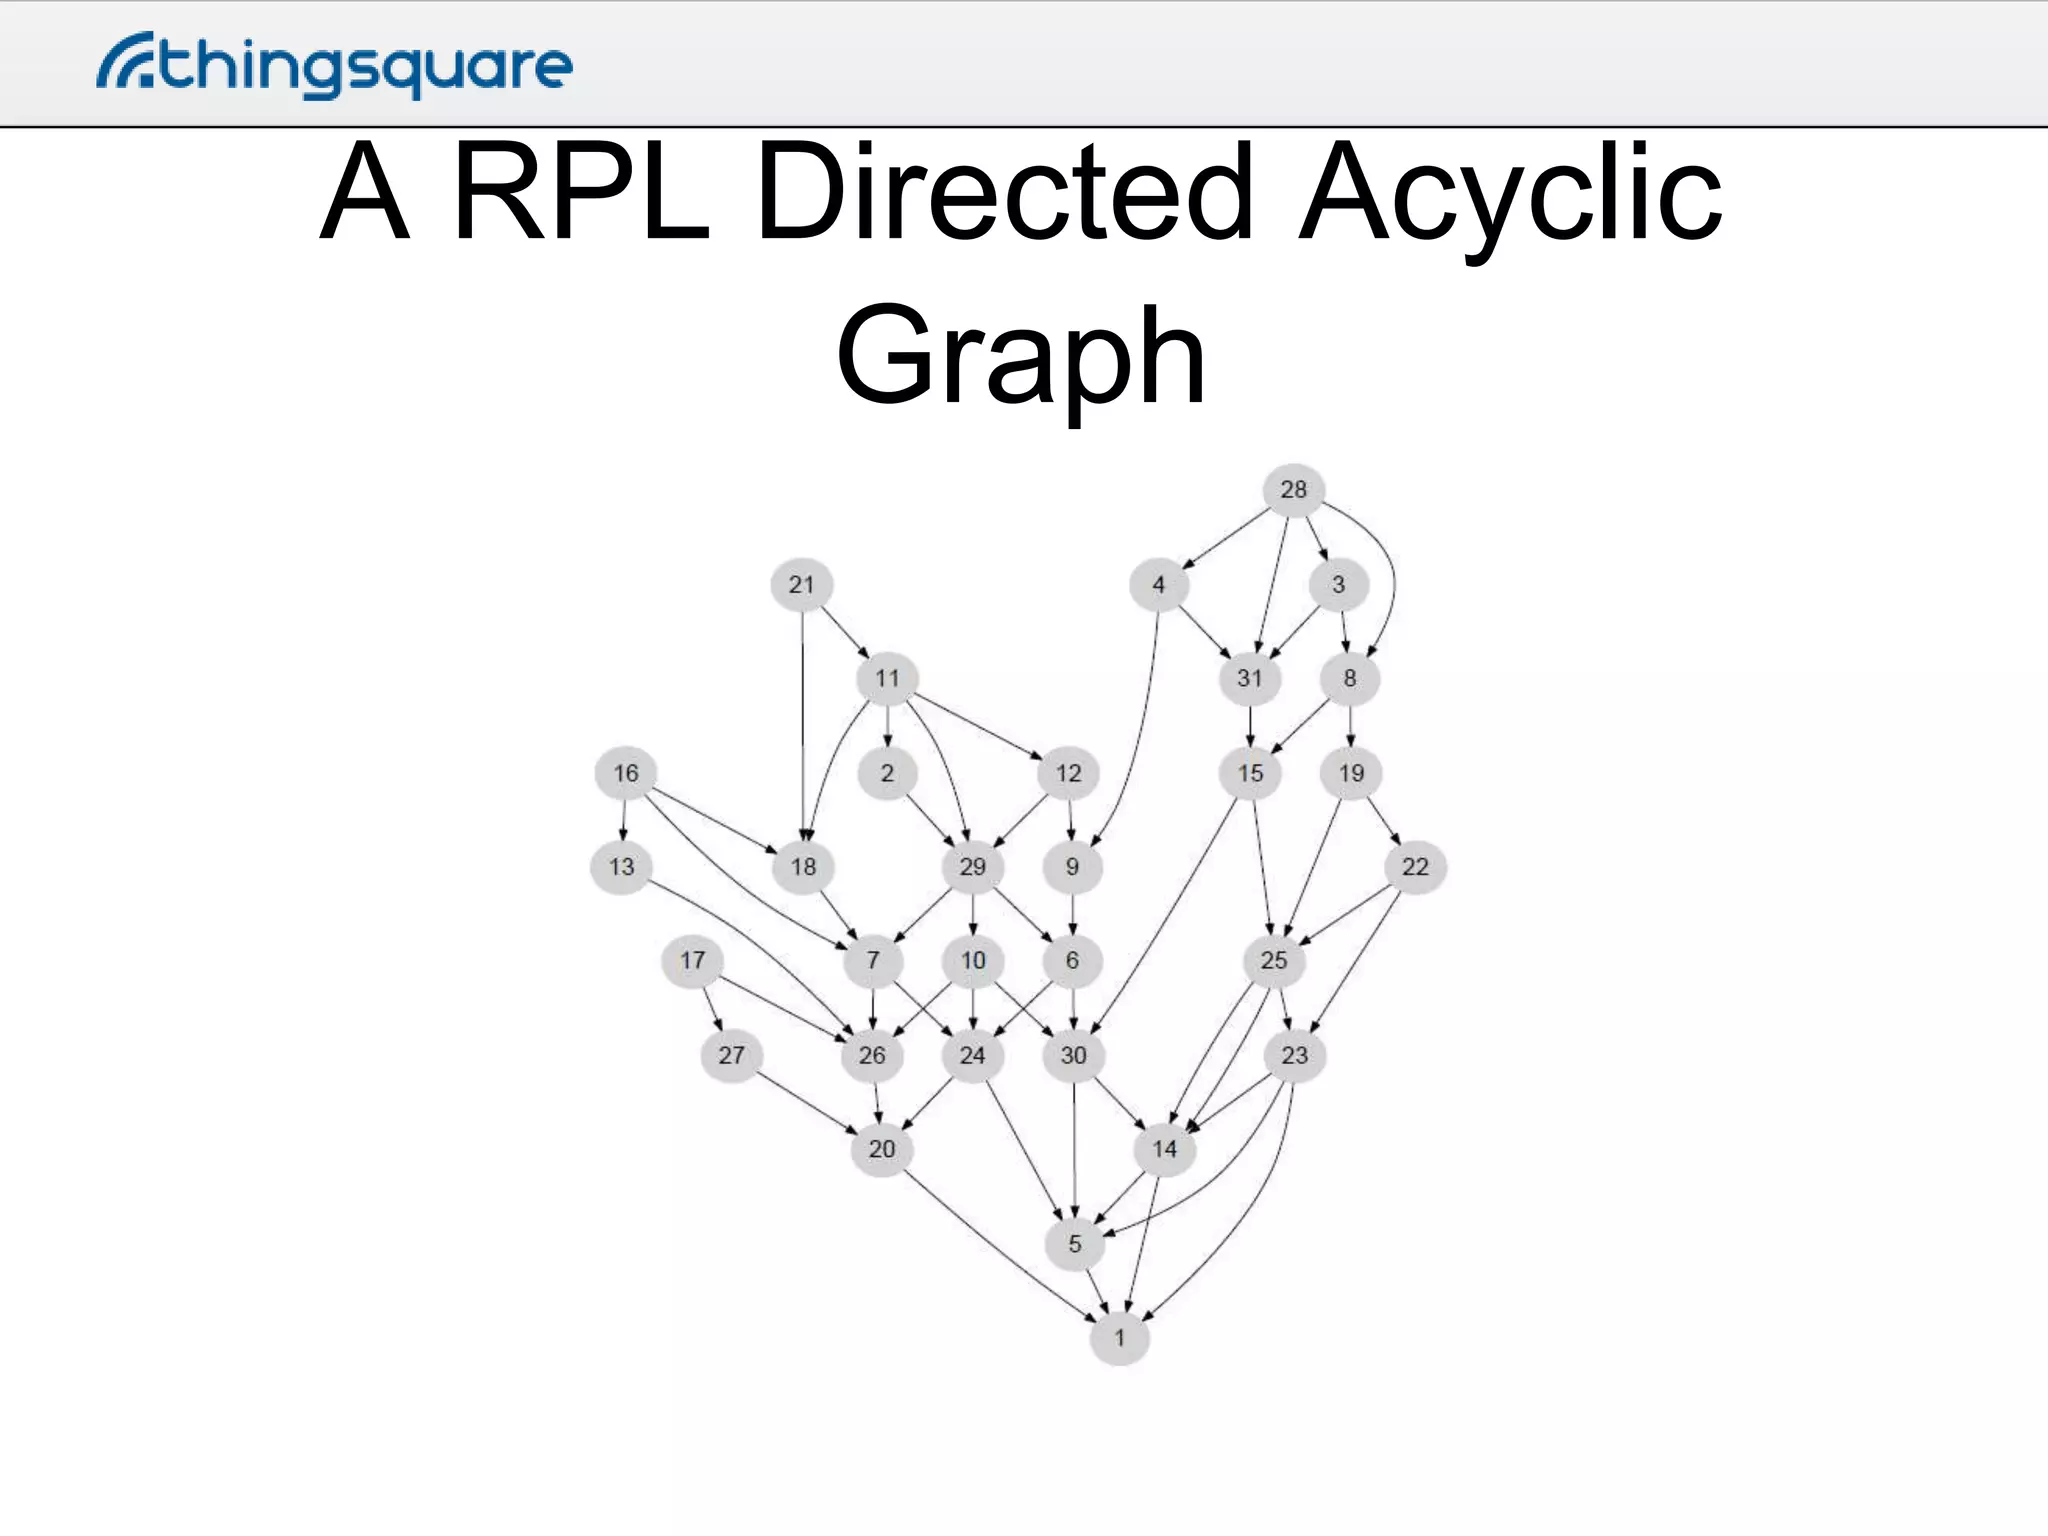
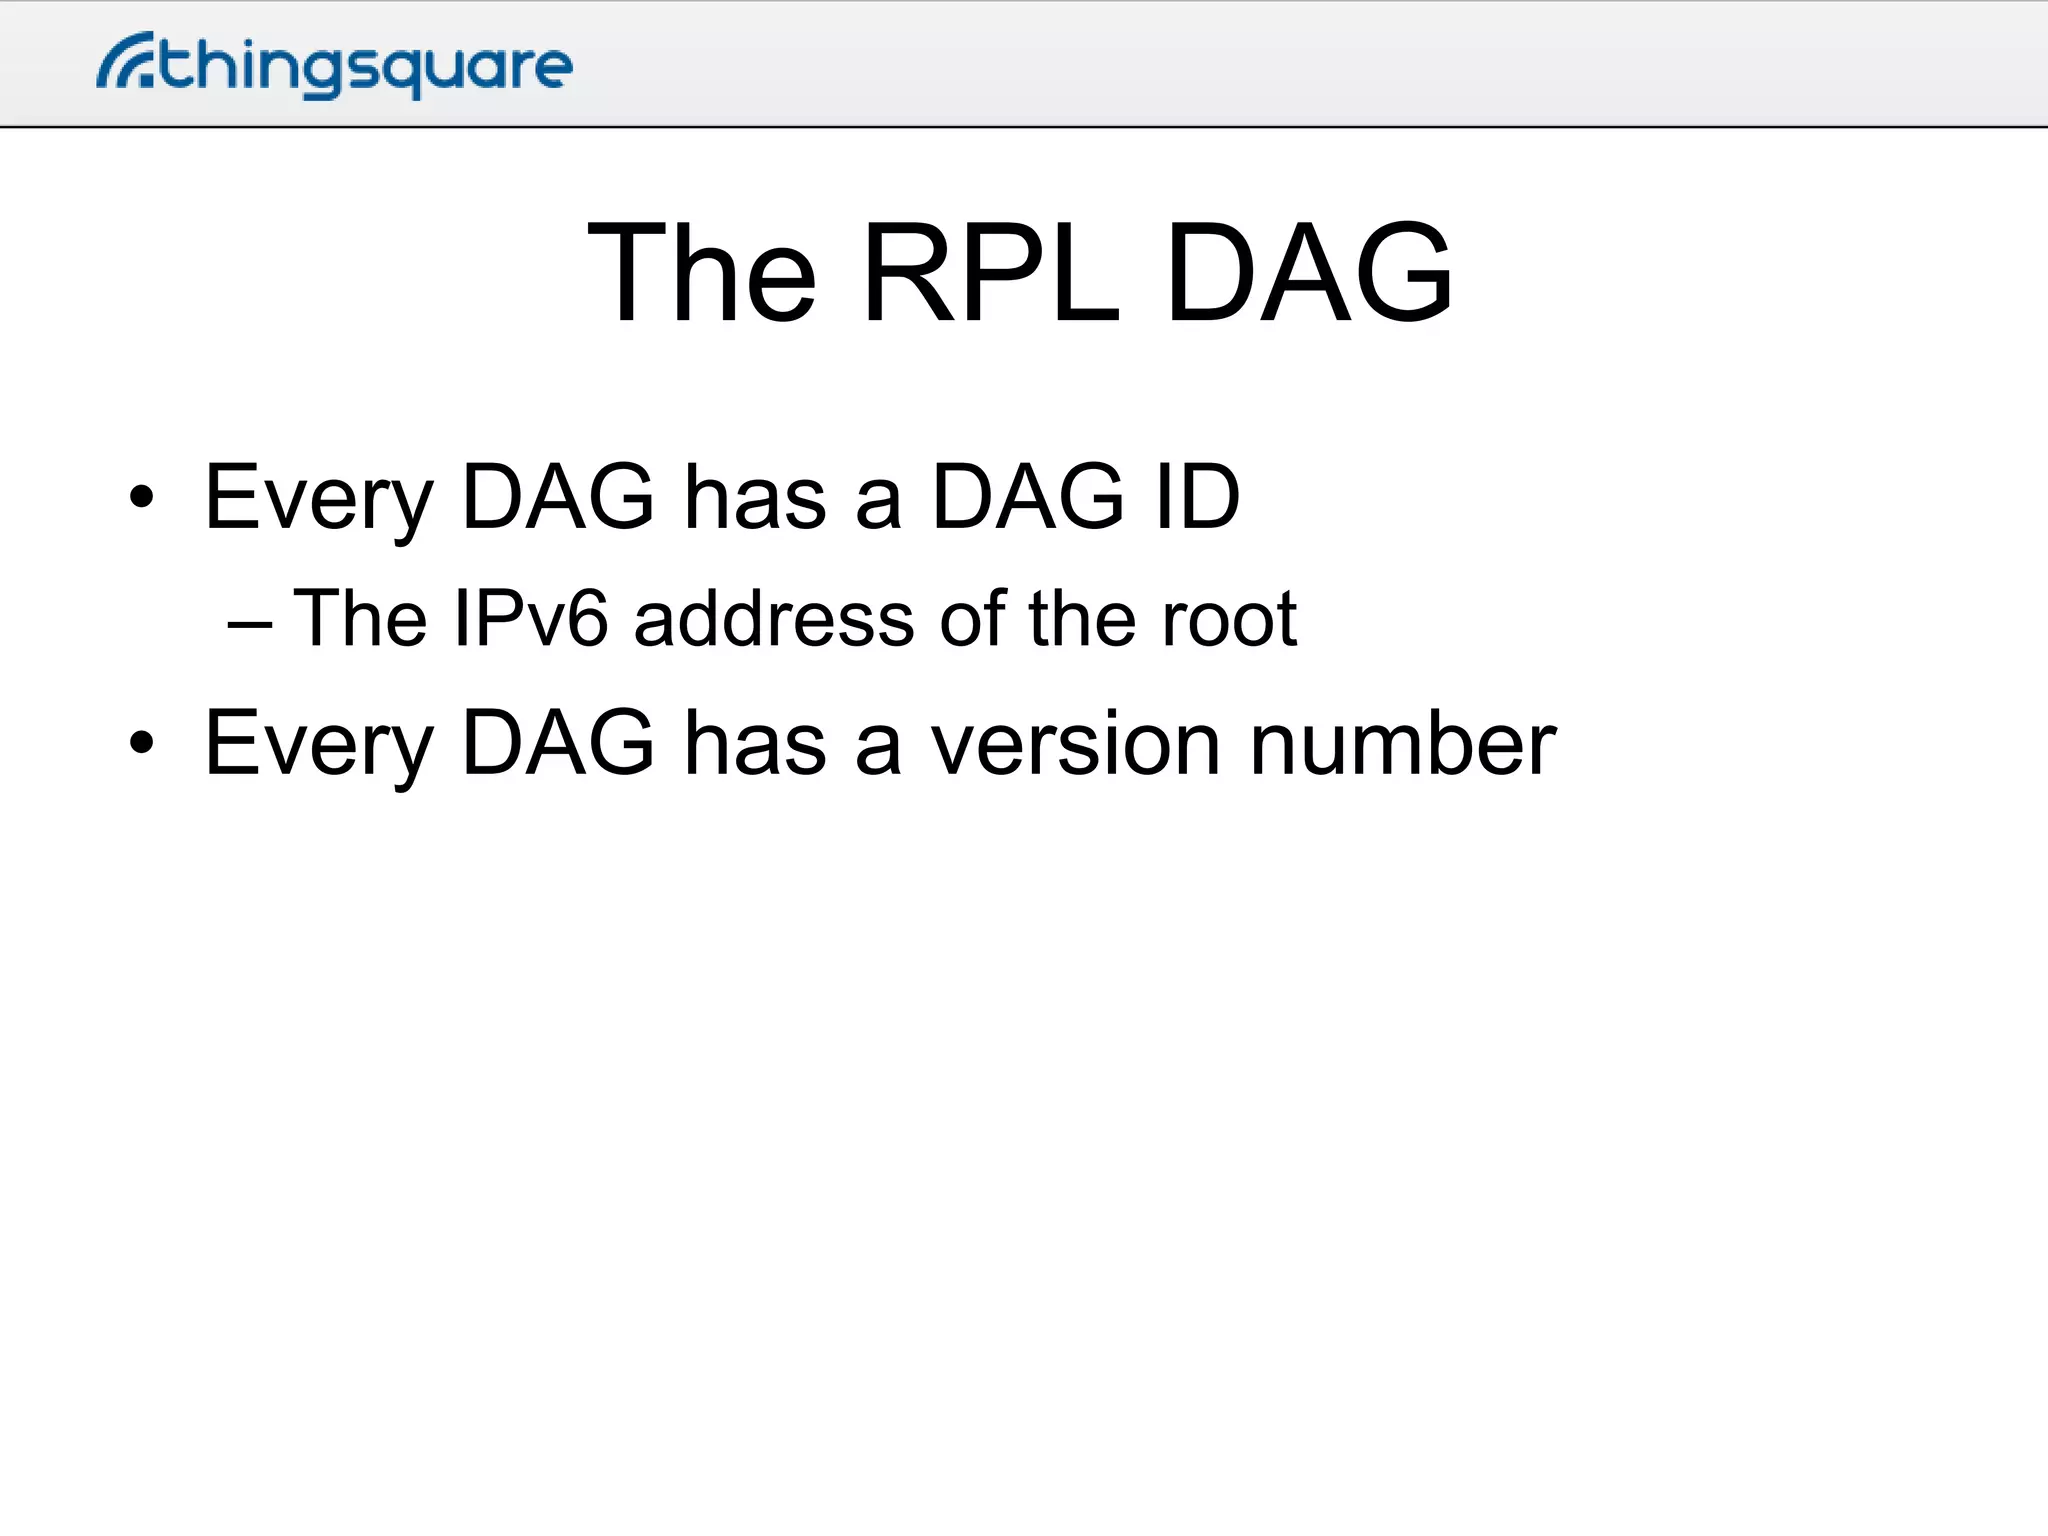
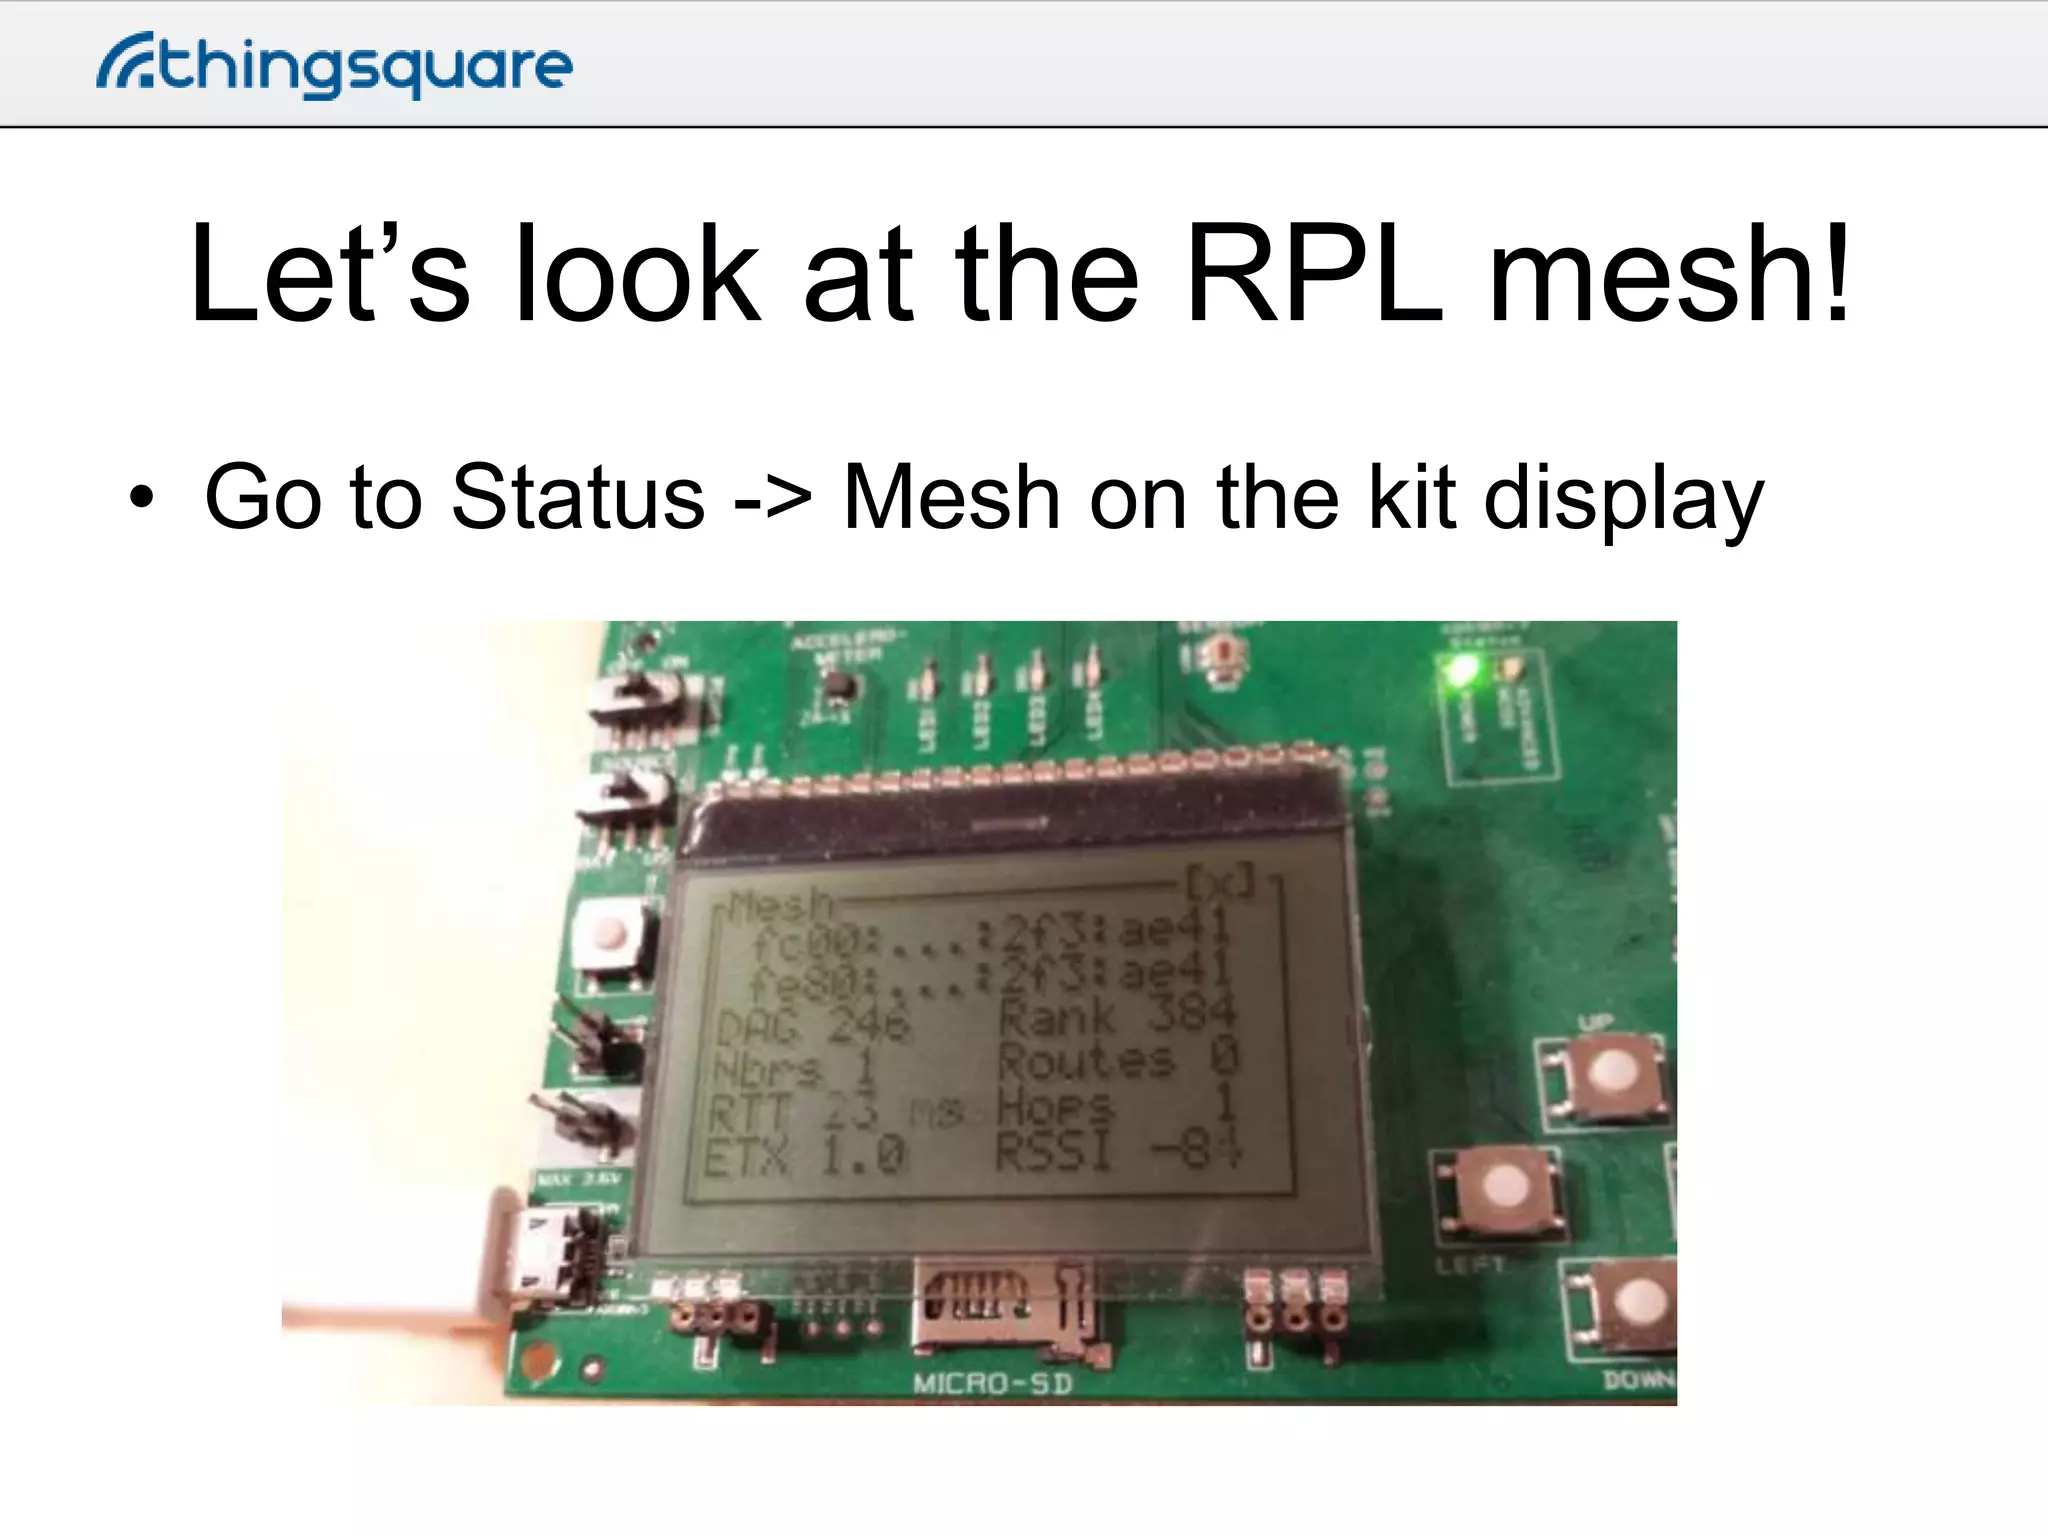
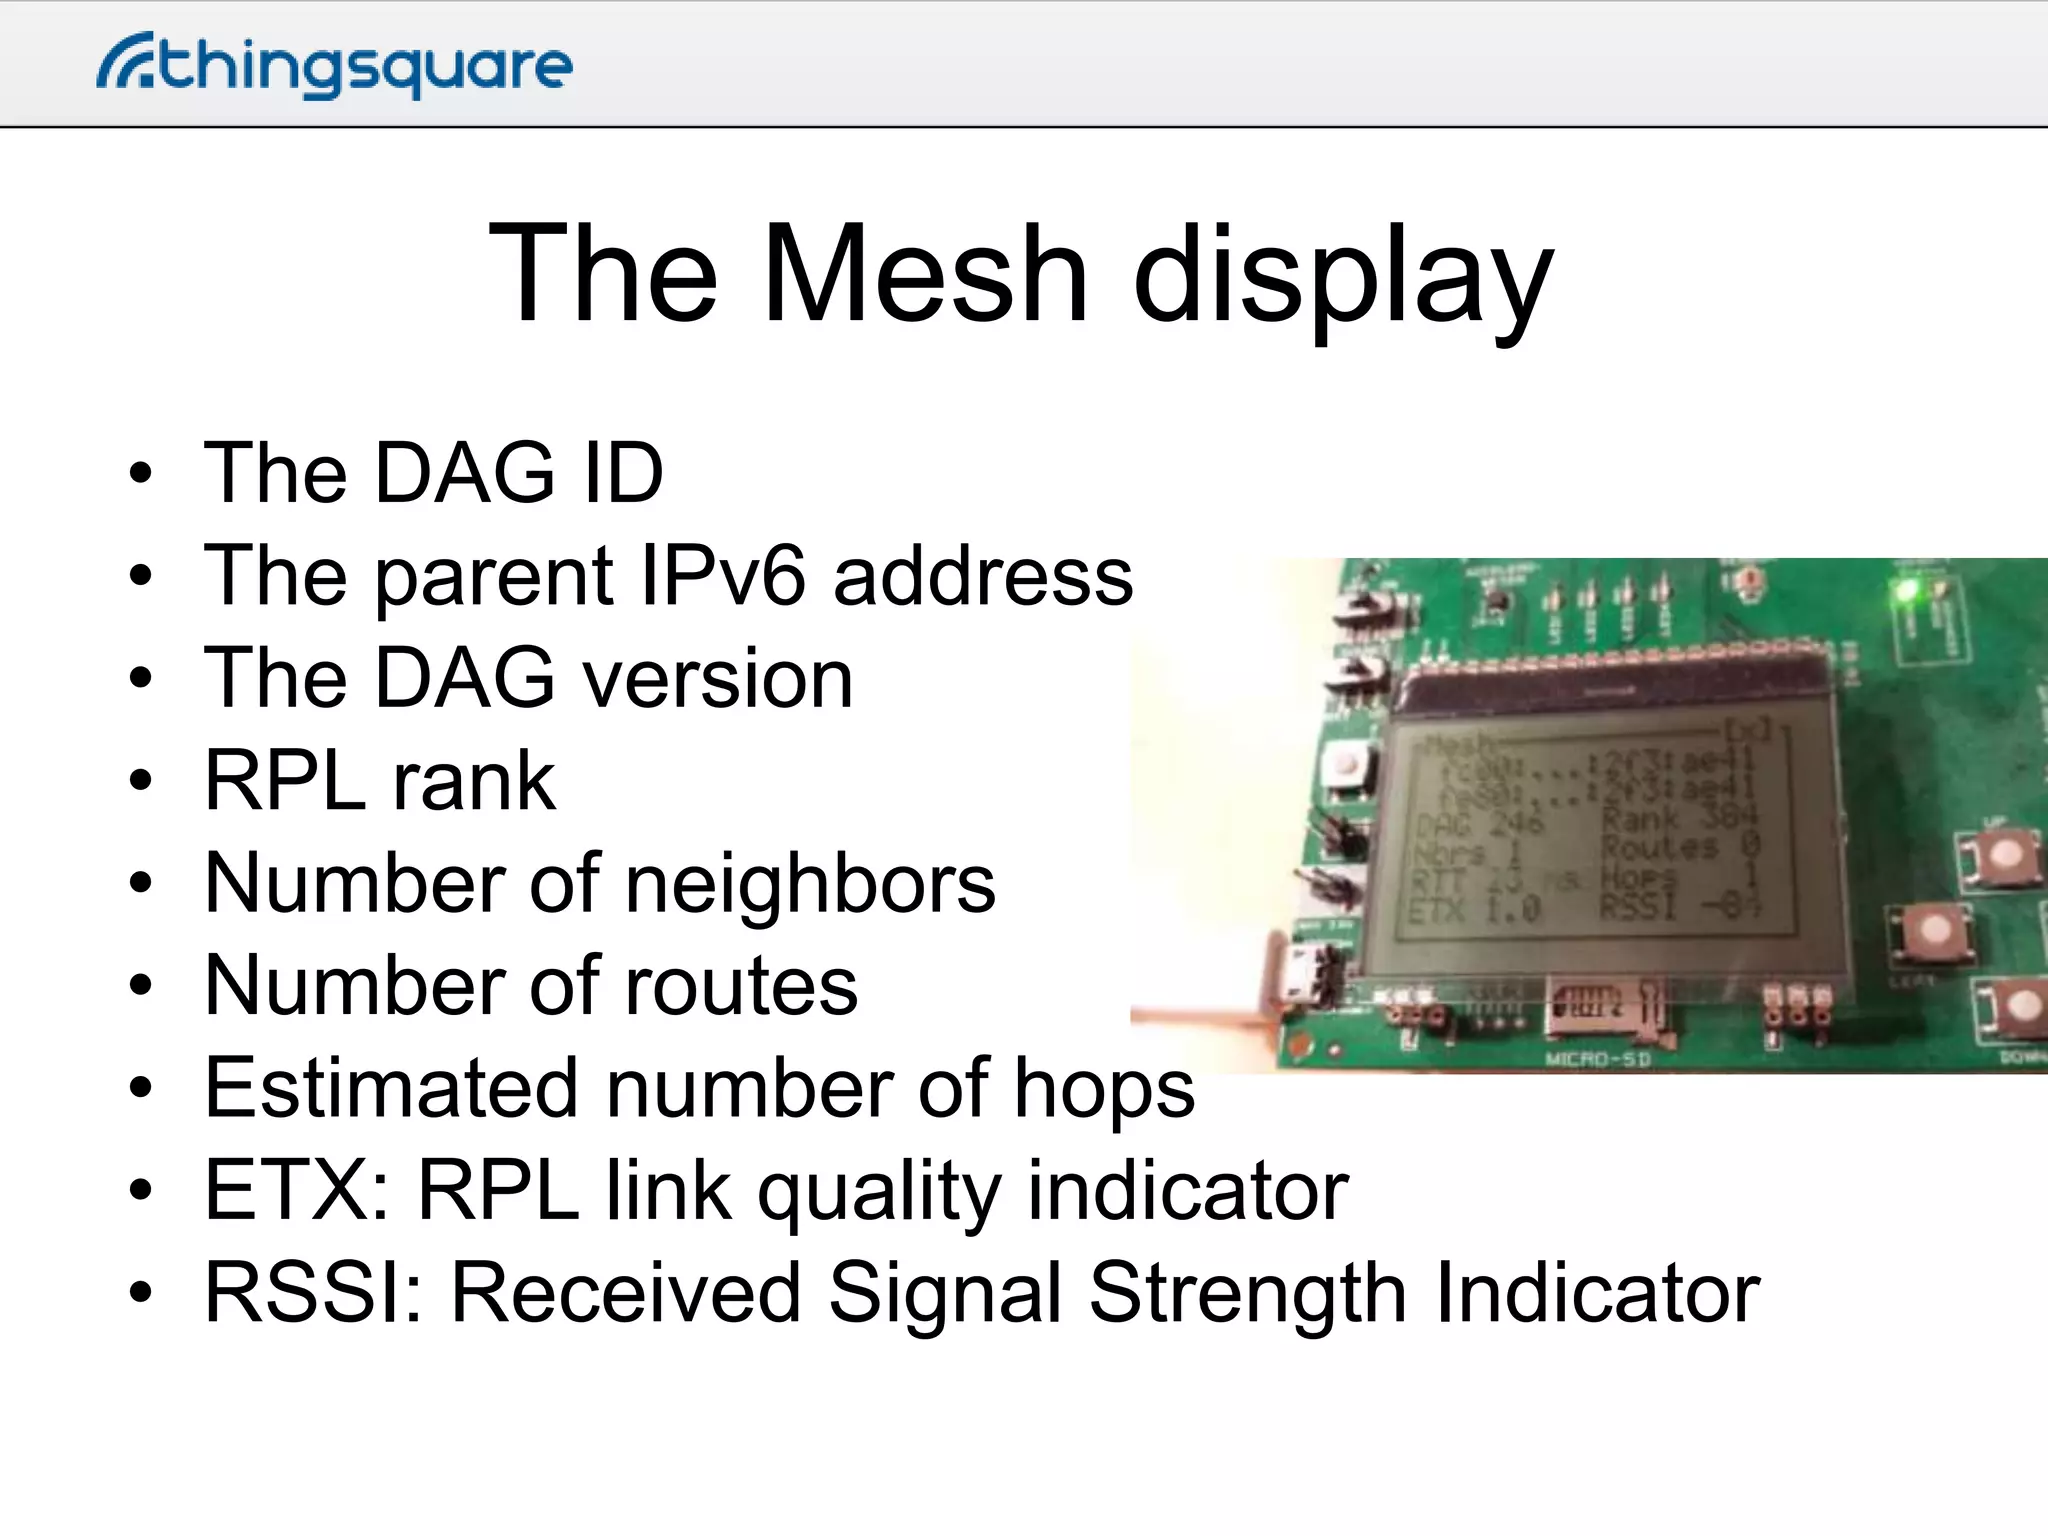
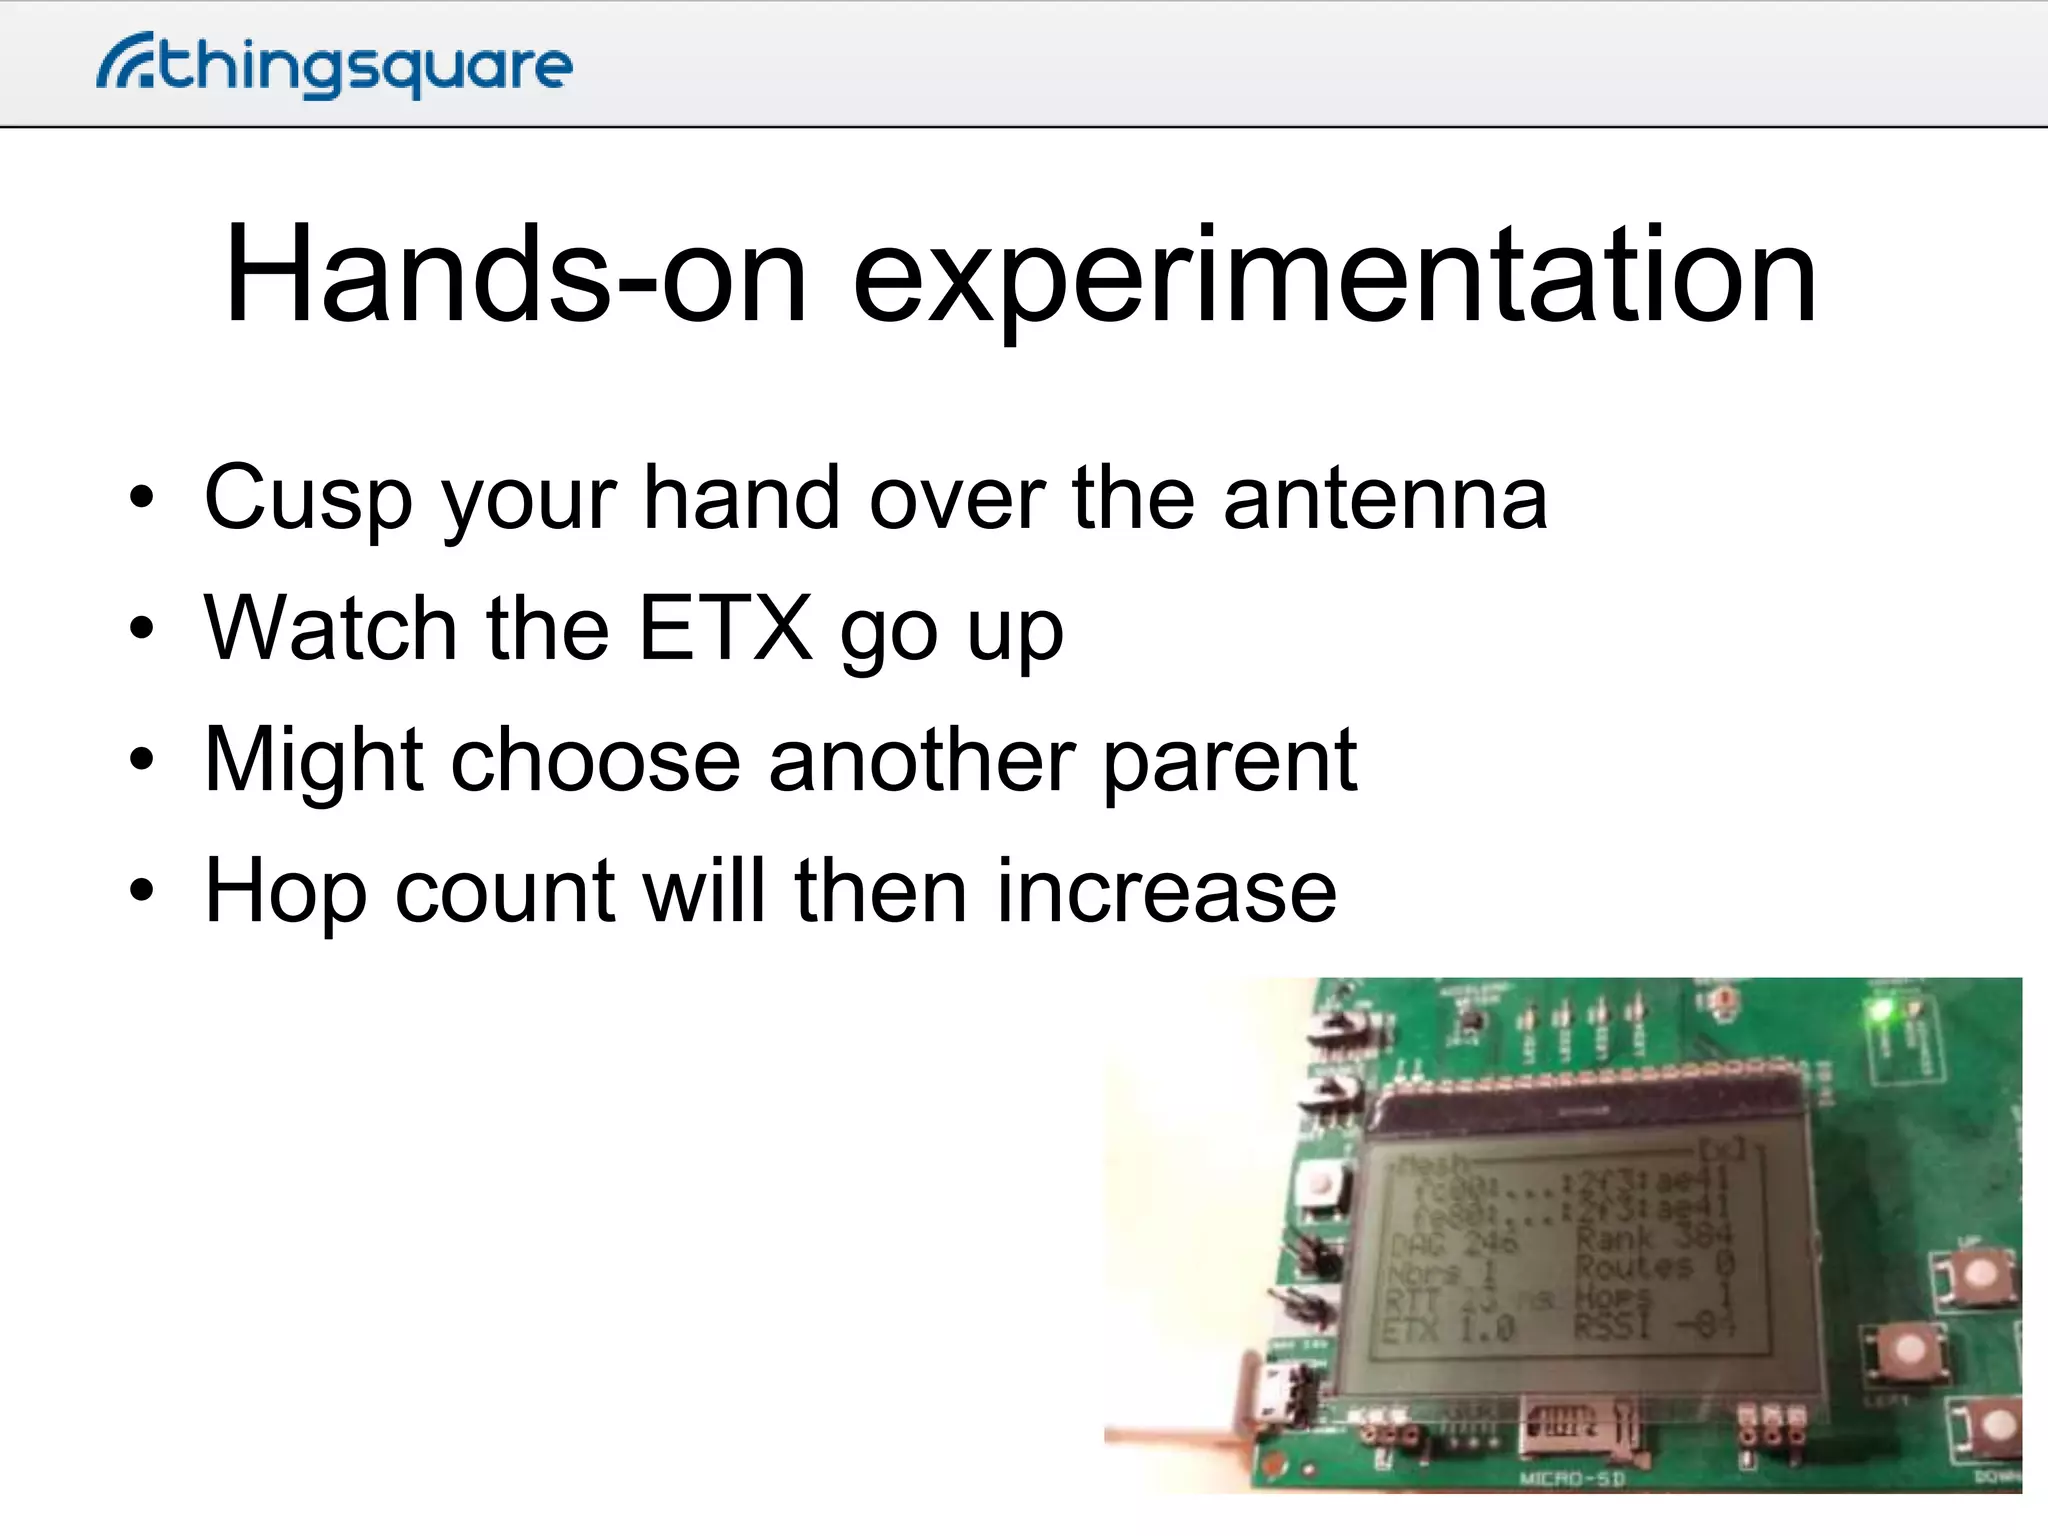
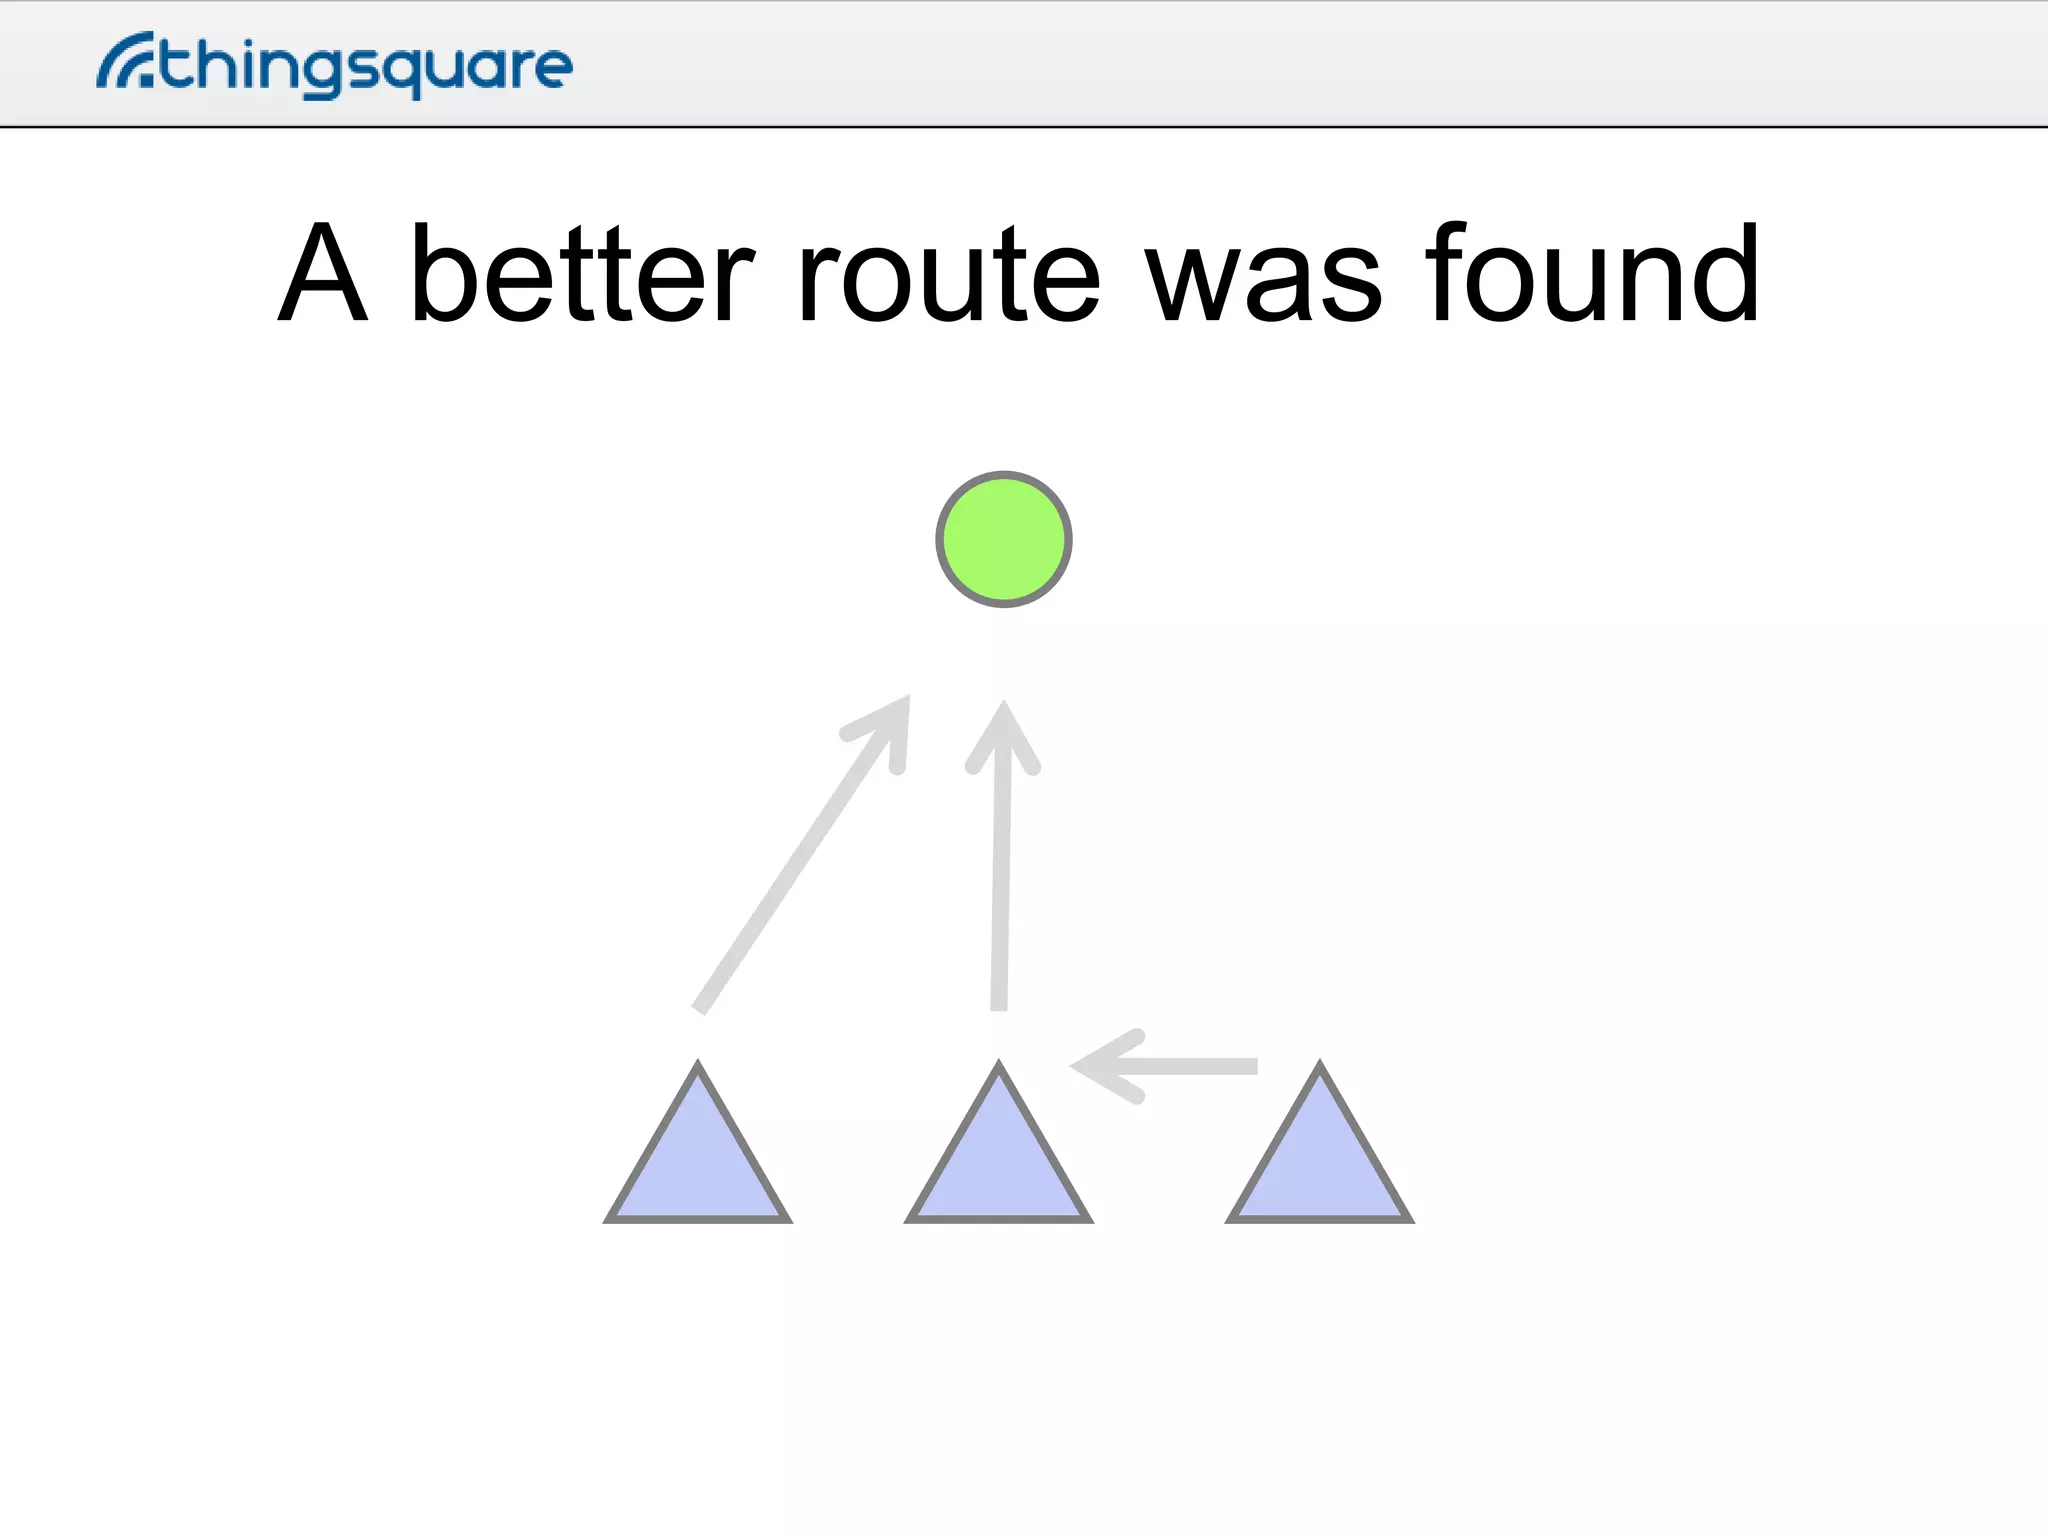
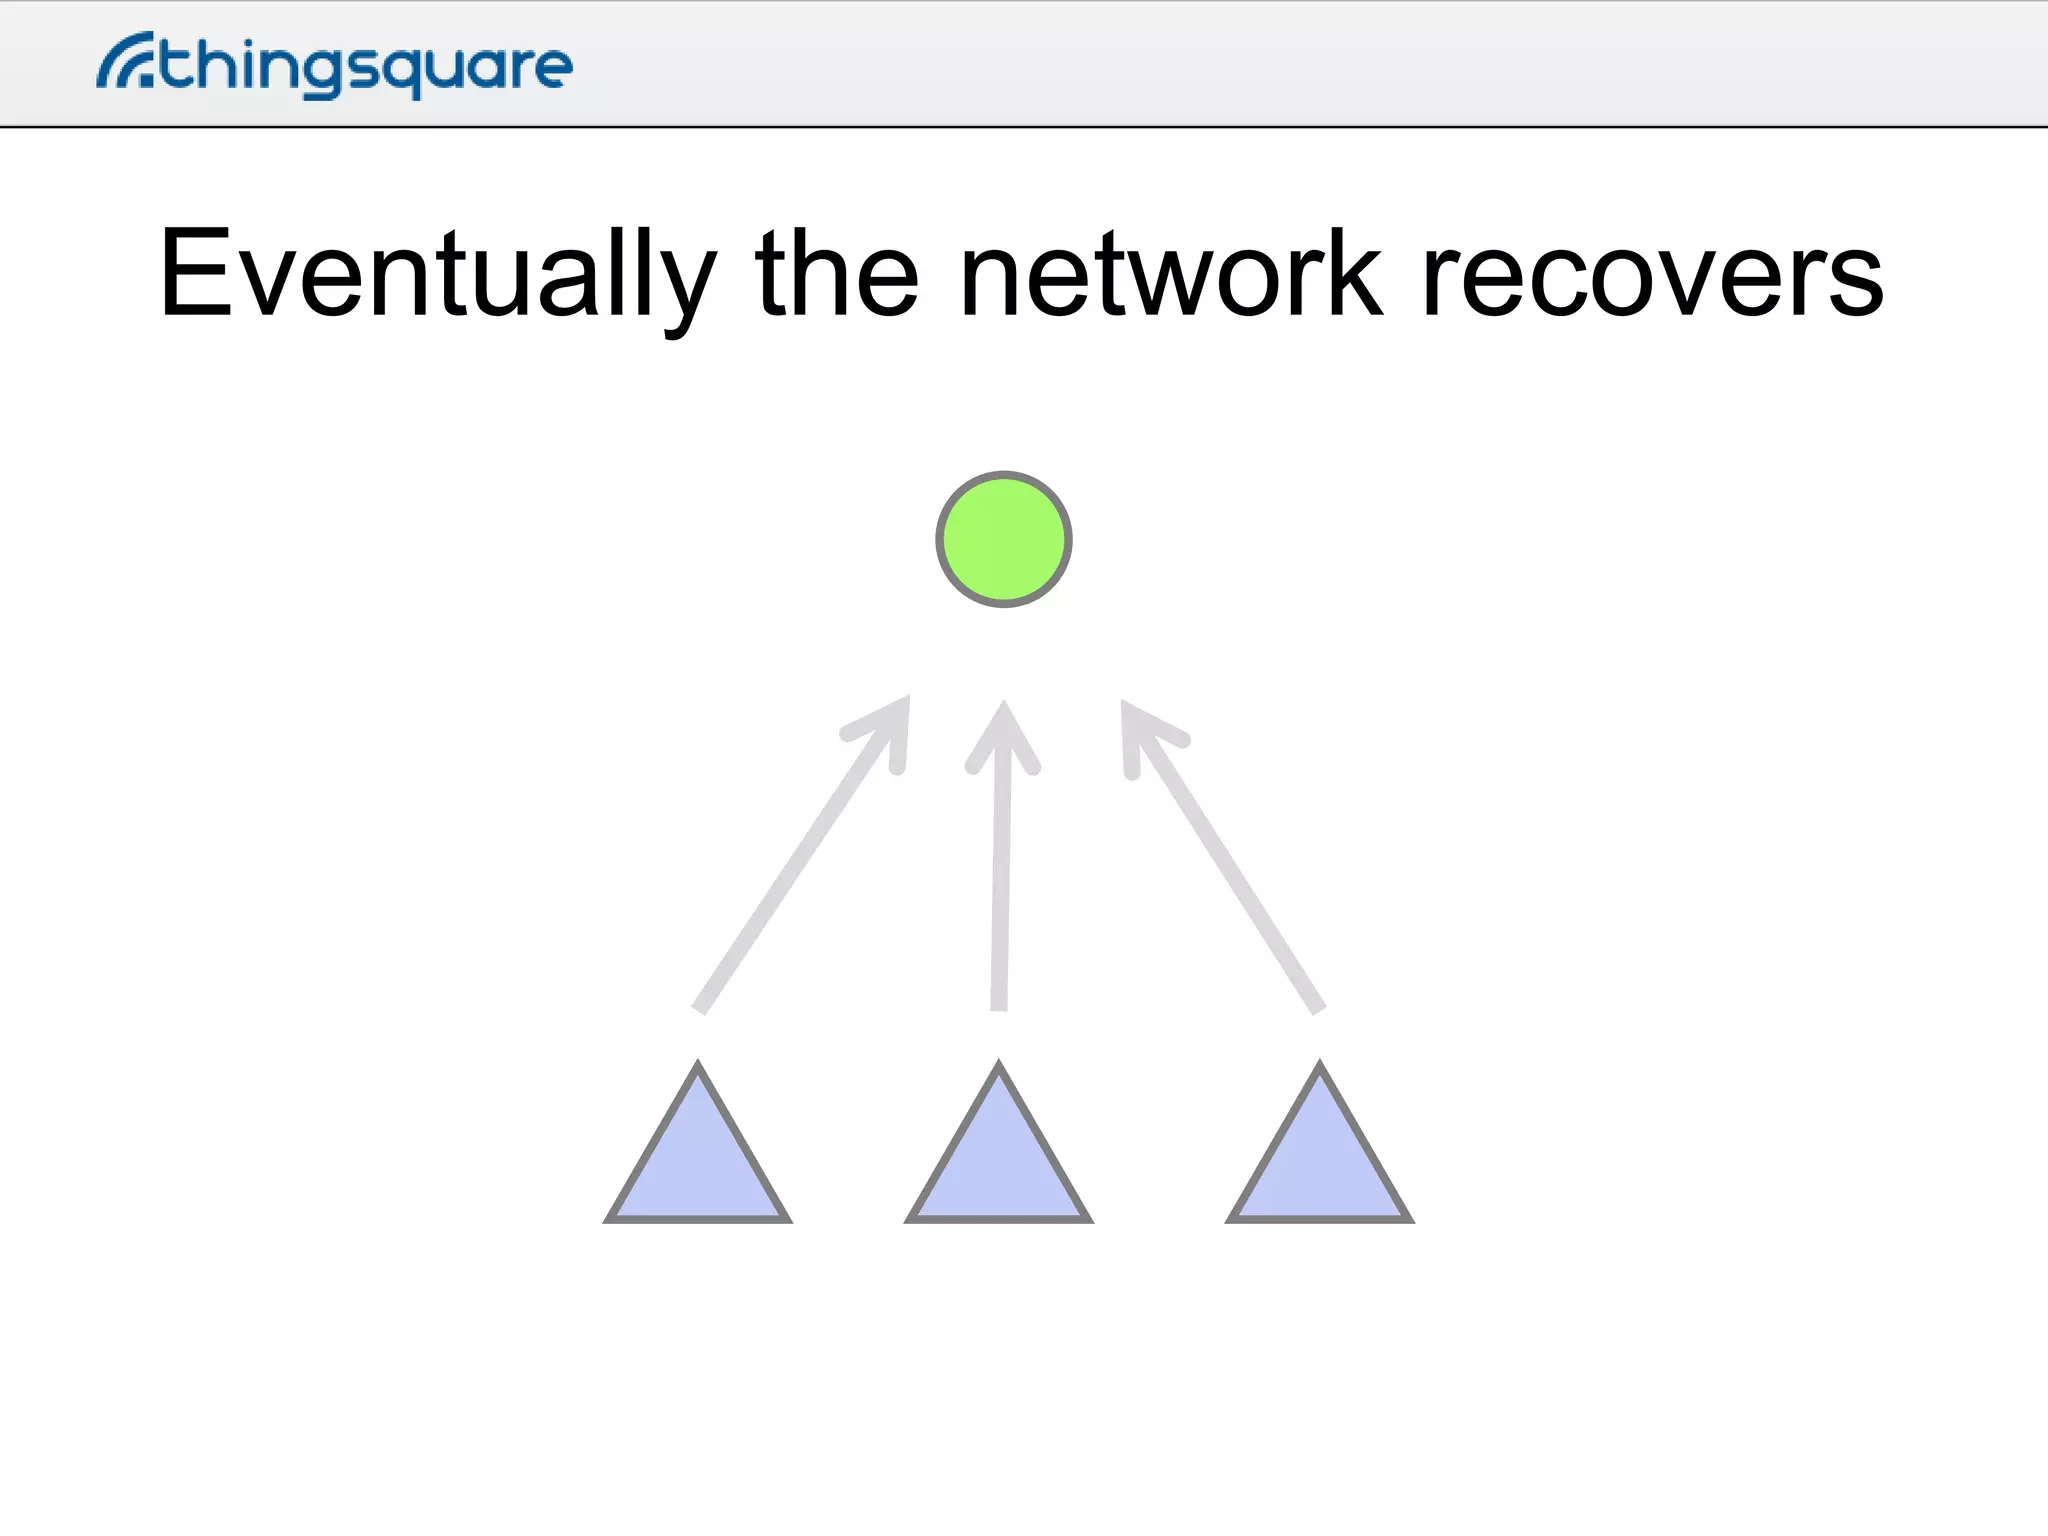
Lab 1: Big Red Internet Button
+

= IoT!
1. Press the button
2. Post something to the Internet
The Big Red Button
• Two connectors
– Ground
– Signal

• 12 v built-in LED
The Thingsquare kit
• CC2538 System-on-a-Chip board
– The heart of it all
– Runs Contiki

• Display board
– LCD screen
– JTAG debugger

• Ethernet router
The Thingsquare cloud
• Connect your devices
• Program your devices from your browser
• Inspect the output
What we’ll do
• Connect the button
• Upload a program that does:
– Reads the button
– Does an HTTP POST to http://requestb.in/

• Inspect the output
Set up your device
• Register the device with the Thingsquare
cloud
• Give it a name
• Blink it
Set up the program
• Create a new app – call it something
unique
– Like adam-button.c

• Copy the contents of big-red-button.c
– Don’t worry about the contents for now – we’ll
go through all that
Set up a requestb.in
• Go to http://requestb.in/ and create a
RequestBin
RequestBin URL
• Copy the RequestBin URL into the
program:
#define URL "http://requestb.in/abcdefghij"

•
•
•
•

Run the program
Press the button
Reload the requestb.in page
See the result
What we just did
• Did an HTTP POST directly from the chip
• Posted data via a webhook to a cloud
service
Connecting a device to the IoT
The device
The Internet
More Internet

The Internet
IPv4
IPv6

IPv4
IPv6/IPv4 router
The App
Cloud
Cloud

Websocket
Cloud

API
IPv6 to IPv4 translation: NAT64
• Translate IPv4 addresses to IPv6
addresses
– 192.168.1.1 becomes ::fffff:192.168.1.1
– Remember the port numbers
DNS64
• Translate DNS names to IPv6-mapped
IPv4 address
api.example.com?
198.51.100.28
198.51.100.28

64:ff9b::c633:641c
ws://api.example.com/
The IPv6 mesh
IPv6 primer
• Addresses are really long
– 128 bits

• Example
– fe80::1234:abcd:5678:ef01

• A device has several IPv6 addresses
The IPv6 mesh
• Contiki automatically forms a wireless IPv6
network
– Routing protocol called RPL

• The Ethernet router is the root of the
network
A RPL Directed Acyclic
Graph
The RPL DAG
• Every DAG has a DAG ID
– The IPv6 address of the root

• Every DAG has a version number
Let’s look at the RPL mesh!
• Go to Status -> Mesh on the kit display
The Mesh display
•
•
•
•
•
•
•
•
•

The DAG ID
The parent IPv6 address
The DAG version
RPL rank
Number of neighbors
Number of routes
Estimated number of hops
ETX: RPL link quality indicator
RSSI: Received Signal Strength Indicator
Hands-on experimentation
•
•
•
•

Cusp your hand over the antenna
Watch the ETX go up
Might choose another parent
Hop count will then increase
This is what happened
Our hand stopped the radio
signals
A better route was found
Eventually the network recovers
More like this

http://thingsquare.com

Building the Internet of Things with Thingsquare and Contiki - day 1, part 2