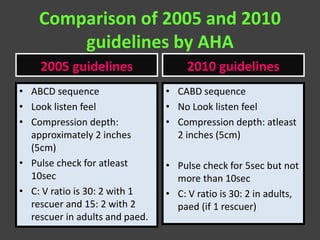
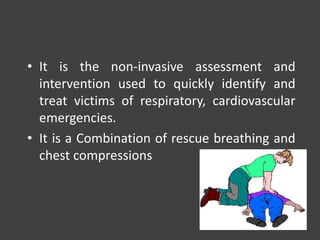
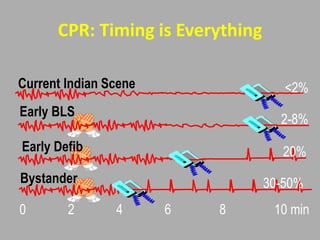
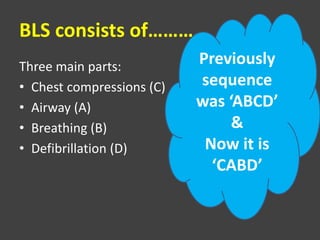
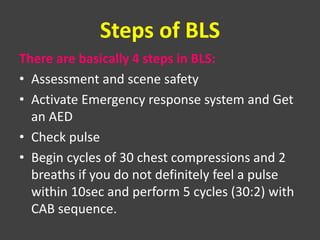
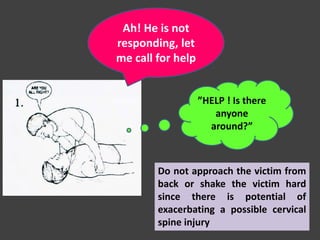
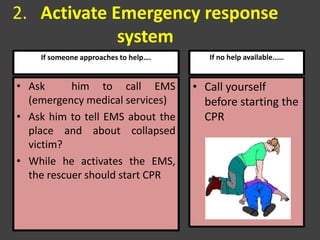
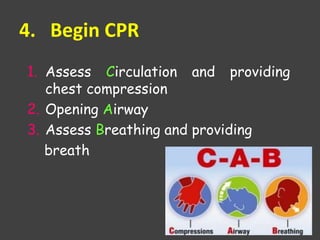
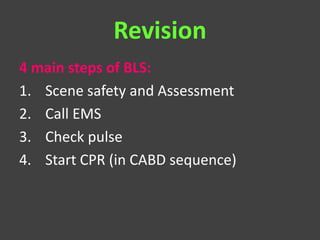
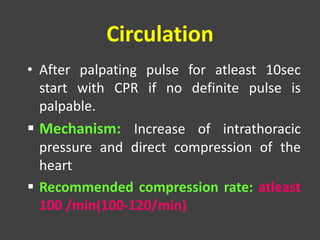
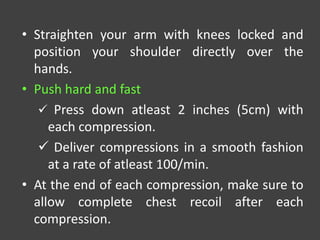
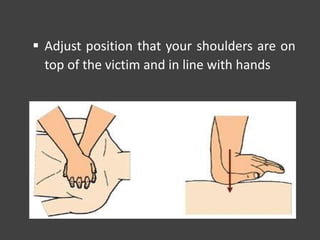
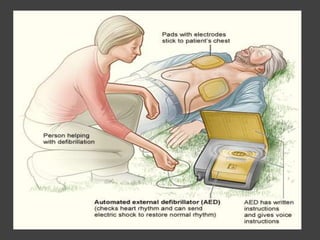
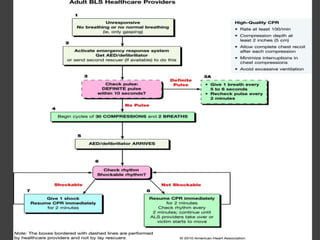
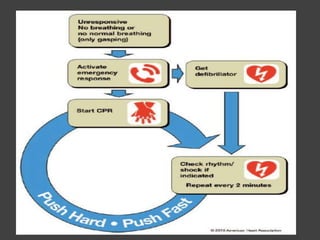
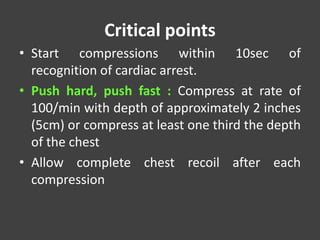
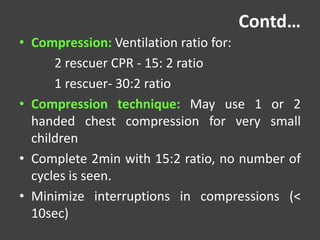
This document provides information on basic life support (BLS). It defines BLS as procedures to restore circulation and oxygenated blood flow after cardiac or respiratory arrest. BLS involves chest compressions, rescue breathing, and defibrillation if needed, and can be performed by anyone without equipment. The key steps of BLS are to check for responsiveness, call for help, check pulse, and if no pulse, begin chest compressions at a rate of at least 100 per minute and depths of at least 2 inches, alternating with rescue breaths. An automated external defibrillator (AED) should be used as soon as available to attempt defibrillation if indicated. BLS is similar for children but uses a compression to ventilation

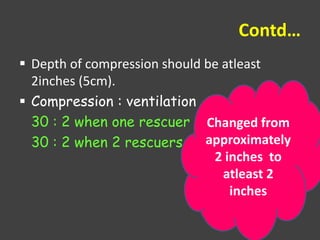


![Contd…
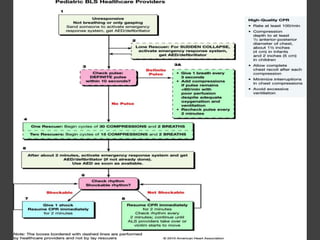
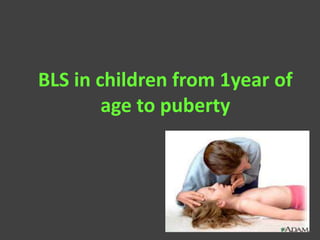
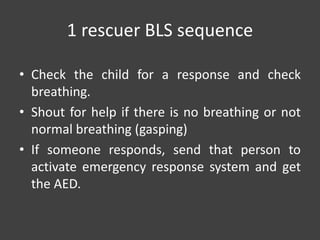
[If the child collapsed suddenly and you are alone,
leave the child to activate emergency response
system and get the AED]
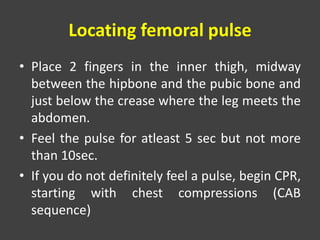
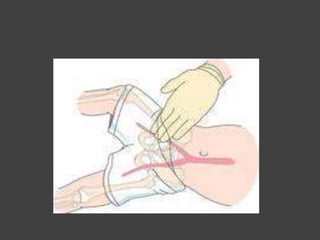
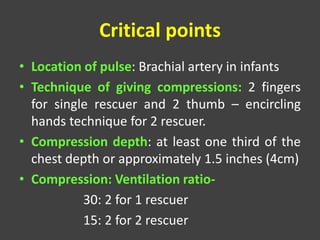
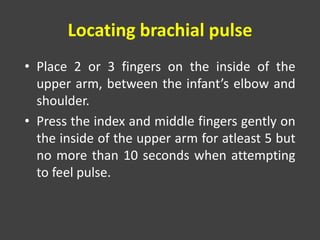
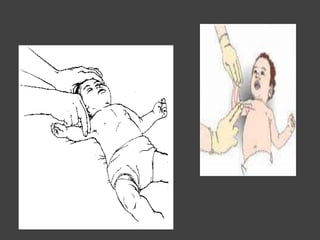
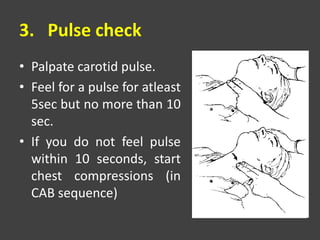
• Check the child’s pulse (take atleast 5 but not more
than 10sec). You can locate carotid or femoral pulse
in children
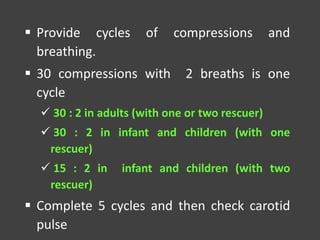
• If no pulse is felt, start with chest compressions at
rate of 30: 2 ratio.
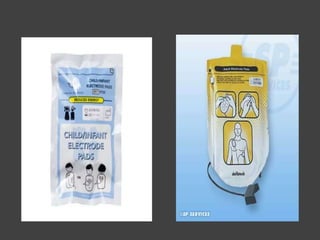
• After 5 cycles, if someone has not already done so,
activate the emergency response system and get the
AED. Use AED as soon as available](https://image.slidesharecdn.com/blsacls-230915033226-f5542e3a/85/BLS-ACLS-pptx-88-320.jpg)