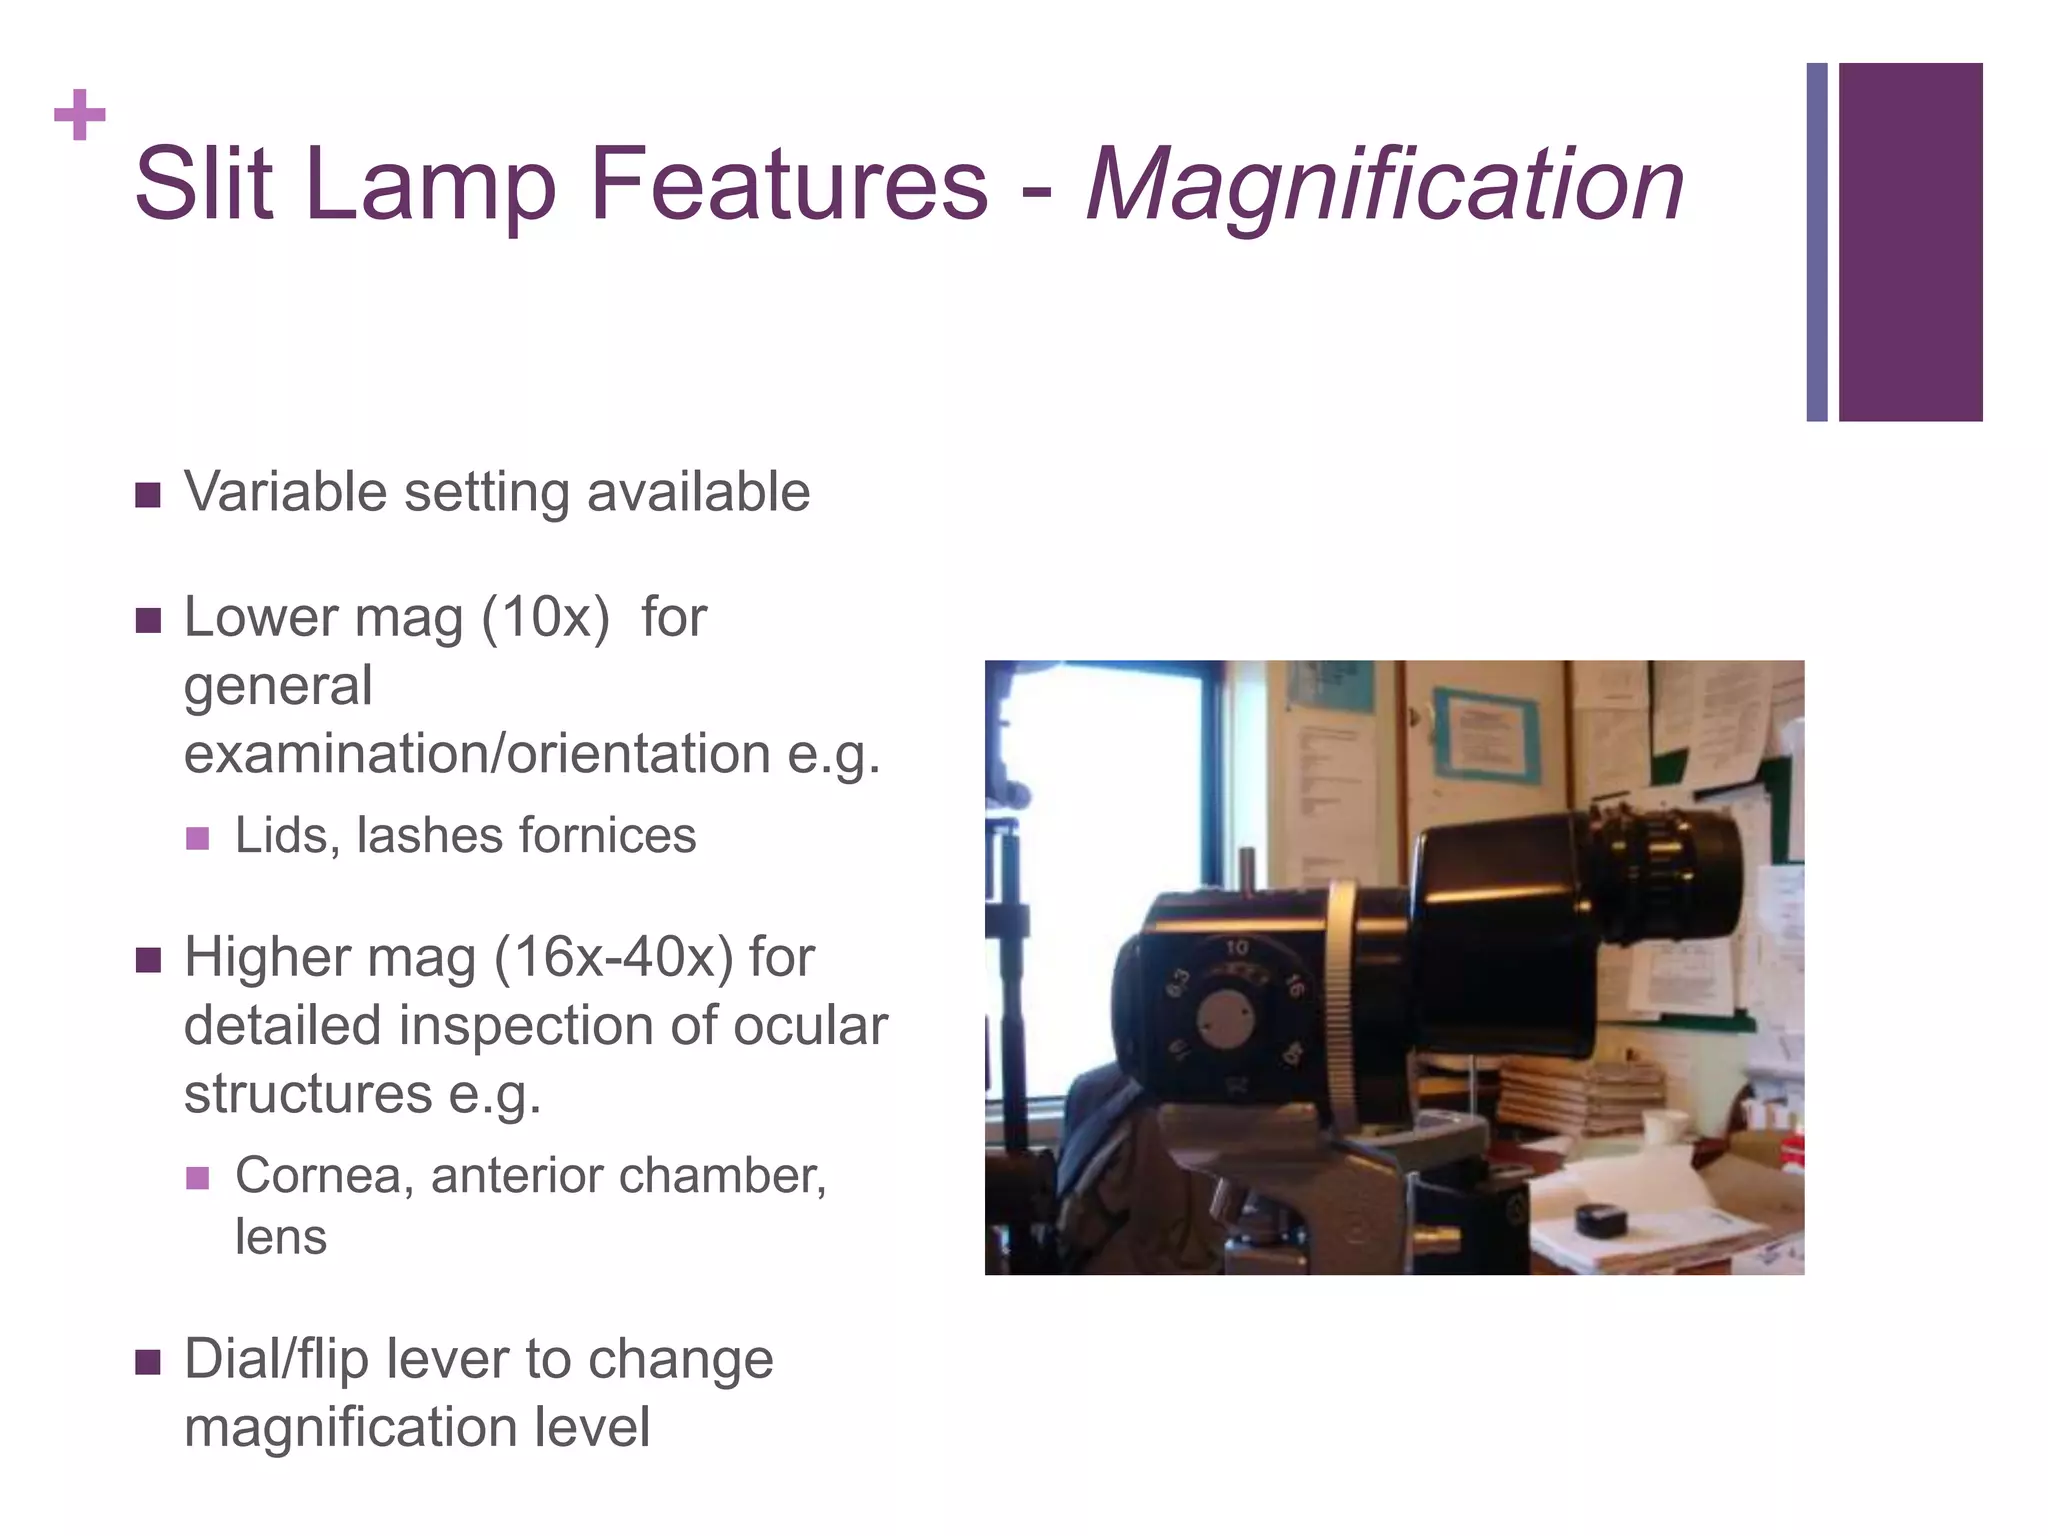
+
Slit Lamp Biomicroscopy
Dr. Mark Davies
Principal Lecturer
+
Session Format
 Overview of instrument
 Basic design
 Slit lamp features:
 Magnification
 Illumination
 Examination techniques
 At the slit lamp:
 Patient set up
 Sequence
 Lid eversion & examination of fornices
 Removal of corneal & subtarsal FB’s
 Questions?
+
Overview of Instrument
 The Slit Lamp Microscope (SLM) is the ideal tool for
the assessment of the anterior* segment of the eye
 It provides:
 Excellent image quality
 Flexible magnification (6-40x)
 A stereoscopic view
 Variable illumination
 A stable platform (FB removal etc.)
* Posterior pole may be visualised with additional lenses
+
Basic Design
Light Tower
• Variable size, shape, colour &
brightness
• Slit size, shape, and filter
controls
Viewing Arm
• Biomicroscope
• Adjustable eyepieces
• Magnification selector
Central Pivot
• Viewing arm & light source
pivot around this point
• 180 degree arc
• Both focus at same point
(parfocal)
Joystick Control
• Position and focus control
+
Slit Lamp Features - Magnification
 Variable setting available
 Lower mag (10x) for
general
examination/orientation e.g.
 Lids, lashes fornices
 Higher mag (16x-40x) for
detailed inspection of ocular
structures e.g.
 Cornea, anterior chamber,
lens
 Dial/flip lever to change
magnification level
+
Slit Lamp Features - Illumination
 Light tower produces a slit
beam
 Variable:
 Intensity
 Height
 Width
 Orientation
 Filters:
 Red Free
 Cobalt Blue
 Heat Reduction
 Diffuser
+
“It’s all about the slit…”
 A good slit must be:
 Bright
 Evenly illuminated
 Brightly focused
 Have well-defined straight edges
 Illumination should also provide good colour
rendering:
 To discriminate any pathological changes
+
Slit Height
 Variable:
 Approx. 0-8 mm
 This graduation allows
measurement e.g.
 Corneal abrasion
 Hypopyon/Hyphaema in AC
 Tall slits are used to view
structures anterior to lens
 Shorter slits for lens
/posterior pole:
 Also useful for anterior
chamber examination
+
Slit Width
 Narrow slits can slice
through layers of the
cornea:
 Depth of corneal
abrasions
 Endothelial disorders
 Wide slits are used to
grossly inspect
surfaces:
 Fornices
 Tear film integrity
+
Slit Orientation
Rotate lamp housing to achieve effect
+
Examination Technique
 Direct illumination:
 Wide Beam
 Parallelepiped
 Optical section
 Indirect illumination:
 Retro-illumination
 Sclerotic scatter
 Combination of the above
+
Direct Illumination
Light
Source Microscope
Light source &
microscope both
pointing at area
of interest
+
Direct Illumination
 Several forms – classified simply by width of slit:
 Diffuse
 Wide Beam
 Parallelepiped
 Optical Section
 Slit size/shape significantly affects what may be visualised:
 Diffuse/wide beam for overall view
 Wider parallelepiped for broad view of a single plane / narrow
for a more balanced view
 Optical section will ‘cut through’ structure giving thickness &
depth
+
Effect of Slit Width
Wide Beam – Mostly
Surface
Parallelepiped – Balance
of Surface & Depth
Optical Section – Mostly
Depth
+
Importance of Illumination Angle
 Wider angles allow:
 Accurate visualisation of
deeper layers
 Estimation of depth
 Better perception of
texture
 Both direct and indirect
illumination
simultaneously
+
Effect of Angle
450 - Balance of Surface &
Depth
50 - Mostly Surface 850 – Depth Only
+
Direct Illumination – Wide Beam
 Use in combination with
low magnification
 Useful for examining:
 Lashes & lid margins
 Lachrymal apparatus
 Upper & lower fornices
 Overall corneal integrity
& TFBUT
+
Direct Illumination – Parallelepiped
 Default approach to
corneal inspection
 Shows a block of tissue in
3-D
 Good balance between
surface and depth
 Beam approx. 2mm wide
 Medium to high
magnification
+
Optical Section
 Allows judgment of
thickness & depth
 Use:
 Narrowest slit possible
 Largest angle possible
 Highest intensity light
 Dark room
 Sharp focus paramount
+
Indirect Illumination
Light
Source Microscope
Object illuminated
indirectly by being
lit from scatter of
light posteriorly
+
Indirect Illumination
 Light reflected back from two main sources:
 Iris (backlight the cornea)
 Fundus (backlights the lens)
 Opacities appear dark against a bright background
 Decoupling may sometimes be necessary
+
Retroillumination
+
Patient Set Up
 Patient chin on bar and
forehead on plastic strap
 Ensure eyes are level with
marker on headrest
 Lamp table at the correct
height for both you and the
patient
 Not too bright!
 Patients have a tendency to
drift away from the
headband during
examination
+
Sequence
 Lids & lashes
 Lid eversion (if
indicated)
 Conjunctiva & cornea
 Anterior chamber
evaluation
 Iris
 Lens
+
Lid Eversion & Examination of
Fornices
 Brief patient
 Ask patient to look down &
press their forehead on
headband
 Grasp lashes
 Press against tarsal plate of
upper lid with stiff object
 Cotton wool bud
 Minims eye drops
 Flip!
 Traction on lid whilst performing
examination
+
Removal of Superficial Ocular
Foreign Bodies I
 Always formally test vision
 History precedes examination*
 Cannot visualise FB? Consider fluorescein staining
 Instil topical anaesthetic
 Soak tip of cotton bud with topical
 Many subtarsal and corneal FB’s can be ‘flicked off’ with
a cotton bud
 Use a ‘rolling’ action and very gentle pressure
*Notwithstanding chemical injury
+
Removal of Superficial Ocular
Foreign Bodies II
 Be wary of central corneal FB’s
 Penetrating FB?
 History
 Peaking of Iris
 Siedel Positive
 More recalcitrant corneal FB’s can be gently ‘flicked
off’ with a 26g (orange) cannula:
 Flat of bevel flush against corneal surface
 DO NOT dig cannula into cornea (average corneal
thickness 550 μm)
 Patients should return in 24-48 hours for removal of
rust ring
+
Slit Lamp Biomicroscopy
 In Summary:
 Practice & become
familiar with equipment
 Approach examination
in a systematic manner
 If in doubt, seek further
advice from eye unit
 Any Questions?

Basic Slit Lamp Biomicroscopy

  • 1.
    + Slit Lamp Biomicroscopy Dr.Mark Davies Principal Lecturer
  • 2.
    + Session Format  Overviewof instrument  Basic design  Slit lamp features:  Magnification  Illumination  Examination techniques  At the slit lamp:  Patient set up  Sequence  Lid eversion & examination of fornices  Removal of corneal & subtarsal FB’s  Questions?
  • 3.
    + Overview of Instrument The Slit Lamp Microscope (SLM) is the ideal tool for the assessment of the anterior* segment of the eye  It provides:  Excellent image quality  Flexible magnification (6-40x)  A stereoscopic view  Variable illumination  A stable platform (FB removal etc.) * Posterior pole may be visualised with additional lenses
  • 4.
    + Basic Design Light Tower •Variable size, shape, colour & brightness • Slit size, shape, and filter controls Viewing Arm • Biomicroscope • Adjustable eyepieces • Magnification selector Central Pivot • Viewing arm & light source pivot around this point • 180 degree arc • Both focus at same point (parfocal) Joystick Control • Position and focus control
  • 5.
    + Slit Lamp Features- Magnification  Variable setting available  Lower mag (10x) for general examination/orientation e.g.  Lids, lashes fornices  Higher mag (16x-40x) for detailed inspection of ocular structures e.g.  Cornea, anterior chamber, lens  Dial/flip lever to change magnification level
  • 6.
    + Slit Lamp Features- Illumination  Light tower produces a slit beam  Variable:  Intensity  Height  Width  Orientation  Filters:  Red Free  Cobalt Blue  Heat Reduction  Diffuser
  • 7.
    + “It’s all aboutthe slit…”  A good slit must be:  Bright  Evenly illuminated  Brightly focused  Have well-defined straight edges  Illumination should also provide good colour rendering:  To discriminate any pathological changes
  • 8.
    + Slit Height  Variable: Approx. 0-8 mm  This graduation allows measurement e.g.  Corneal abrasion  Hypopyon/Hyphaema in AC  Tall slits are used to view structures anterior to lens  Shorter slits for lens /posterior pole:  Also useful for anterior chamber examination
  • 9.
    + Slit Width  Narrowslits can slice through layers of the cornea:  Depth of corneal abrasions  Endothelial disorders  Wide slits are used to grossly inspect surfaces:  Fornices  Tear film integrity
  • 10.
    + Slit Orientation Rotate lamphousing to achieve effect
  • 11.
    + Examination Technique  Directillumination:  Wide Beam  Parallelepiped  Optical section  Indirect illumination:  Retro-illumination  Sclerotic scatter  Combination of the above
  • 12.
    + Direct Illumination Light Source Microscope Lightsource & microscope both pointing at area of interest
  • 13.
    + Direct Illumination  Severalforms – classified simply by width of slit:  Diffuse  Wide Beam  Parallelepiped  Optical Section  Slit size/shape significantly affects what may be visualised:  Diffuse/wide beam for overall view  Wider parallelepiped for broad view of a single plane / narrow for a more balanced view  Optical section will ‘cut through’ structure giving thickness & depth
  • 14.
    + Effect of SlitWidth Wide Beam – Mostly Surface Parallelepiped – Balance of Surface & Depth Optical Section – Mostly Depth
  • 15.
    + Importance of IlluminationAngle  Wider angles allow:  Accurate visualisation of deeper layers  Estimation of depth  Better perception of texture  Both direct and indirect illumination simultaneously
  • 16.
    + Effect of Angle 450- Balance of Surface & Depth 50 - Mostly Surface 850 – Depth Only
  • 17.
    + Direct Illumination –Wide Beam  Use in combination with low magnification  Useful for examining:  Lashes & lid margins  Lachrymal apparatus  Upper & lower fornices  Overall corneal integrity & TFBUT
  • 18.
    + Direct Illumination –Parallelepiped  Default approach to corneal inspection  Shows a block of tissue in 3-D  Good balance between surface and depth  Beam approx. 2mm wide  Medium to high magnification
  • 19.
    + Optical Section  Allowsjudgment of thickness & depth  Use:  Narrowest slit possible  Largest angle possible  Highest intensity light  Dark room  Sharp focus paramount
  • 20.
    + Indirect Illumination Light Source Microscope Objectilluminated indirectly by being lit from scatter of light posteriorly
  • 21.
    + Indirect Illumination  Lightreflected back from two main sources:  Iris (backlight the cornea)  Fundus (backlights the lens)  Opacities appear dark against a bright background  Decoupling may sometimes be necessary
  • 22.
  • 23.
    + Patient Set Up Patient chin on bar and forehead on plastic strap  Ensure eyes are level with marker on headrest  Lamp table at the correct height for both you and the patient  Not too bright!  Patients have a tendency to drift away from the headband during examination
  • 24.
    + Sequence  Lids &lashes  Lid eversion (if indicated)  Conjunctiva & cornea  Anterior chamber evaluation  Iris  Lens
  • 25.
    + Lid Eversion &Examination of Fornices  Brief patient  Ask patient to look down & press their forehead on headband  Grasp lashes  Press against tarsal plate of upper lid with stiff object  Cotton wool bud  Minims eye drops  Flip!  Traction on lid whilst performing examination
  • 26.
    + Removal of SuperficialOcular Foreign Bodies I  Always formally test vision  History precedes examination*  Cannot visualise FB? Consider fluorescein staining  Instil topical anaesthetic  Soak tip of cotton bud with topical  Many subtarsal and corneal FB’s can be ‘flicked off’ with a cotton bud  Use a ‘rolling’ action and very gentle pressure *Notwithstanding chemical injury
  • 27.
    + Removal of SuperficialOcular Foreign Bodies II  Be wary of central corneal FB’s  Penetrating FB?  History  Peaking of Iris  Siedel Positive  More recalcitrant corneal FB’s can be gently ‘flicked off’ with a 26g (orange) cannula:  Flat of bevel flush against corneal surface  DO NOT dig cannula into cornea (average corneal thickness 550 μm)  Patients should return in 24-48 hours for removal of rust ring
  • 28.
    + Slit Lamp Biomicroscopy In Summary:  Practice & become familiar with equipment  Approach examination in a systematic manner  If in doubt, seek further advice from eye unit  Any Questions?