Downloaded 251 times


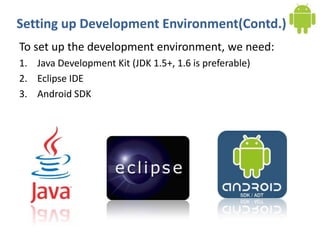
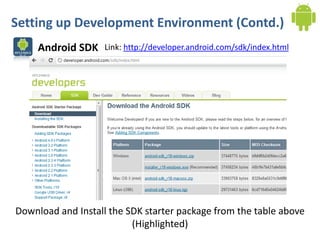
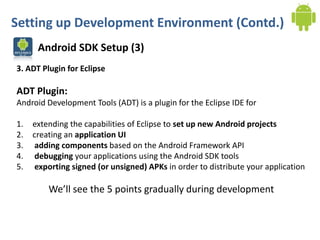
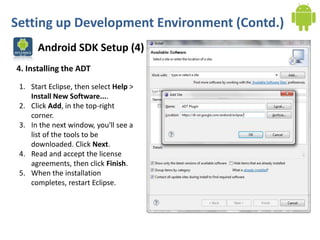
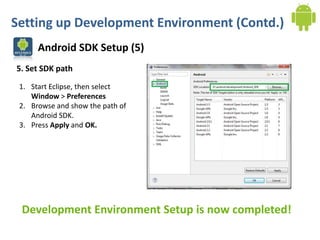
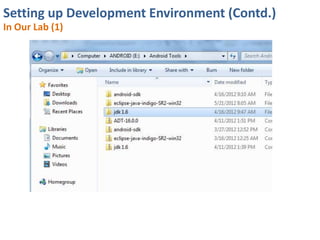

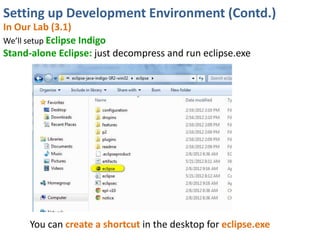
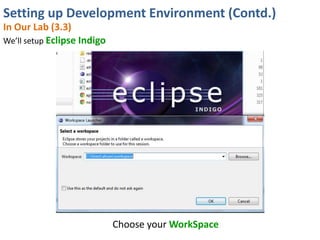
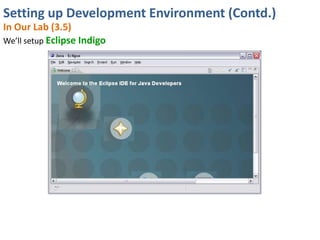
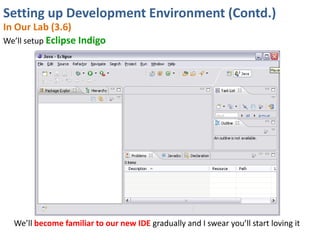
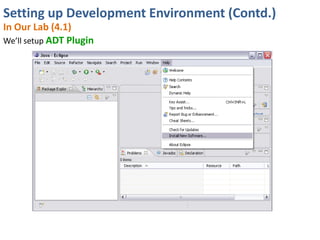

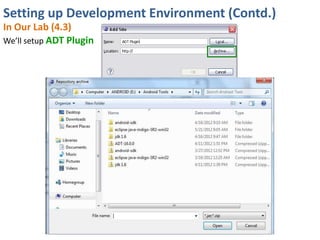
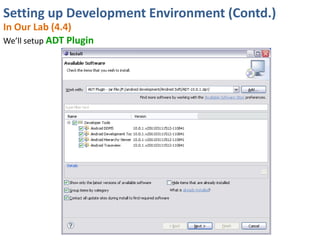
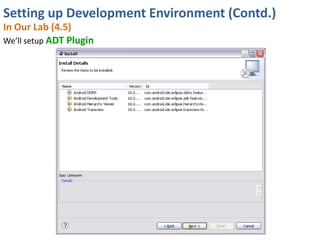
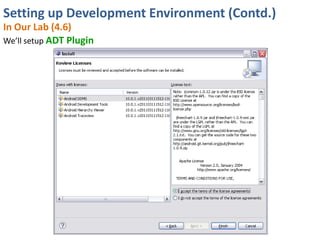
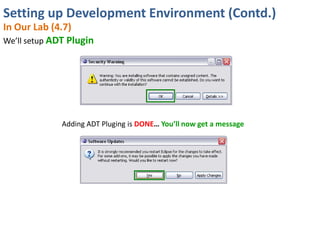
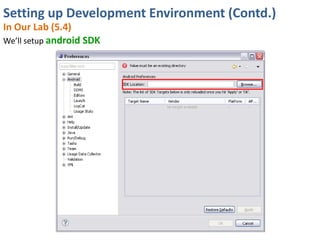
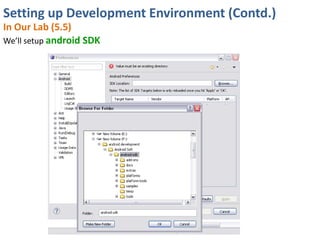
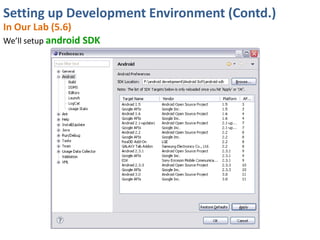
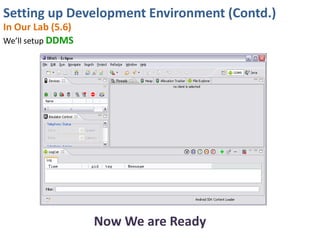

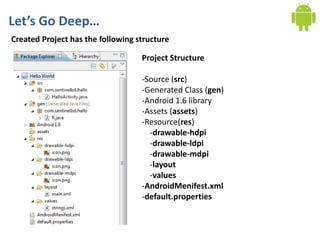

The document describes how to set up the development environment for Android application development. It outlines the system requirements including supported operating systems and development environments. It provides steps to install the Java Development Kit (JDK), Eclipse IDE, Android SDK, and ADT plugin. It also describes setting the SDK path in Eclipse preferences. The document contains screenshots of setting up the environment in a lab.


![Day 5: Android User Interface [View Widgets]](https://cdn.slidesharecdn.com/ss_thumbnails/android1-7-130407053041-phpapp02-thumbnail.jpg?width=640&height=640&fit=bounds)


![[Android] Introduction to Android Programming](https://cdn.slidesharecdn.com/ss_thumbnails/trainingandroidlesson1-130304082558-phpapp02-thumbnail.jpg?width=640&height=640&fit=bounds)